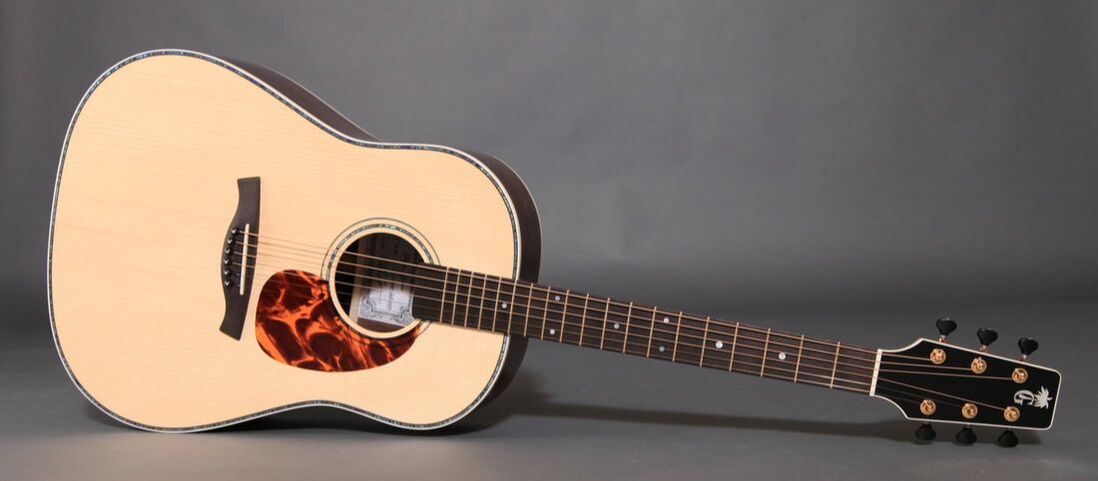
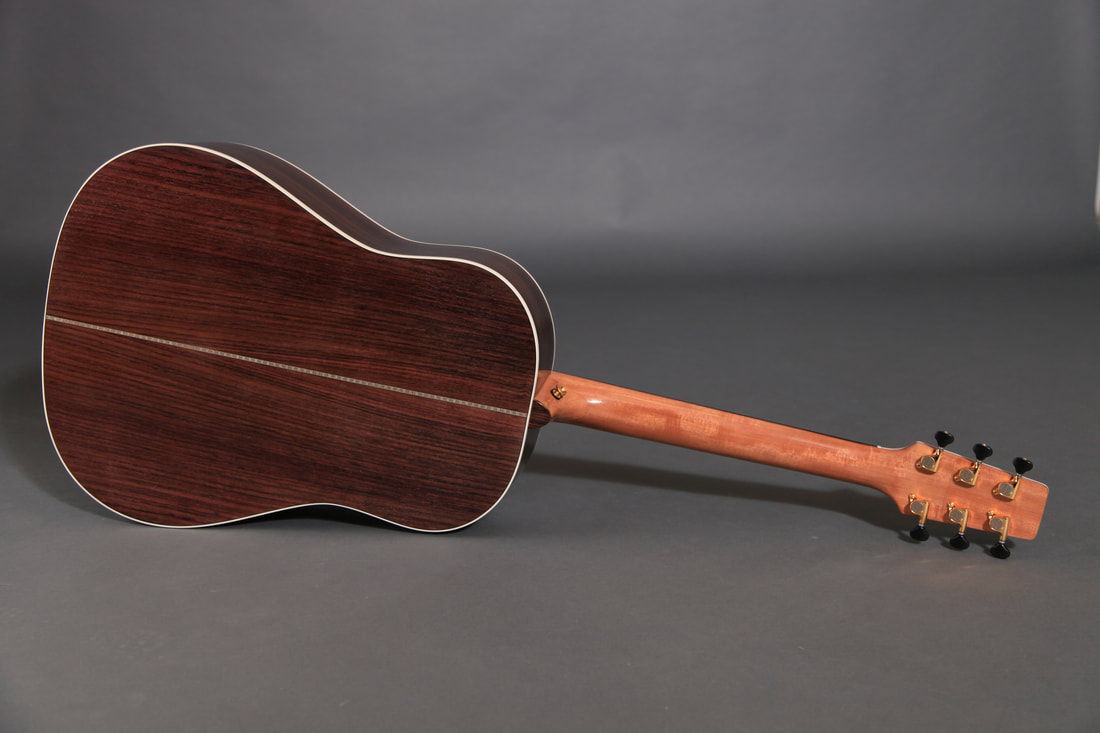
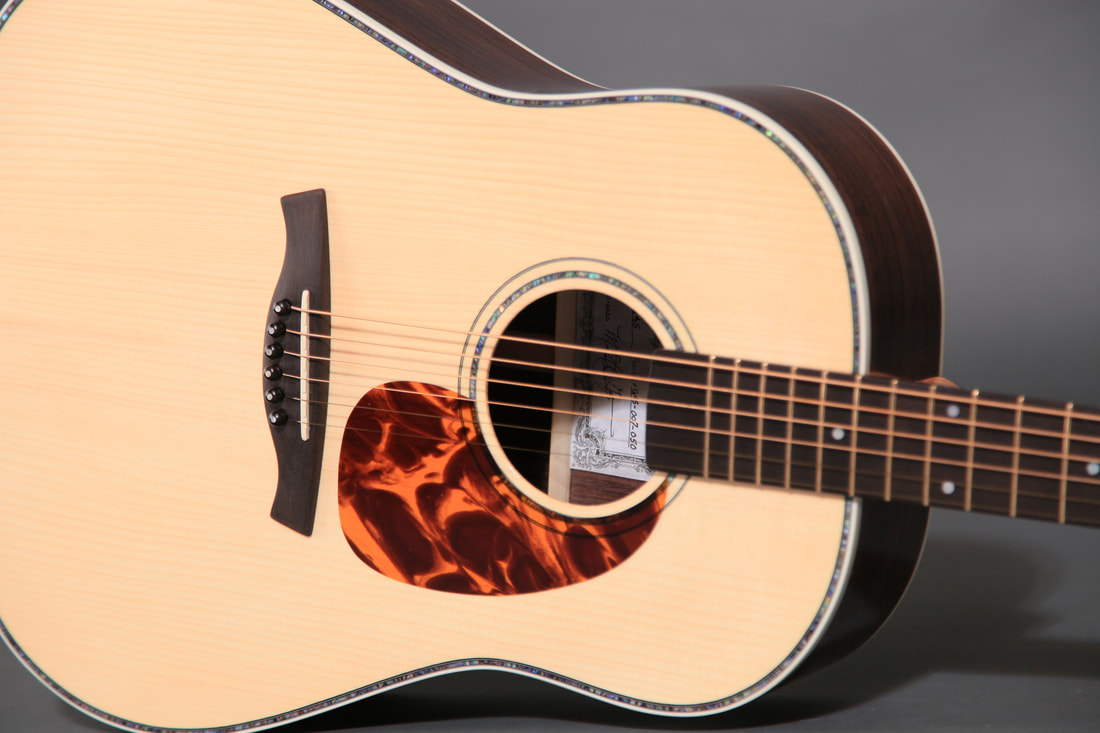
This is my 50th guitar build. I am building this guitar for a friend, Mark, who has spent time researching and playing guitars to find that perfect size and wood combination for his custom guitar. Mark has decided on my G-45 slope shouldered Dreadnaught. He has picked a beautiful Adirondack top and East Indian Rosewood back and sides.
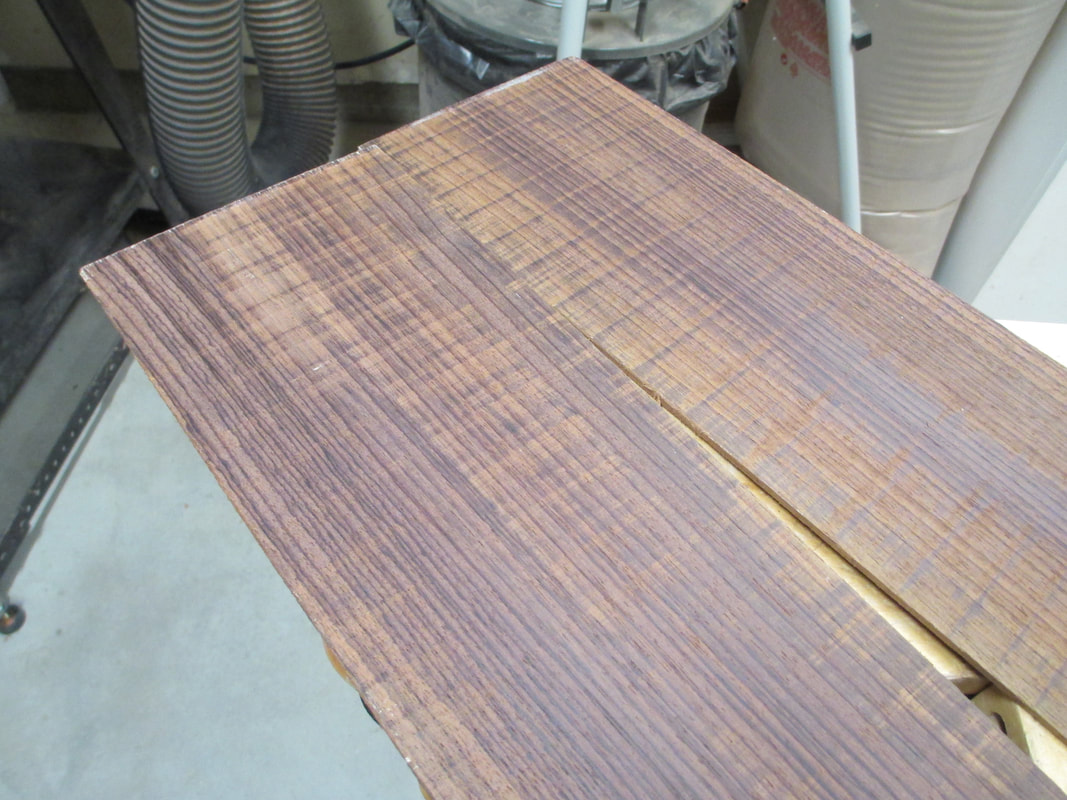
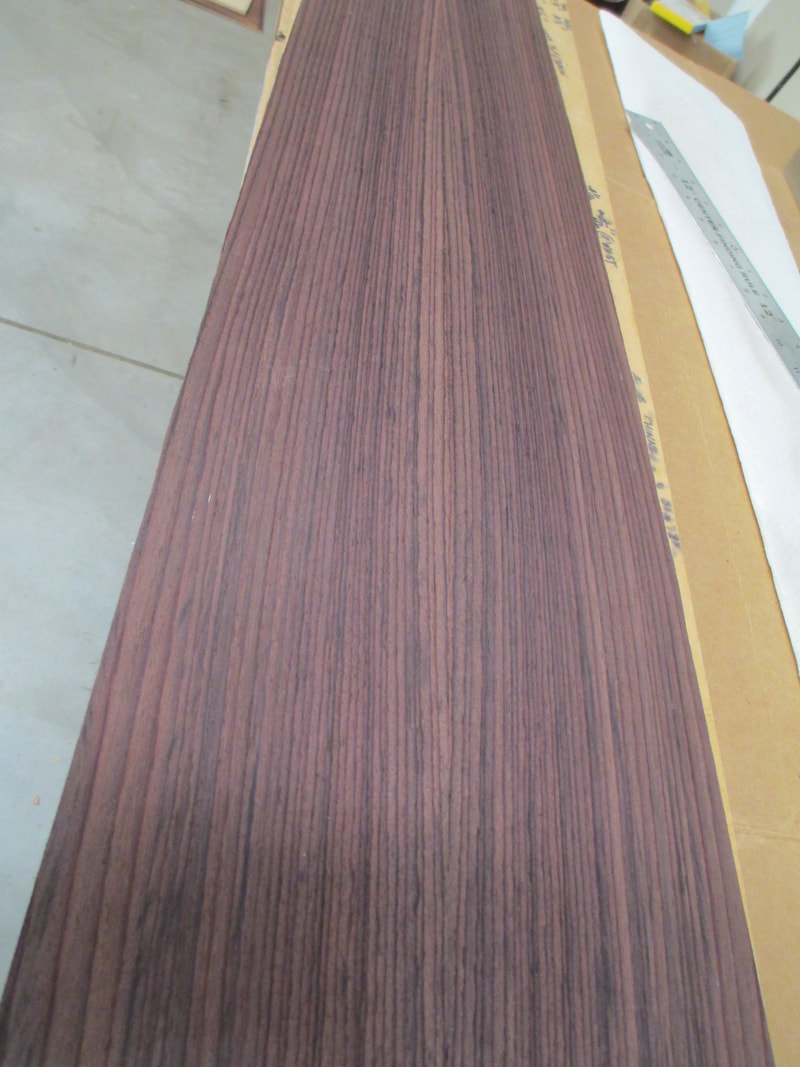
Below is a picture of the sides before sanding. Mark chose these sides knowing that when they were sanded they would display some awesome coloring. See next picture below:
First side ready to be bent
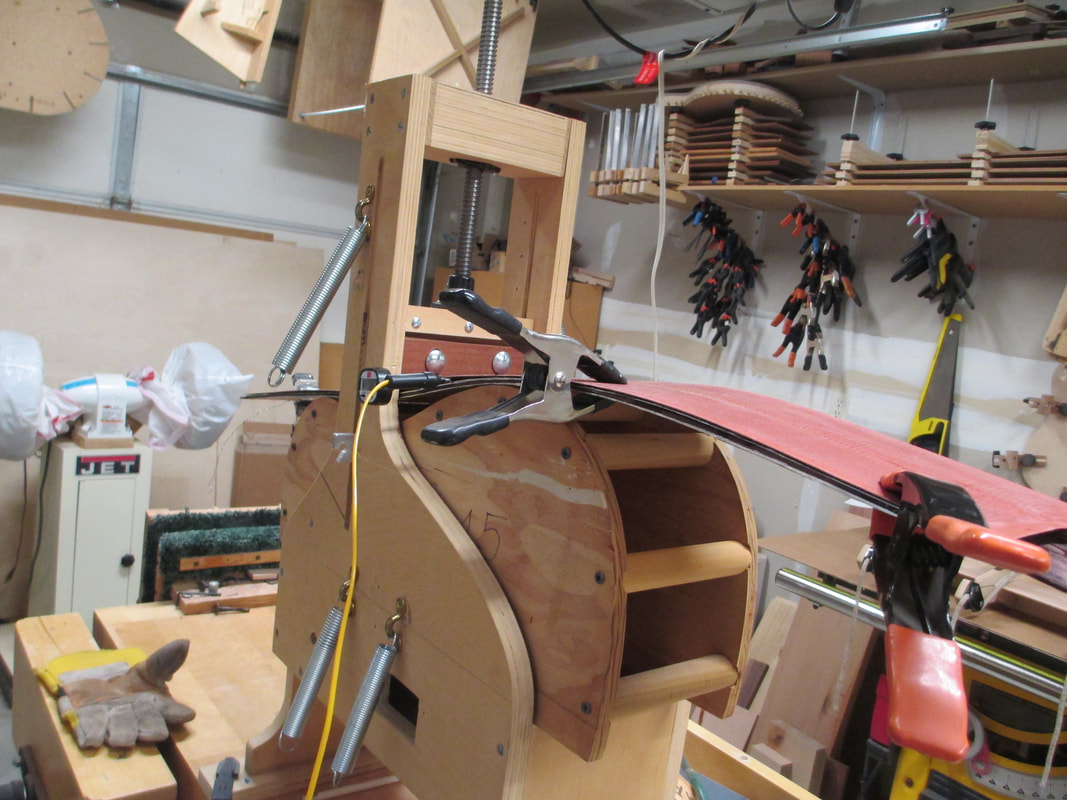
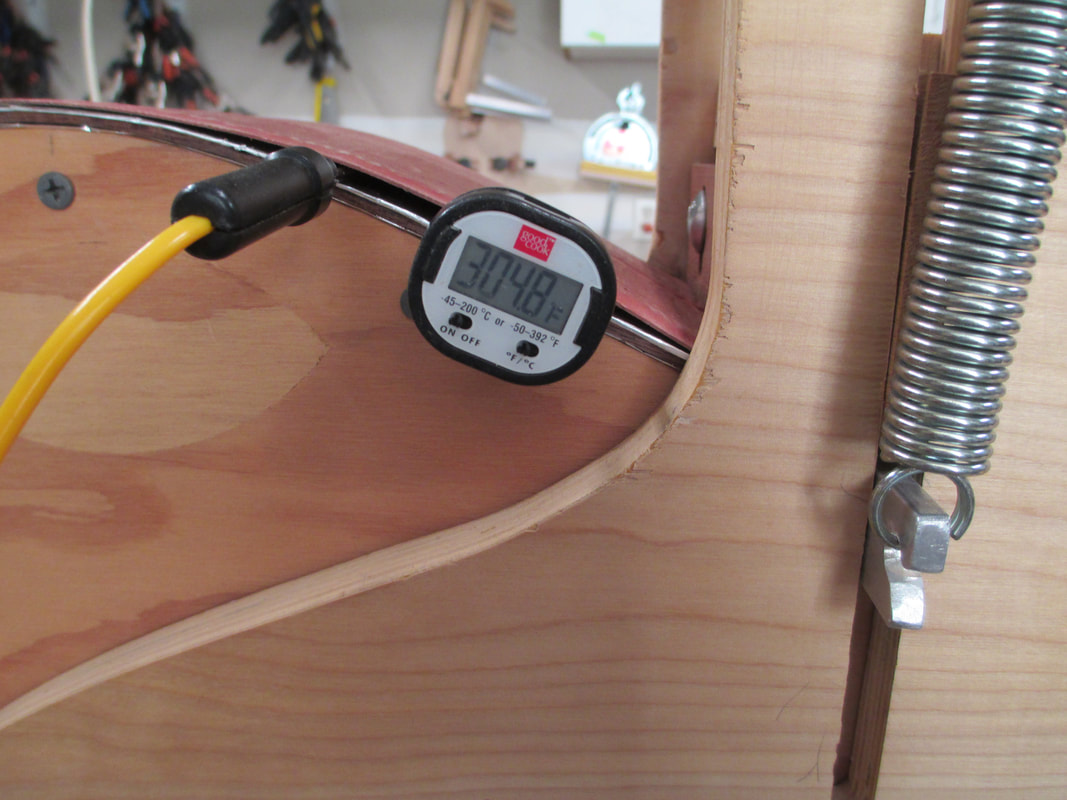
Bending at 300+ degrees
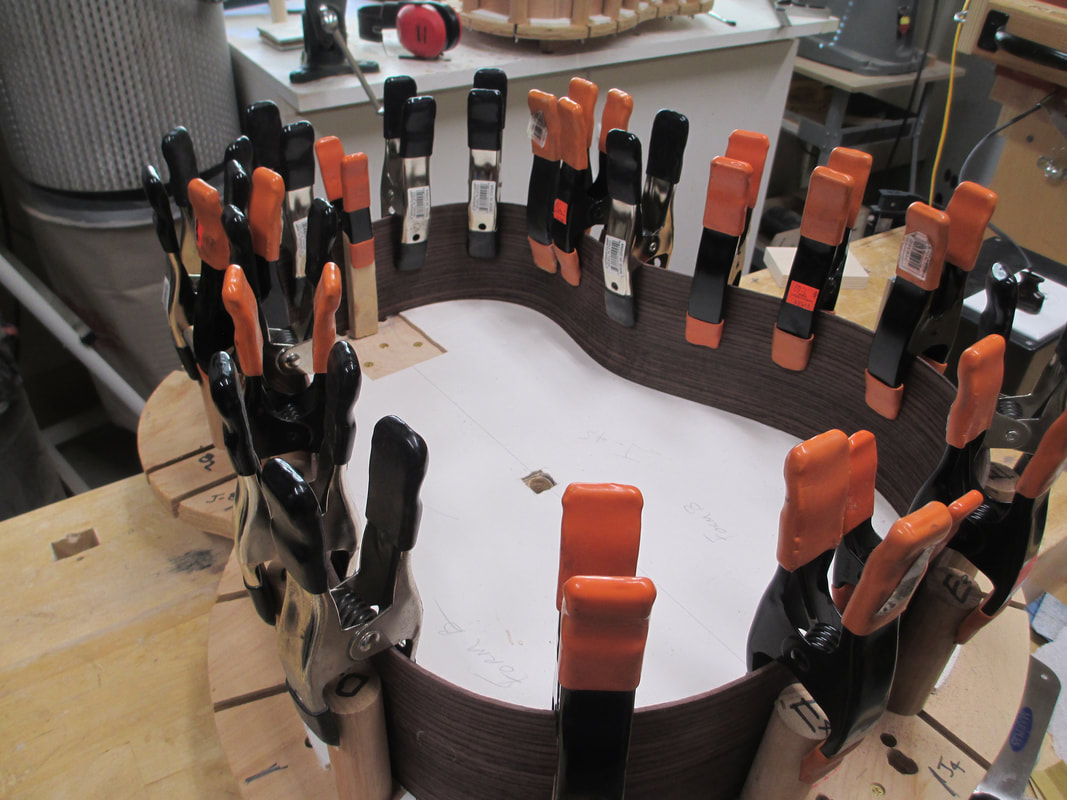
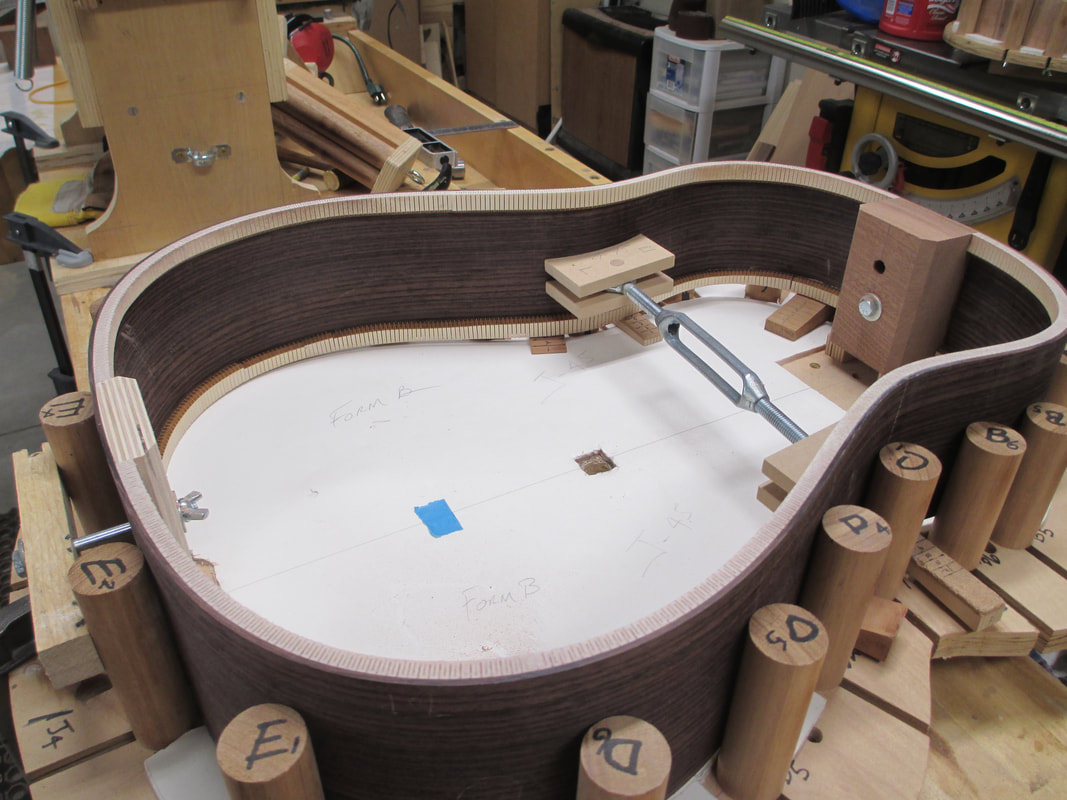
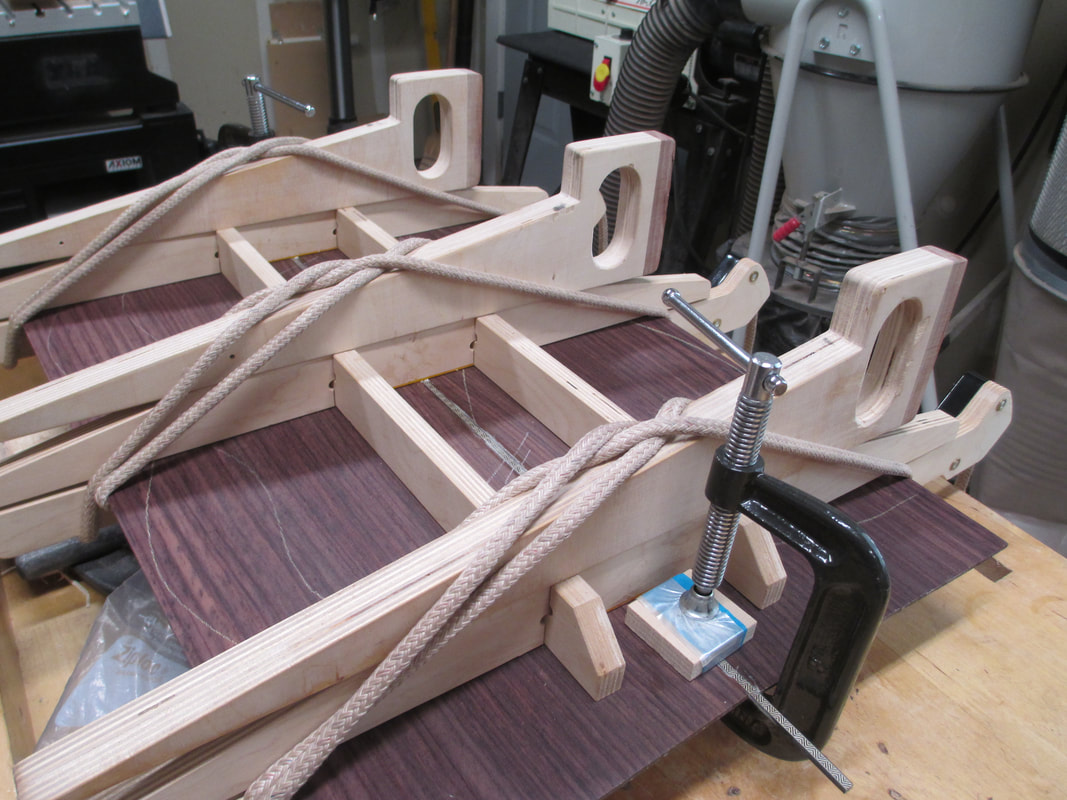
Both sides in the building form
Heel and tail block glued to sides

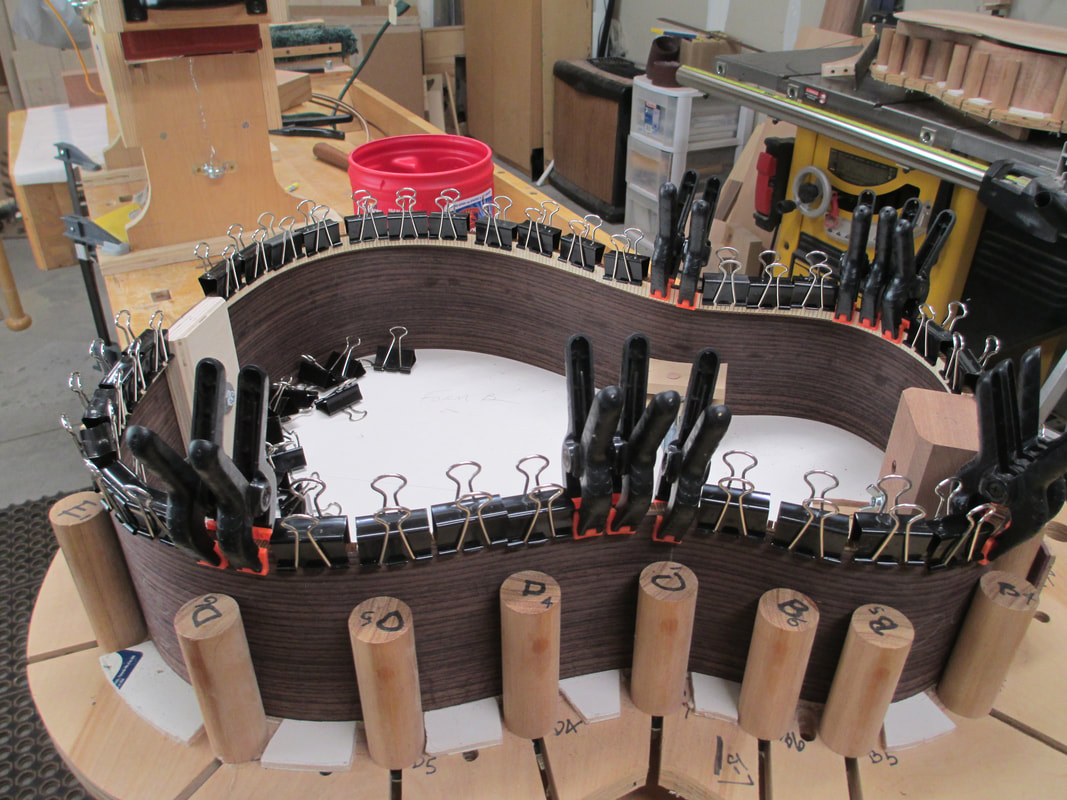
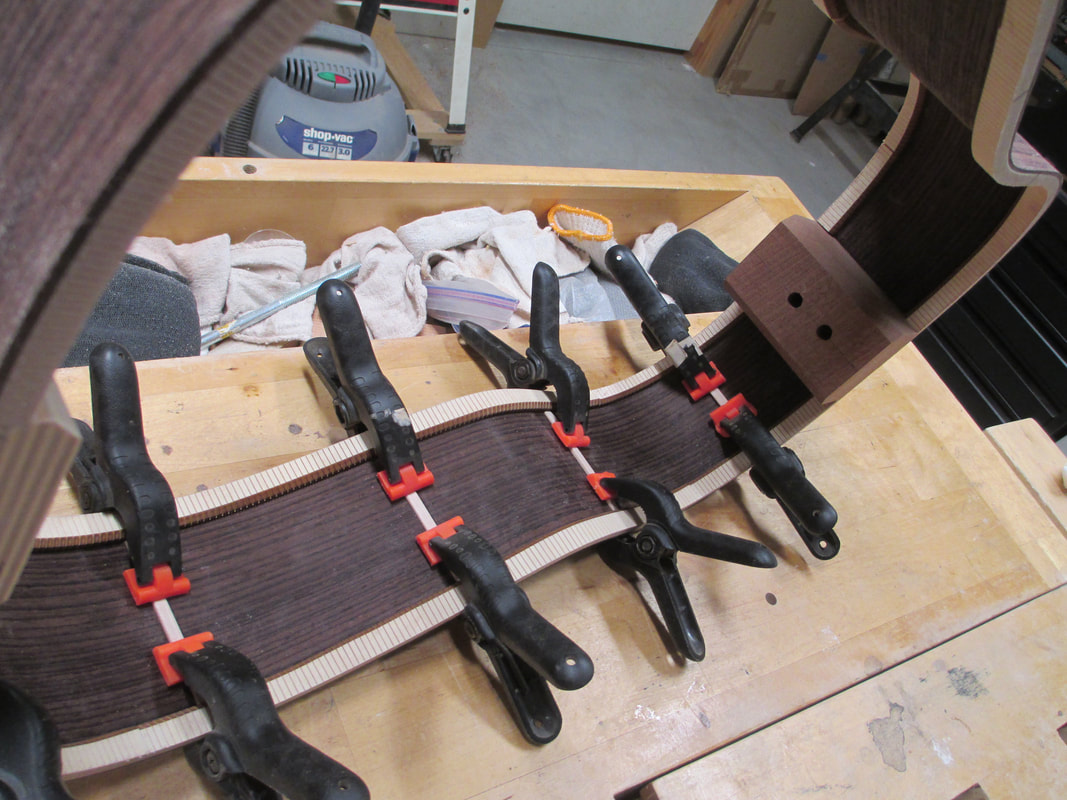
Kerfed lining glued to bottom edge of sides
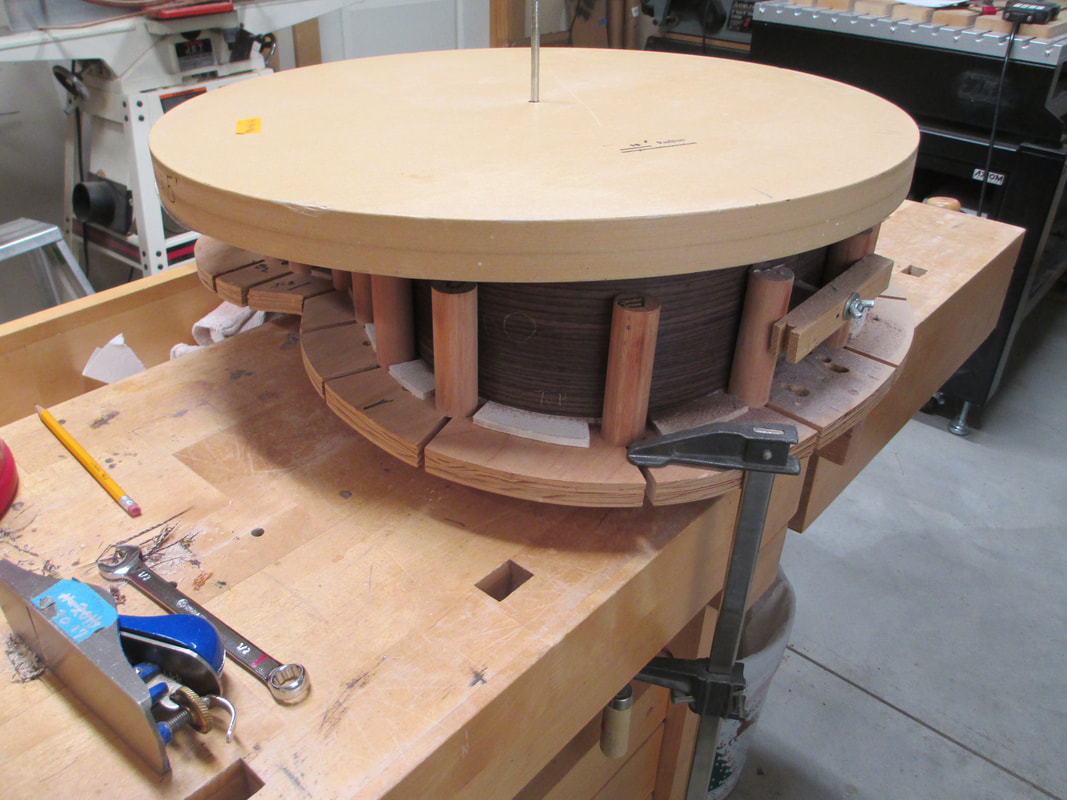
"Driving the bus" - Sand paper is placed in the radius dish and turned back & forth to sand sides and kerfing to a 15' radius
Top and back of sides & kerfed linings sanded to 30' and 15' radius.
Side reinforcement strips installed
Using a hand plane to true the two sides of the back so they will fit together tightly
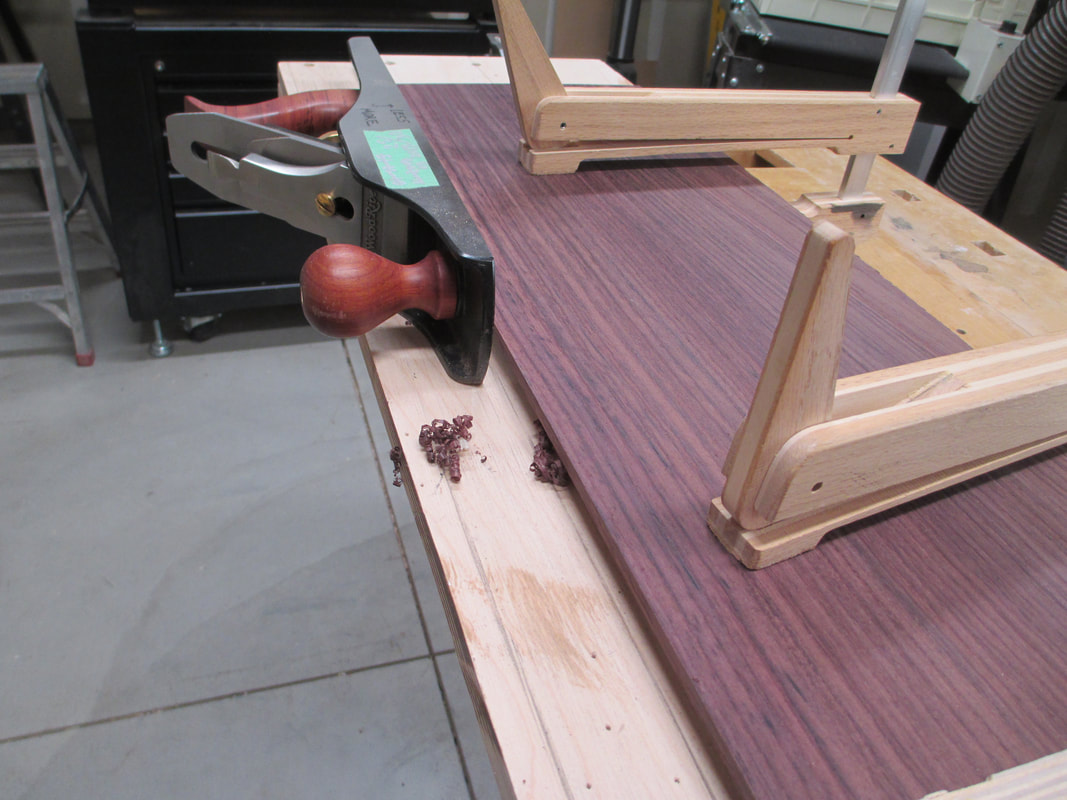
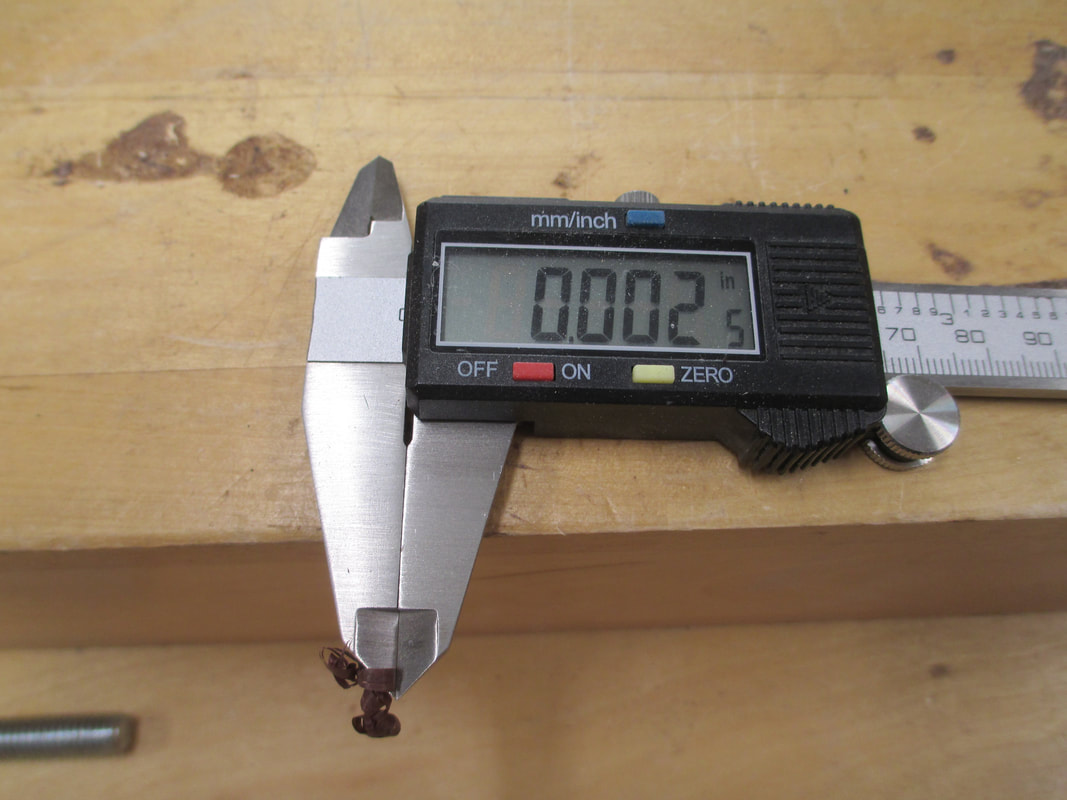
I try to take off about 2 one-thousands of an inch of material every pass to work the two pieces of East Indian Rosewood until they fit perfectly
Back pieces and zipper back strip glued together
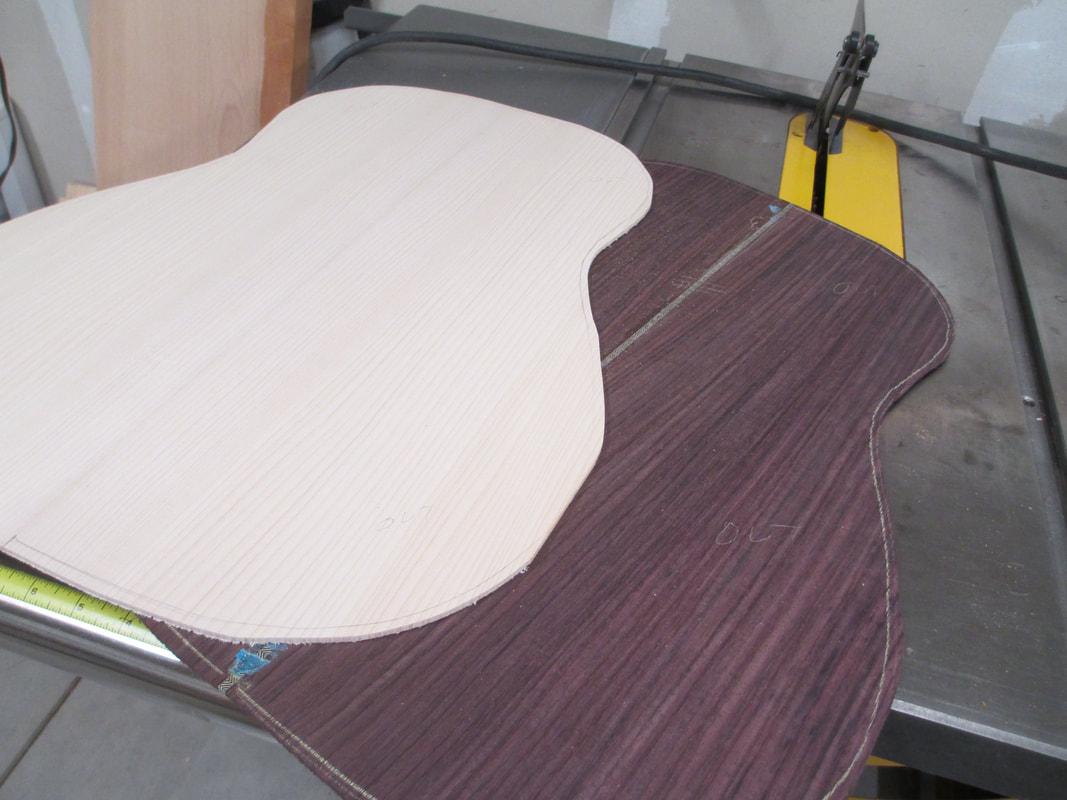
Back & soundboard joined
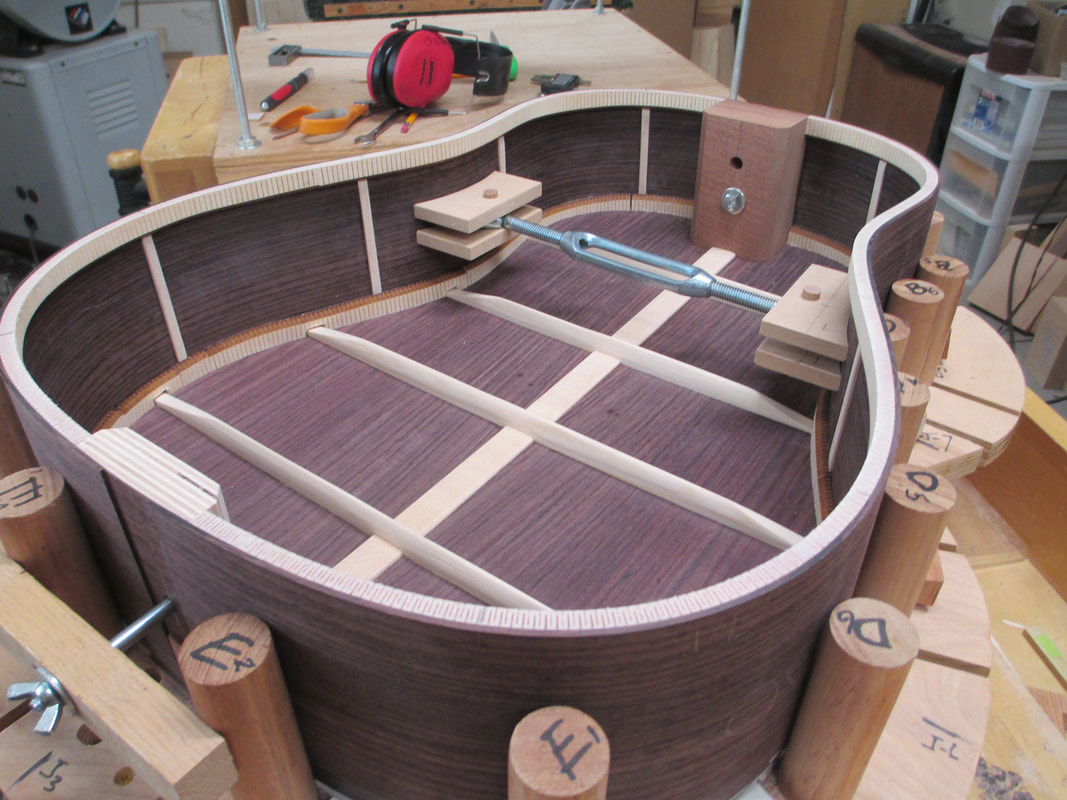
Back braced, carved and mated with sides
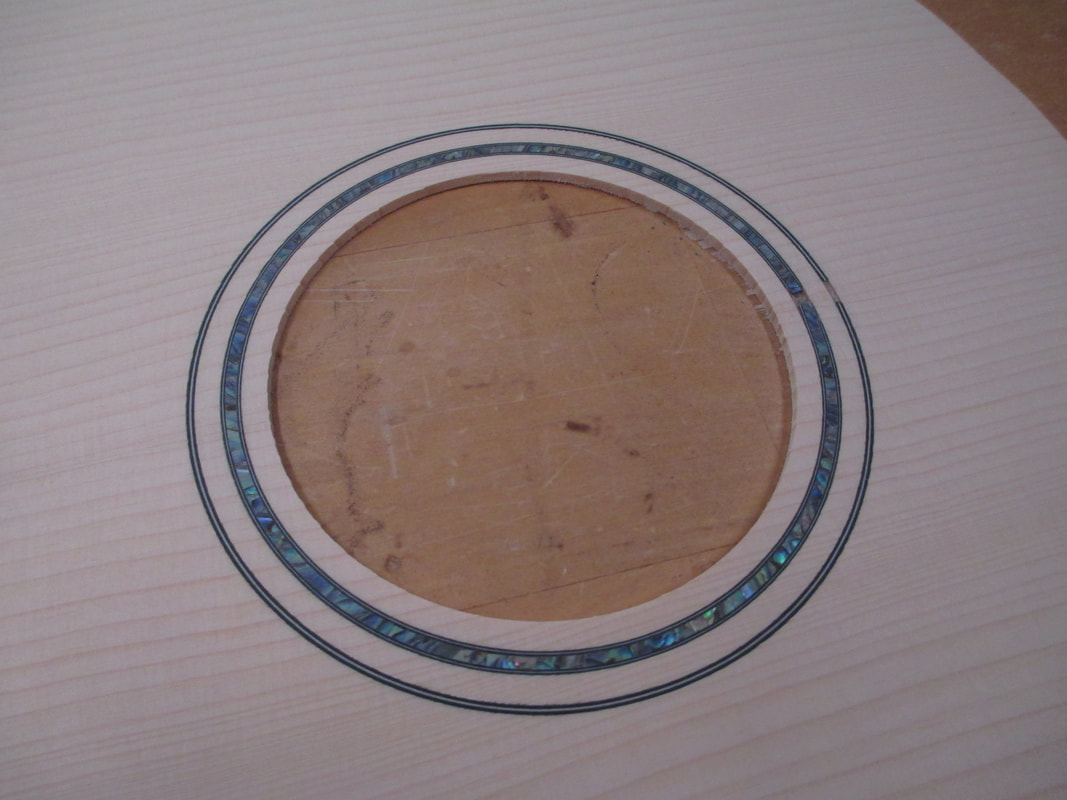
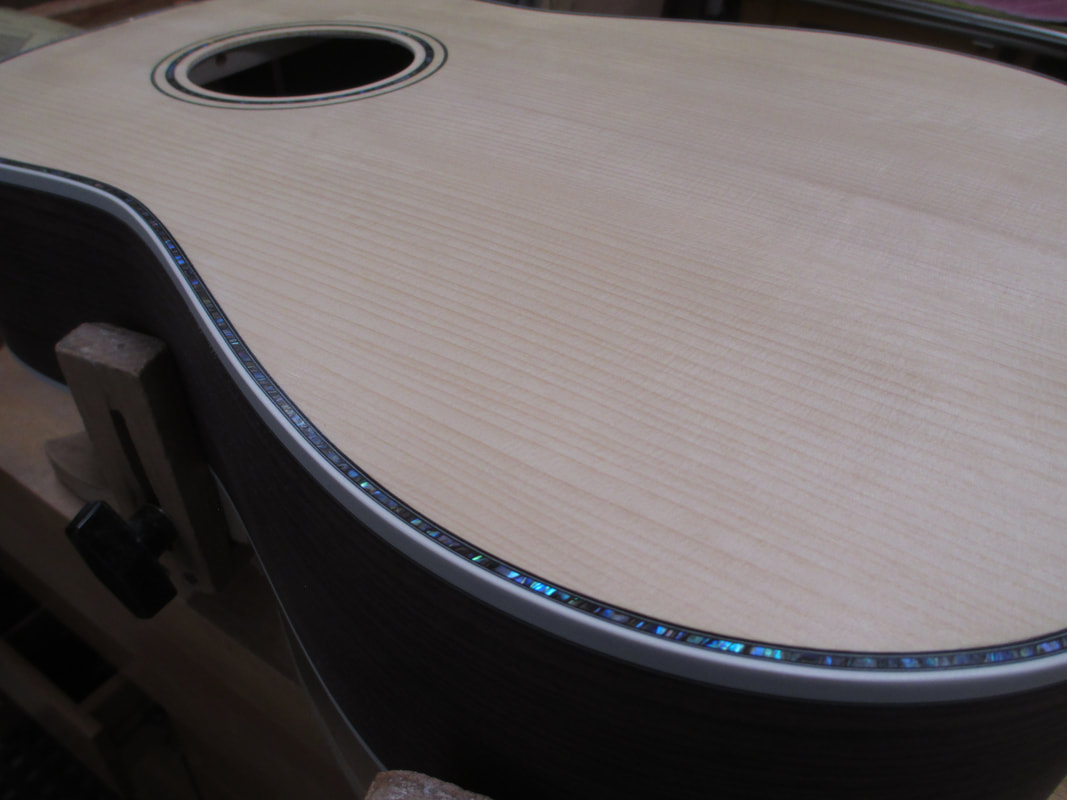
Sound board rosette: black/white/black outer ring and Pau blue abalone inner ring
Sound board bracing
Top braced and braces shaped
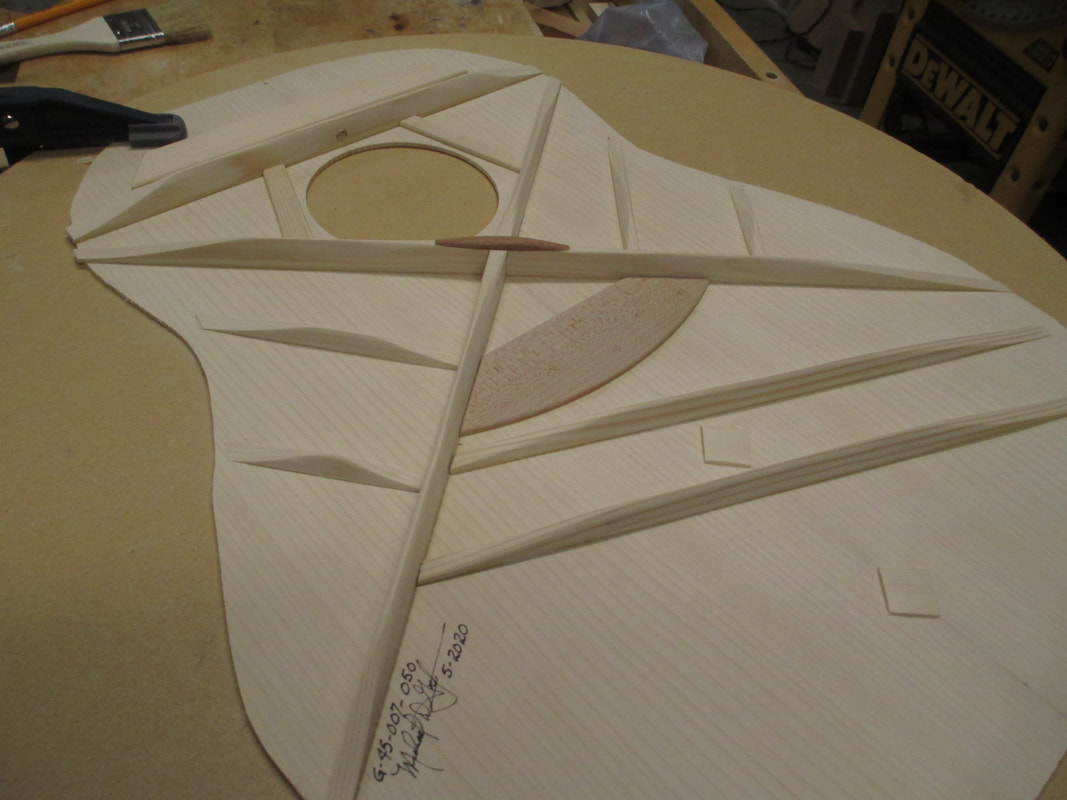
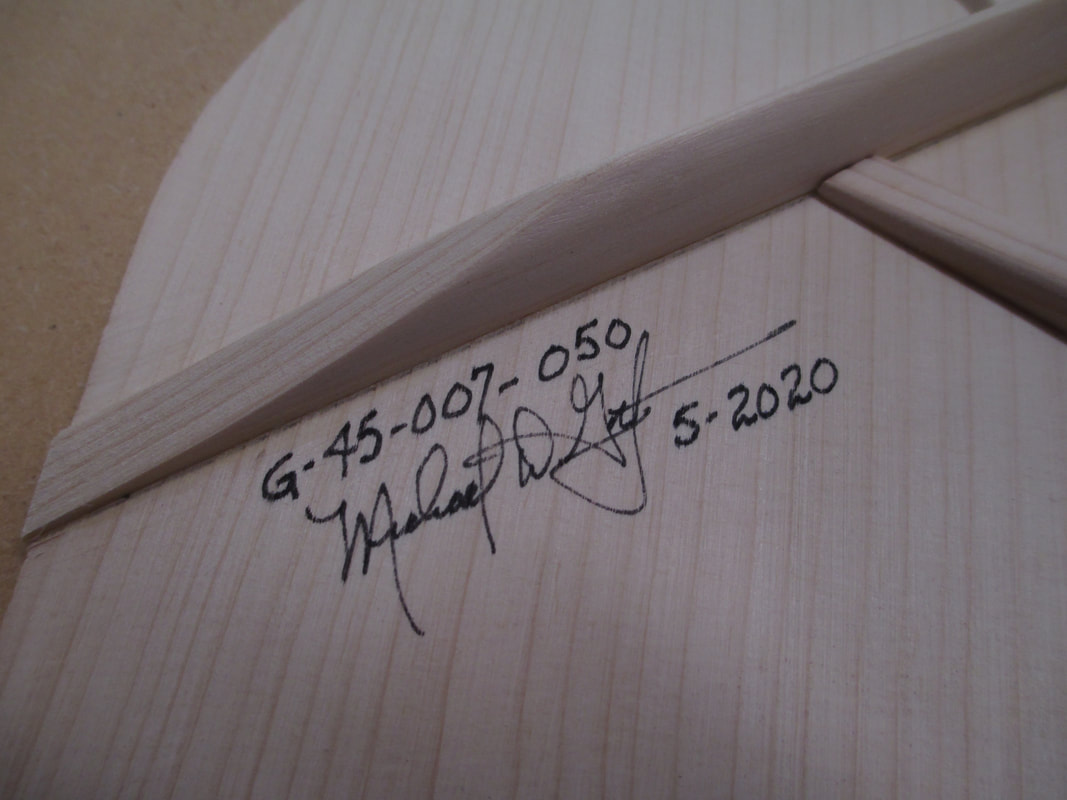
And signed
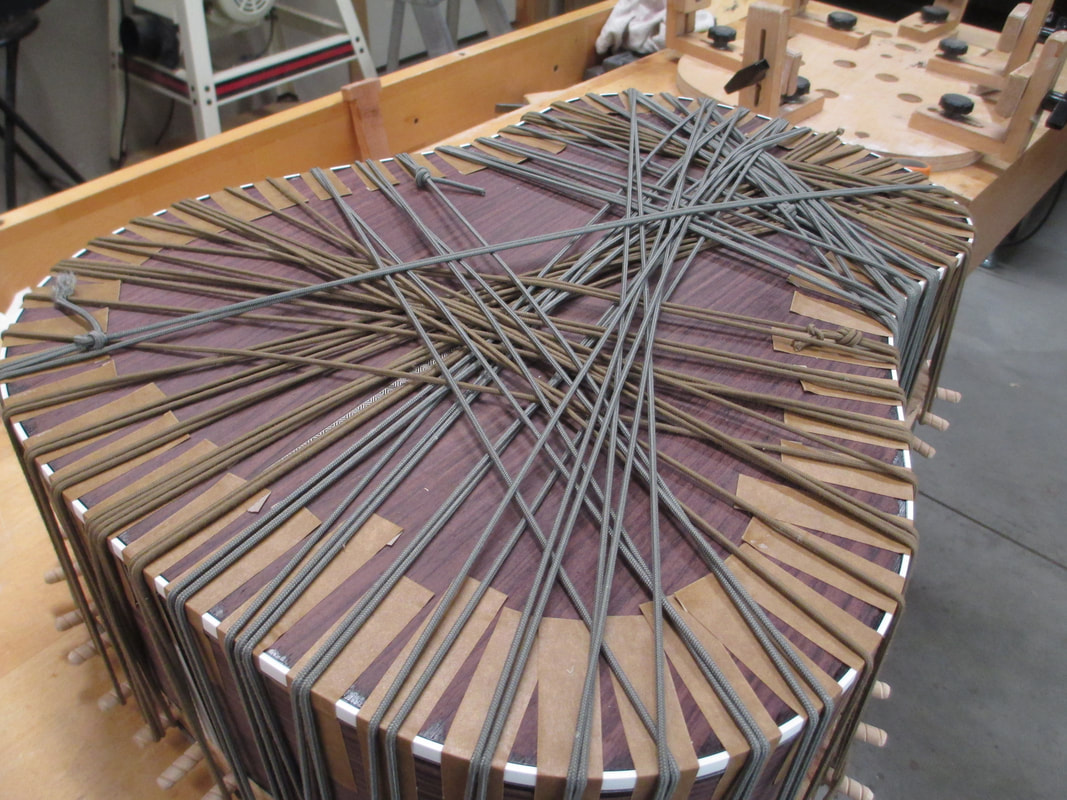
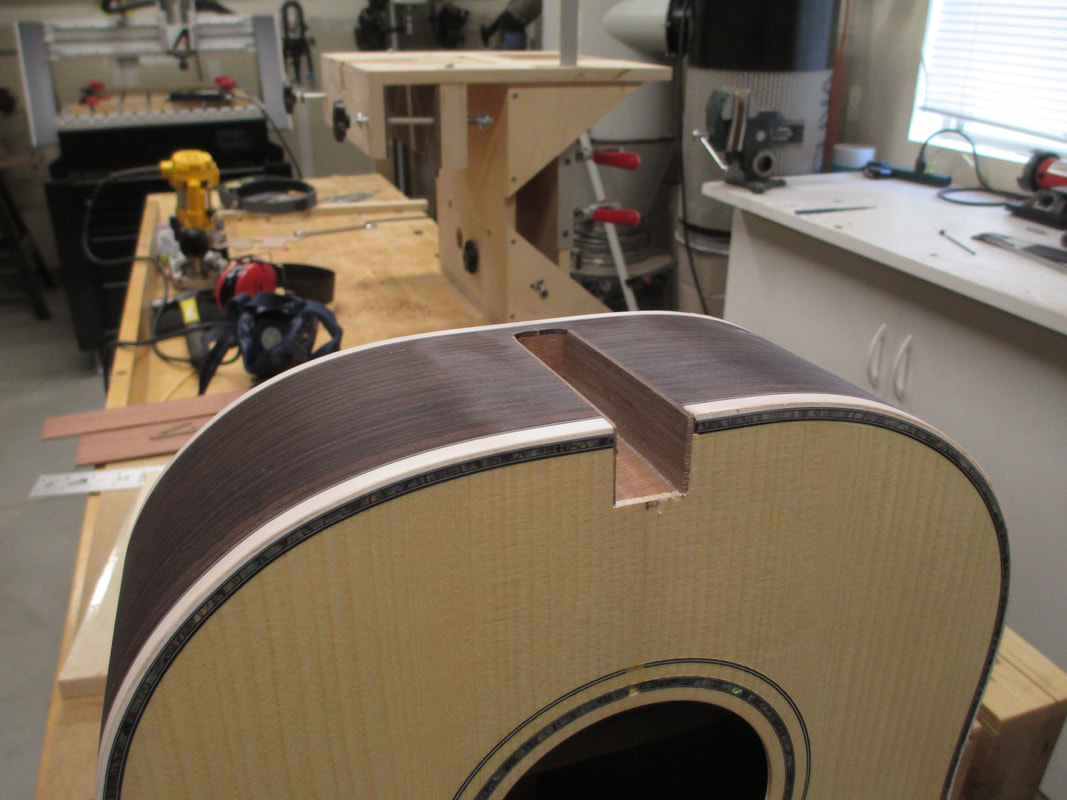
Top mated with sides & back

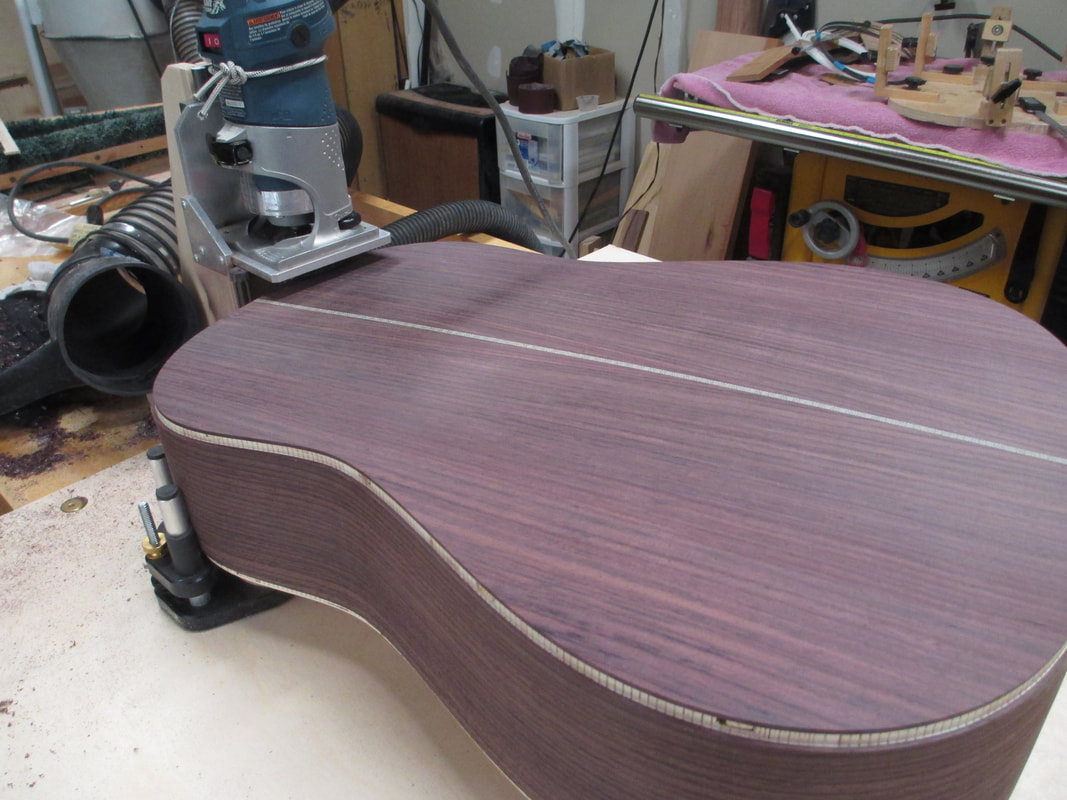
Routing binding and purfling ledges
Super gluing and mitering purfling to binding ledges and tail graft cut out.

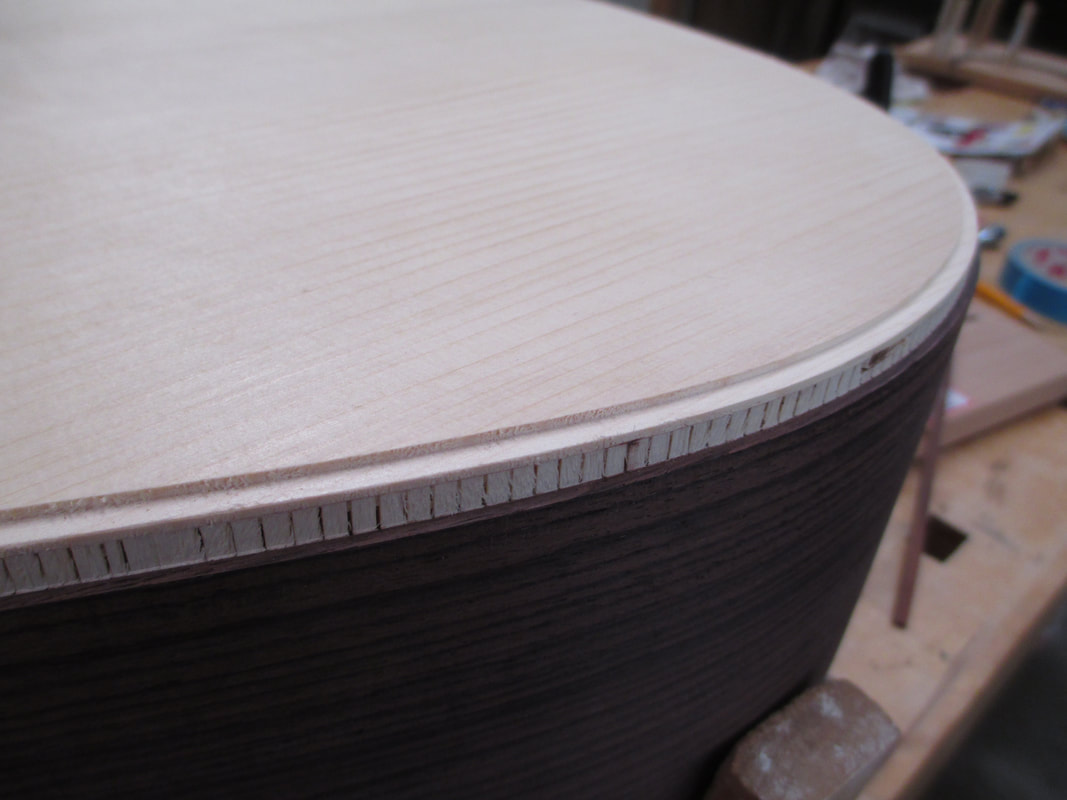
Binding installation
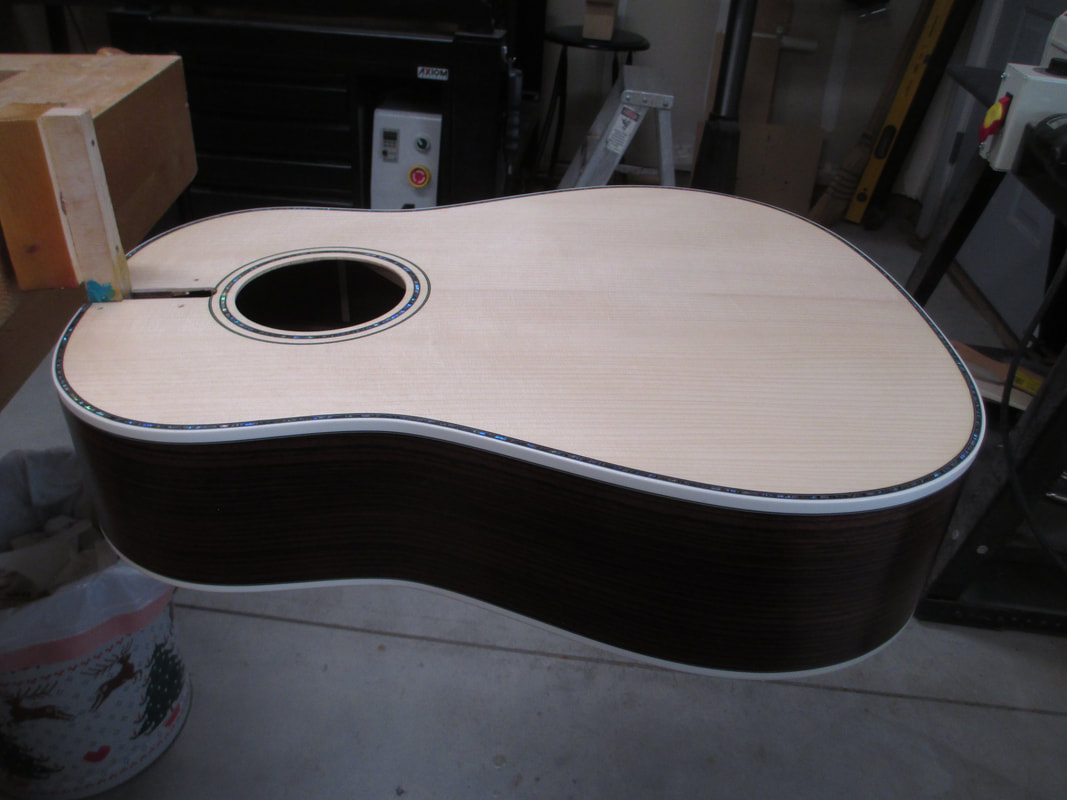
Sound board binding, abalone inlay and purfling flush sanded.
The next step is to apply 3 coats of sanding sealer to all surfaces and sand between coats. Then 6 coats of clear wood pore filler to smooth out the surface of back and sides (sanding between coats). This will prepare surface for finish sometime after initial neck fit.
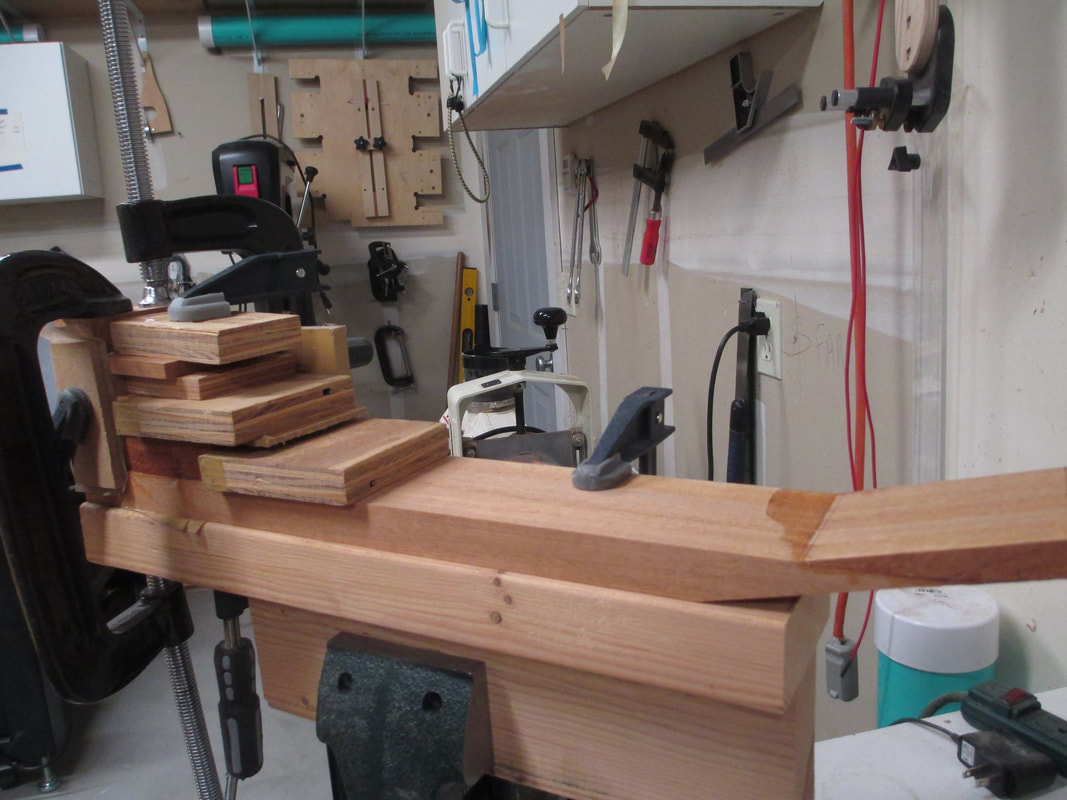
Neck blank Glue up
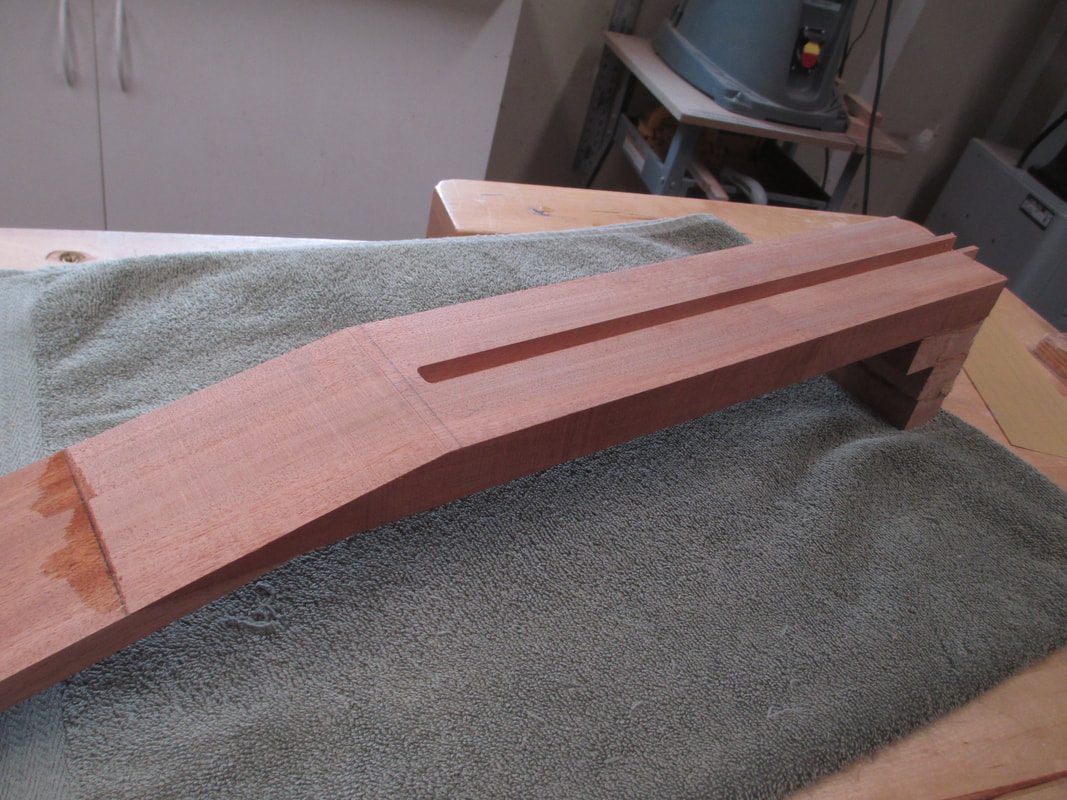
Neck truss rod slot cut
Neck tenon
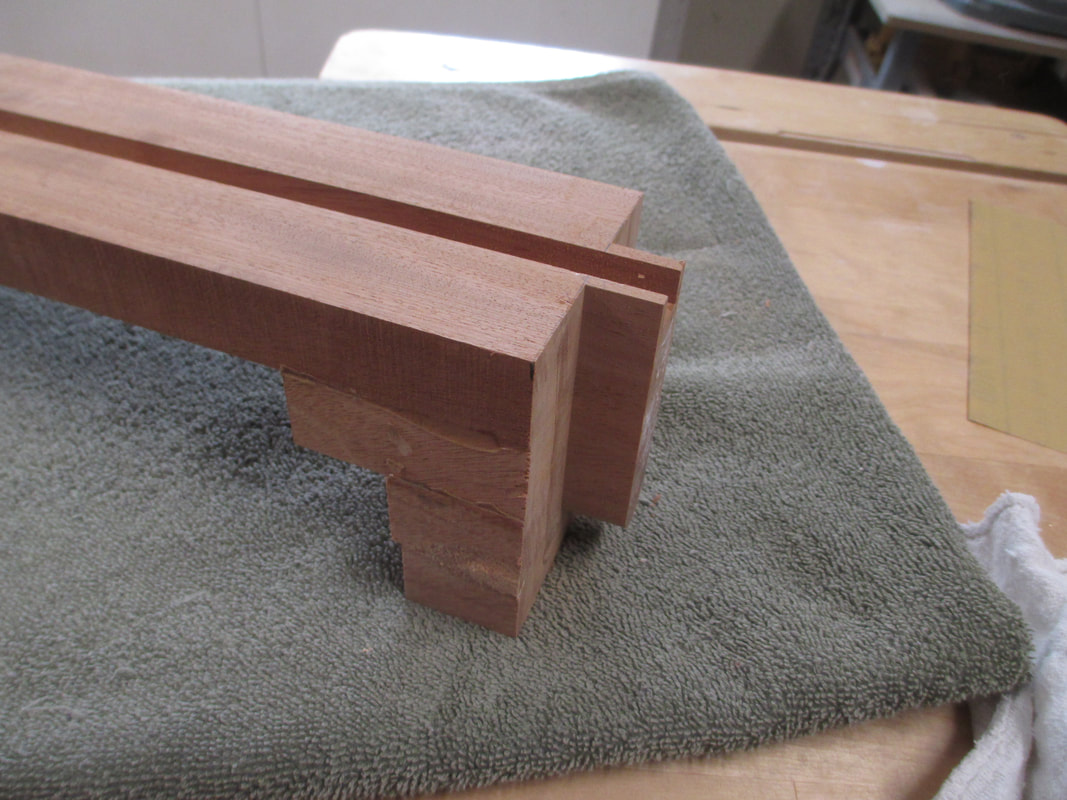
Neck mortise
Slide show of peg head veneer prep
I built a peg head binding jig. A heat gun is used to soften the white plastic as I form it to the jig.
Peg head veneer ready to install on neck
Initial roughing of neck
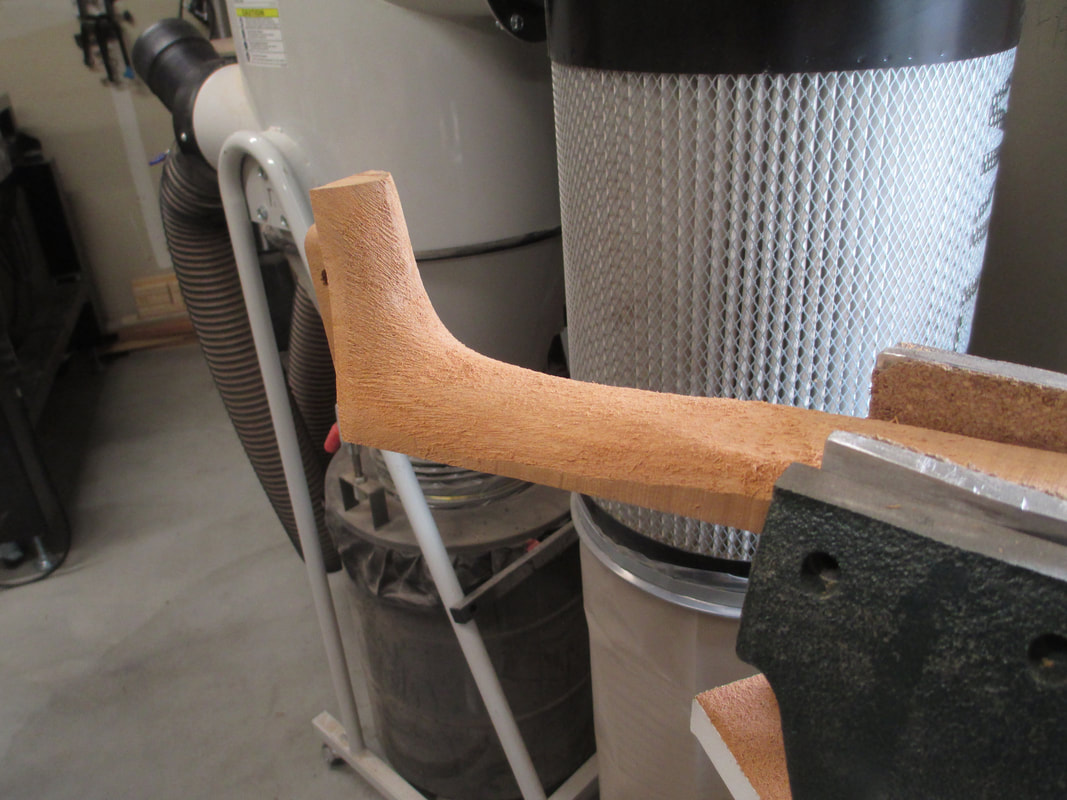
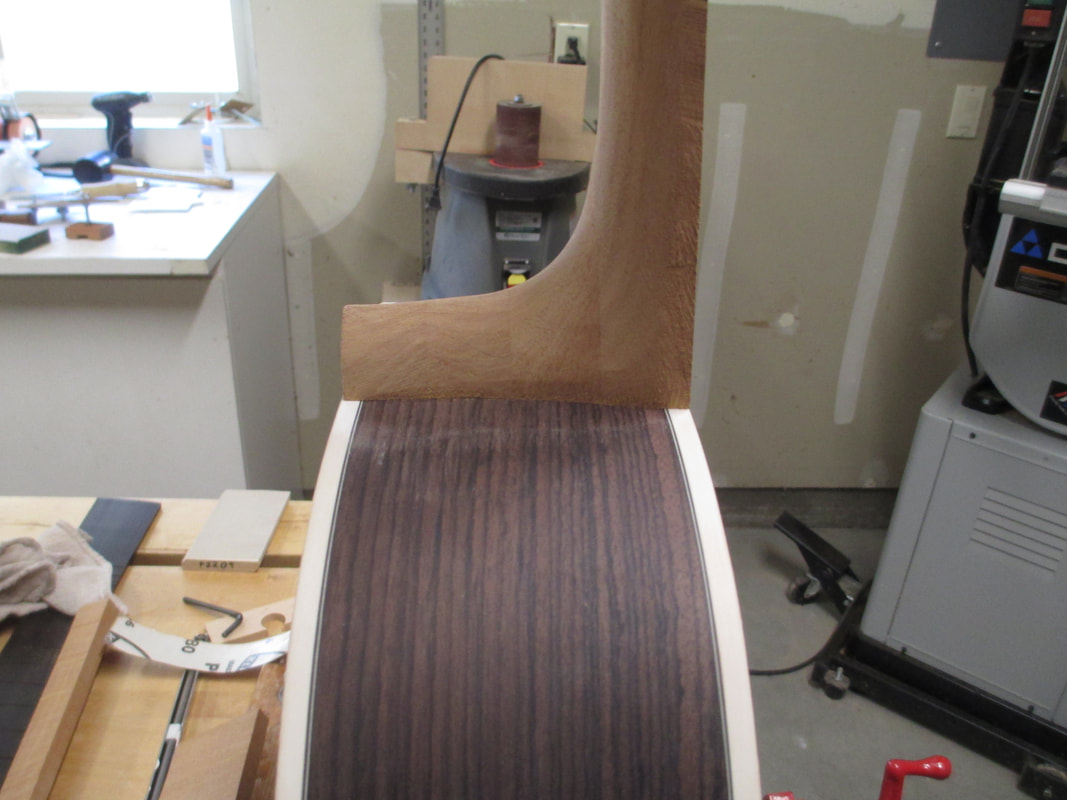
First neck fit to body
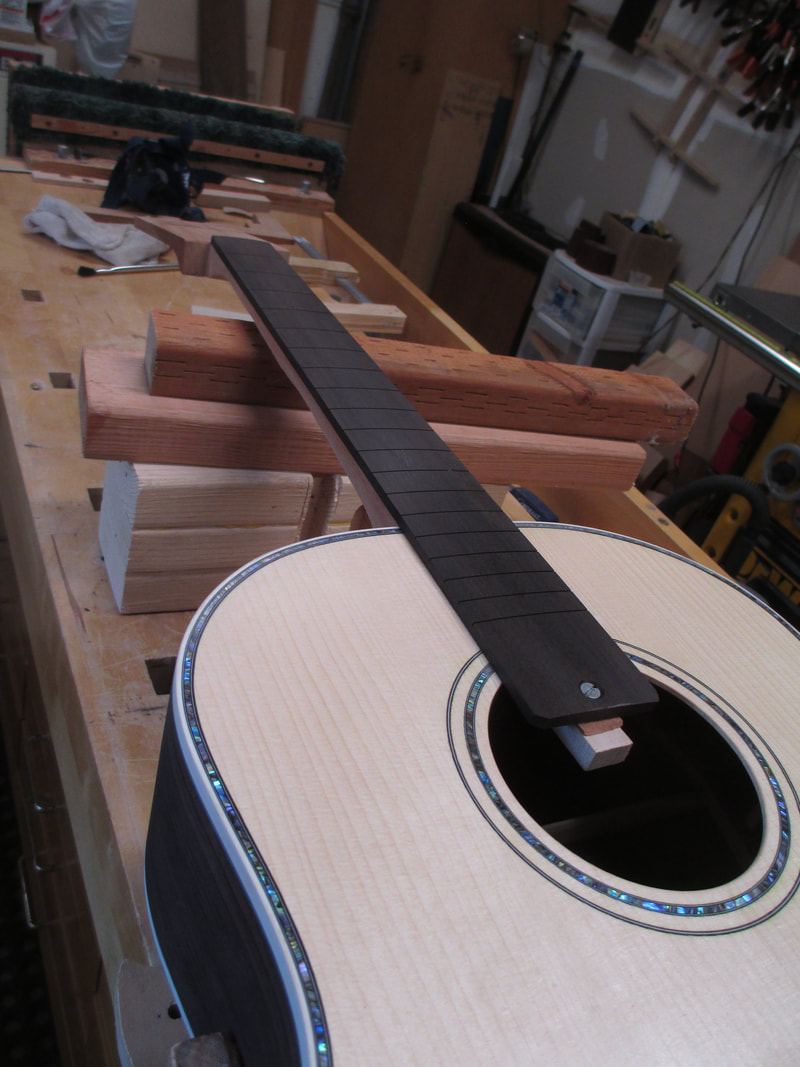
Fret board glued to neck
Neck with fret board fit to body. Fret board sanded to 16" radius and smoothed using 80, 120 220, 320 & 400 grit sand paper.
Peg head veneer ready to be glued to neck
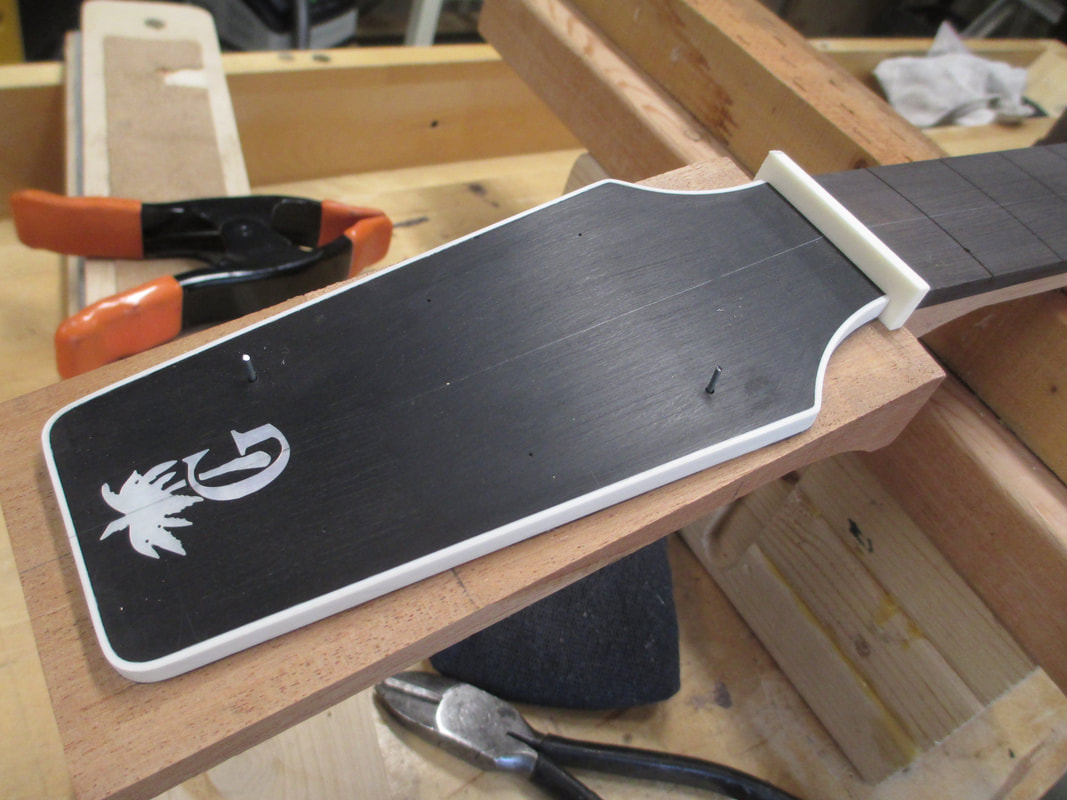
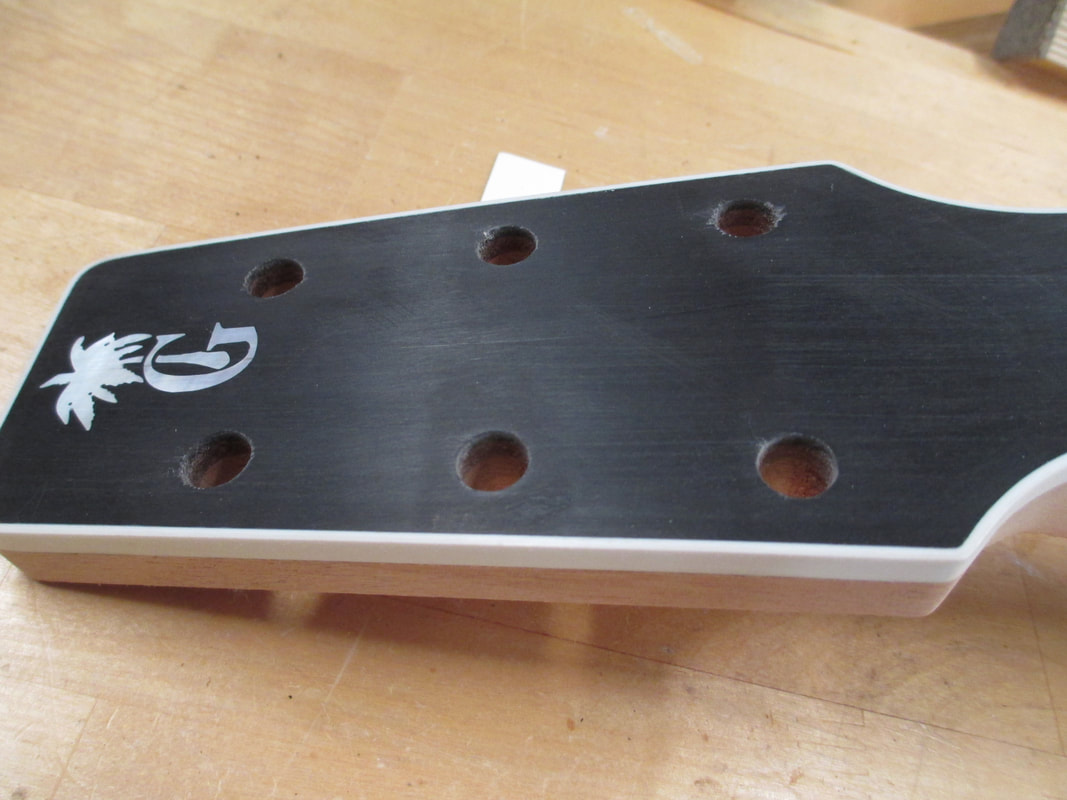
Neck peg head shaped and sanded to veneer. Tuner holes drilled
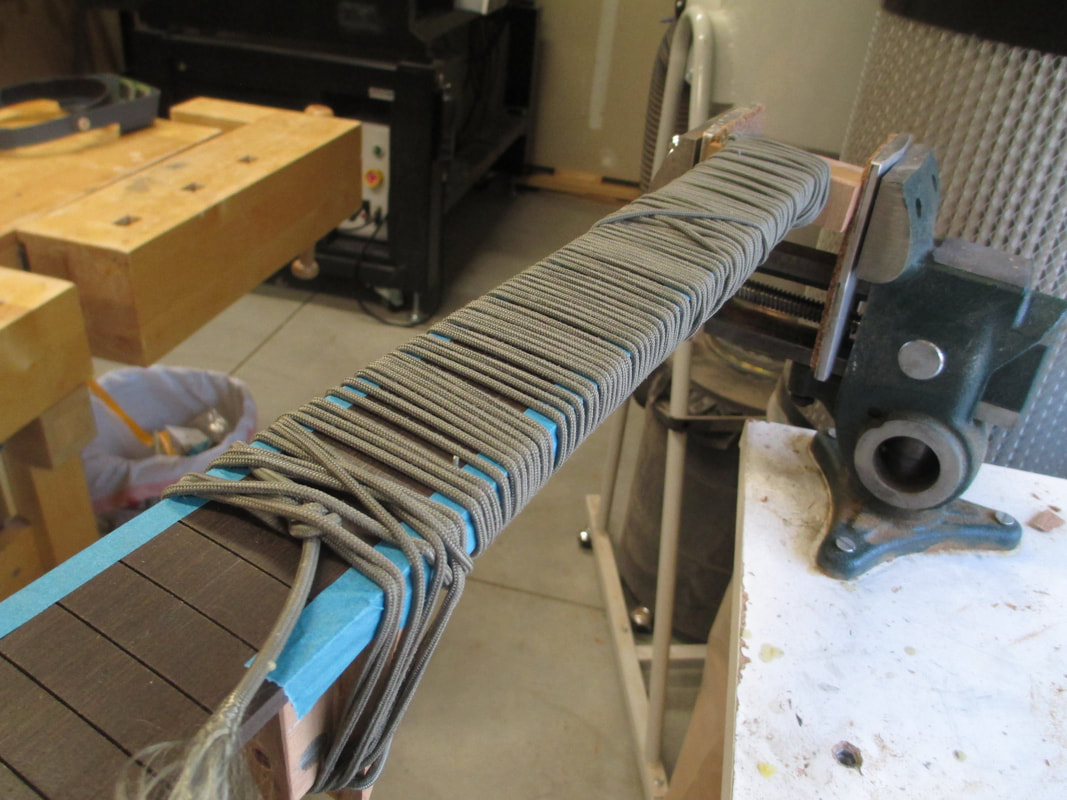
Shaping neck

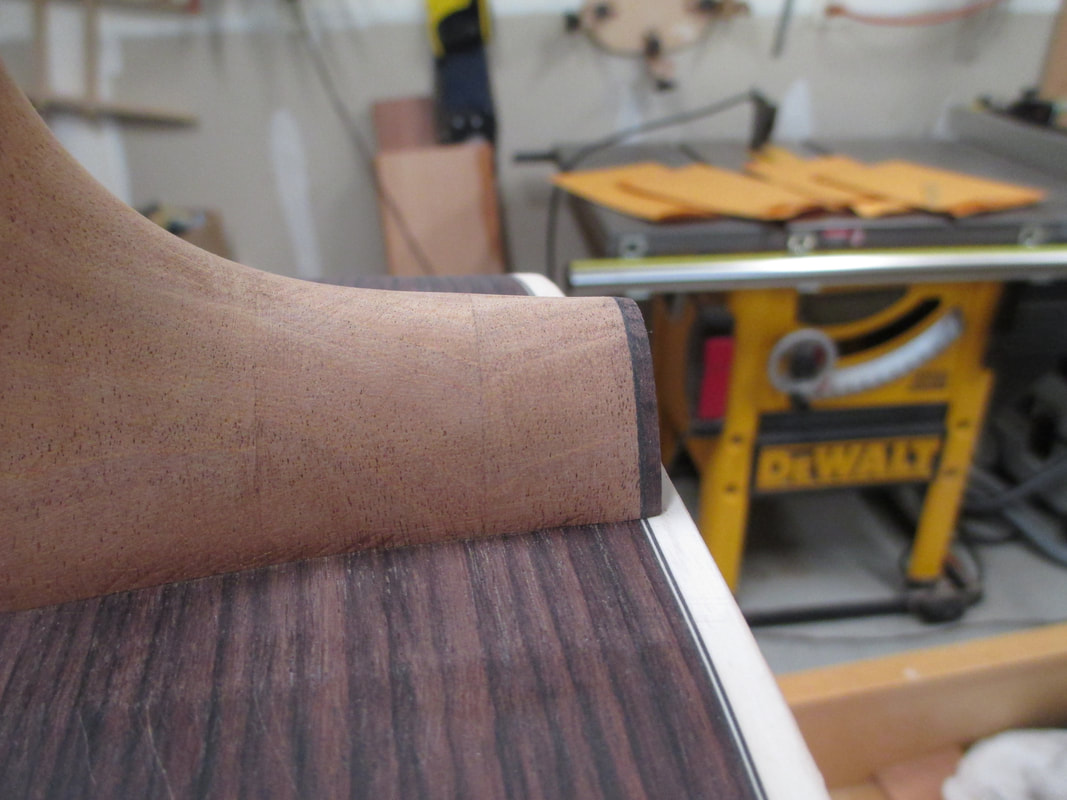
Cutting heel flush for heel cap

Heel cap glued
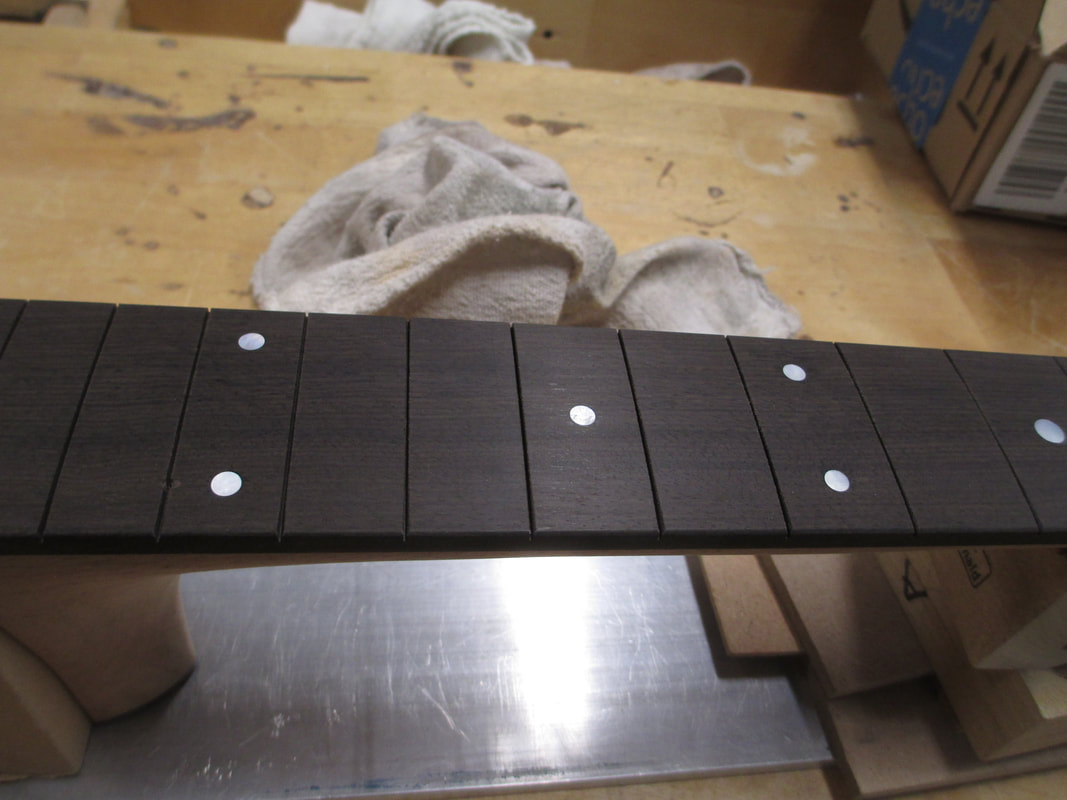
Fret board Mother-of-Pearl position dots installed
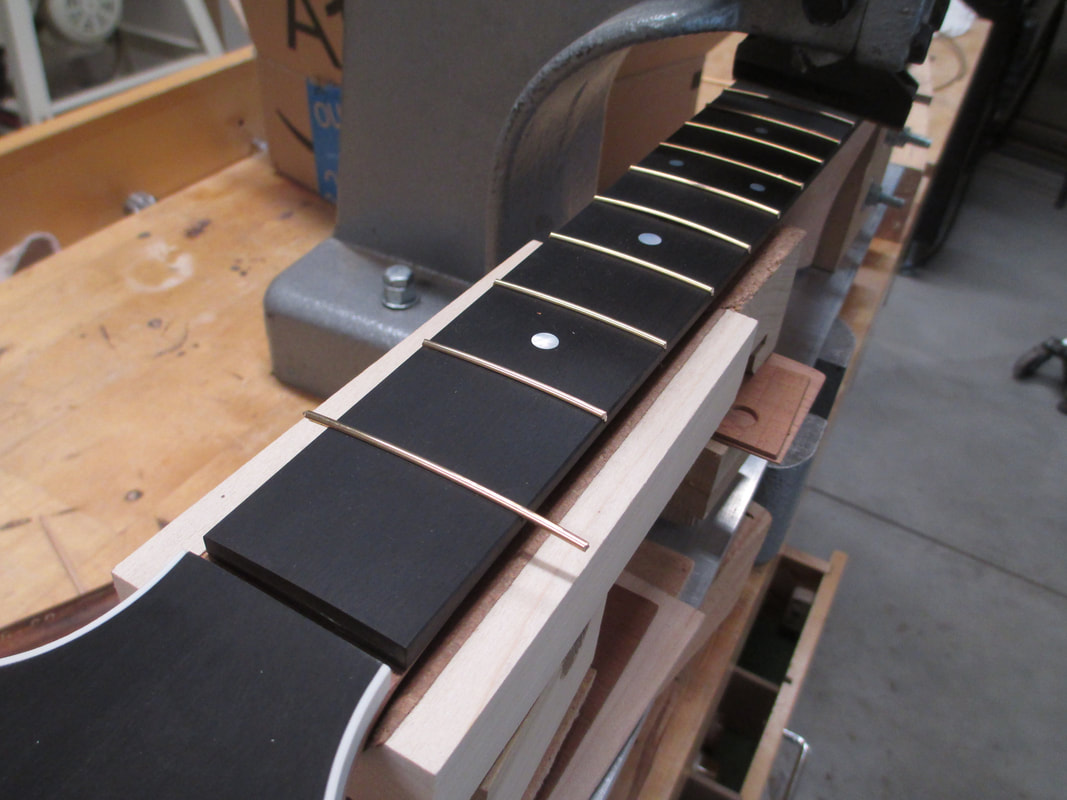
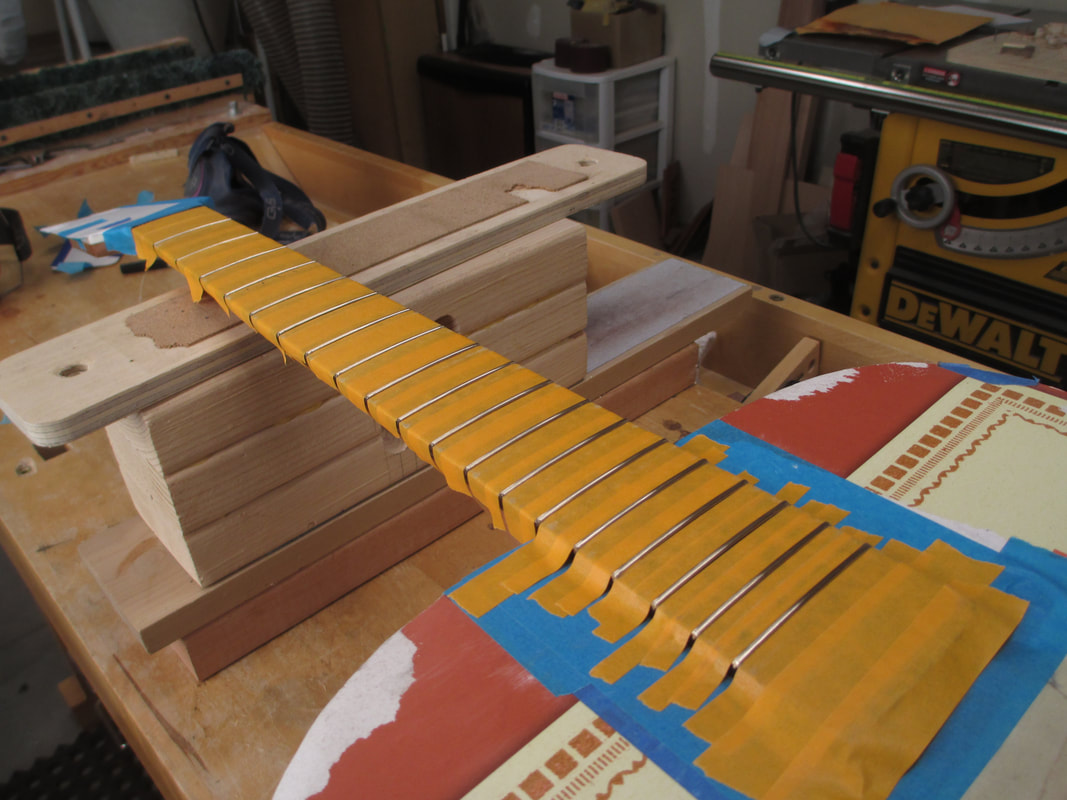
Pressing frets
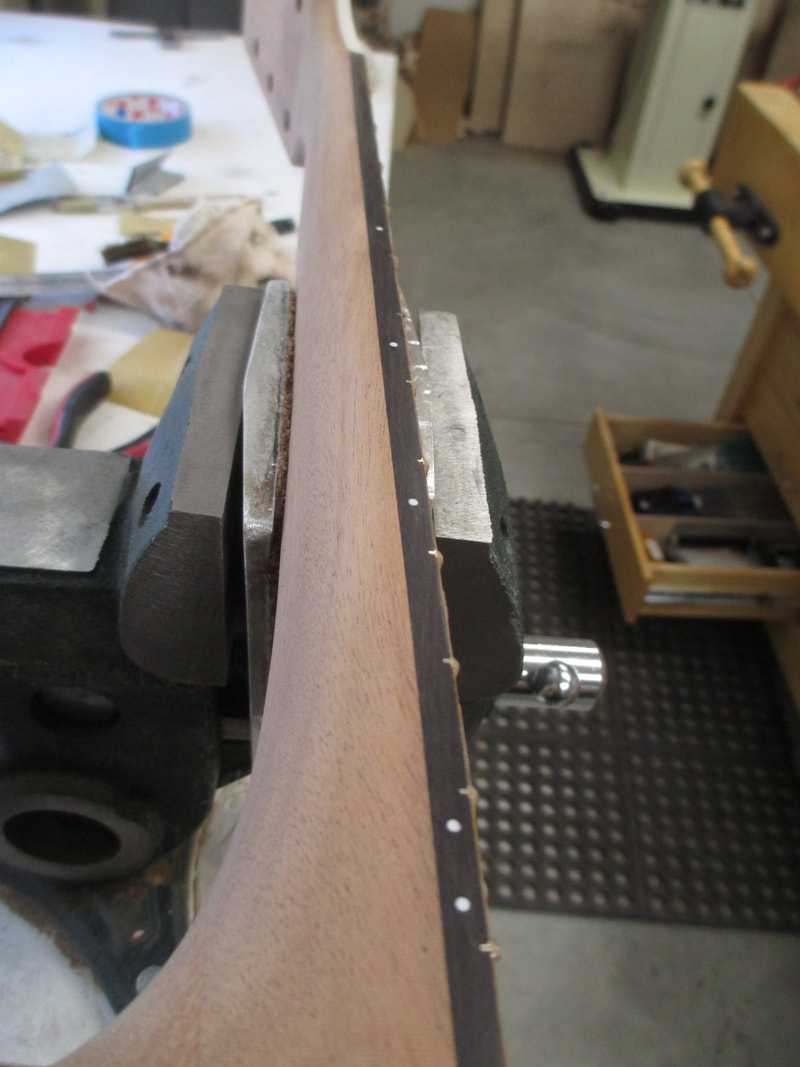
Fret board side markers
Applying a water based finish
After finish is sanded and buffed, neck is attached to body

Rough bridge blank is shaped to sound board radius
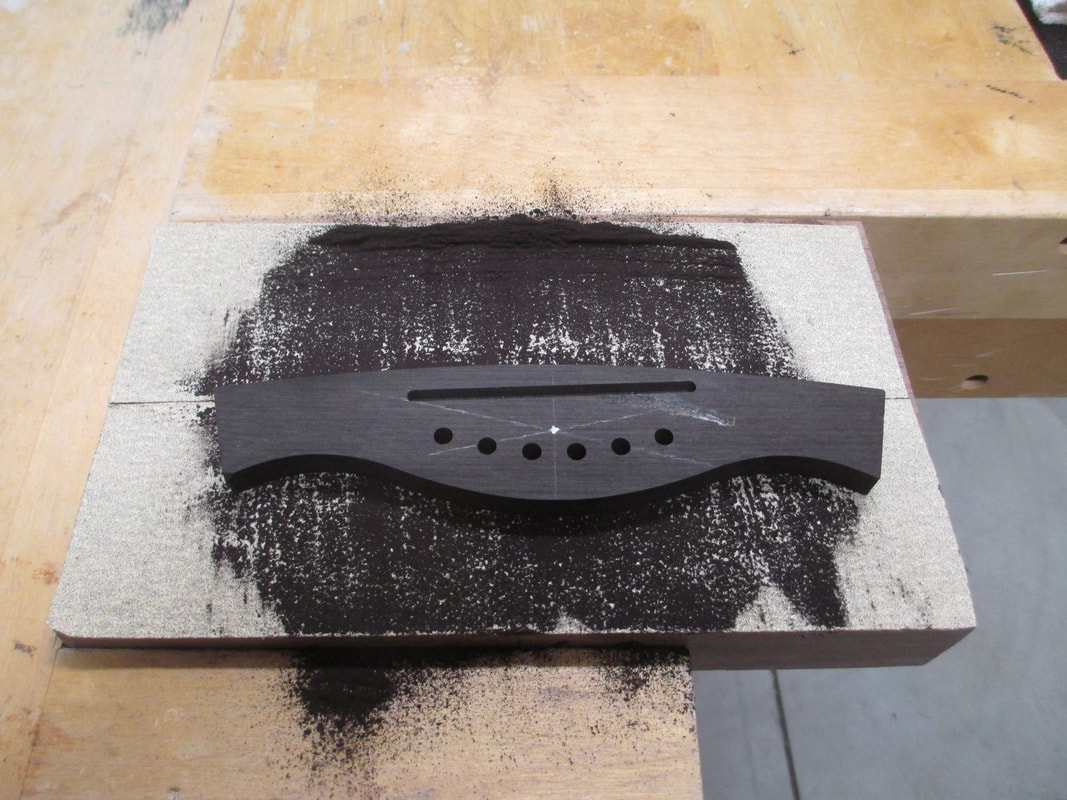
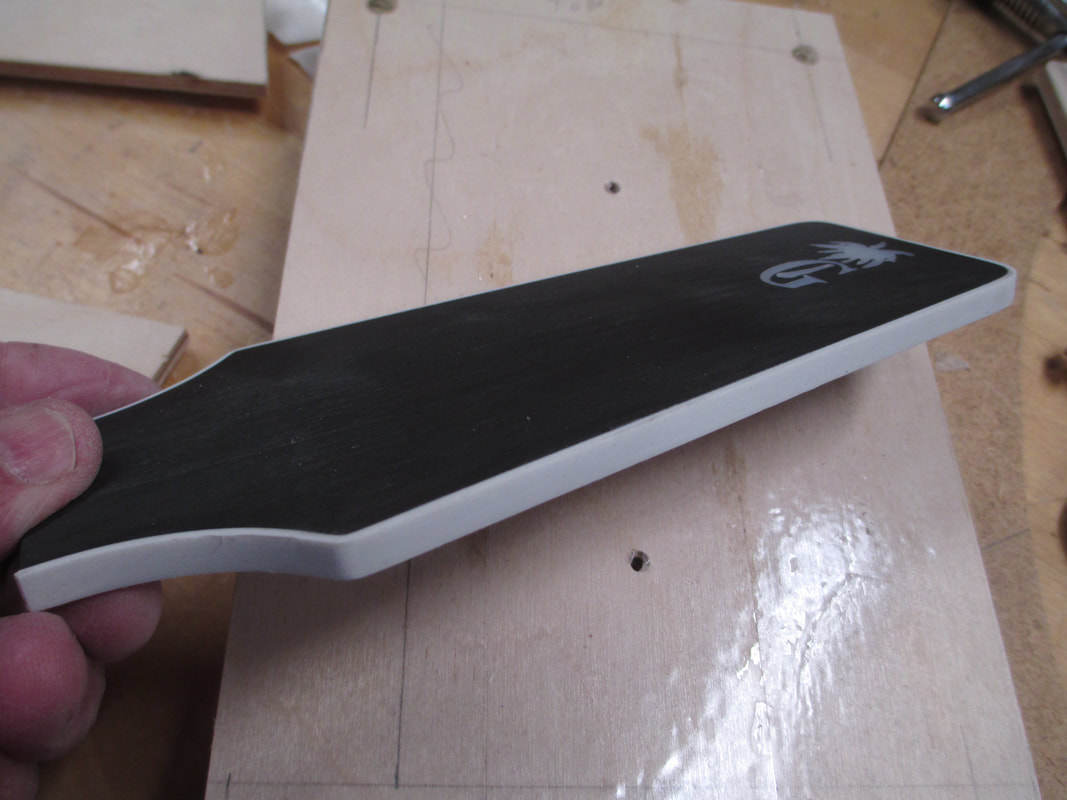
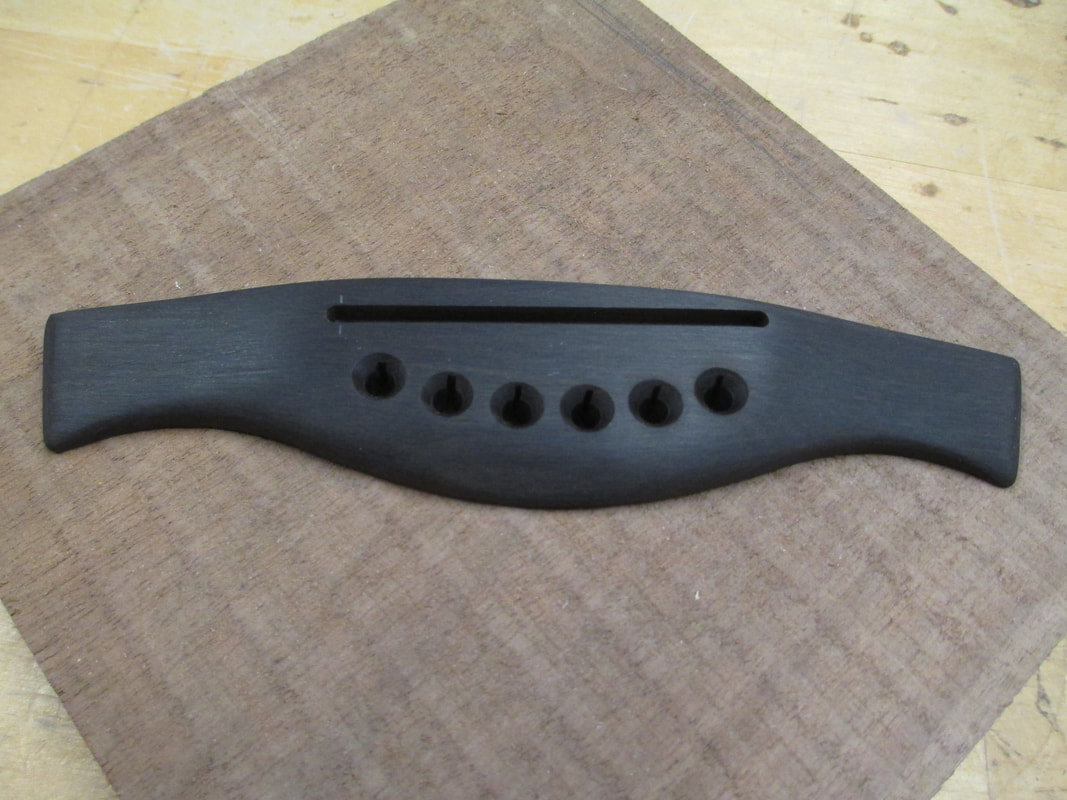
Bridge is hand shaped to finished specs
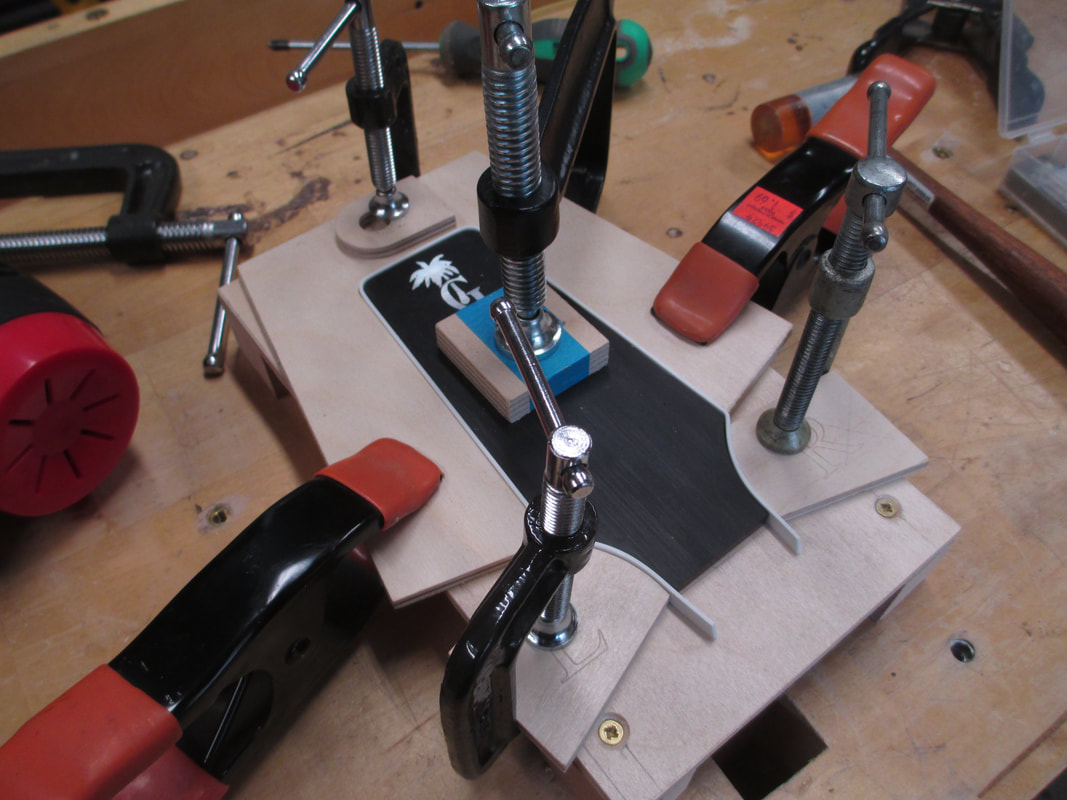
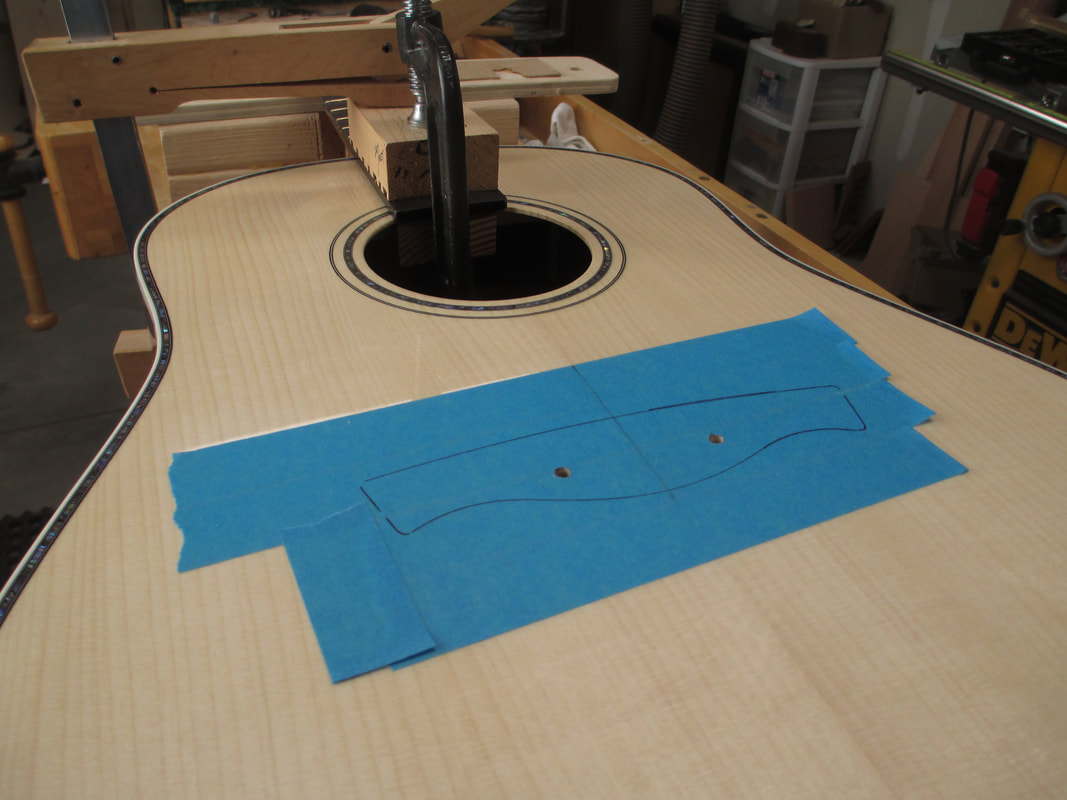
Bridge location determined
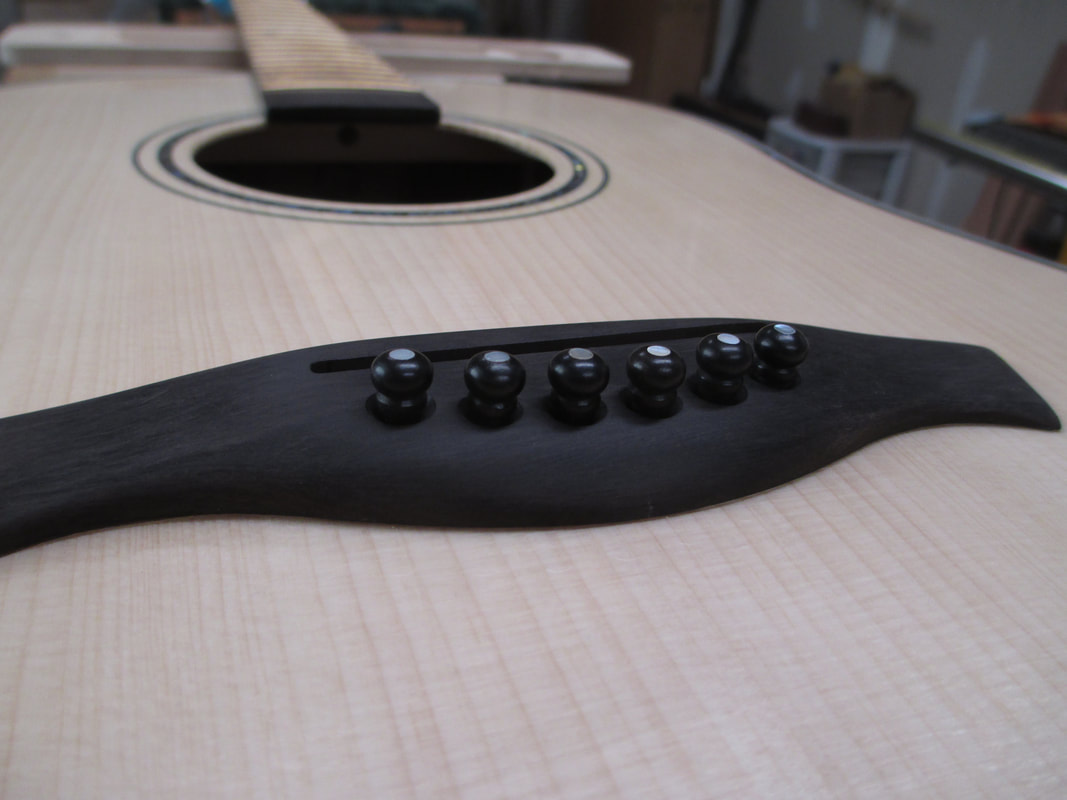
Bridge glued to sound board

Holes are reamed for bridge pins
Frets leveled, crowned and polished
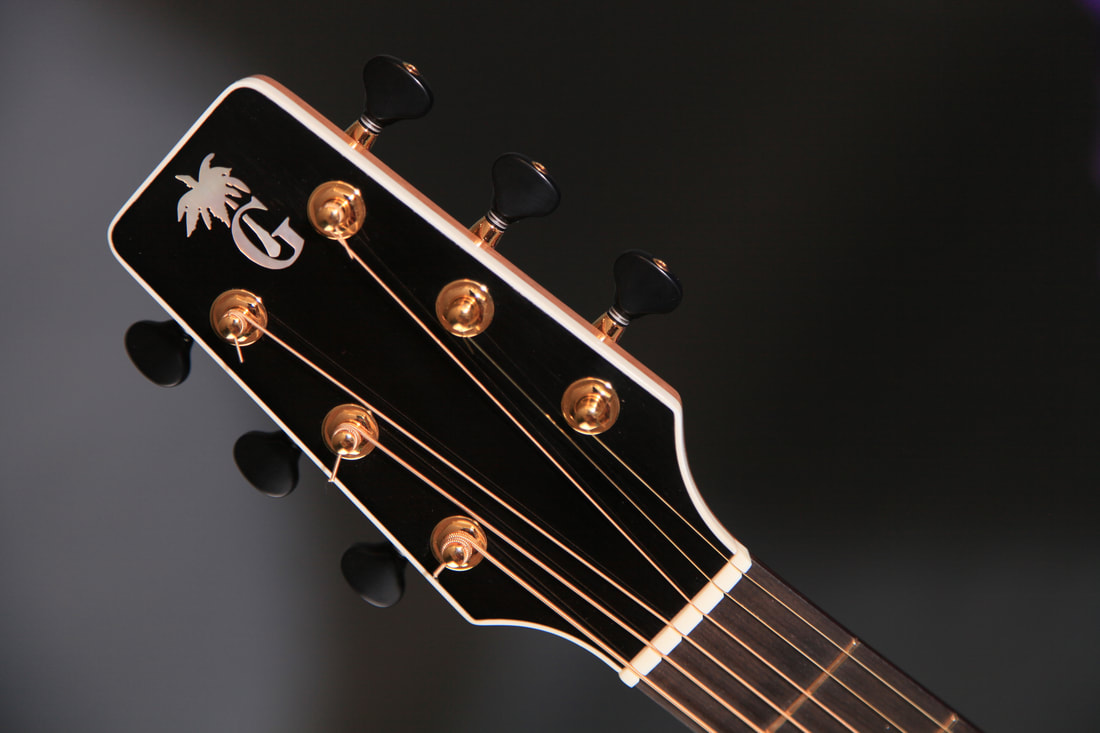
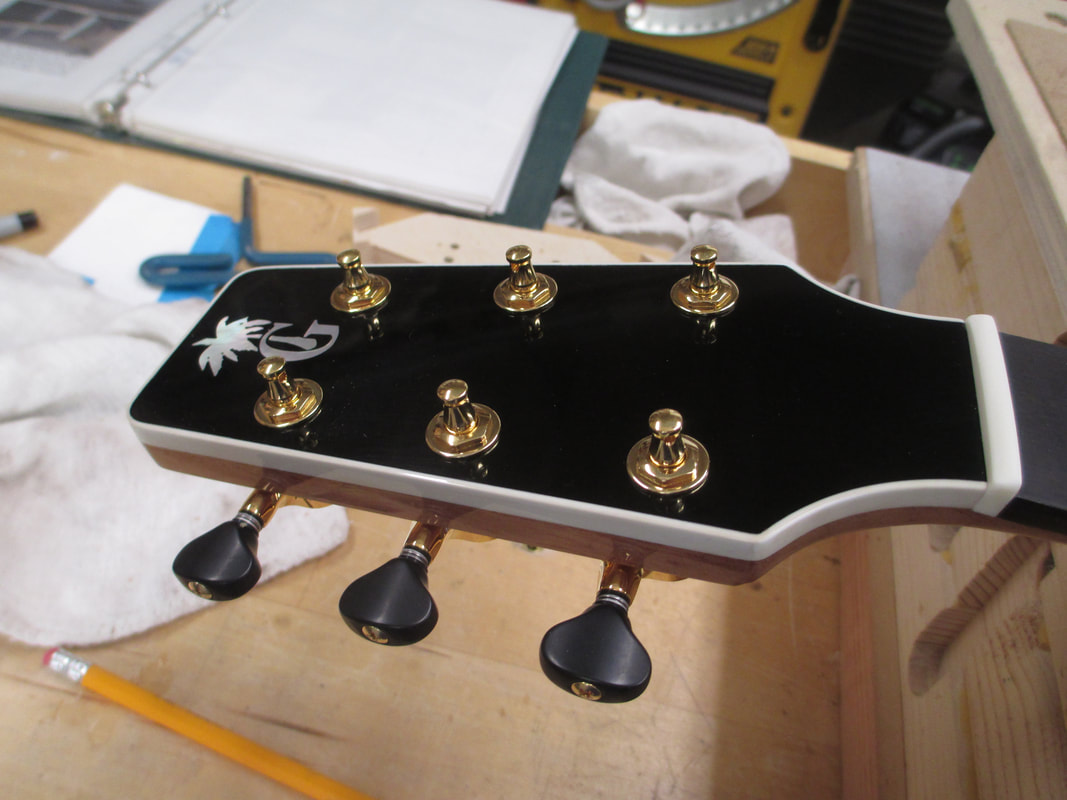
Gotoh 510 mini tuners with black buttons (my favorite) and initial nut fitting
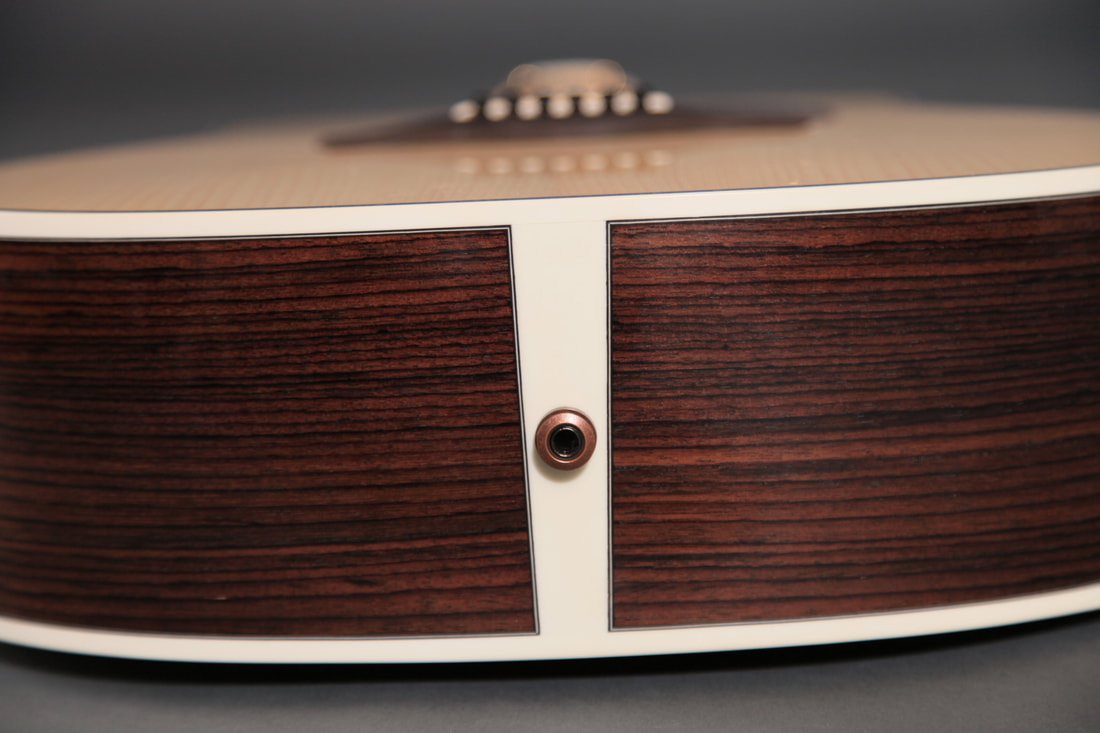
Finished pictures by Jeanne Giltzow