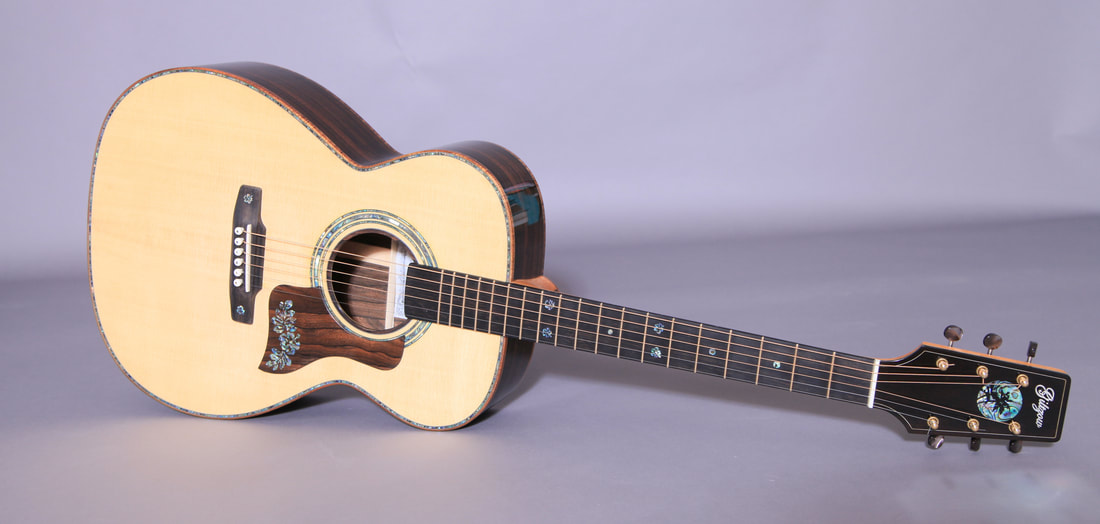
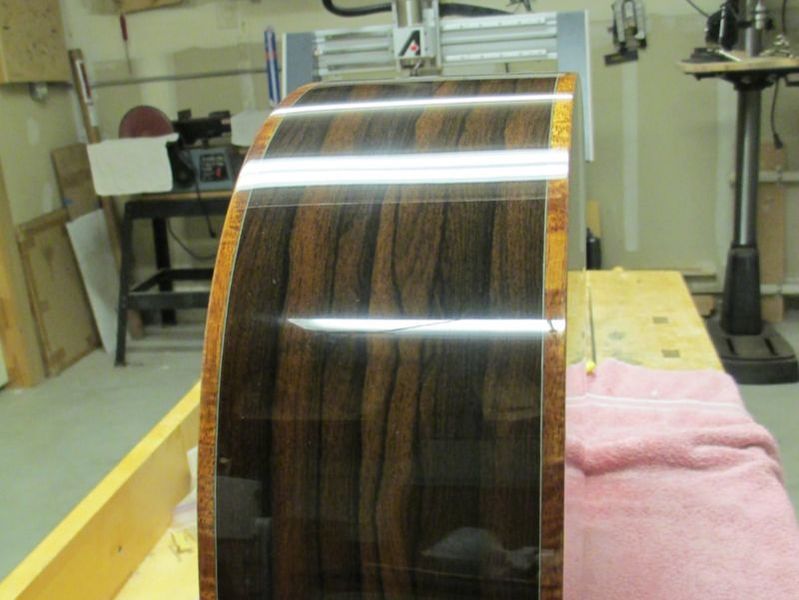
Ziricote JMG for RV in Seattle. On this Grand Concert sized guitar I will be using Ziricote for back and sides and a Lutz Spruce top. Special inlays and pick guard designed by the owner.
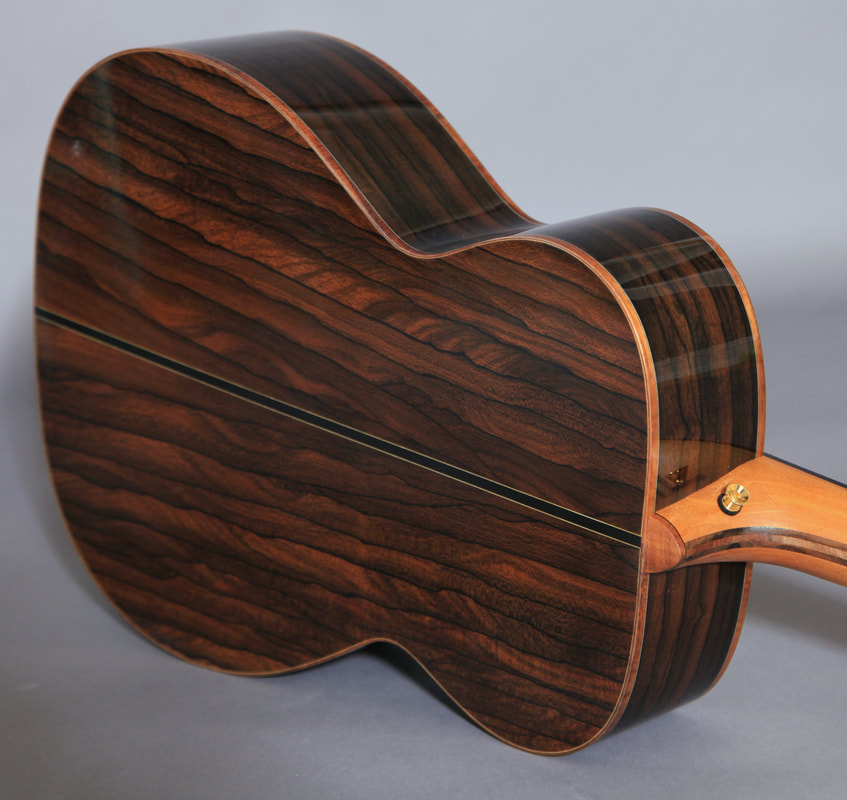
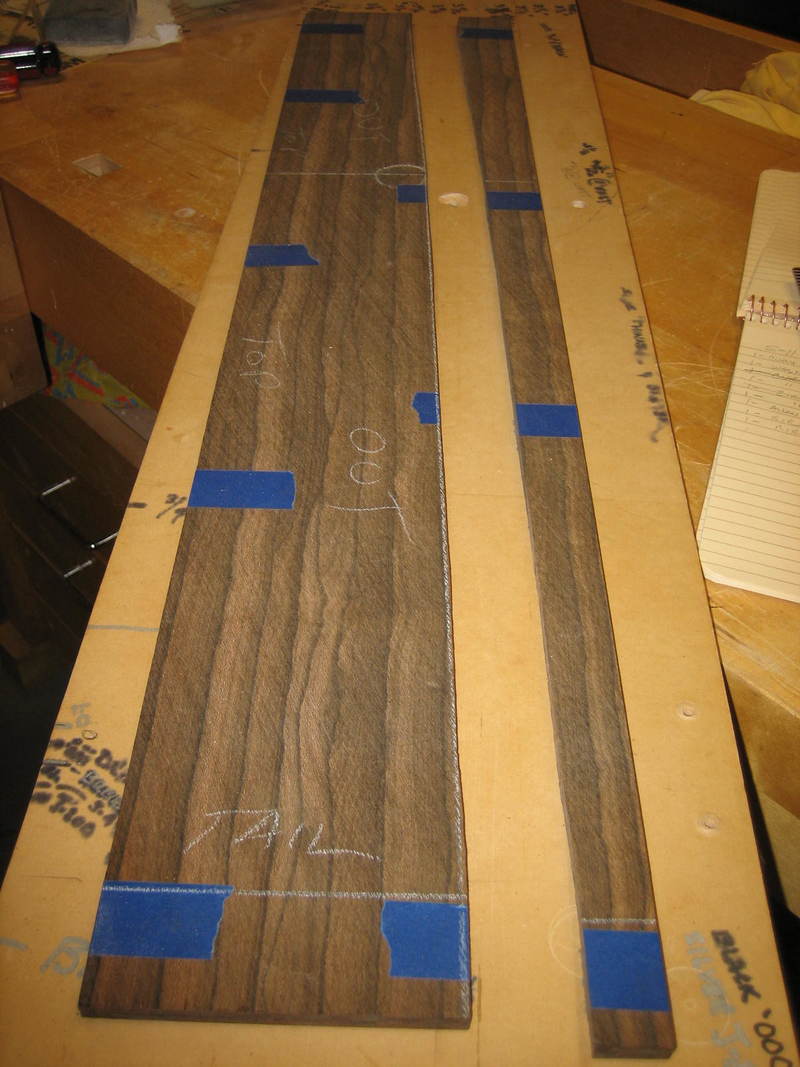
This is a superior set of Ziricote with landscape figure. Below I have marked the side profile and thinned the sides prior to bending.
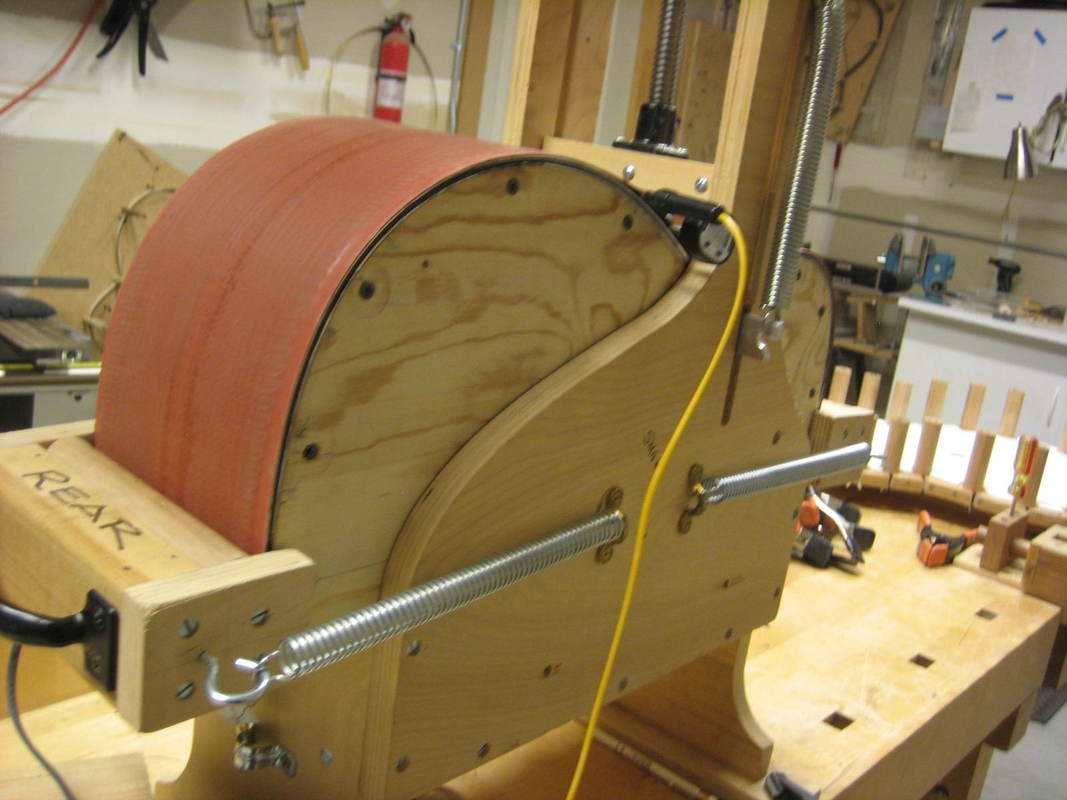
Bending the sides
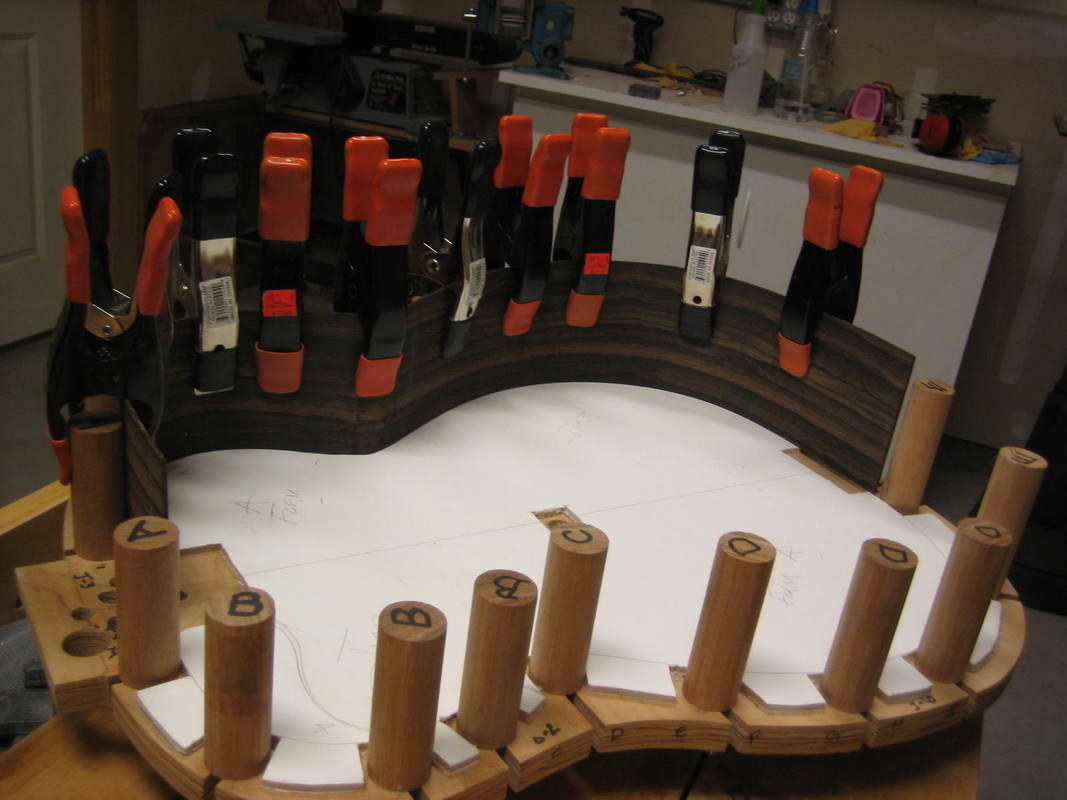
First side in the building form
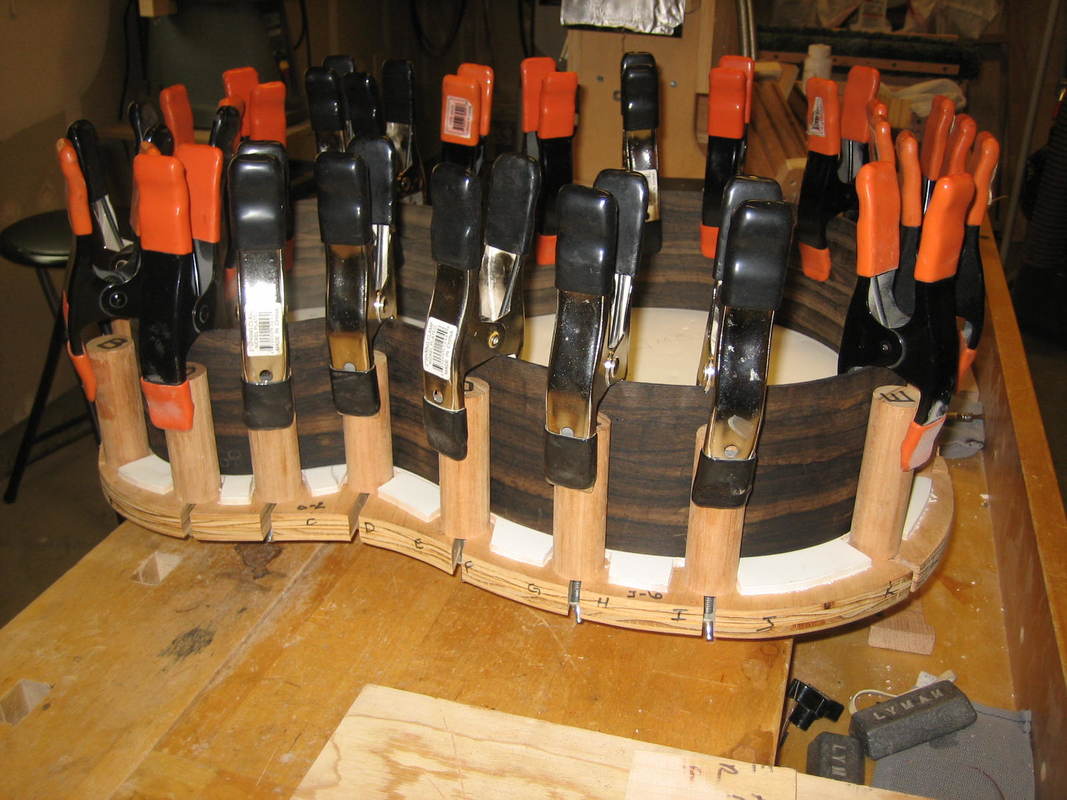
Both sides in form - ready for heel & tail block
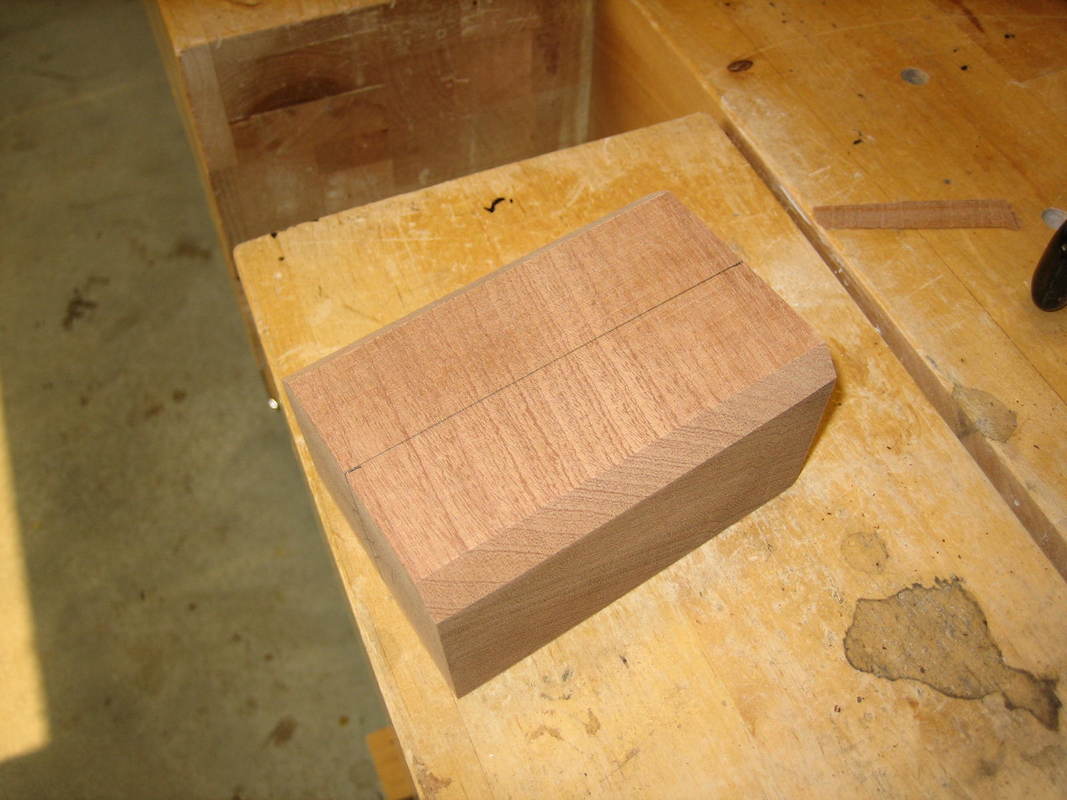
Making heel block of Mahogany
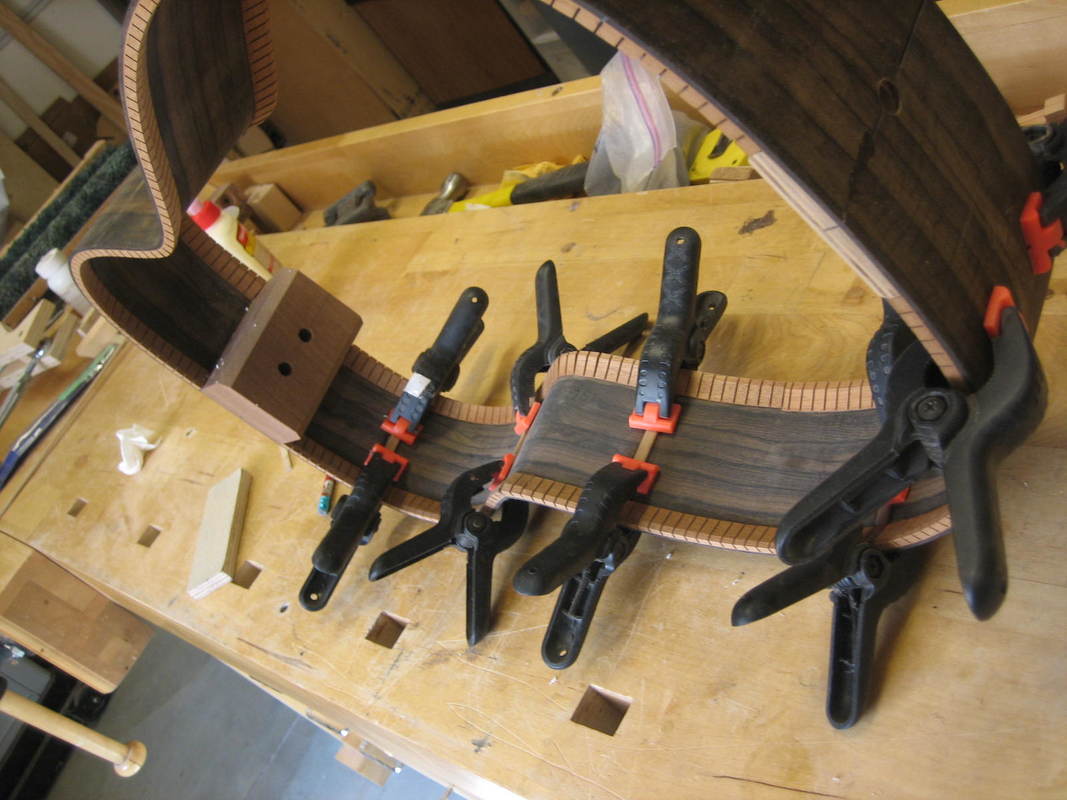
Heel block and tail block installed and kerfed linings glued in

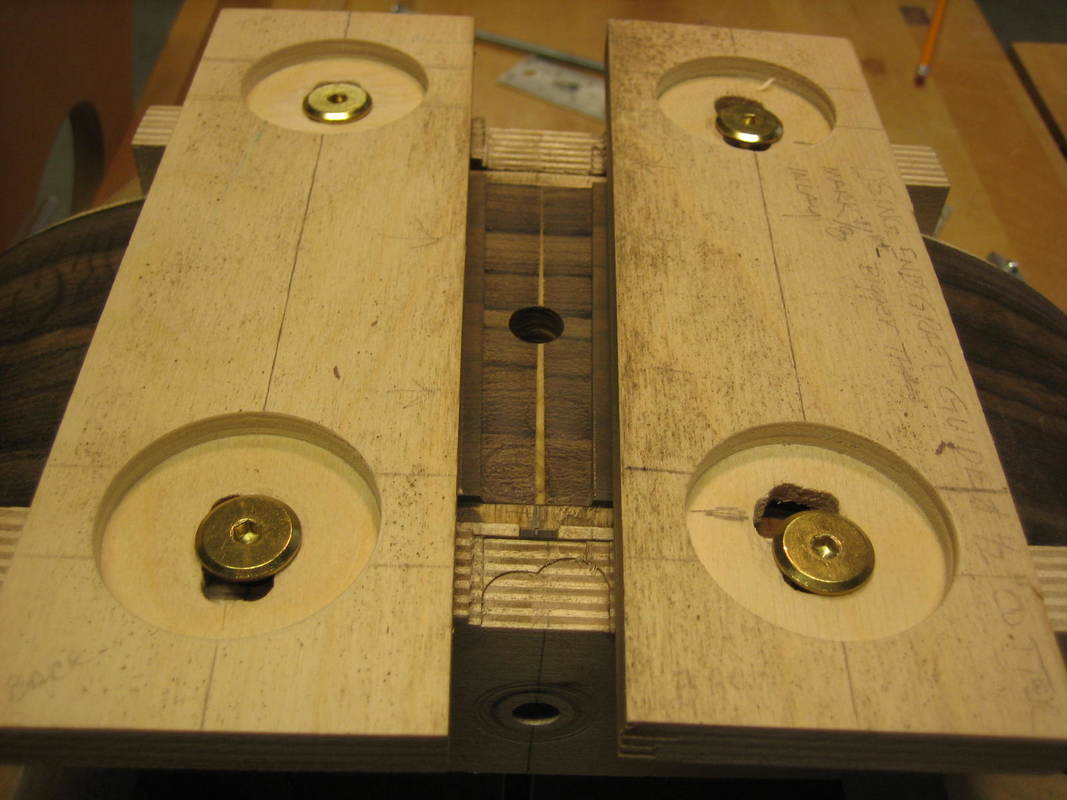
Side reinforcing
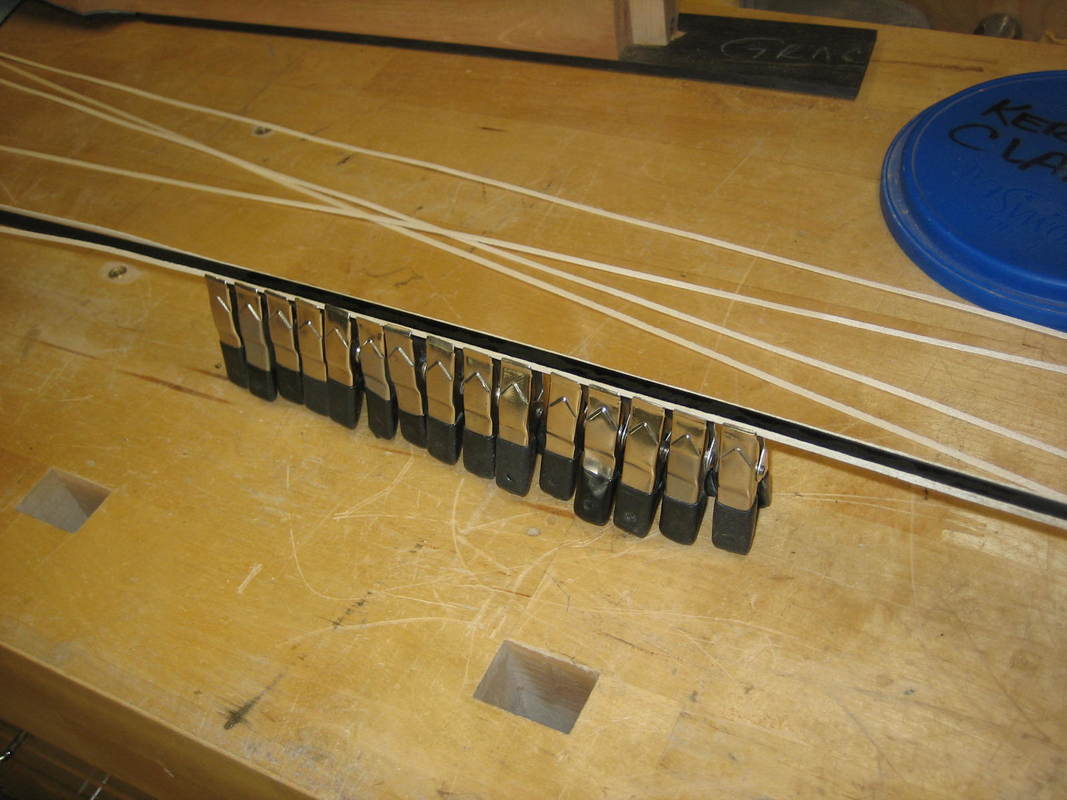
Making back strip of Ebony with Maple purfling
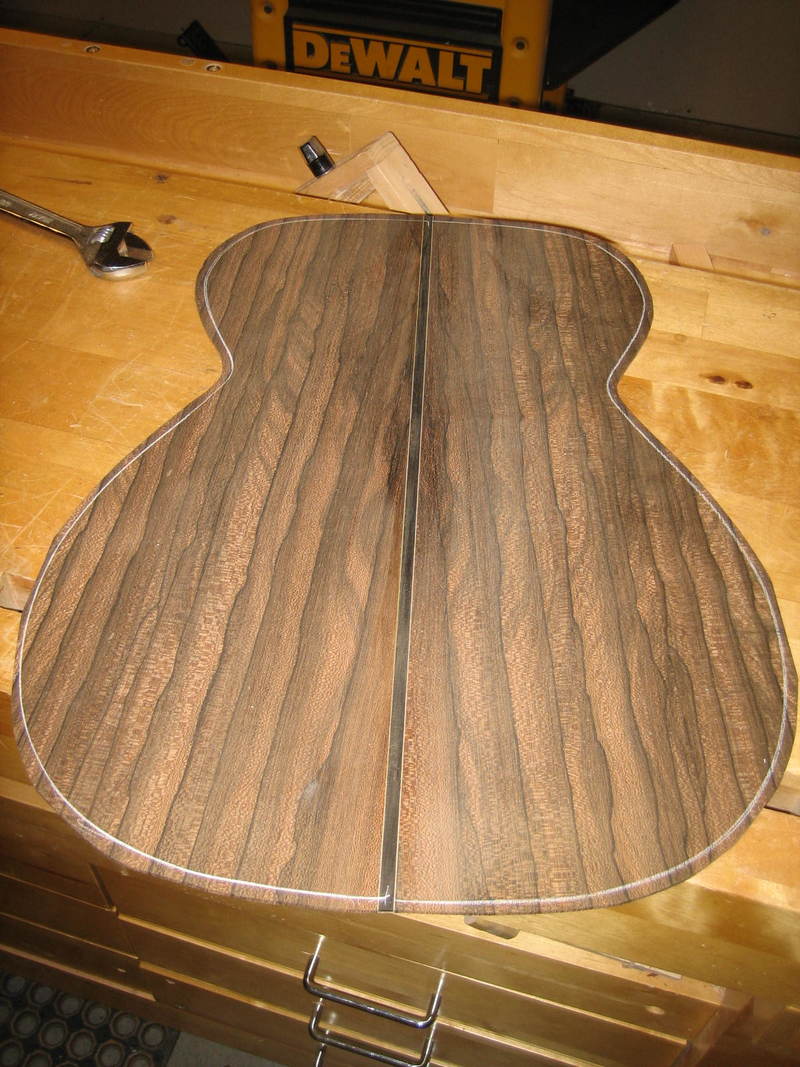
Joining back plates and back strip
Back ready to brace
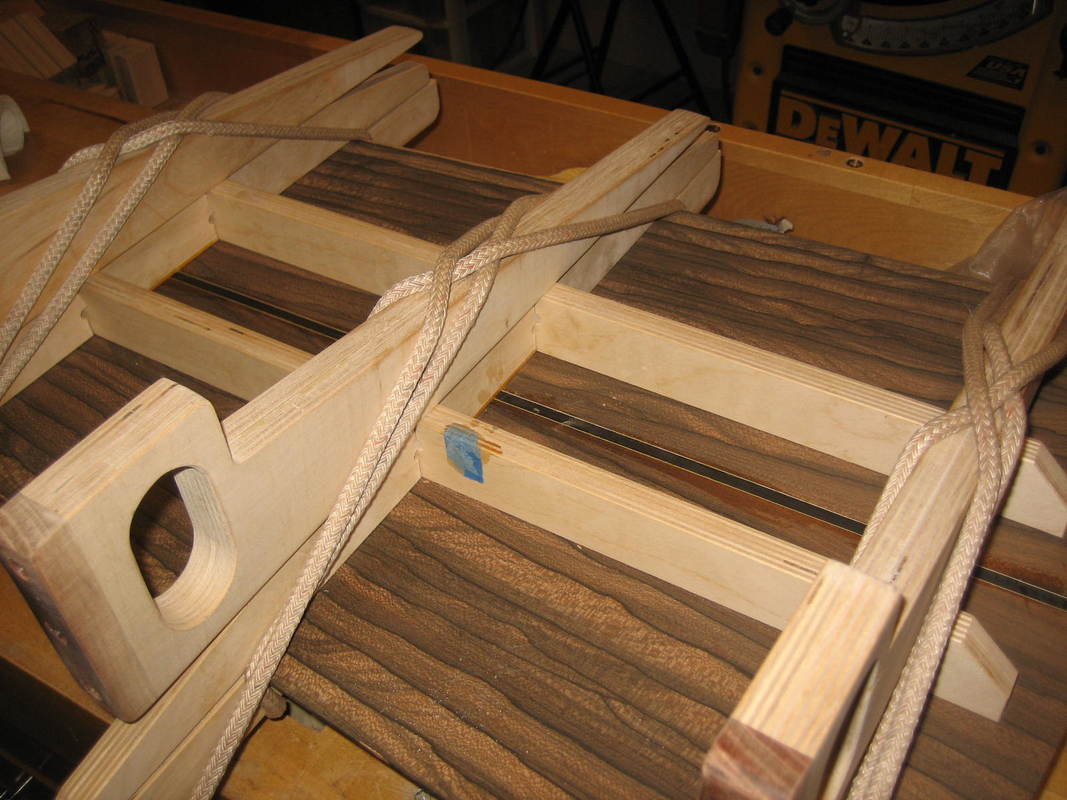
Back reinforcing strip in, cut and installing back braces
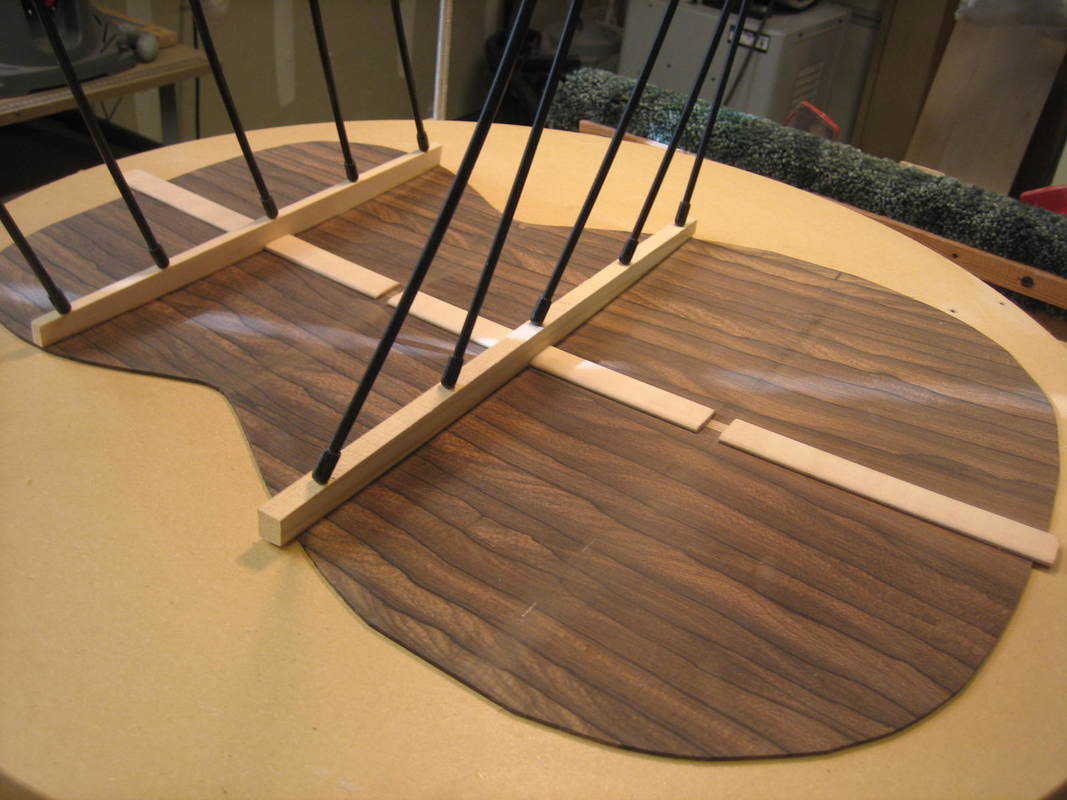
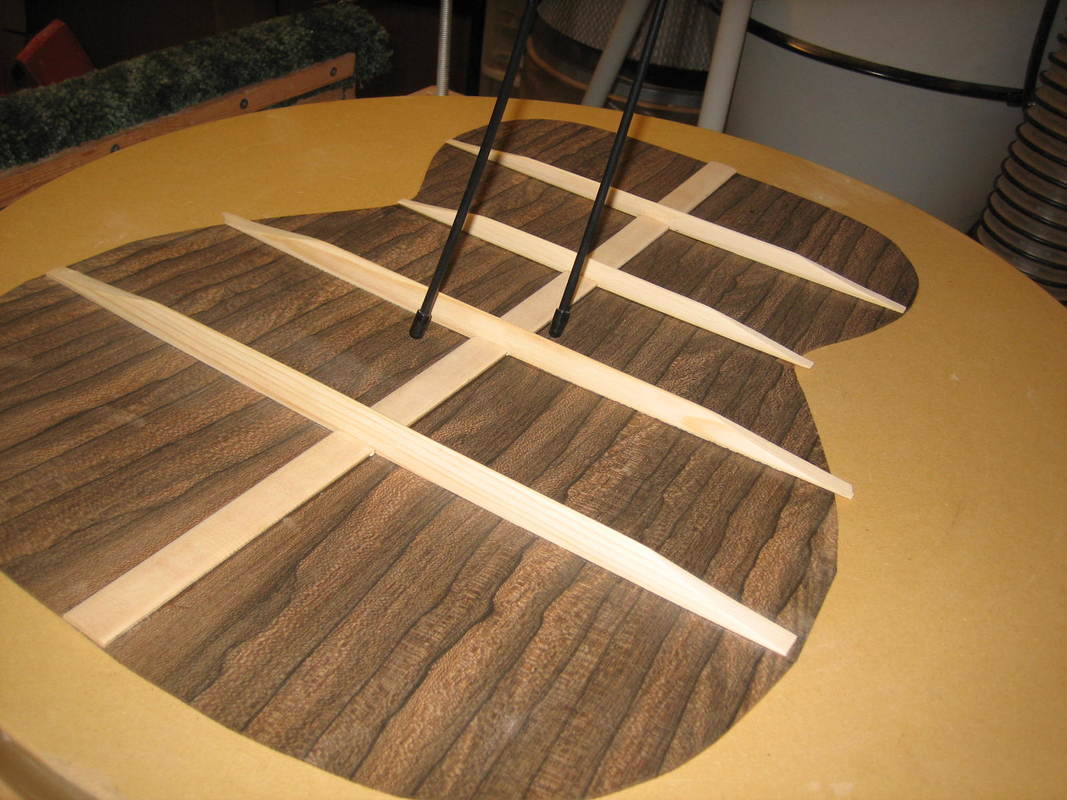
Carving braces

Braces shaped and back ready to mate to sides
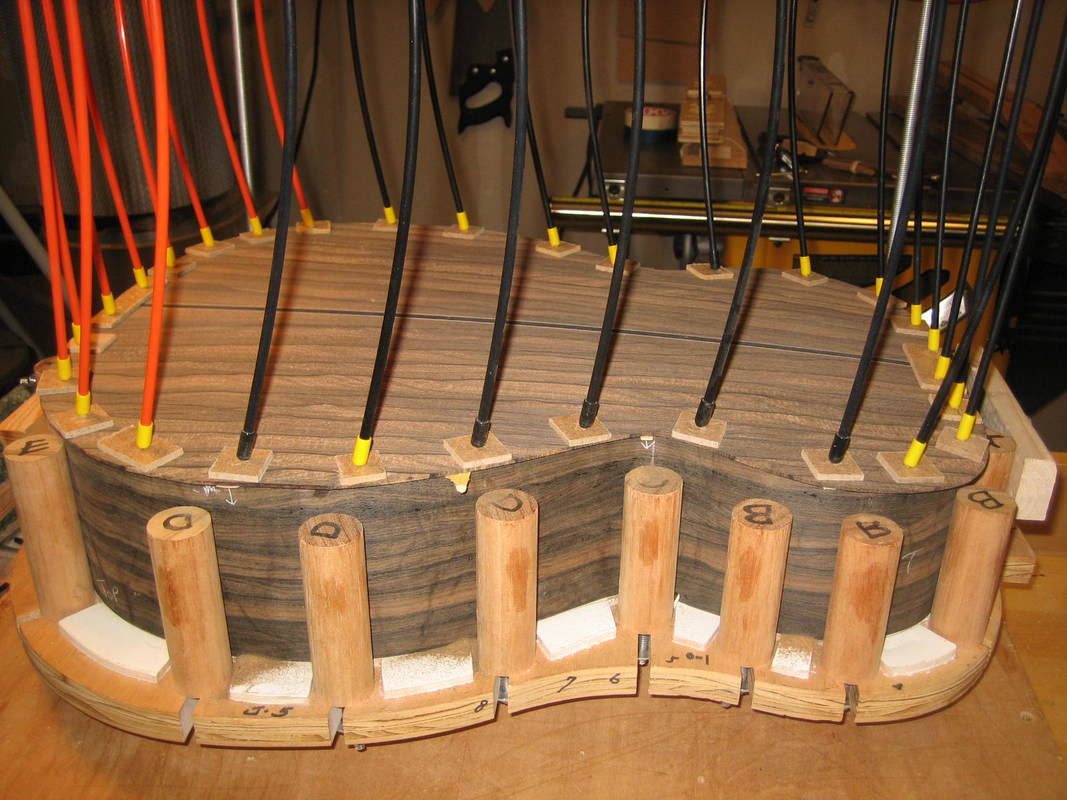
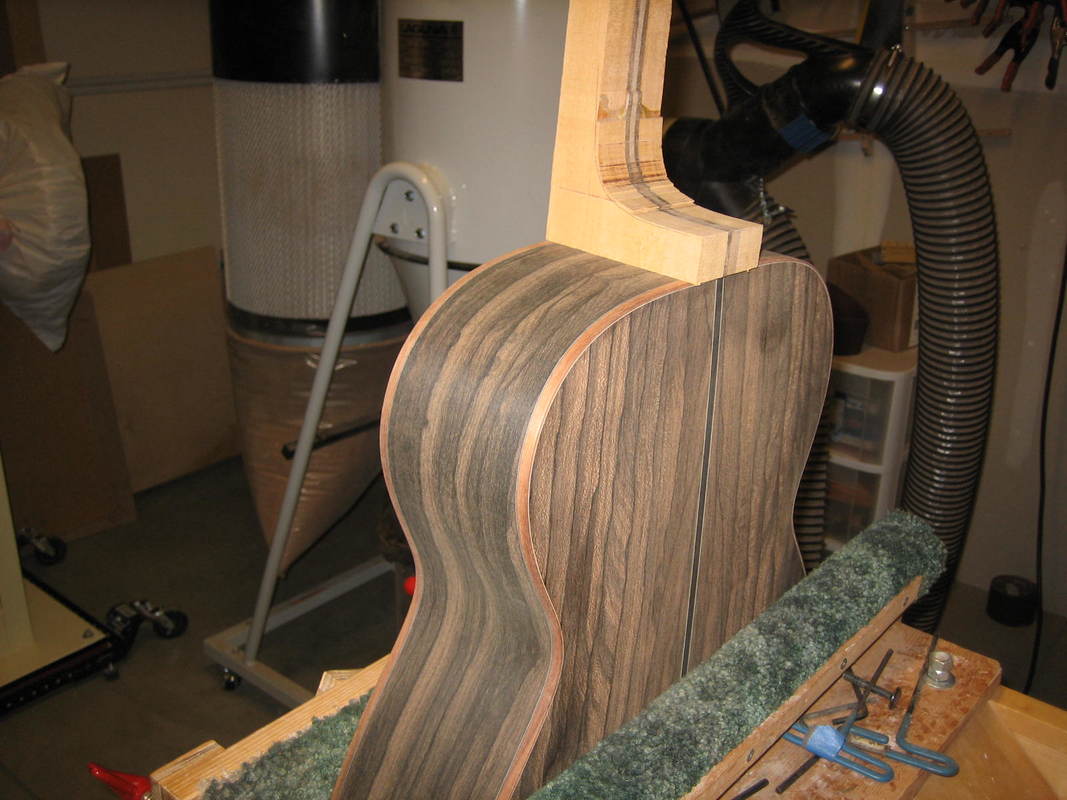
Back glued to sides
Ready to start the sound board
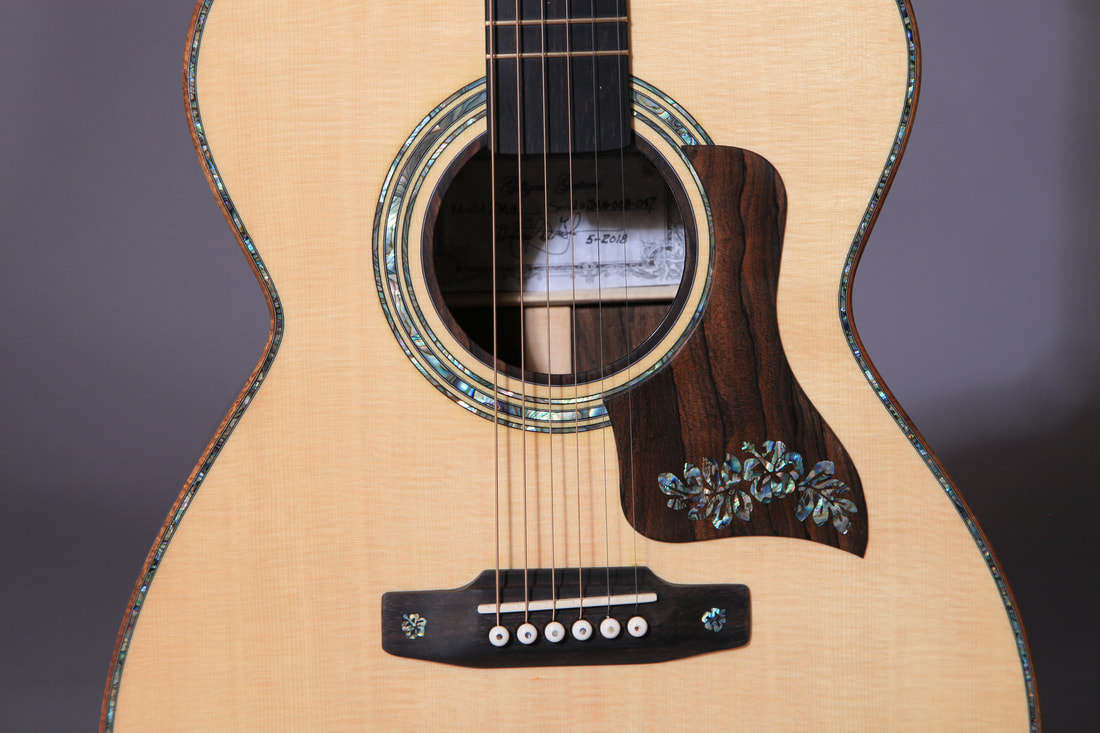
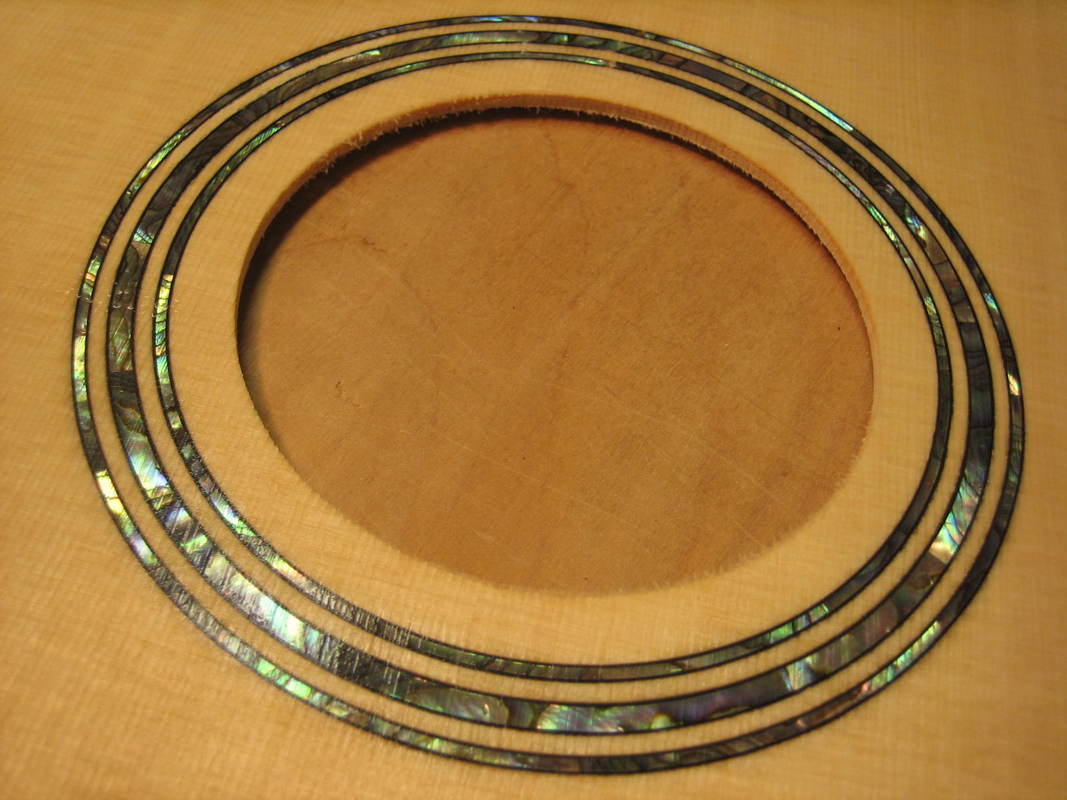
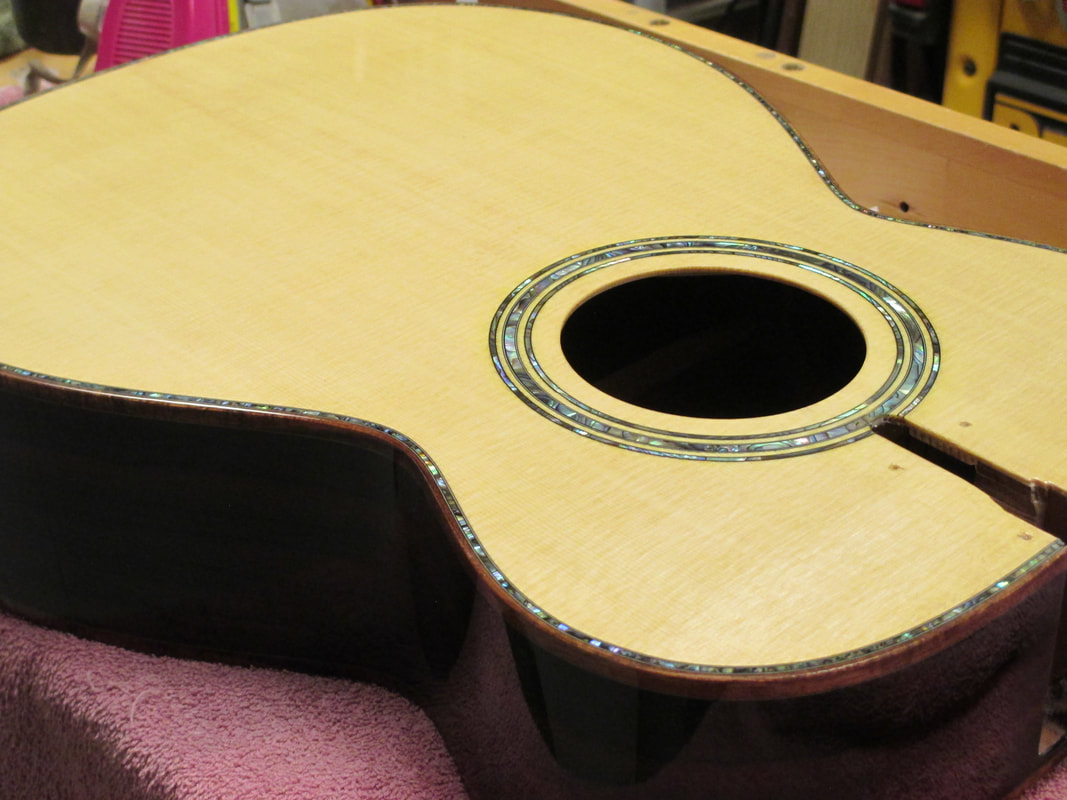
Sound hole rosette installed and rough sanded prior to bracing
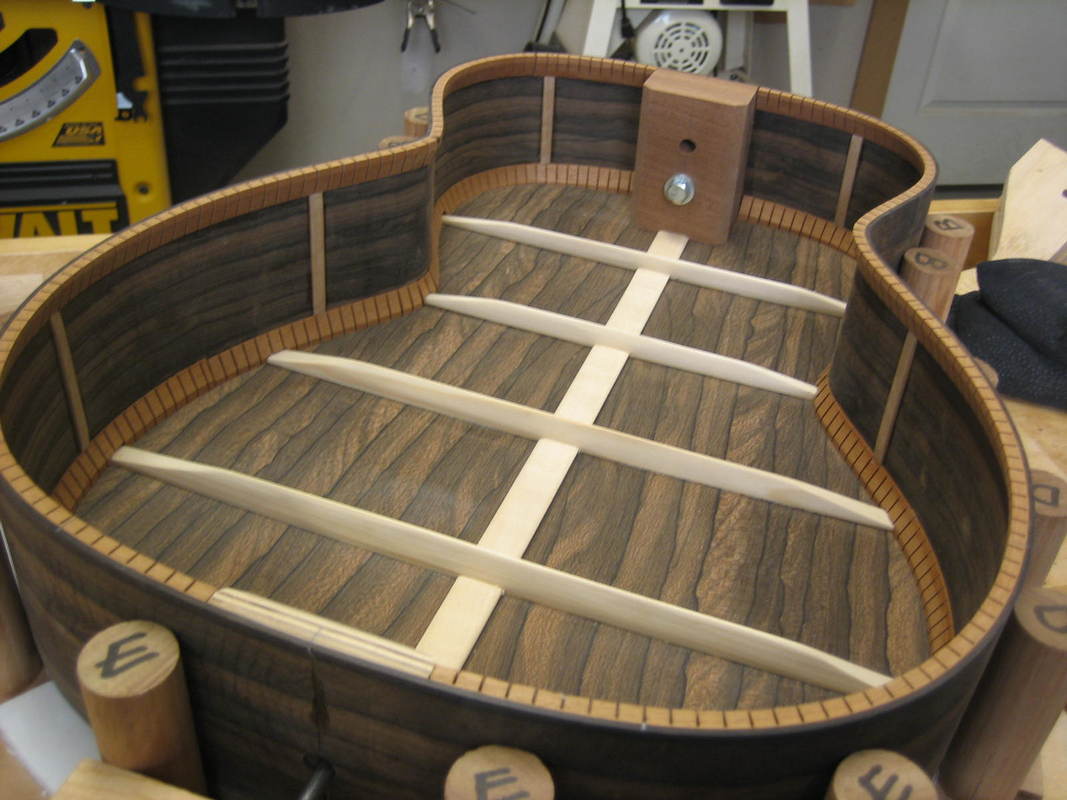
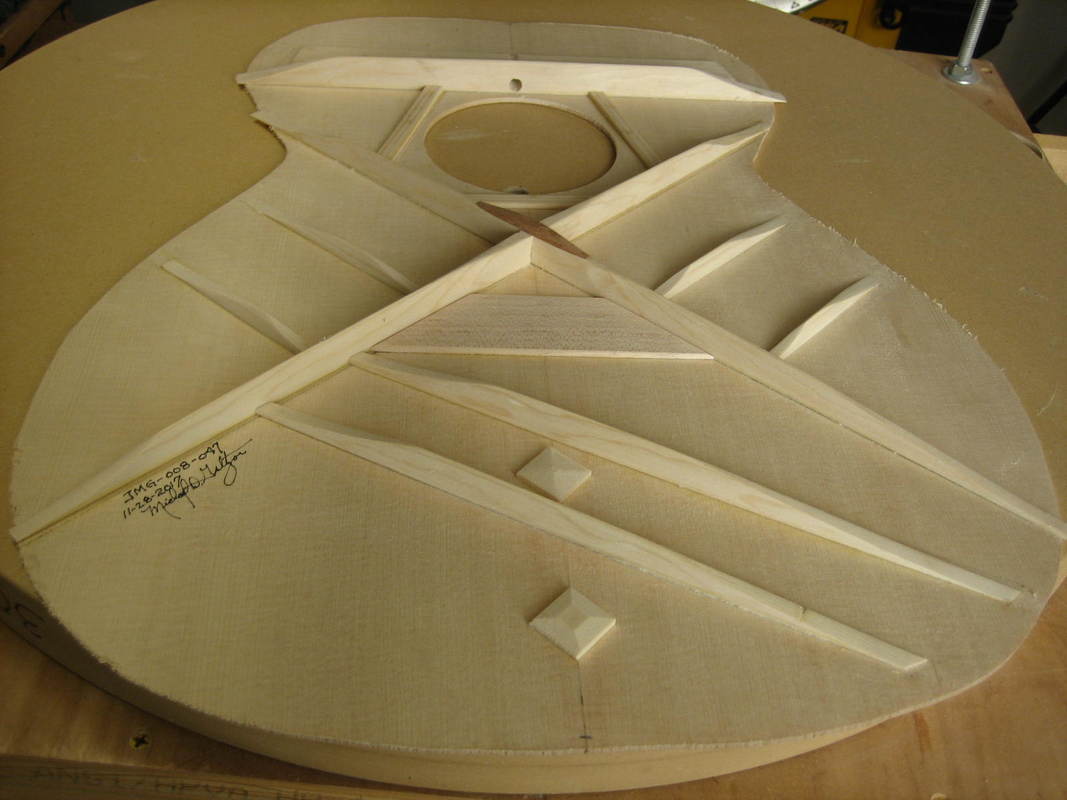
Sound board braced, signed and ready for mating with sides
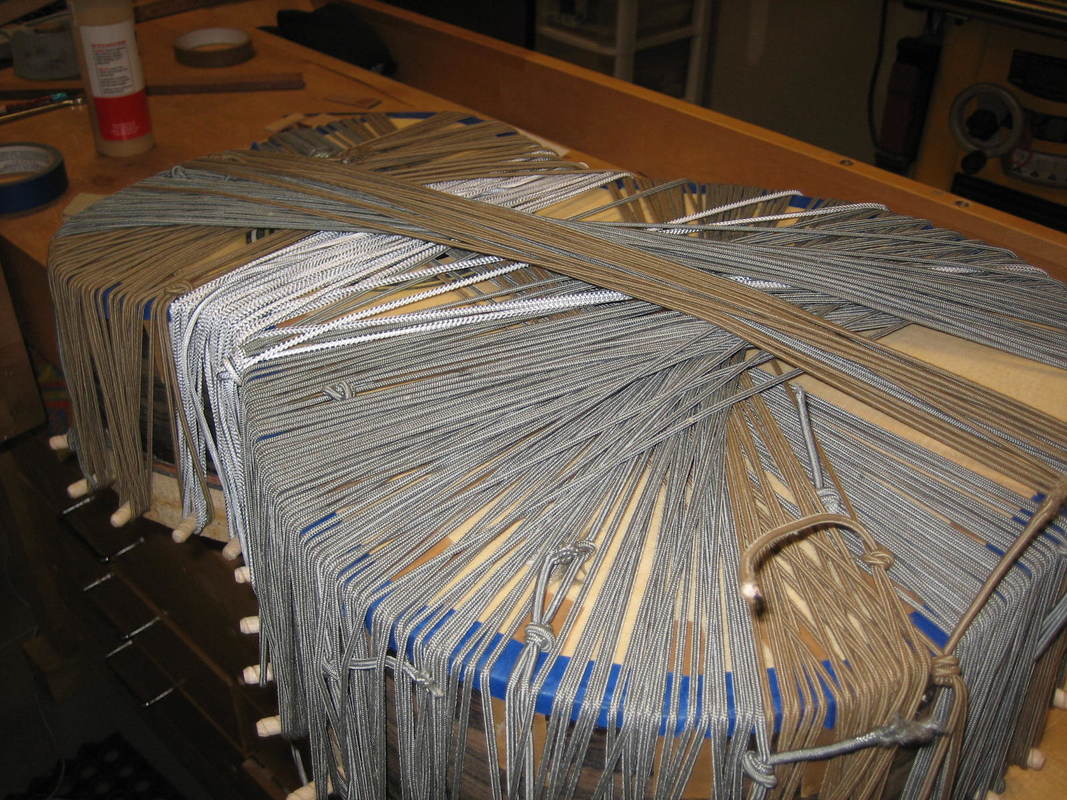
Sound board glued to sides
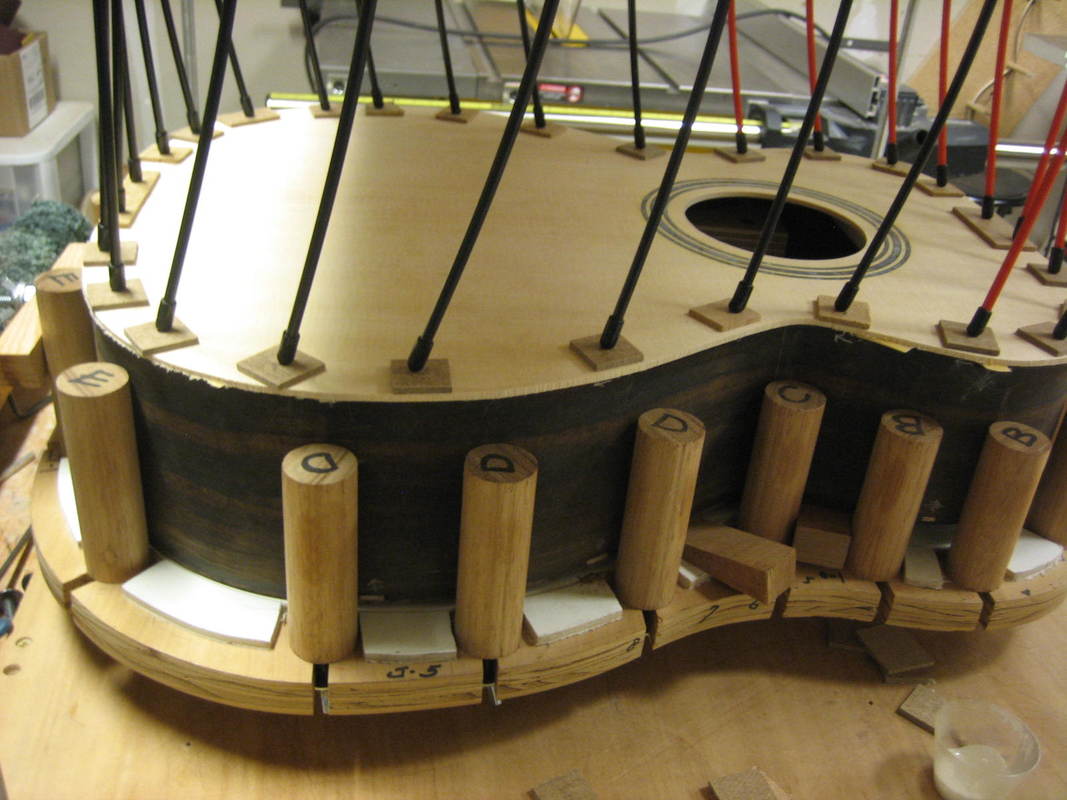
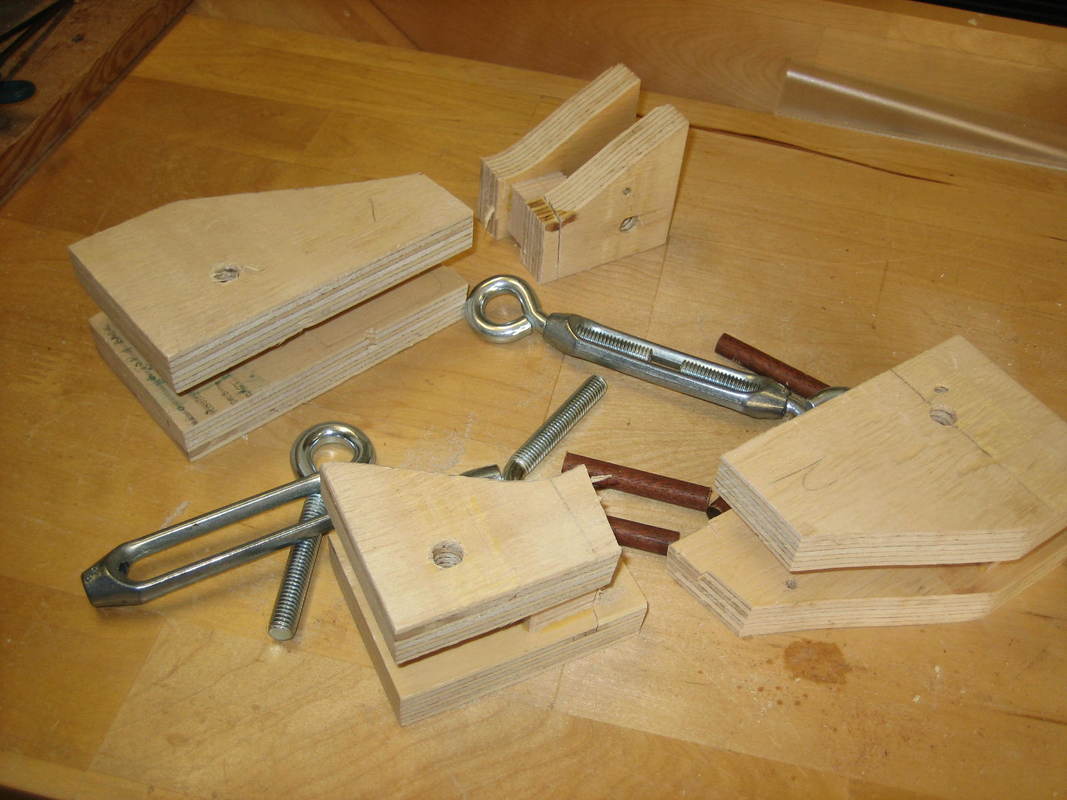
I use spreaders inside the guitar body that hold the shape of the sides to the mold while gluing both the back and top to the sides. I use a larger set for gluing the back to the sides as it will come out easily through the open top area. I us a smaller set of spreaders when gluing the top because they have to come out the sound hole opening. This is the first time I have forgotten to change the spreaders. So I had to carefully cut the spreaders in pieces that would come out the sound hole. Fortunately no damage to sound hole or inside of guitar, but the spreaders will have to be remade.
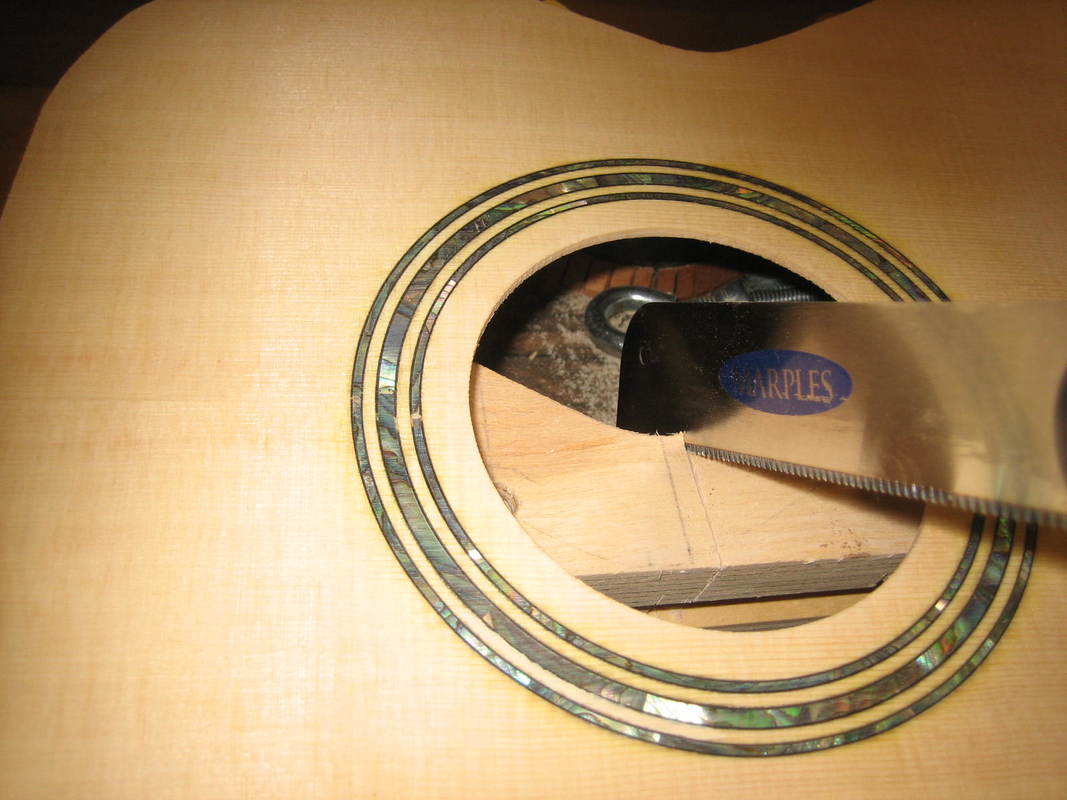
Spreader remnants
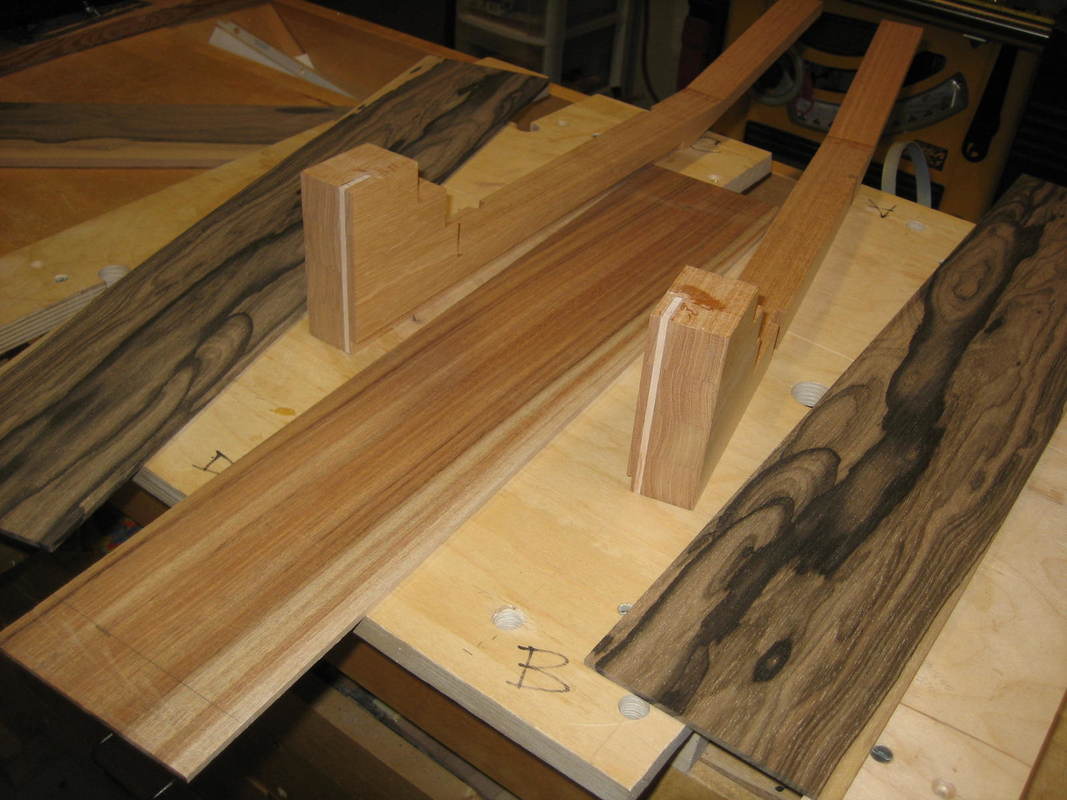
The neck will have a center sandwich of Ziricote/Koa/Ziricote. Below are pictures of the neck taking initial rough shape


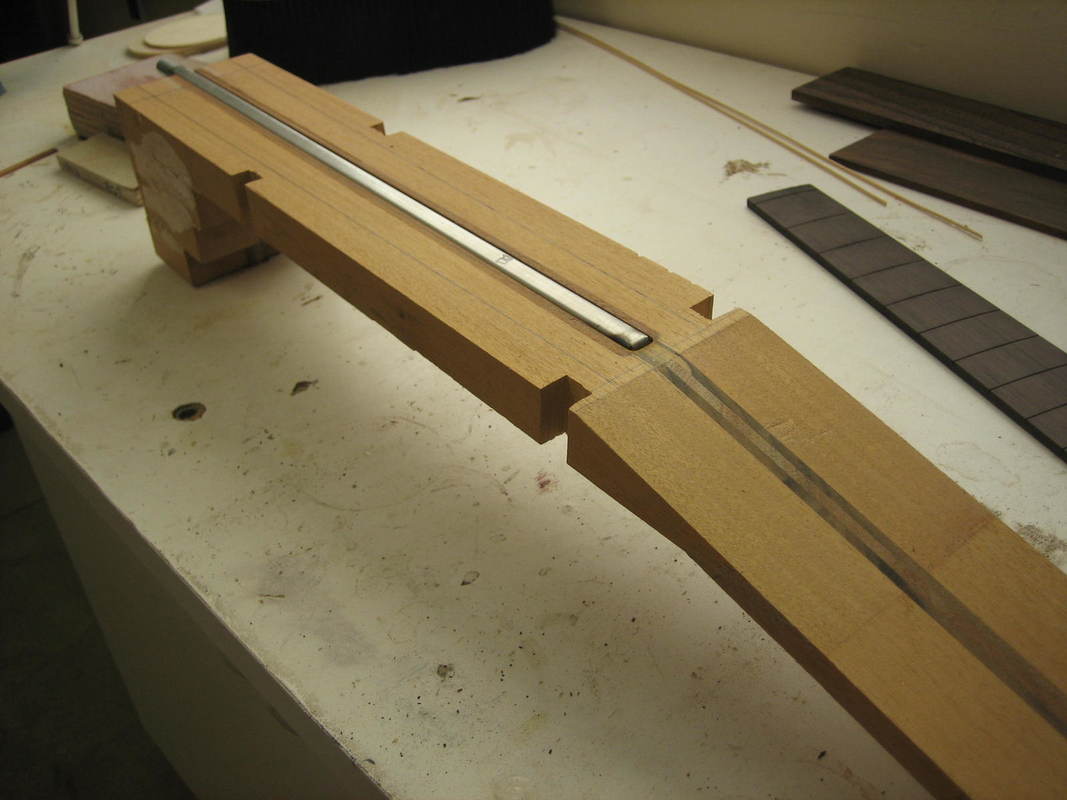
Neck with center seam and truss rod installed
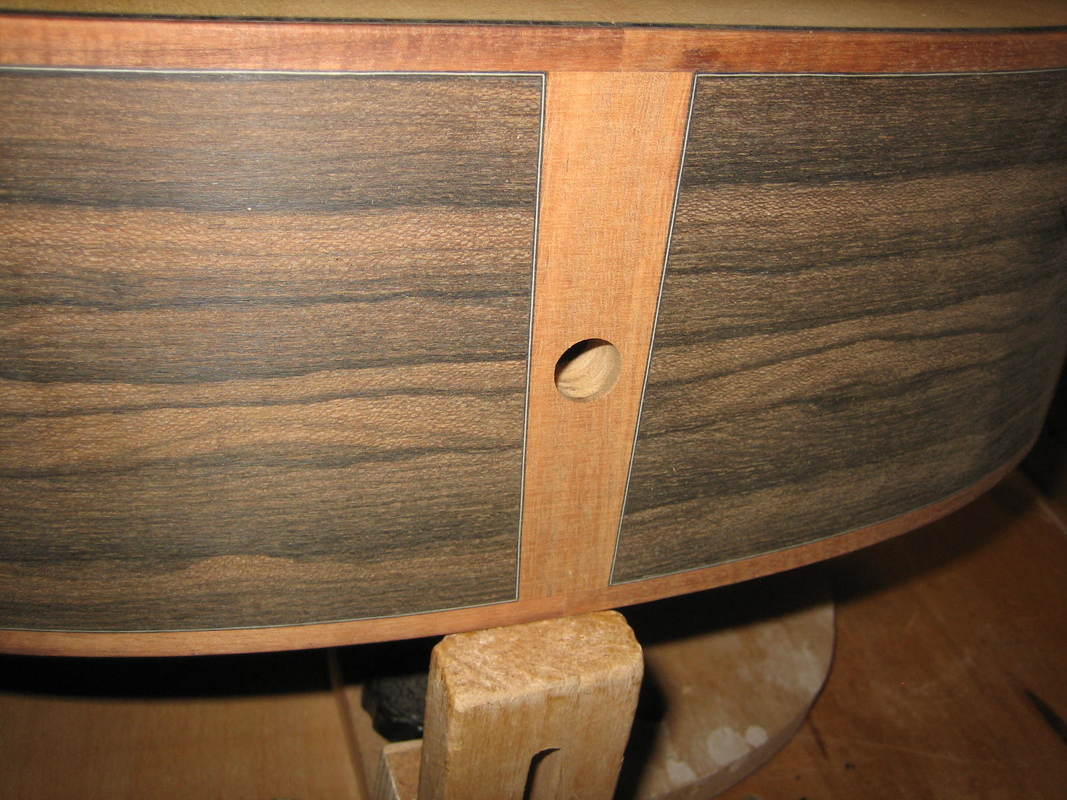
Routing tail graph
Routing for bindings and top shell & purfling
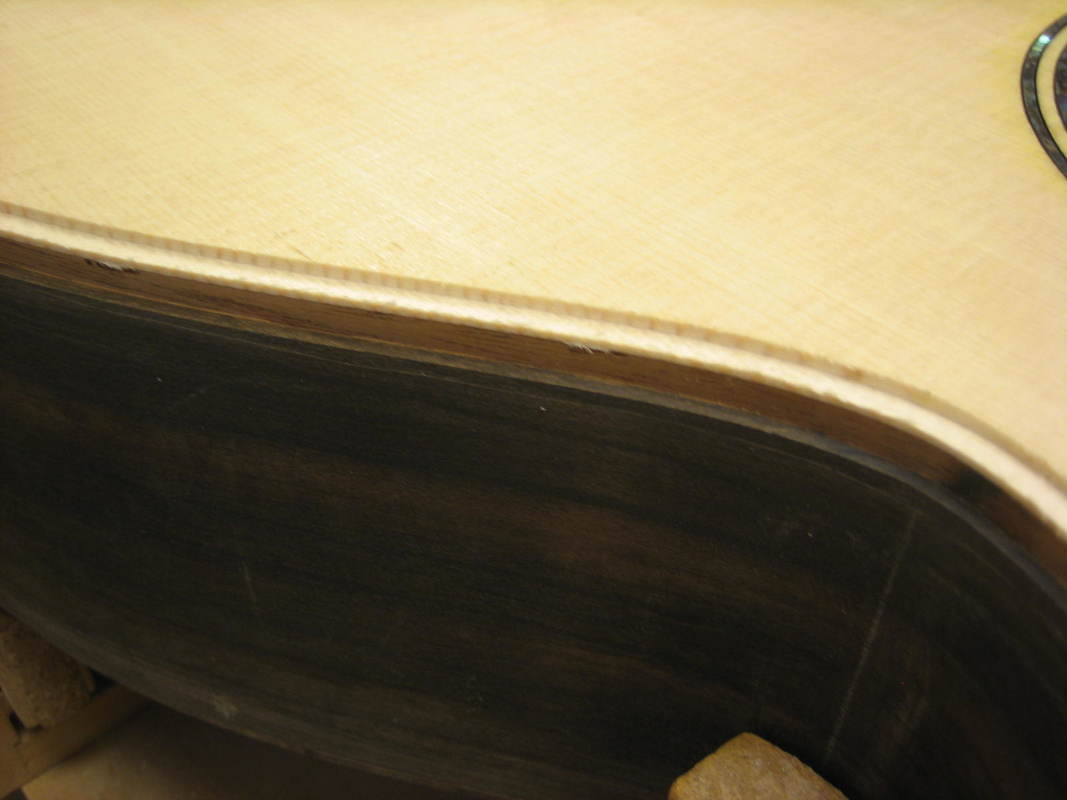
Installing Koa bindings
Bindings installed and ready to be scraped and sanded. This will be put off for 2 weeks as we are leaving for Christmas in Texas.
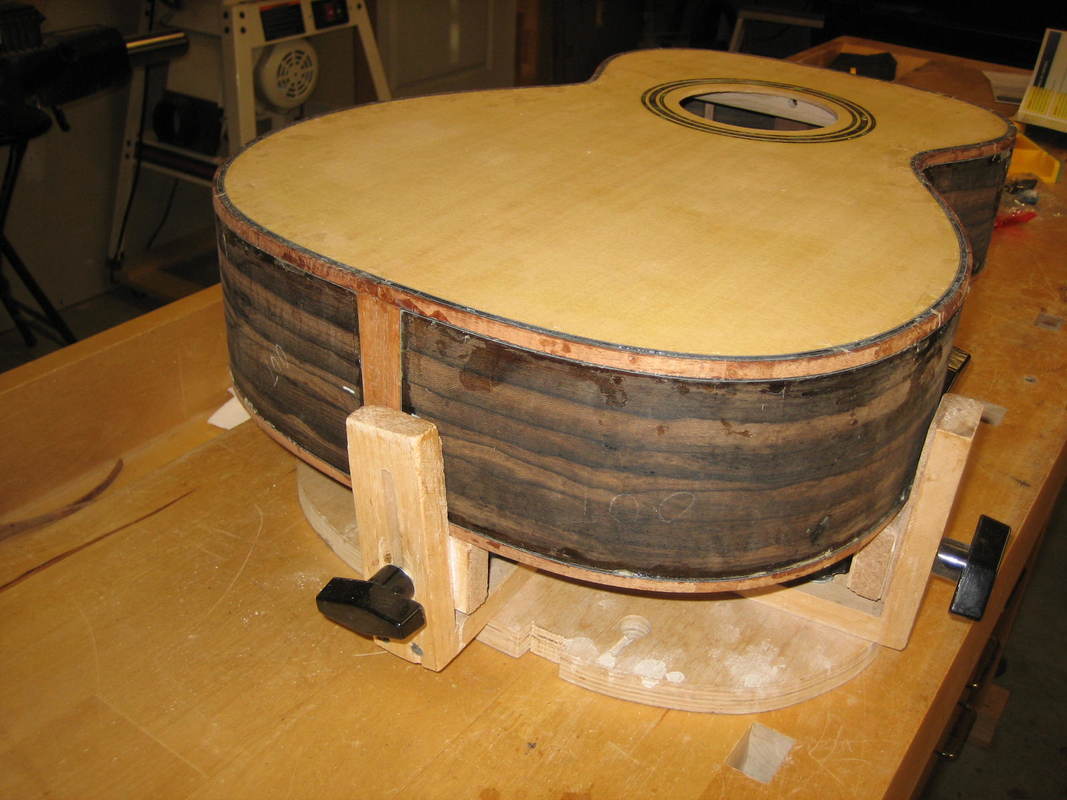
Initial scraping & sanding guitar body
Fitting neck
Fret board glued to neck
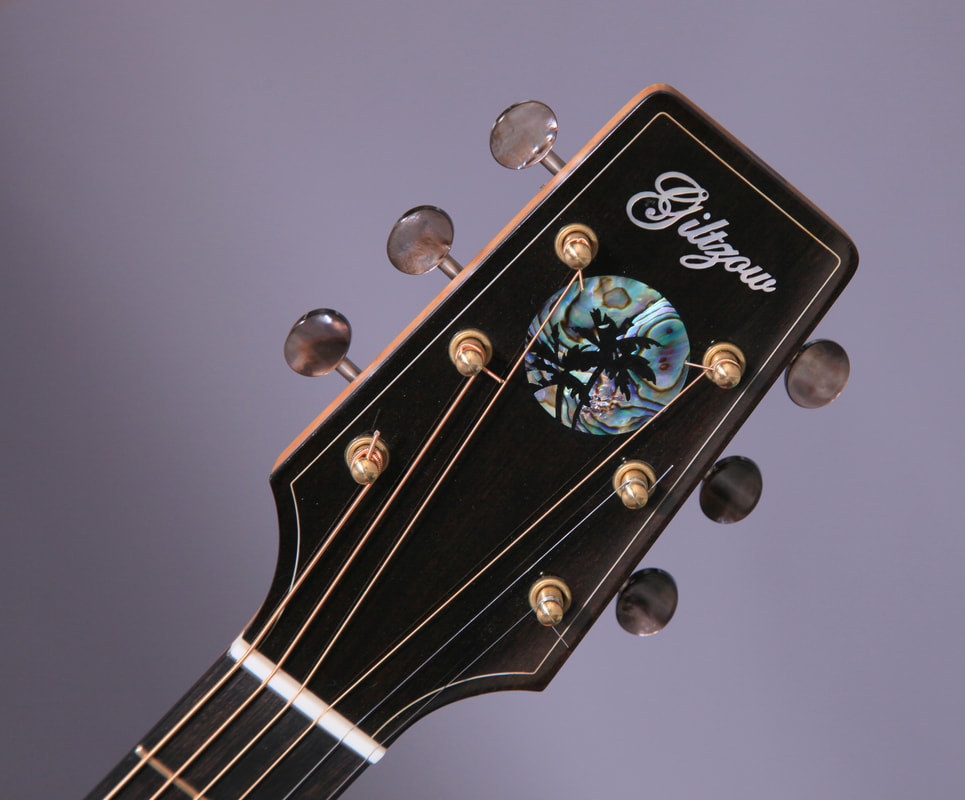
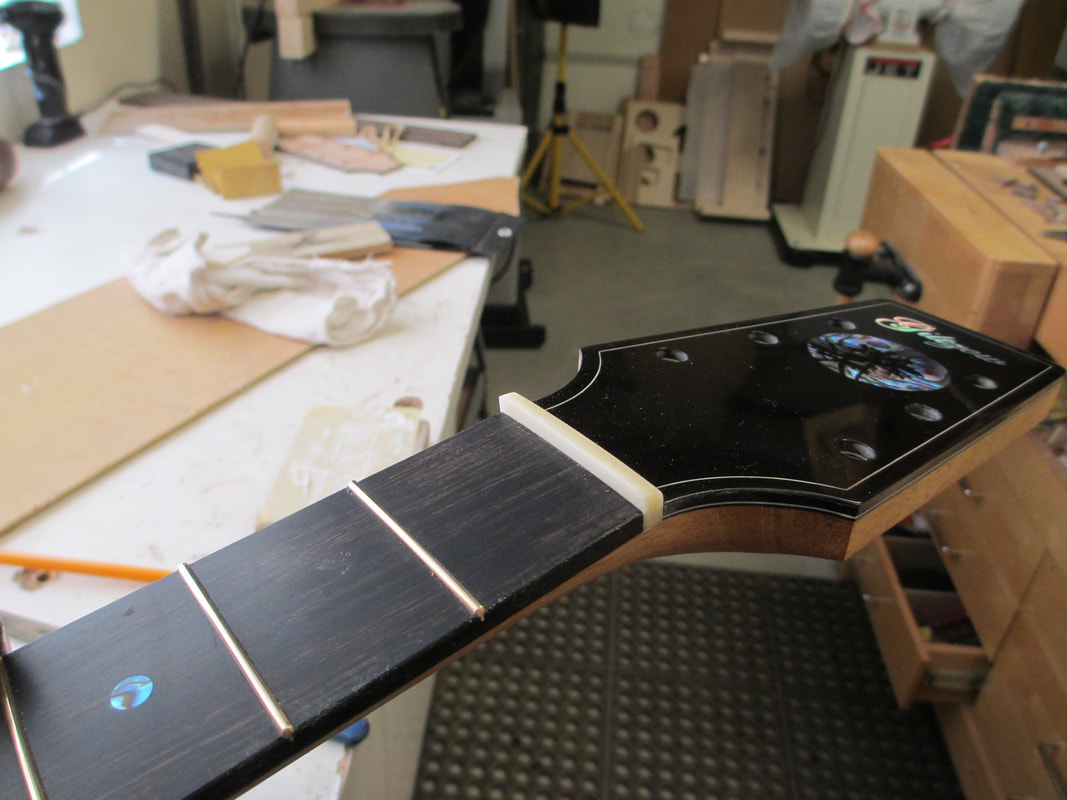
Ebony peg head with white strip Disregard date stamp - something wrong there.
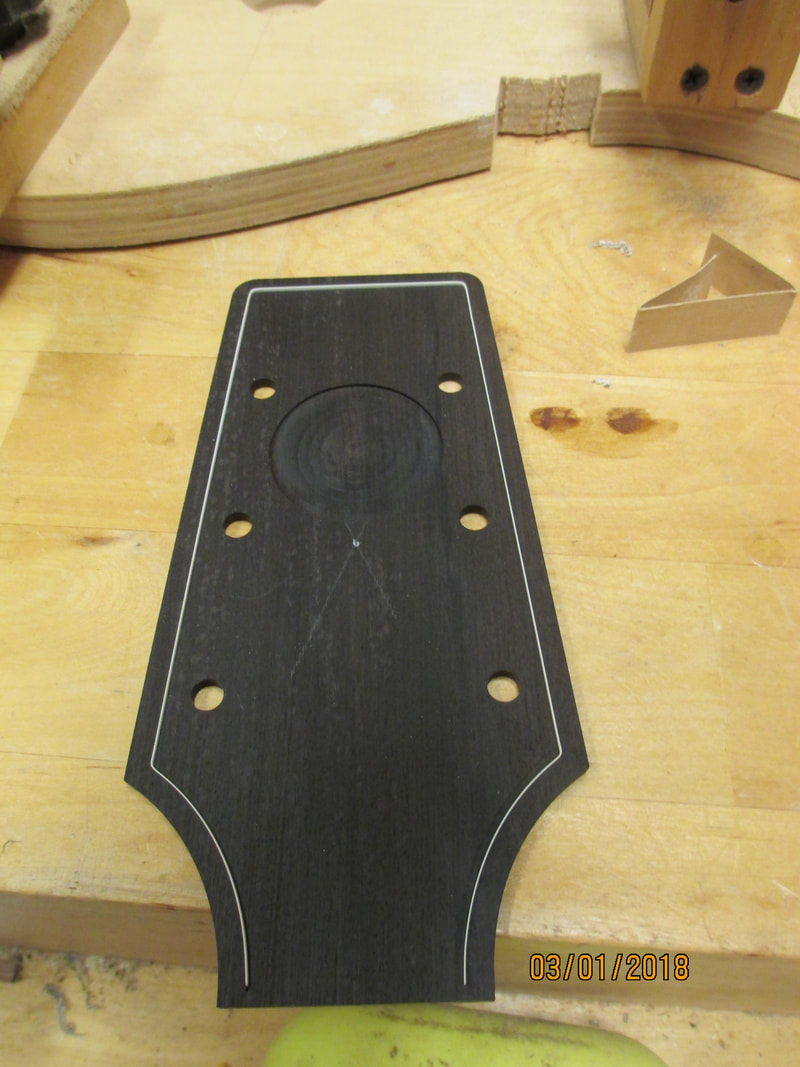
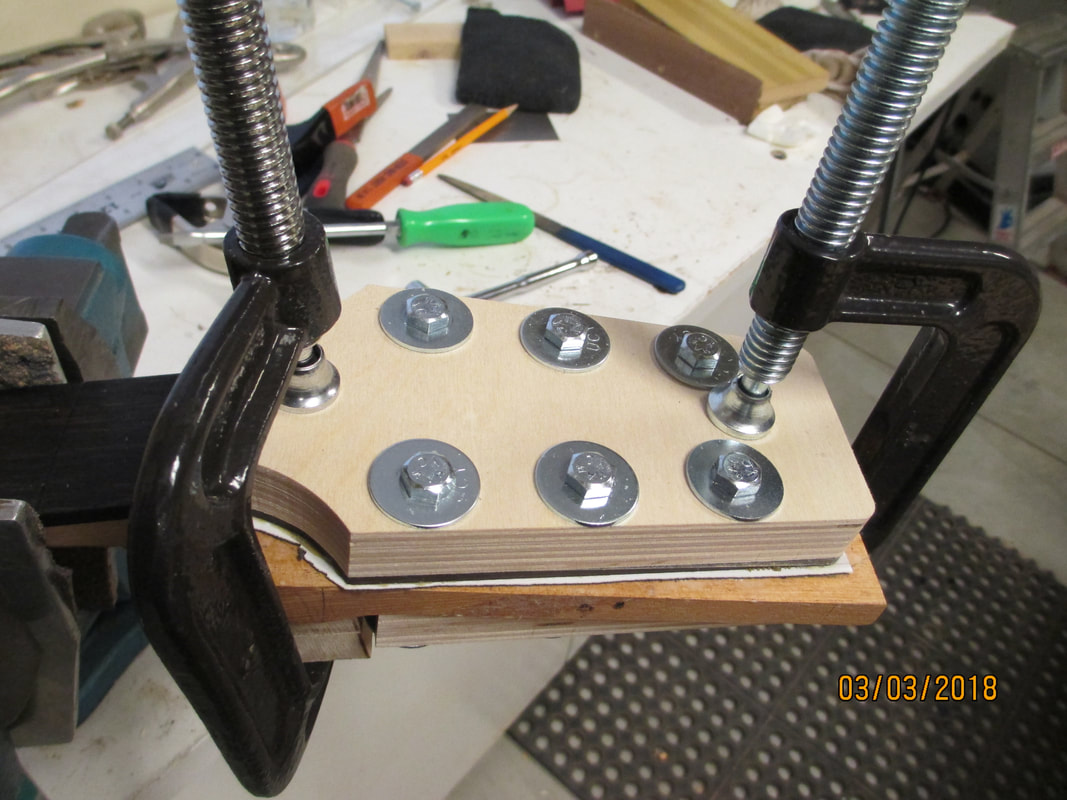
Gluing ebony veneer to peg head
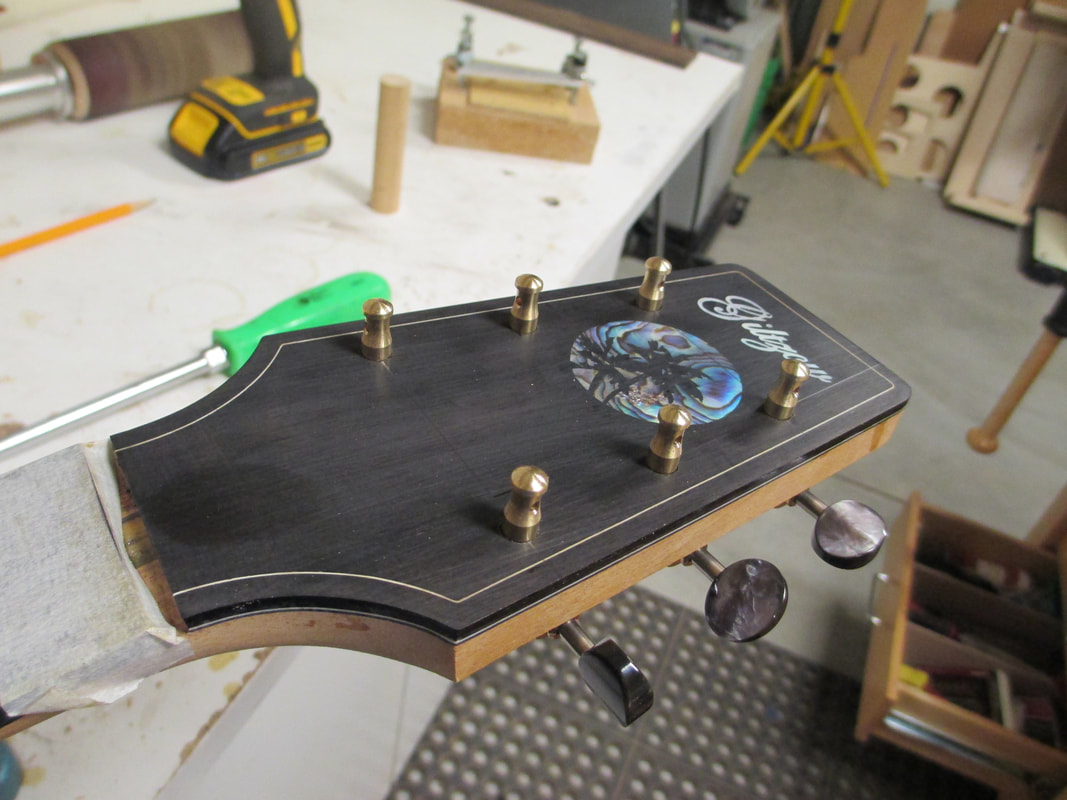
Initial fitting of Waverly tuning machines
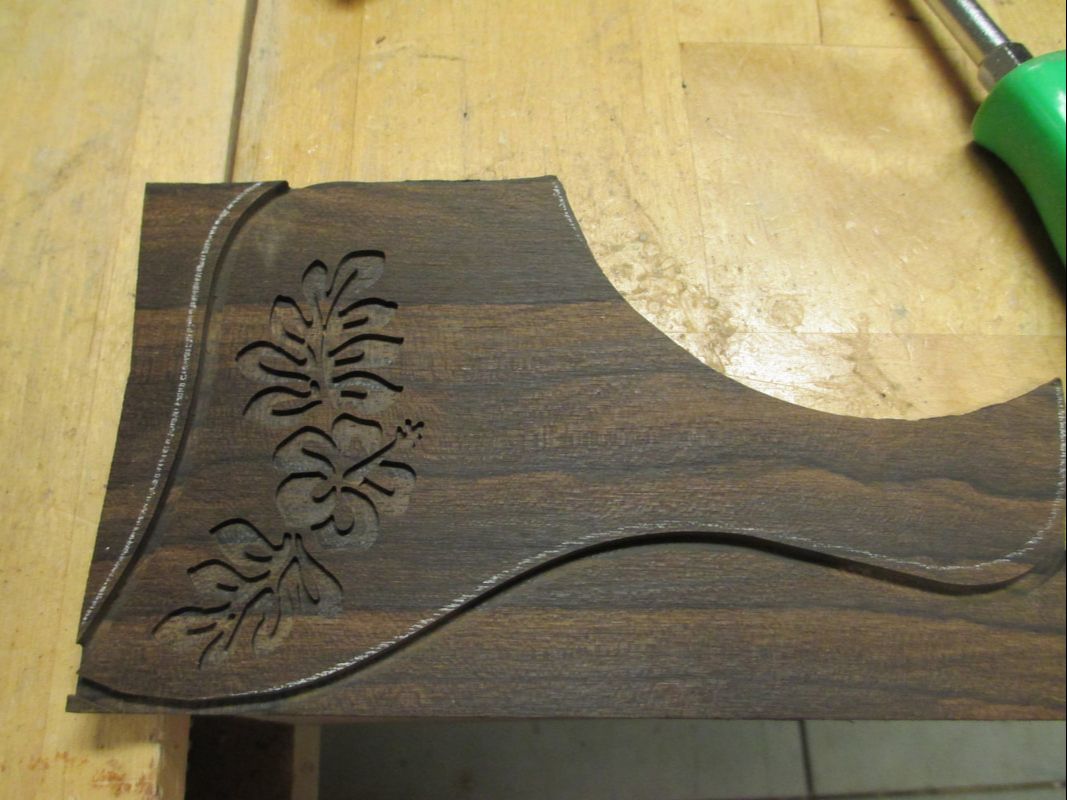
Cut pick guard for inlay
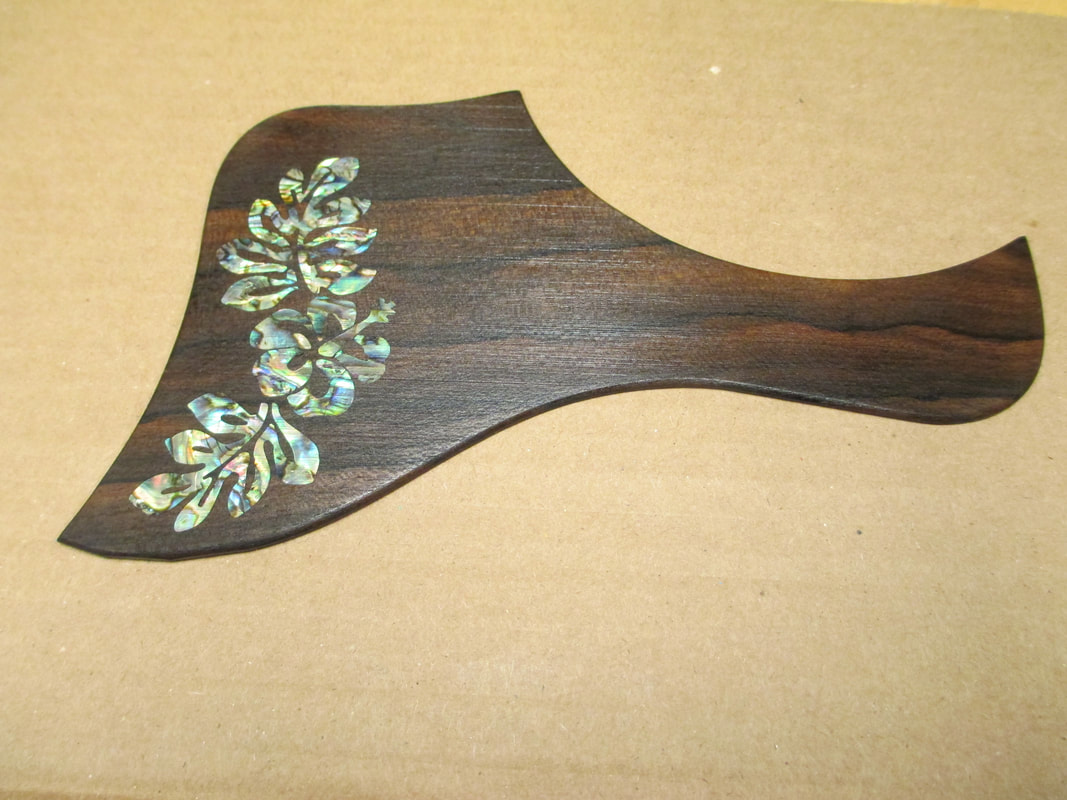
Abalone inlay
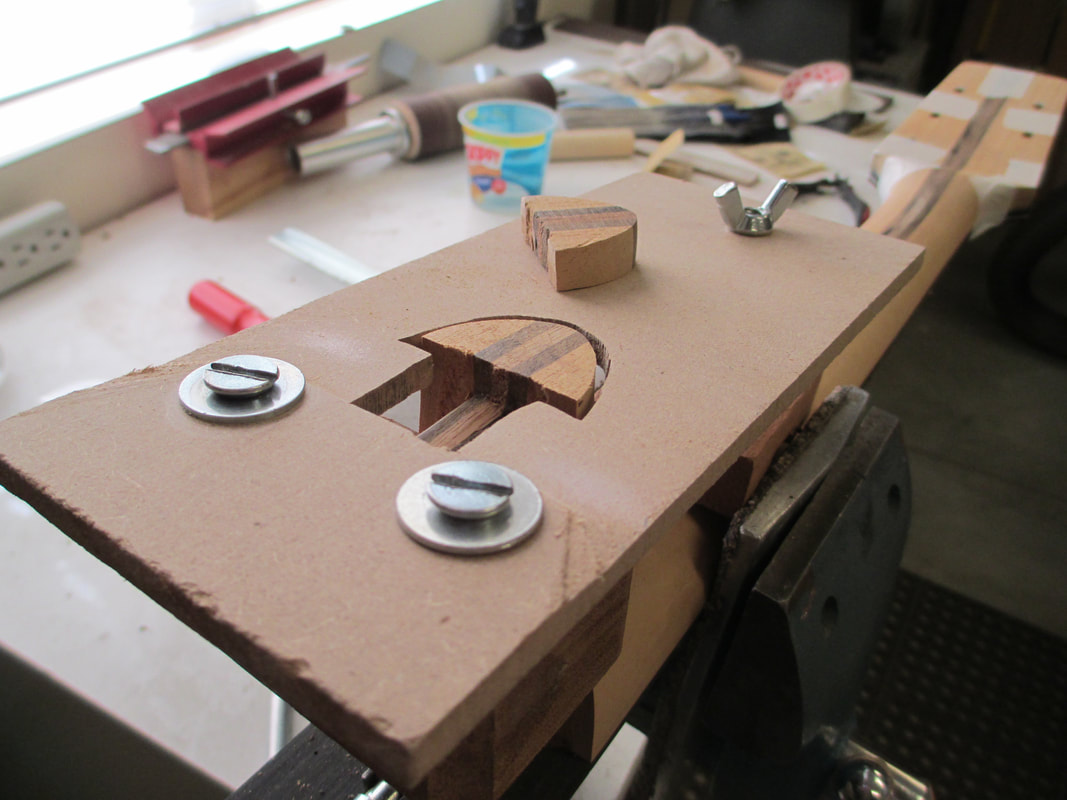
Jig used for cutting the heel flush and level for heel cap
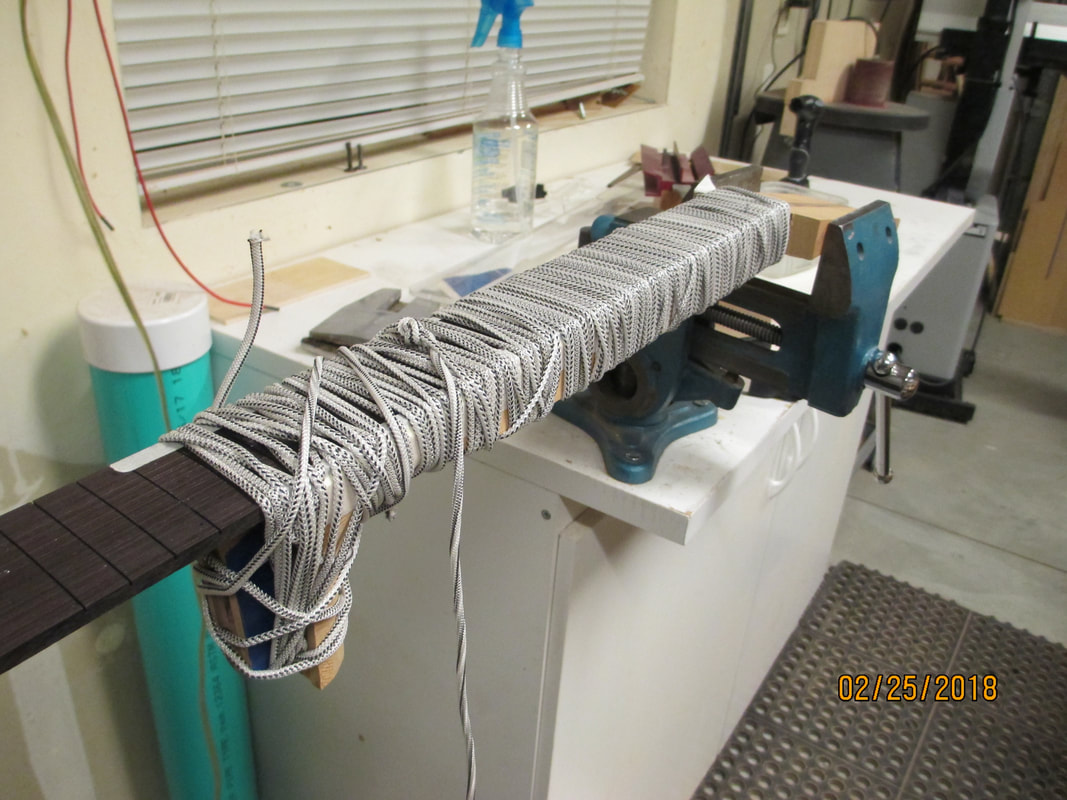
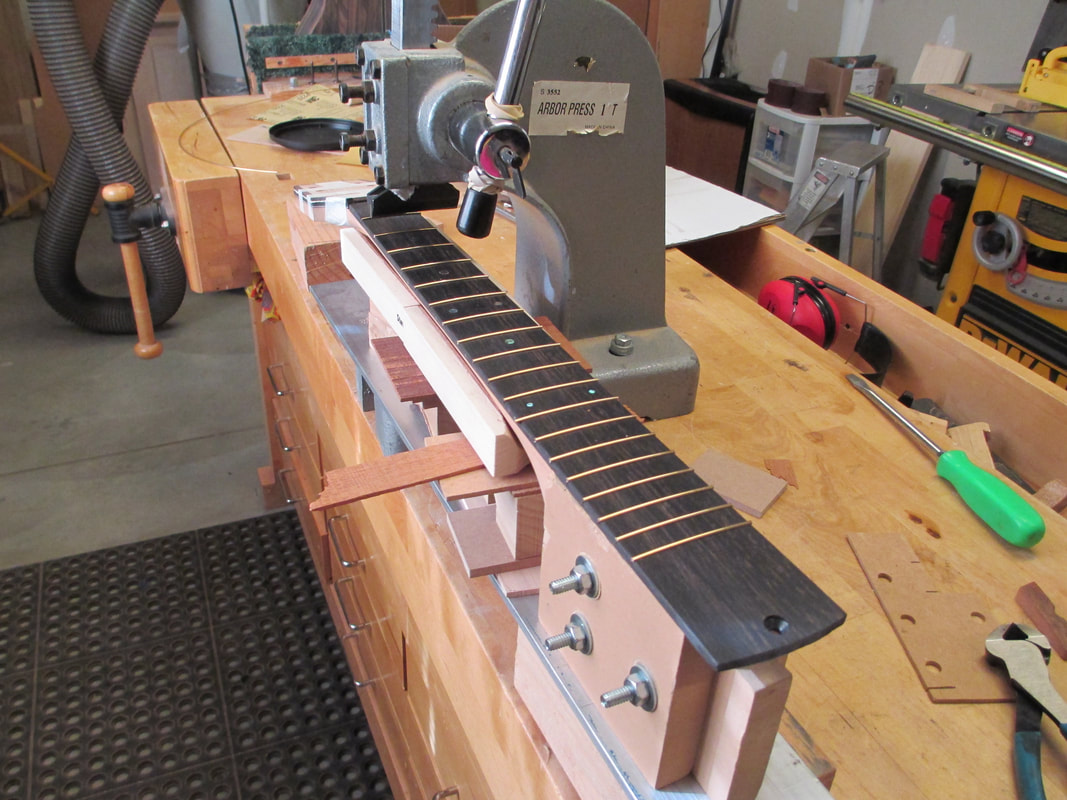
Pressing frets
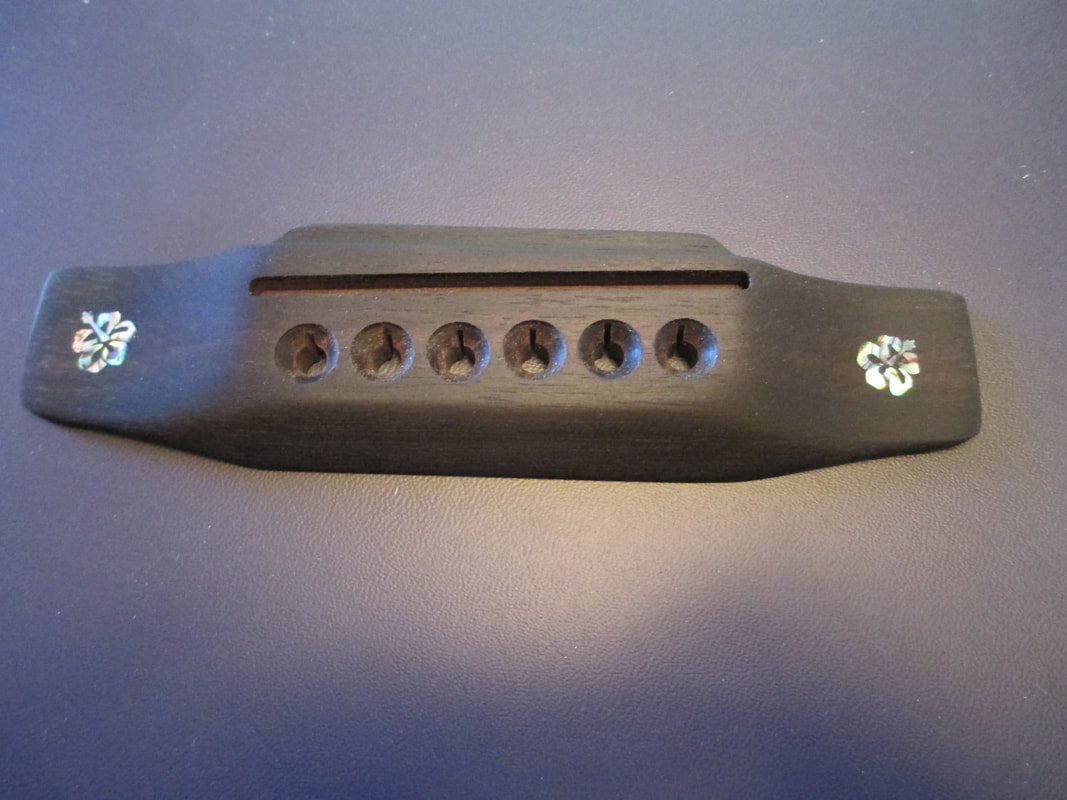
Cutting out the bridge
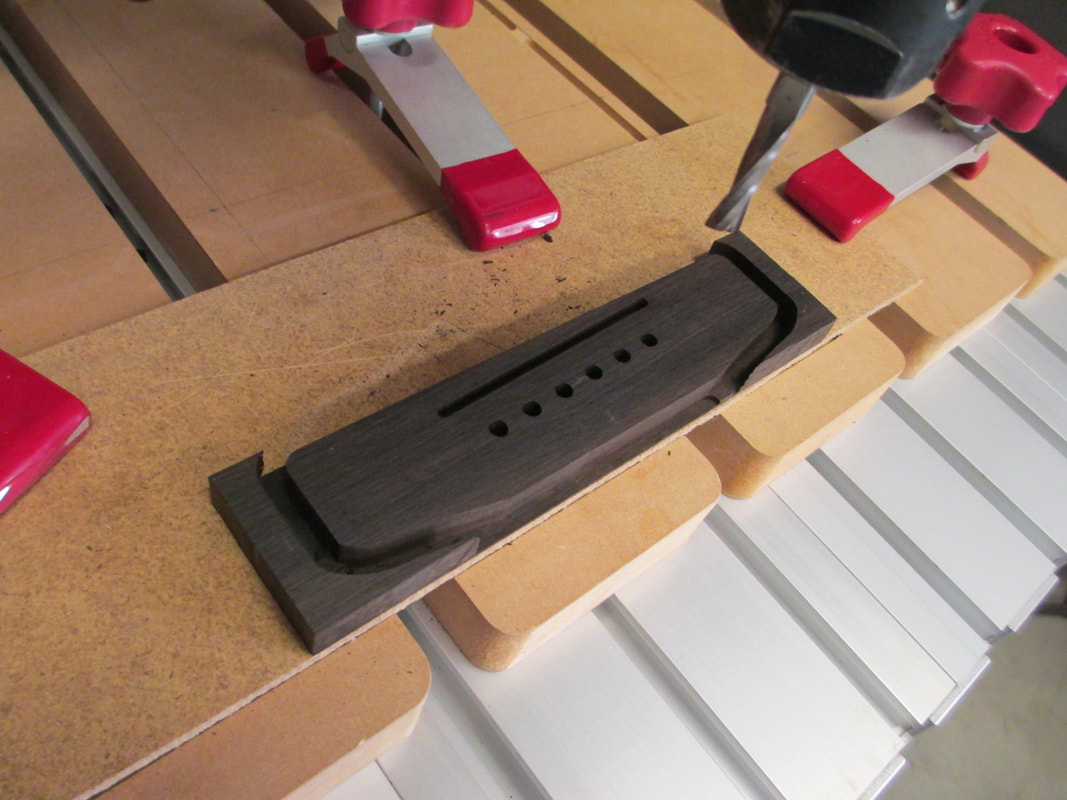
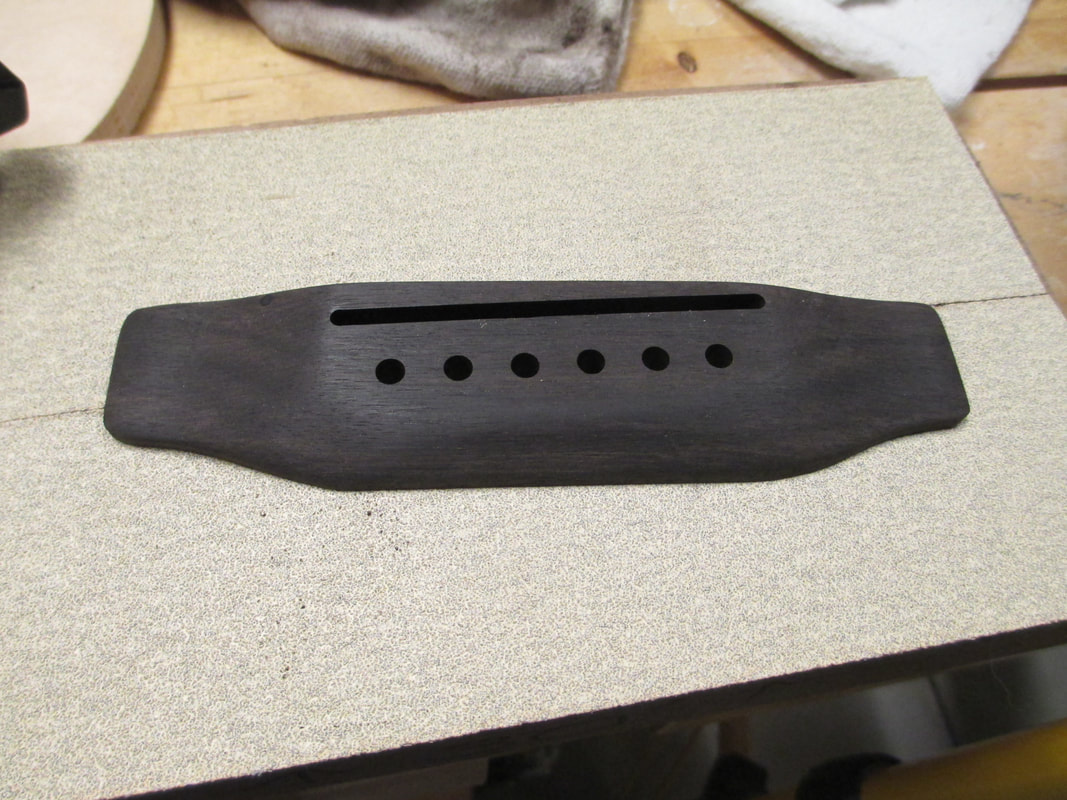
Bridge rough shaped and 30' contour sanded in the bottom
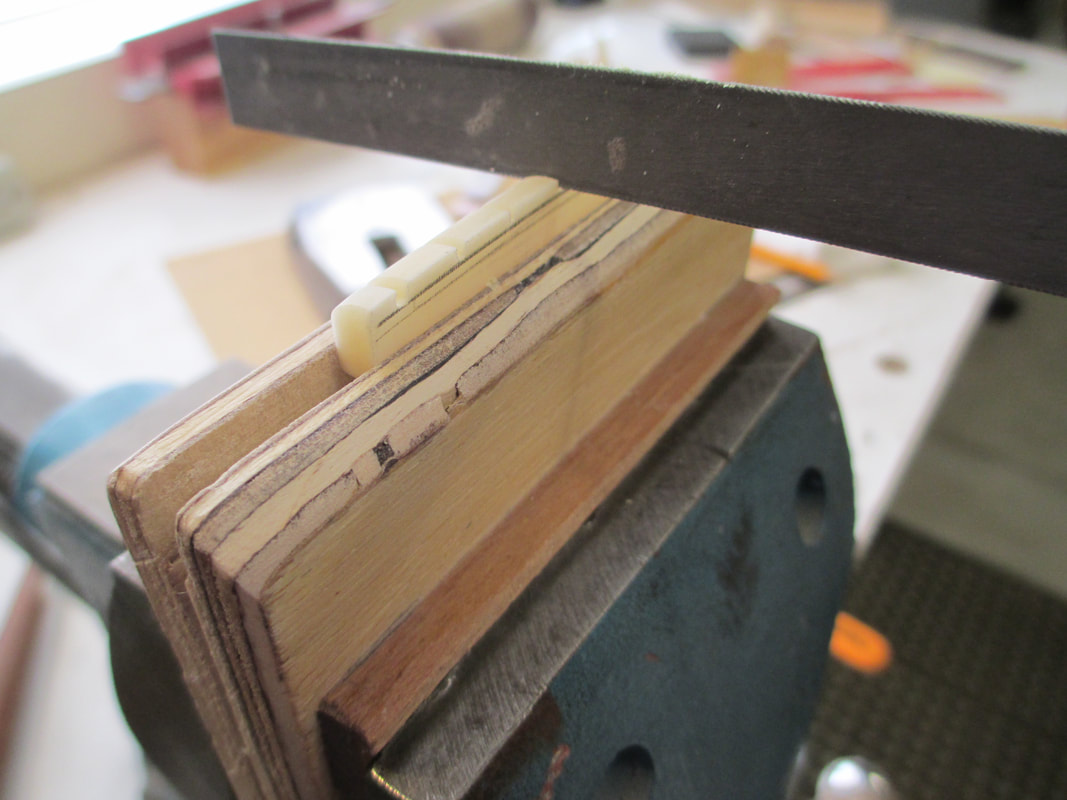
Fitting the nut
Filing string channels in nut
Filling back & side pores with epoxy
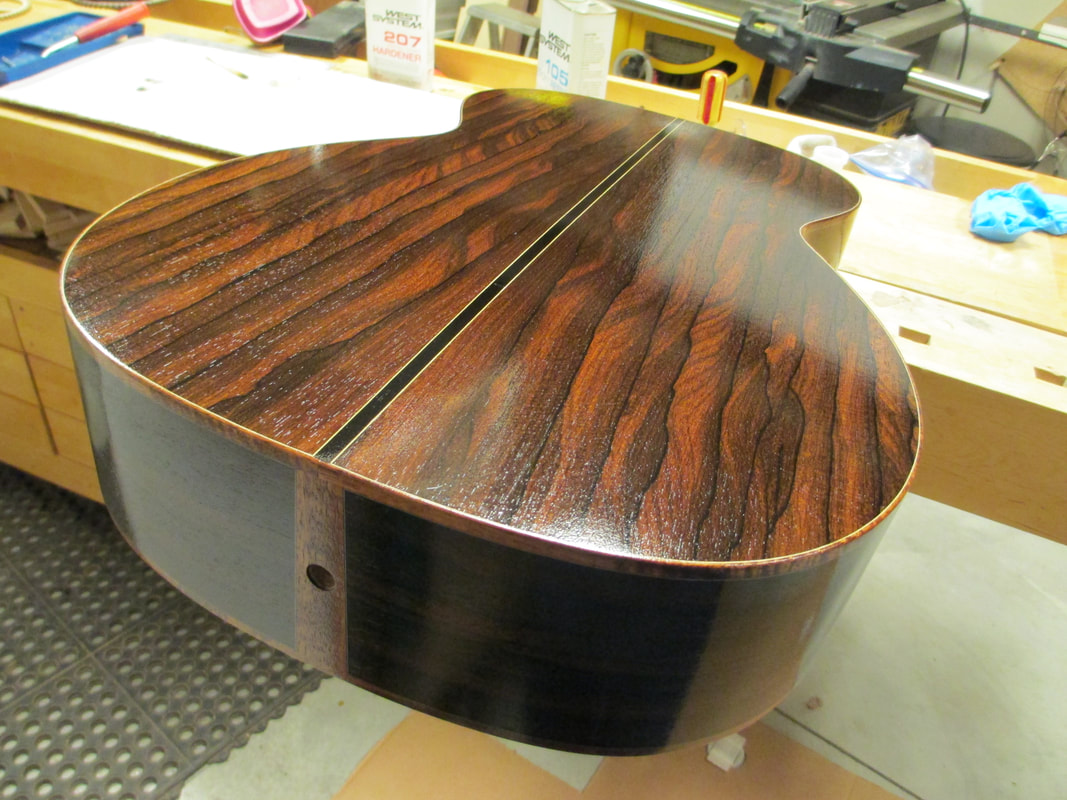
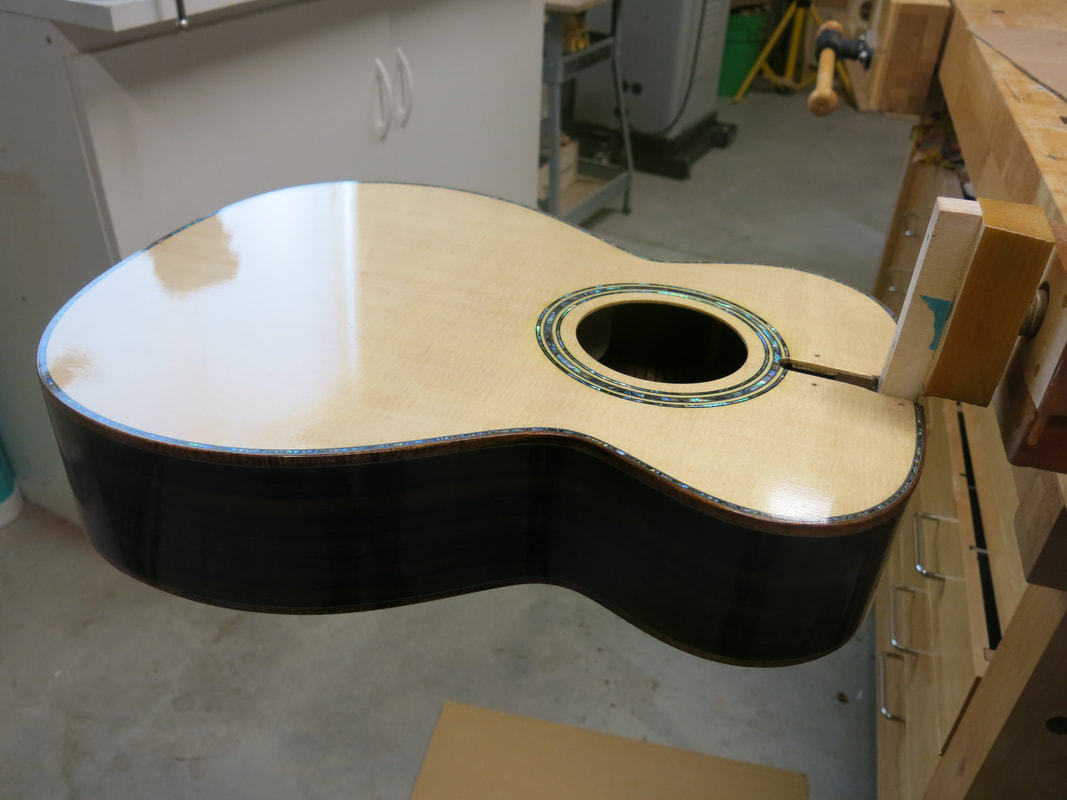
The guitar body is now ready for finishing.
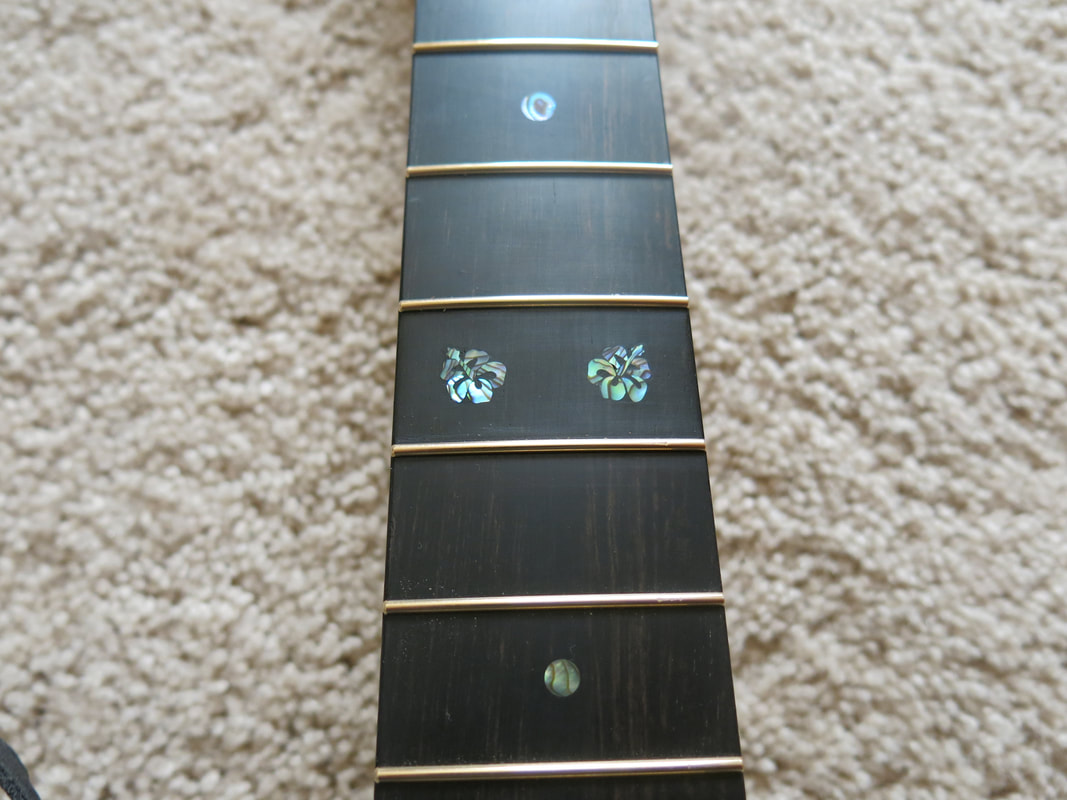
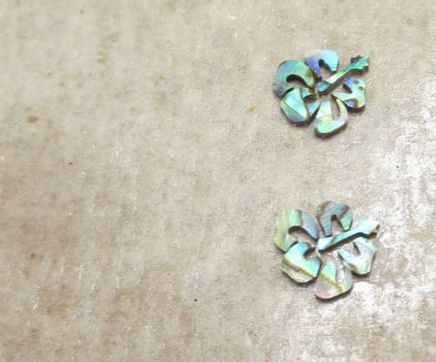
The fret board has been updated to display 2 Abalone Hibiscus flowers at the 7th & 12th frets
The finish has been applied and will sit for 2 weeks before buffing
I wait three to four weeks after applying finish to sand and buff the body. This time I had a sand through the finish on the back so had to re-apply finish and wait another 3 weeks to sand and buff. Sanding and buffing was successful so now I will start the process of putting all the parts together and getting this guitar to it's new home.
Two abalone hibiscus for the bridge
|
|
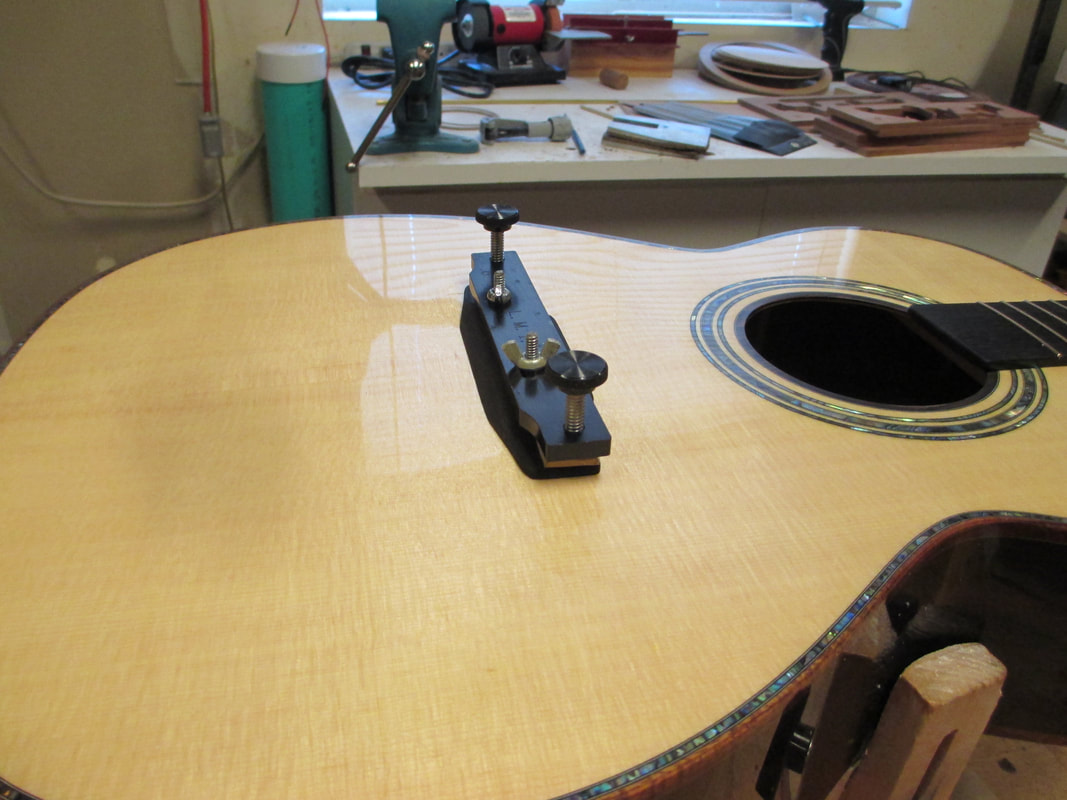
Installing the bridge
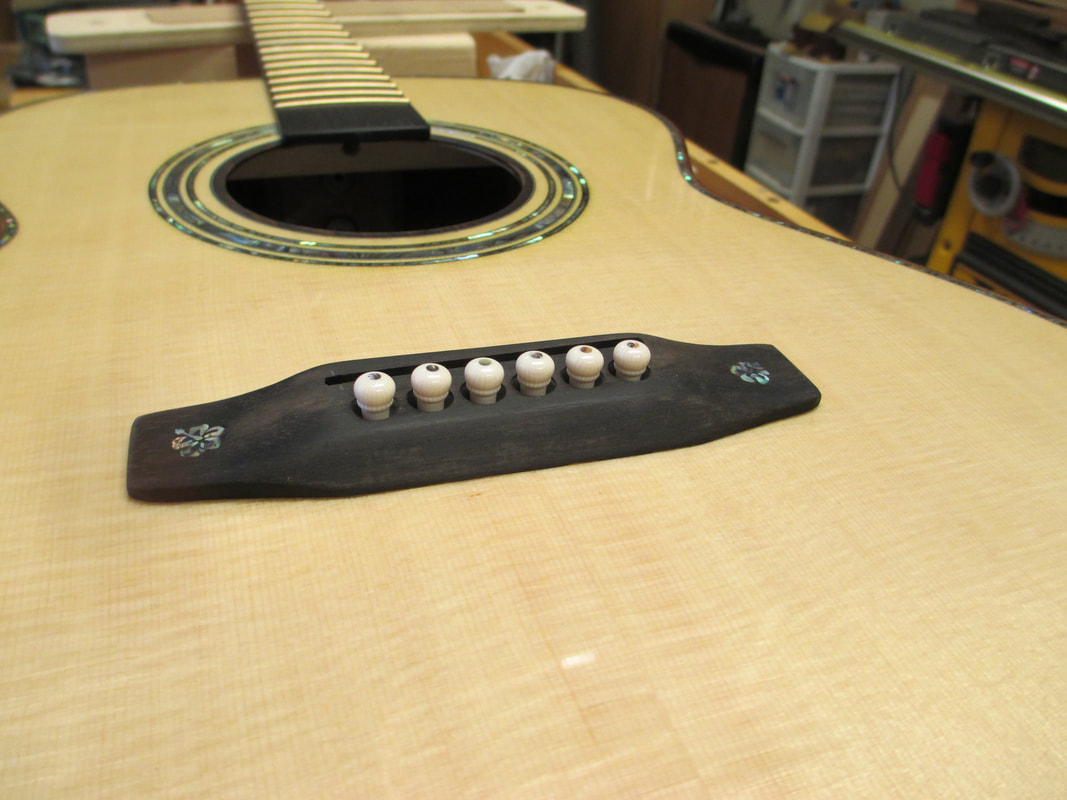
Bridge with bridge pins
Pick guard in place
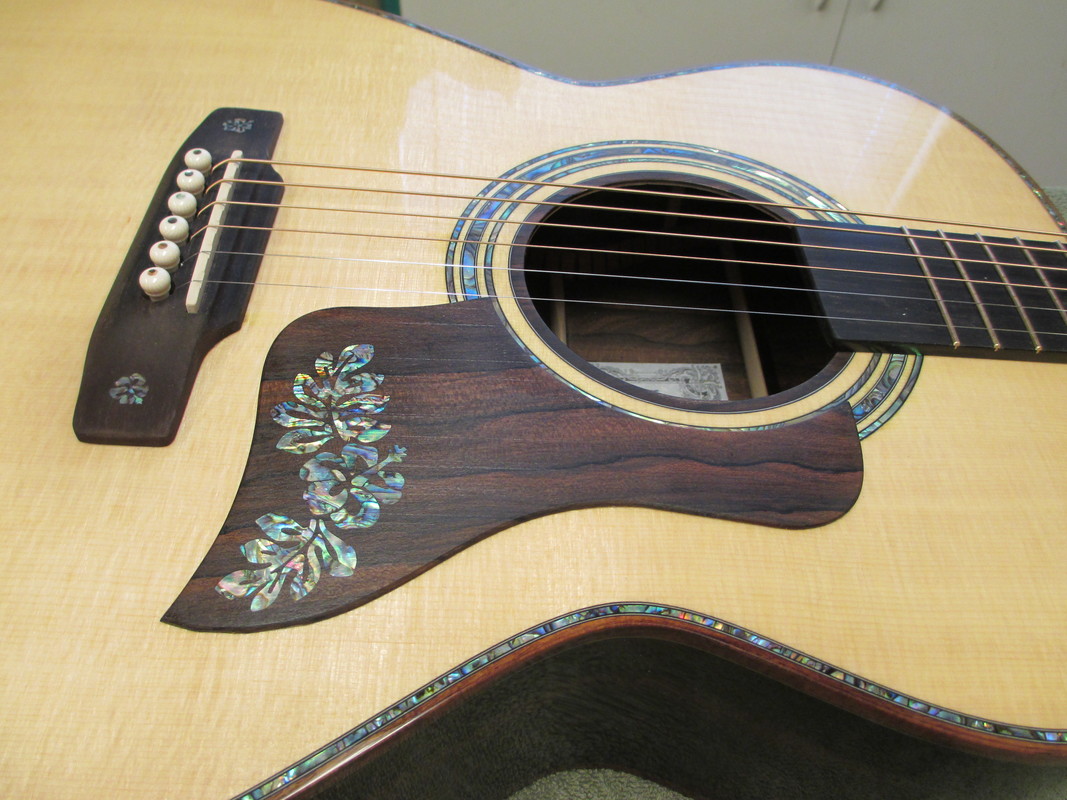
This guitar is essentially finished. I will be posting finished pictures by Jeanne Giltzow soon.
Pictures by Jeanne Giltzow