Lyle Bridge Repair
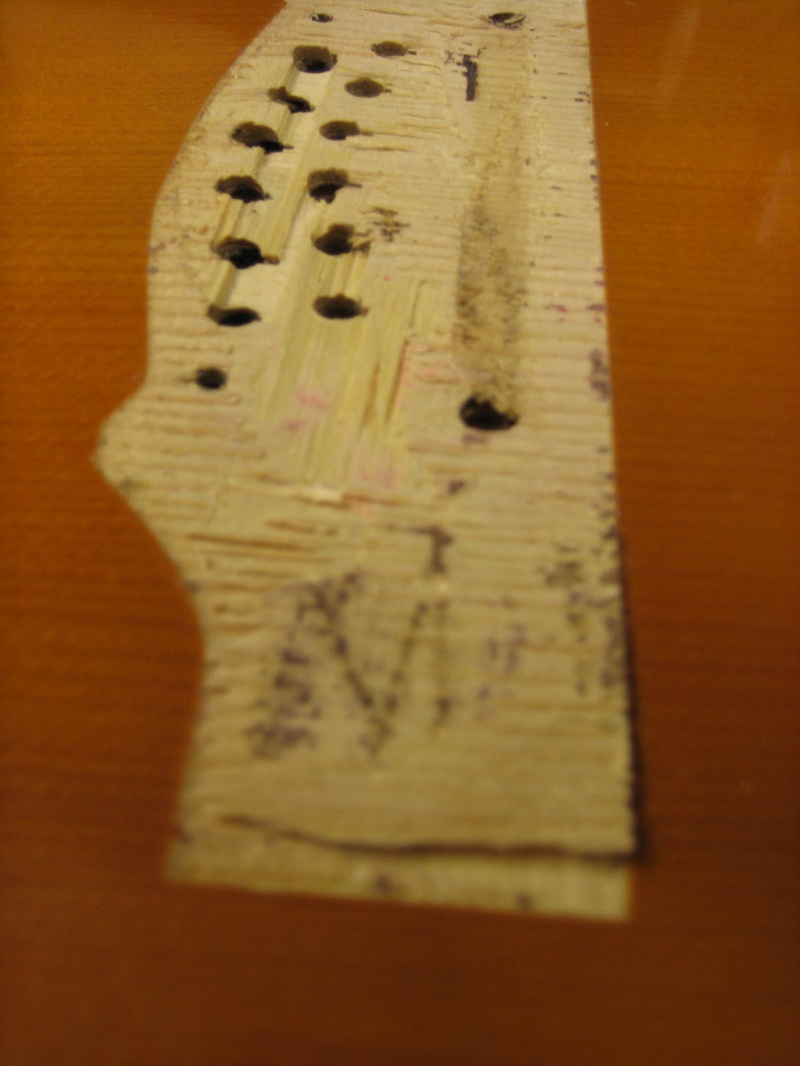
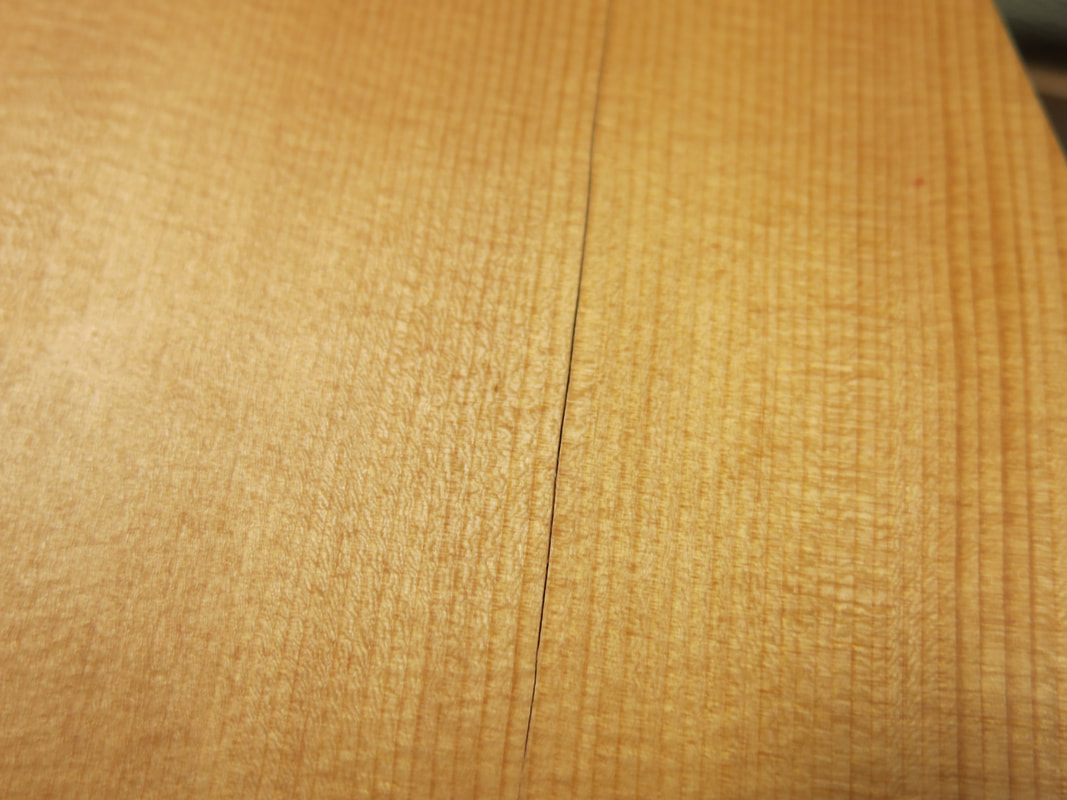
I posted on one of the on-line luthiers sites and received some good information on the Lyle and the repair I should attempt. Dave and I thought the top was solid wood but turns out it is not and that was probably the reason it did so much damage when the bridge came off - tearing some of the wood down to the next ply. Frank Ford suggested that I mix up some thick epoxy and stick the bridge back on - quick repair and should hold pretty well. I decided to go the long way and route out the bridge footprint on the top. Glue in a new piece of spruce and make a new bridge.
I repaired a section of the top that had the deepest tear-out and routed the top out for a new piece of spruce.
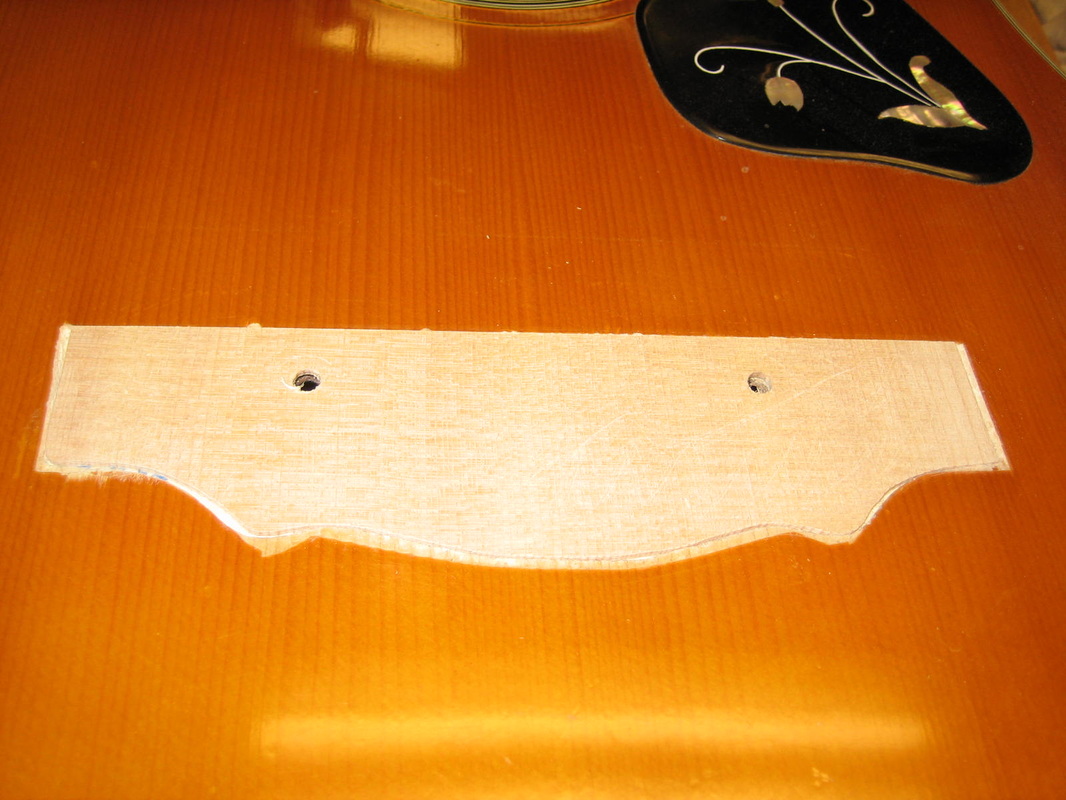
Then I cut a piece of spruce to fit that routed area and glue it into the top.
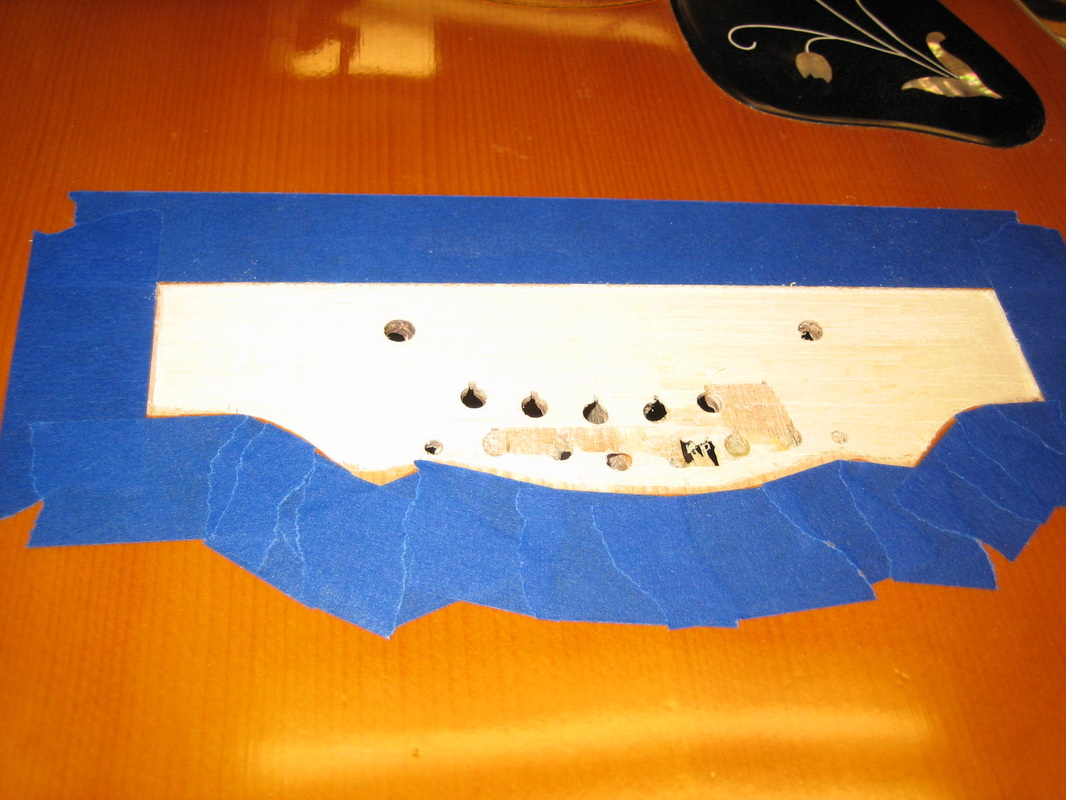
I leveled that area, carefully, with a chisel and sand paper. Then looked inside to see what repair may be needed there. Turns out that some of the bridge pins were only going through the top of the guitar and did not have bridge plate under them. I prepared the inside surface and glued maple bridge plate material to the underside of the sound board using clamps and magnets.

Now to duplicate the bridge. Dave did not want the adjustable bridge back in as it was not adjustable and was only adding weight to the bridge. It was situated over two open holes on the top that had nothing underneath them that would make the bridge adjustable. So a new bridge was made without the adjustment and without the screws that were helping hold down the old bridge.
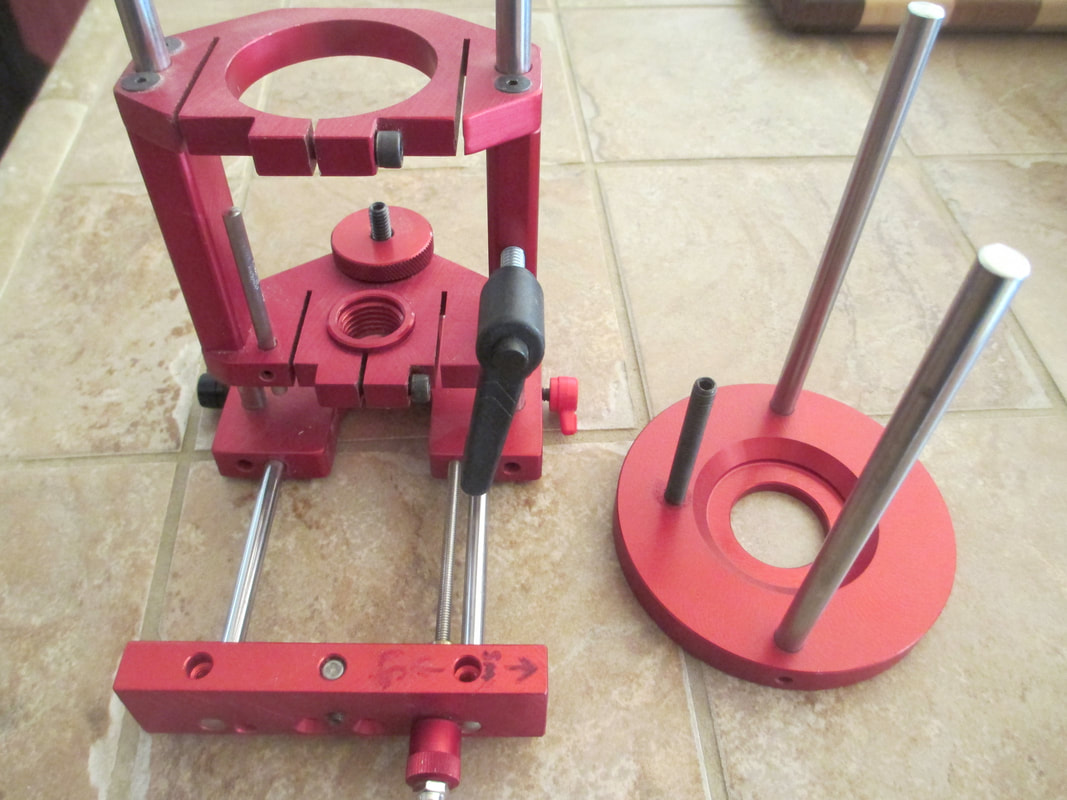
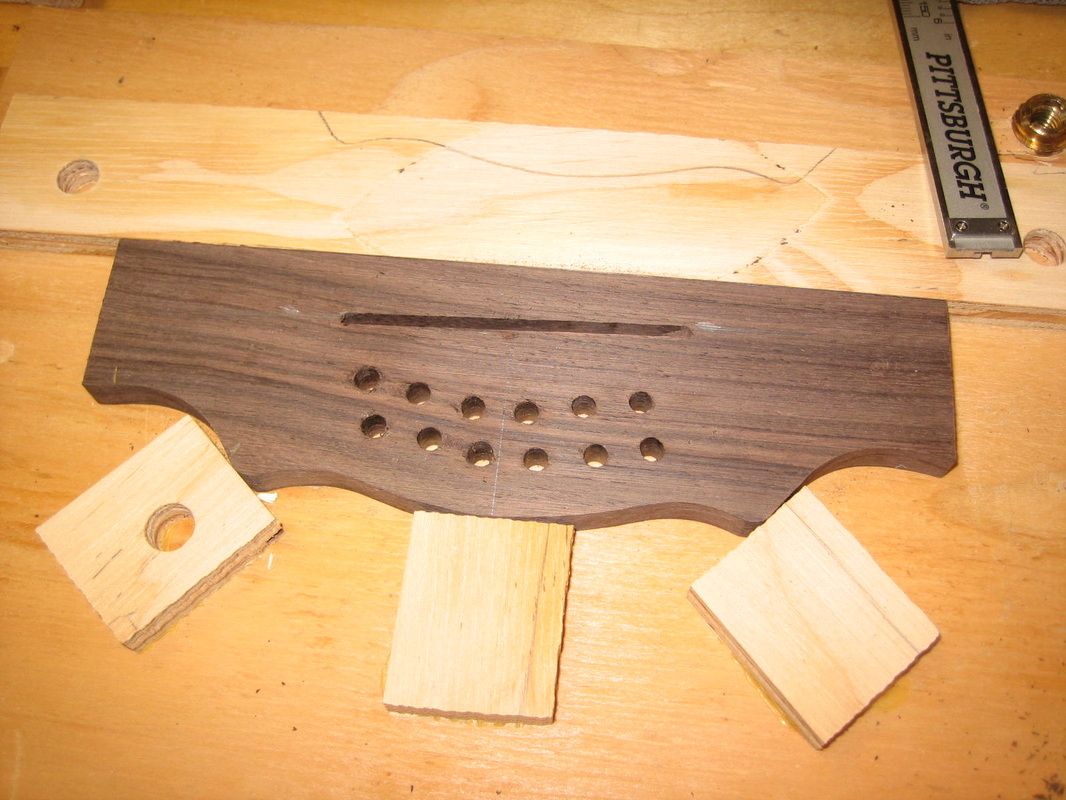
I used a piece of East Indian Rosewood to build the new bridge. Taping the old bridge to the EIR blank to drill the pin holes in the correct position. I built a jig to cut the saddle slot.
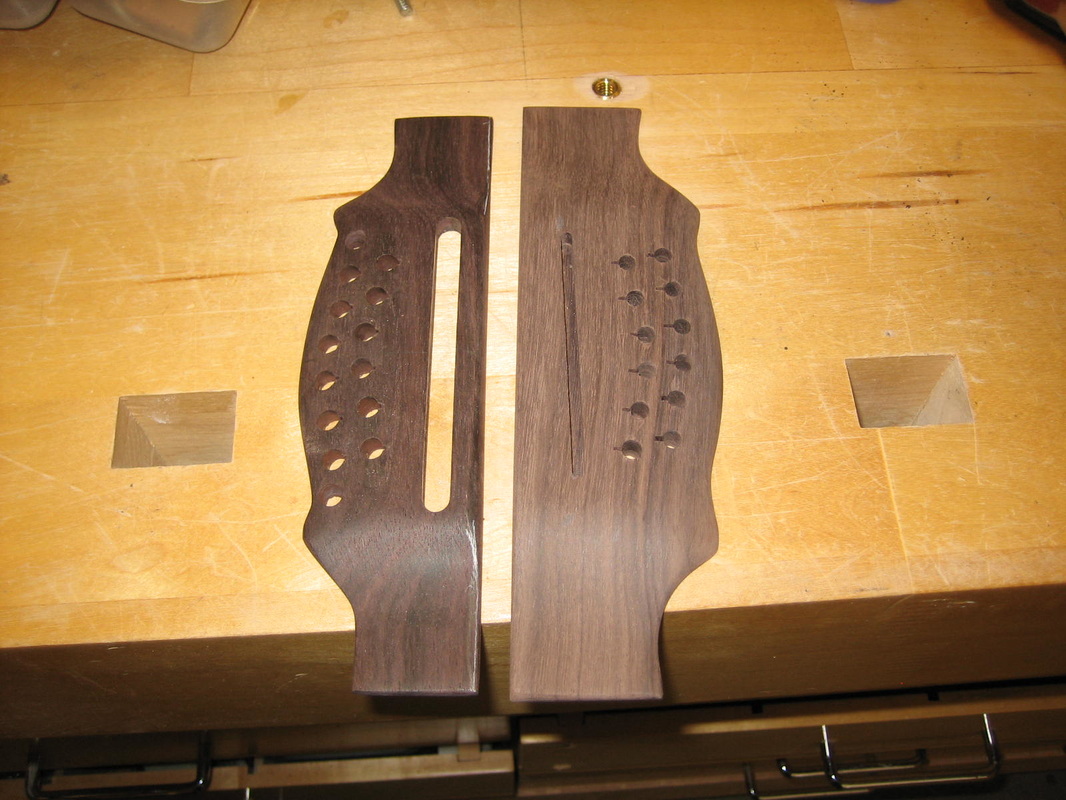
Then shaped the bridge and applied tru-oil. Old bridge on the left (large cut out for adjustable saddle) and new bridge on the right.
New bridge installed and saddle ready for shaping:
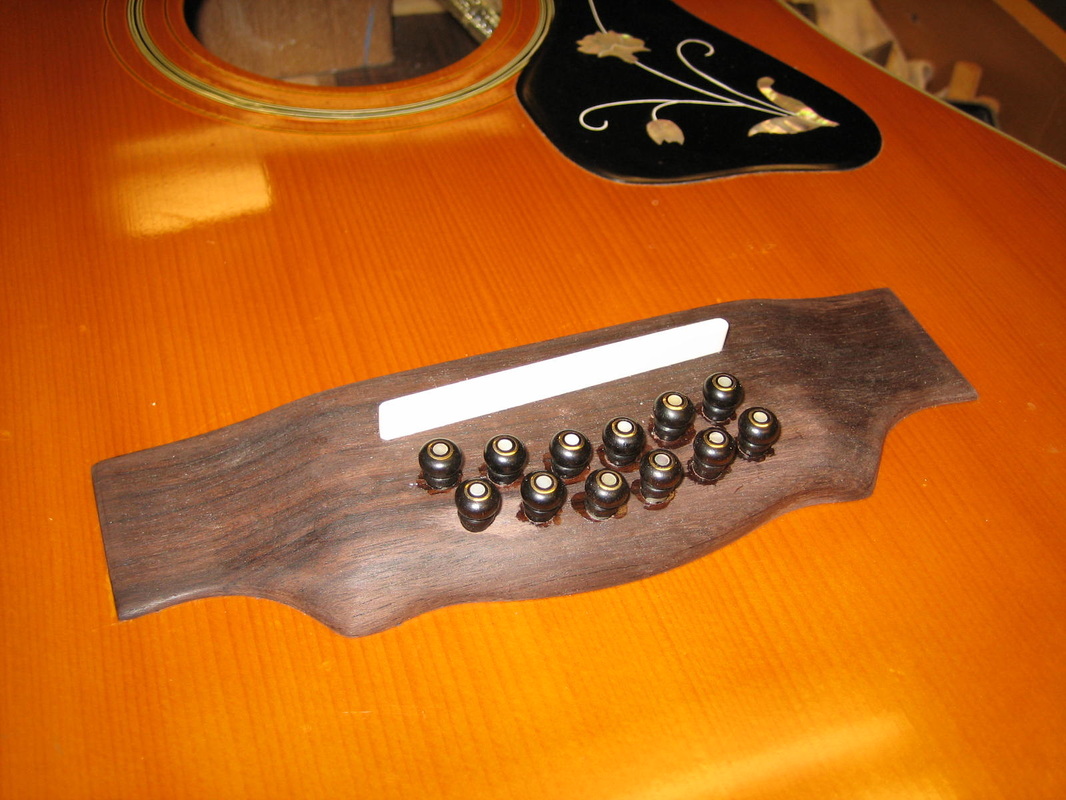
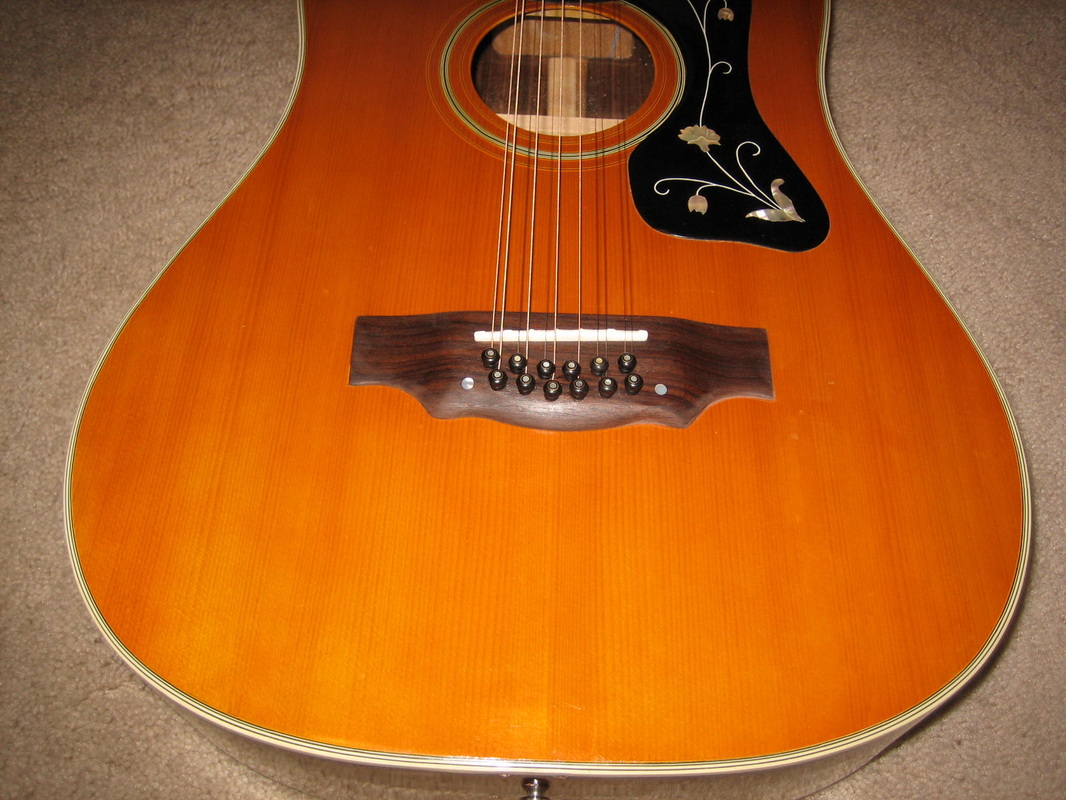
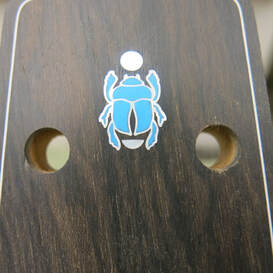
Strung up and ready to play. I added the 2 Mother-or-Pearl bridge dots. Now back to Dave - mdg