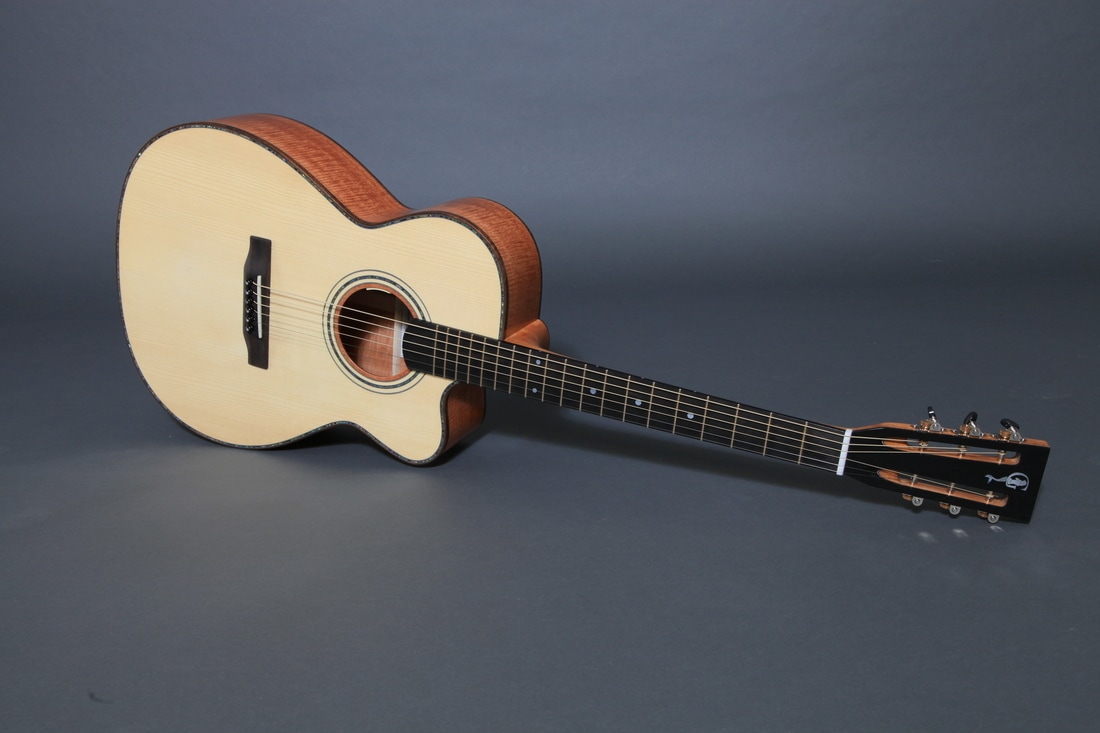
I am building an OOG model cutaway guitar for Sunny Jim, James White. Sunny Jim is an extremely talented musician, singer and songwriter. The TropRock Music Awards have honored him with 8 male vocalist of the year awards as well as his most recent 2016 album of the year award. I am very fortunate to be building a guitar for Jim.
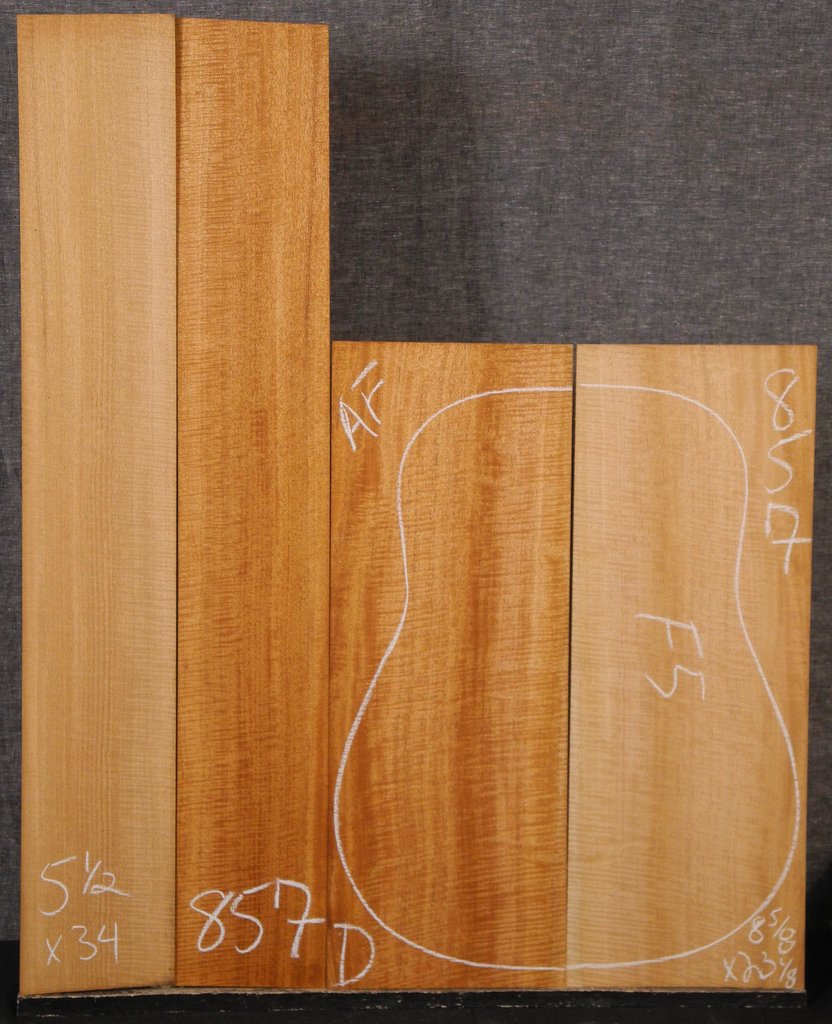
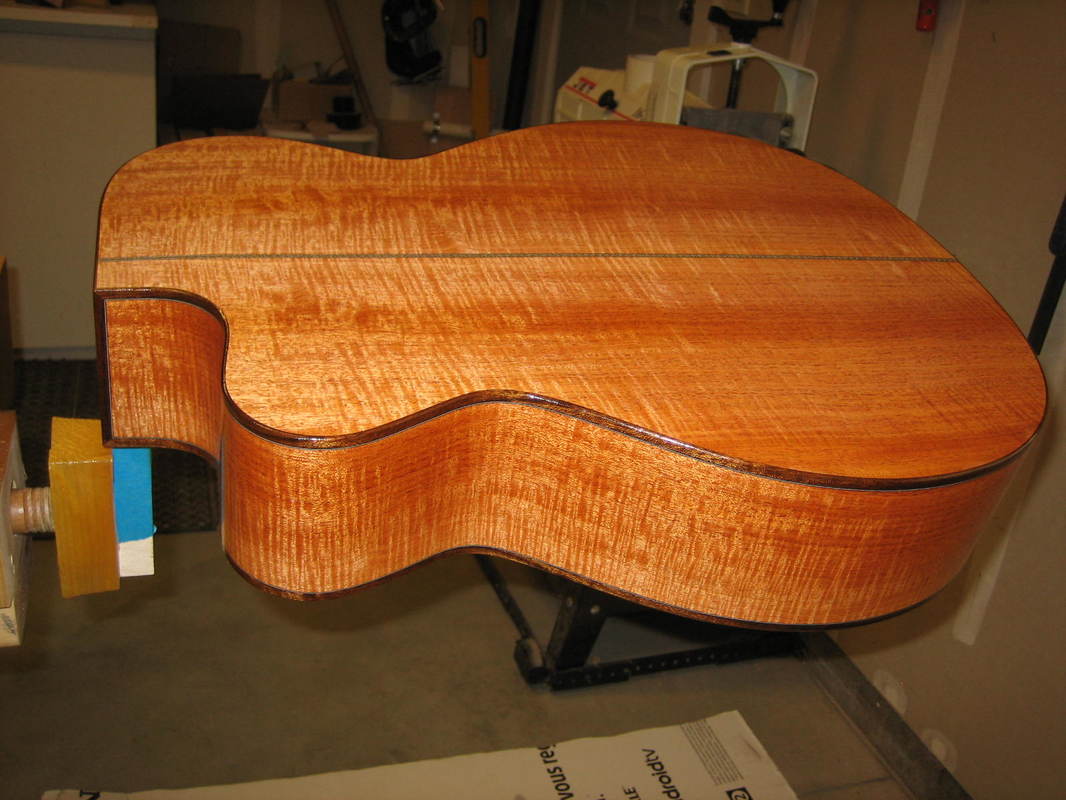
Jim has chosen Mahogany for the back and sides of this guitar. I have found a beautiful set of 'fiddleback' Mahogany. This set was harvested in Southern Mexico where a system of Government and Mayan communities work together to create a sustainable Mahogany forest for future generations. They will plant more that 100,000 Mahogany seedlings this year.
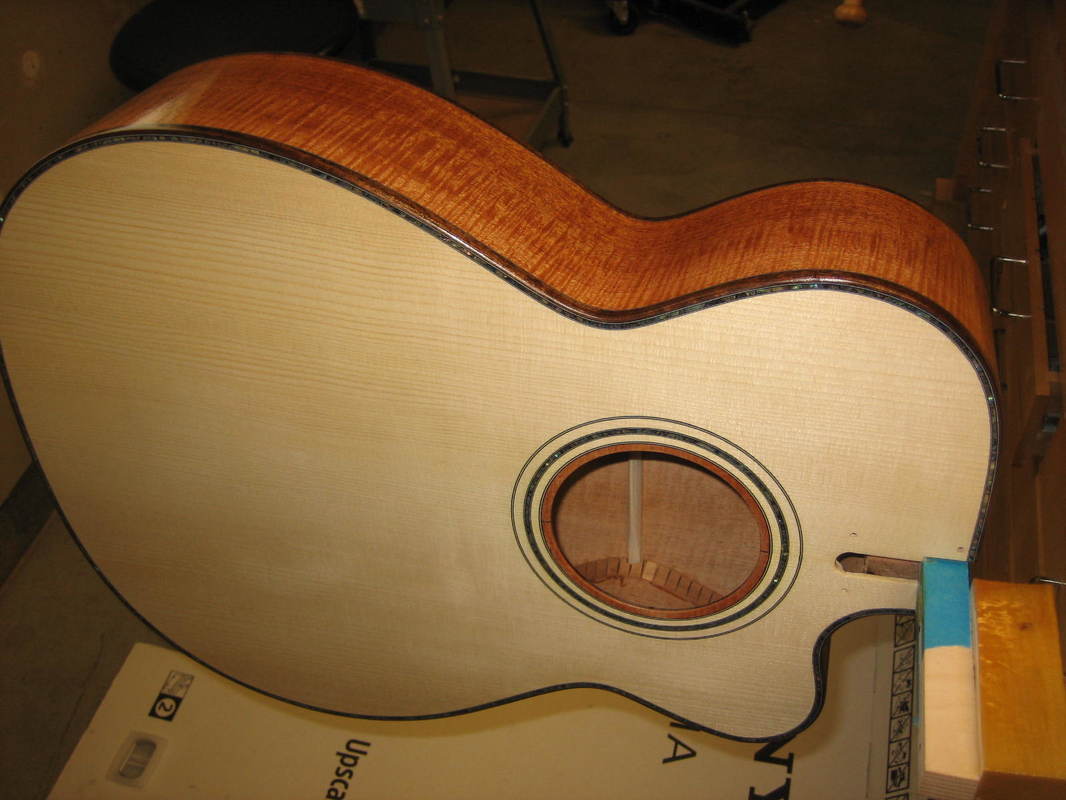
Jim has named this guitar 'Grace'. We will be using a very nice Adirondack Red Spruce sound board and ebony fret board, bridge and peg head.
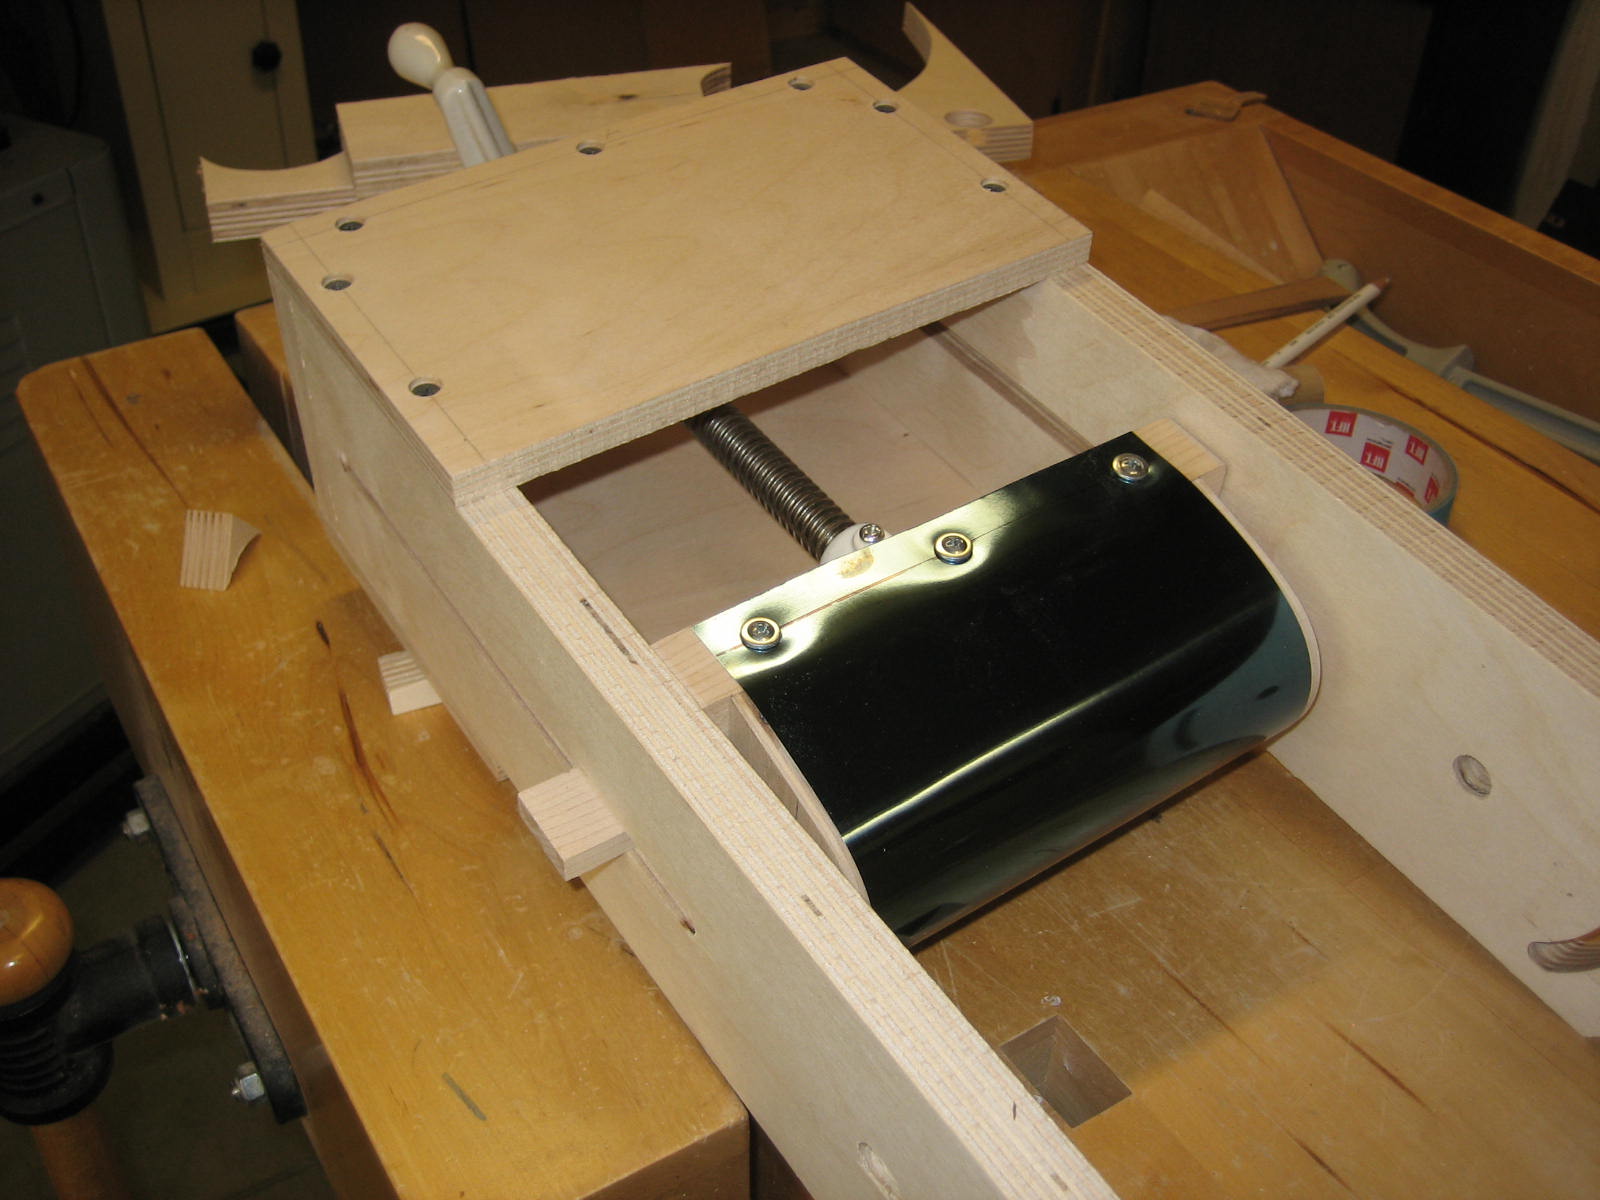
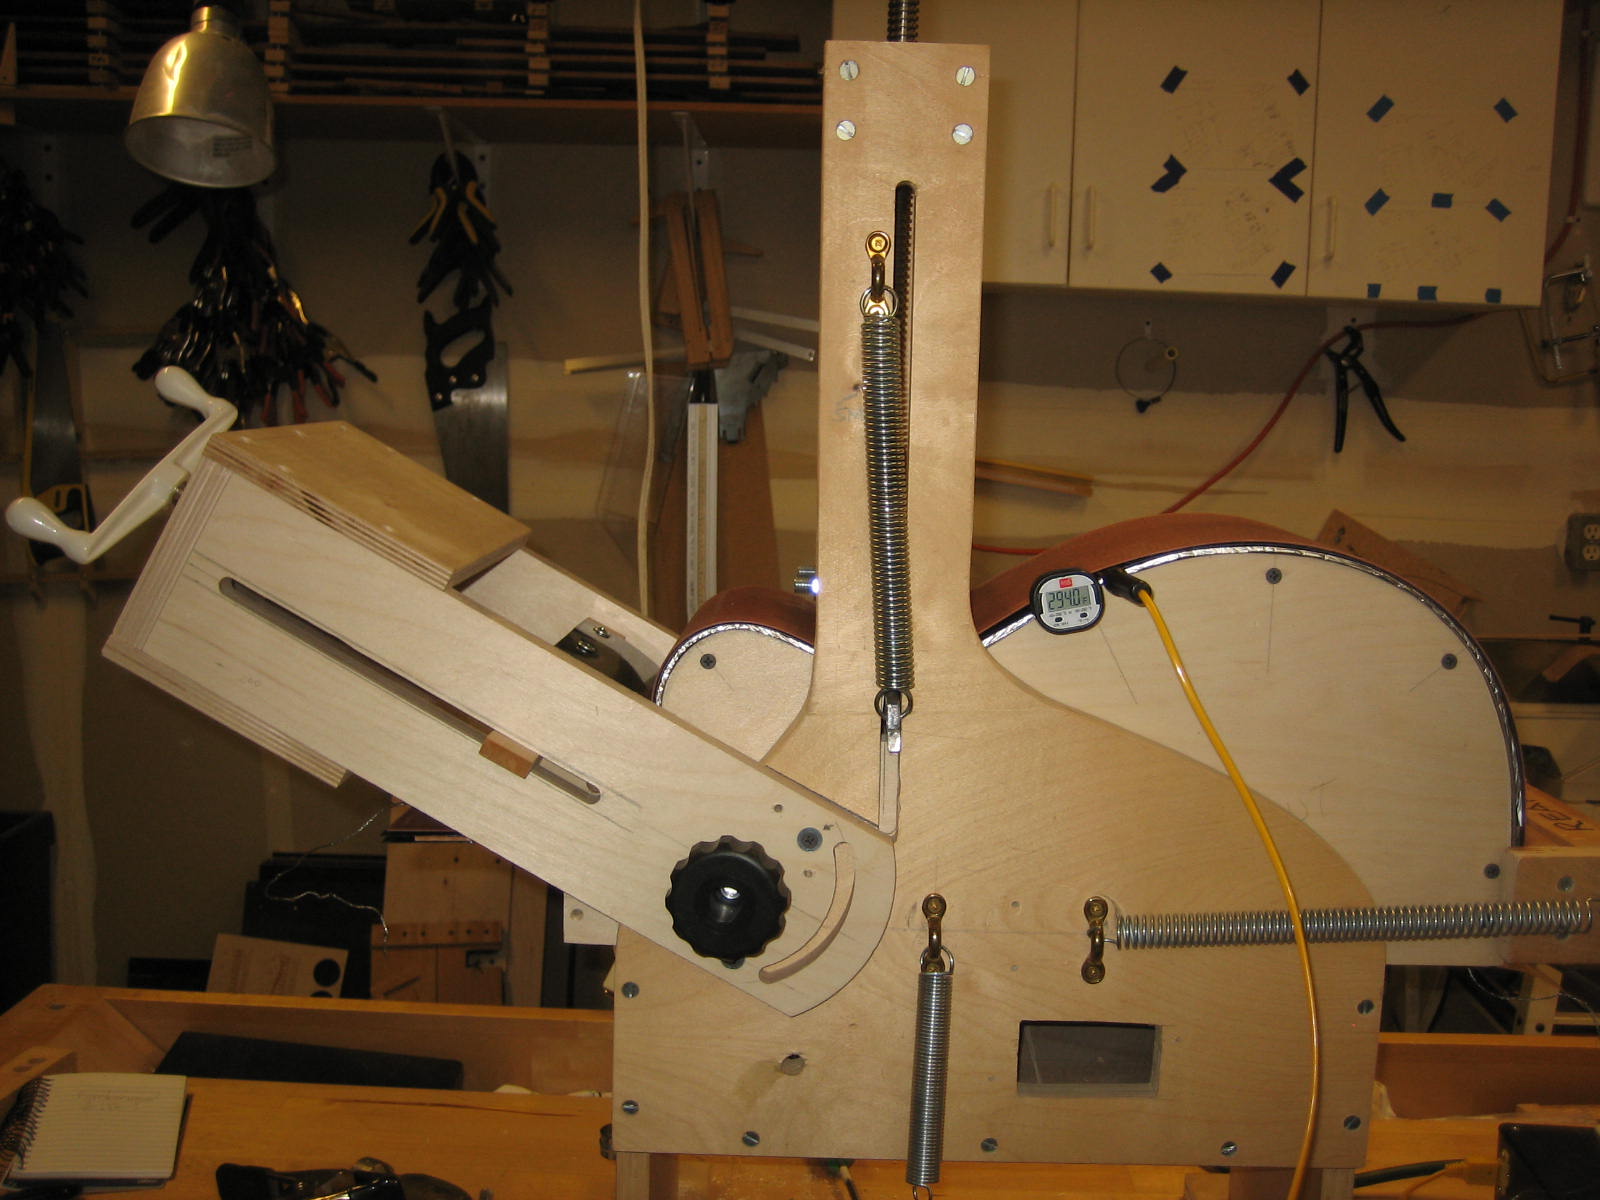
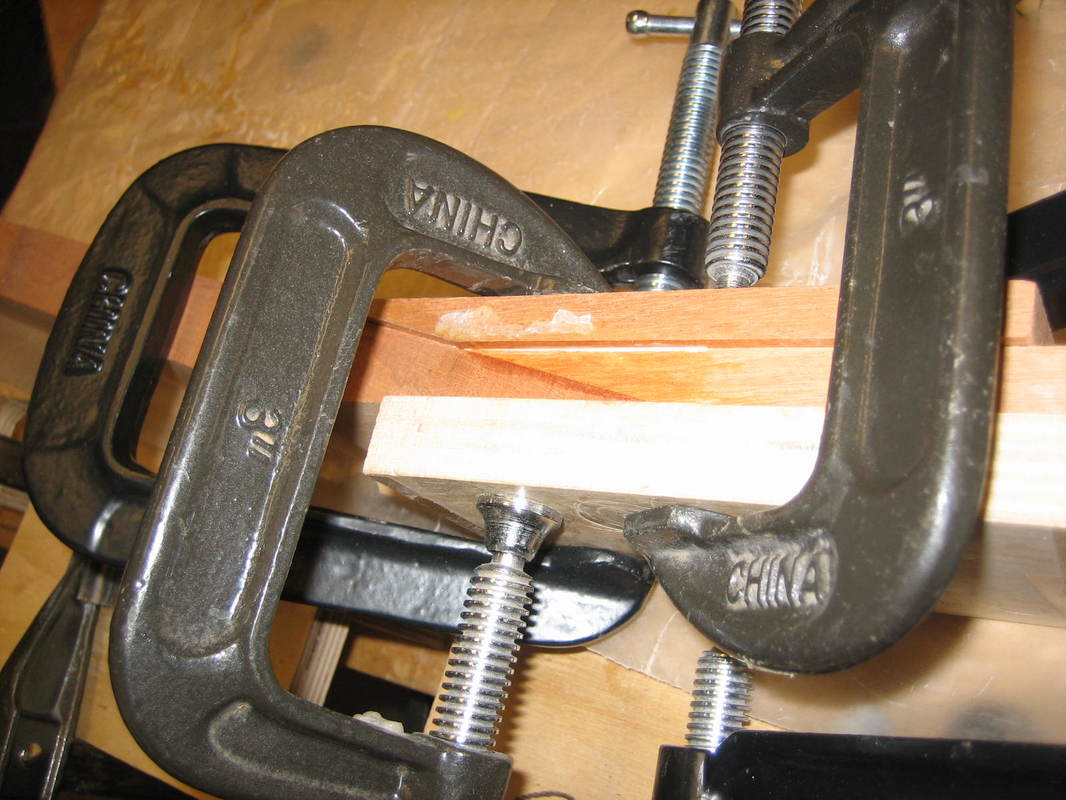
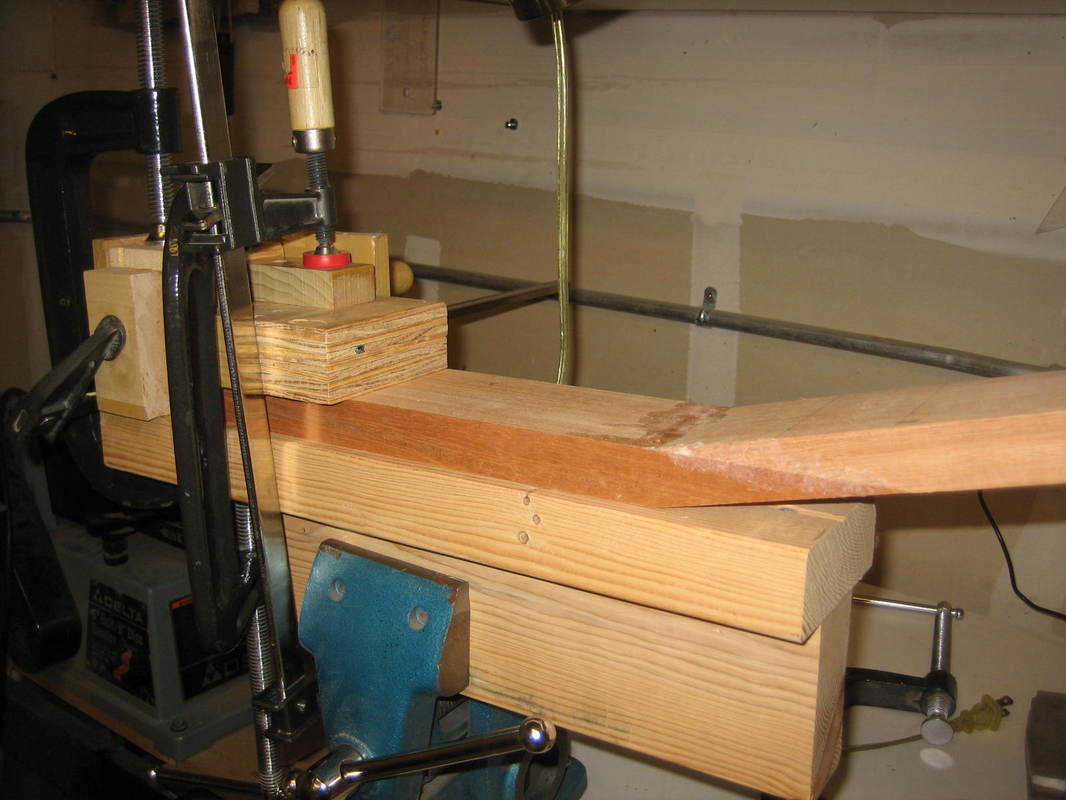
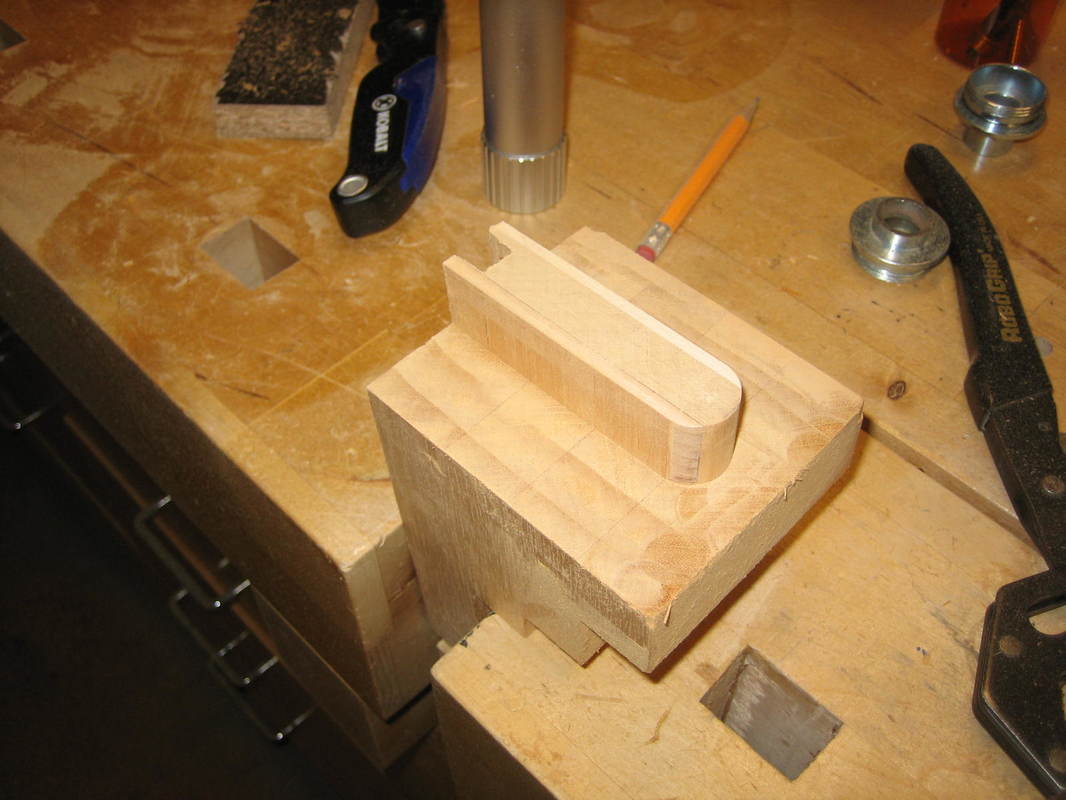
Making a bending press attachment to bend the cutaway
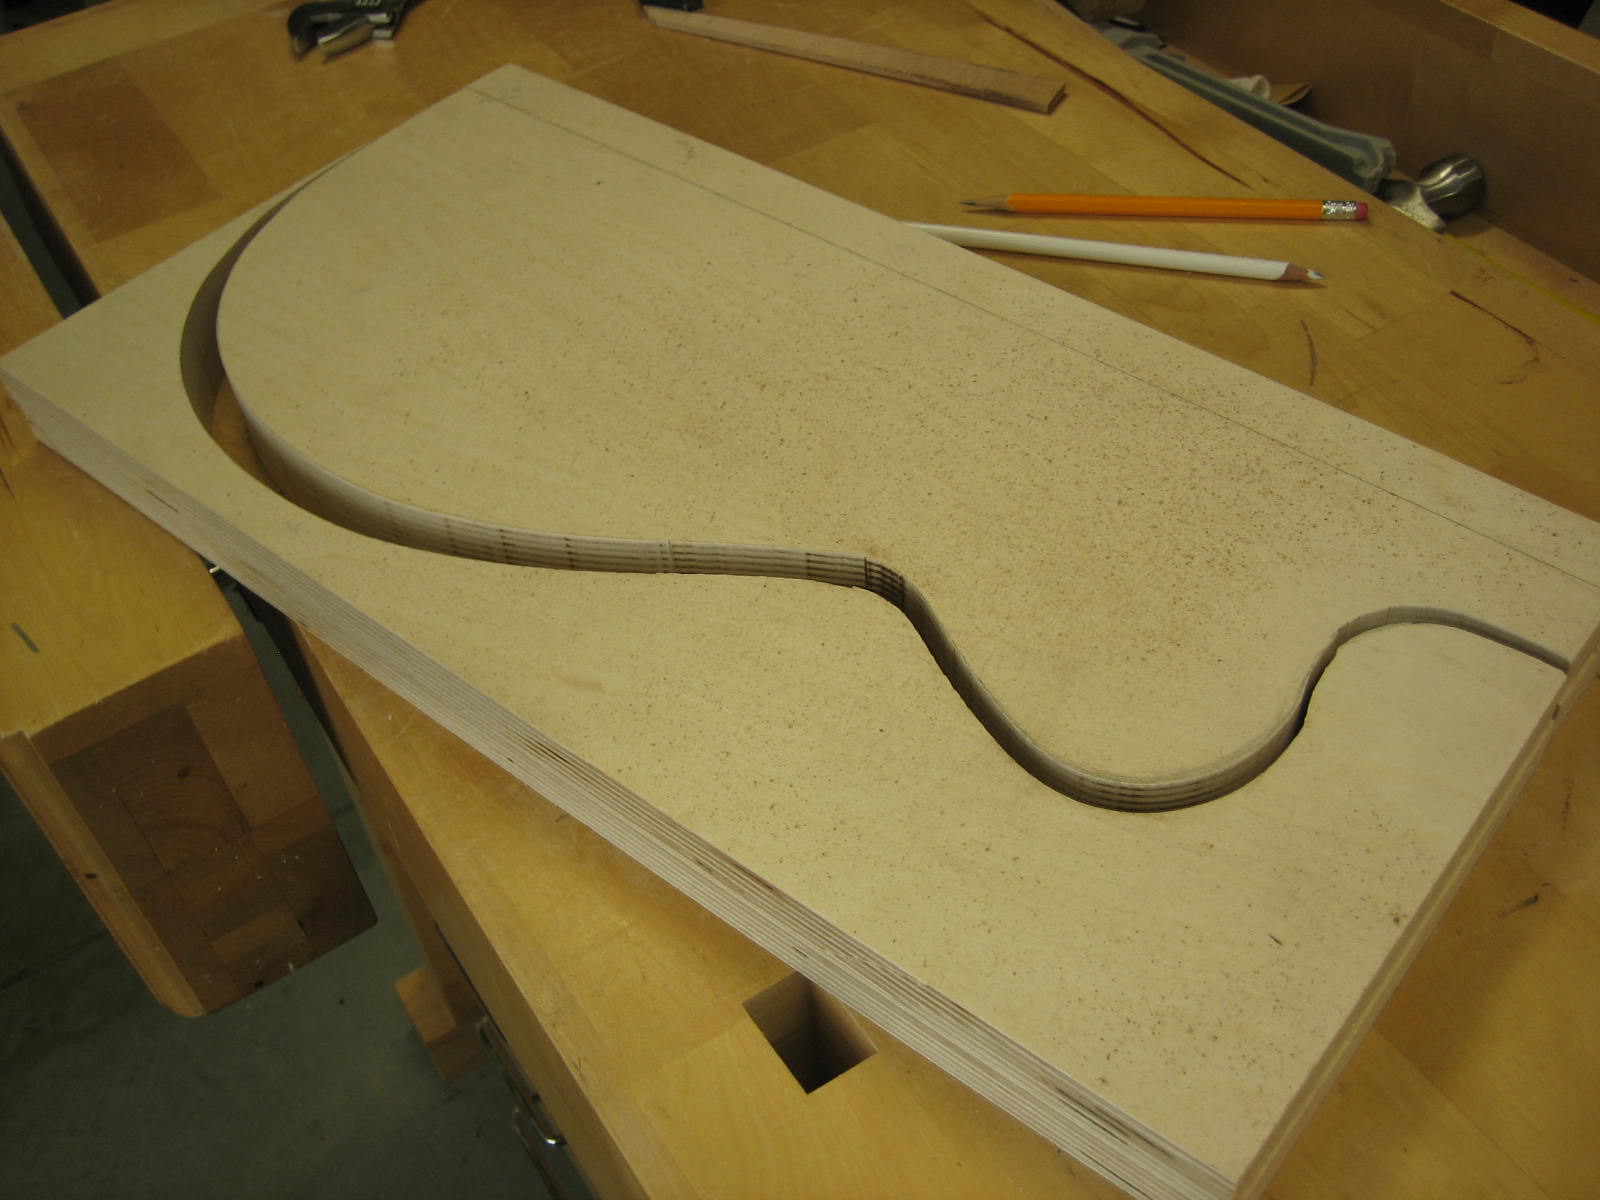
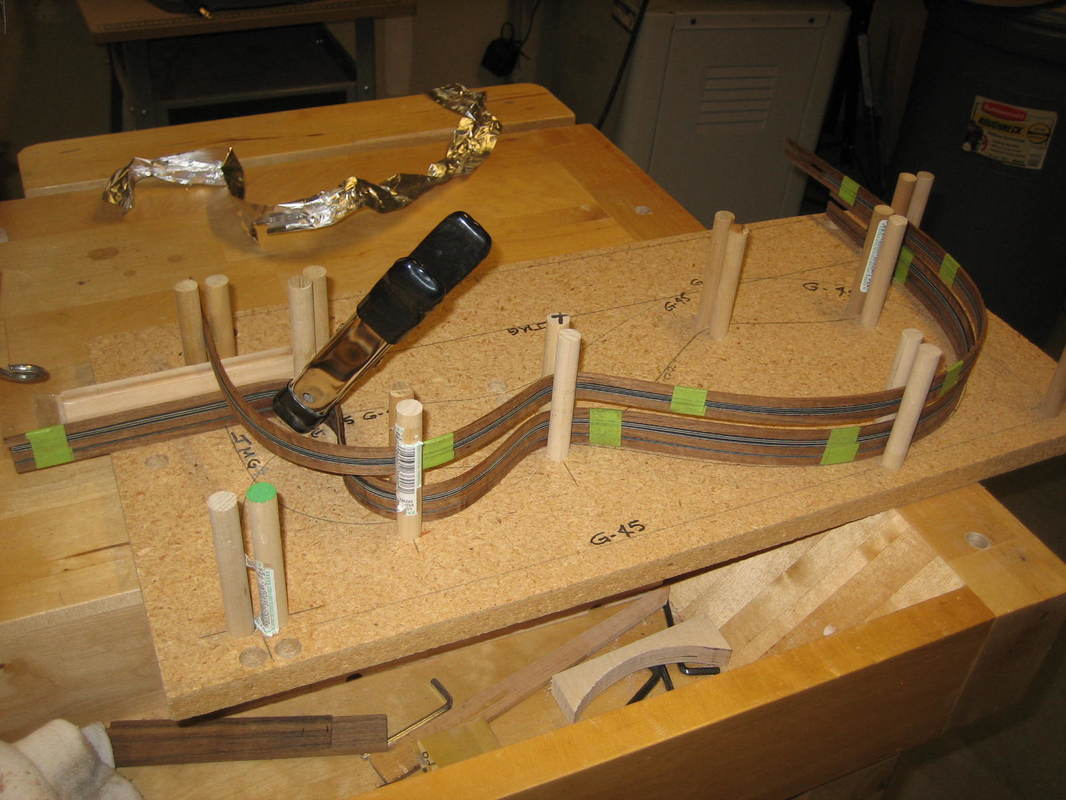
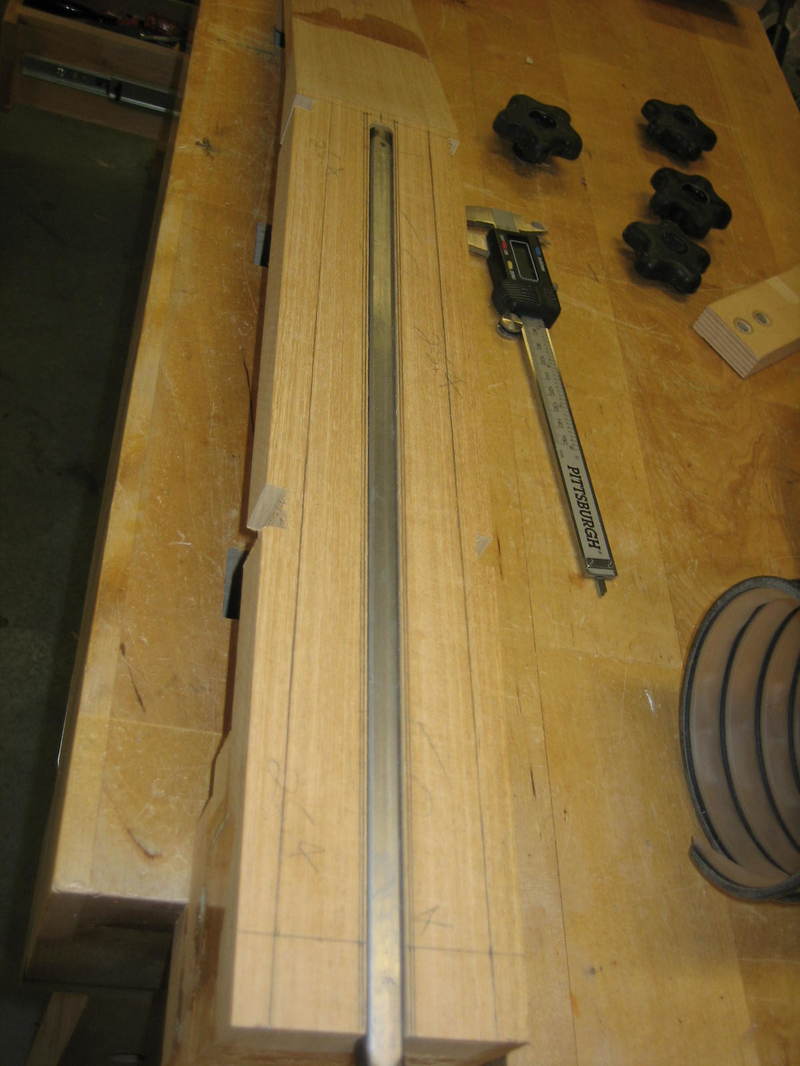
Making a new cutaway side mold
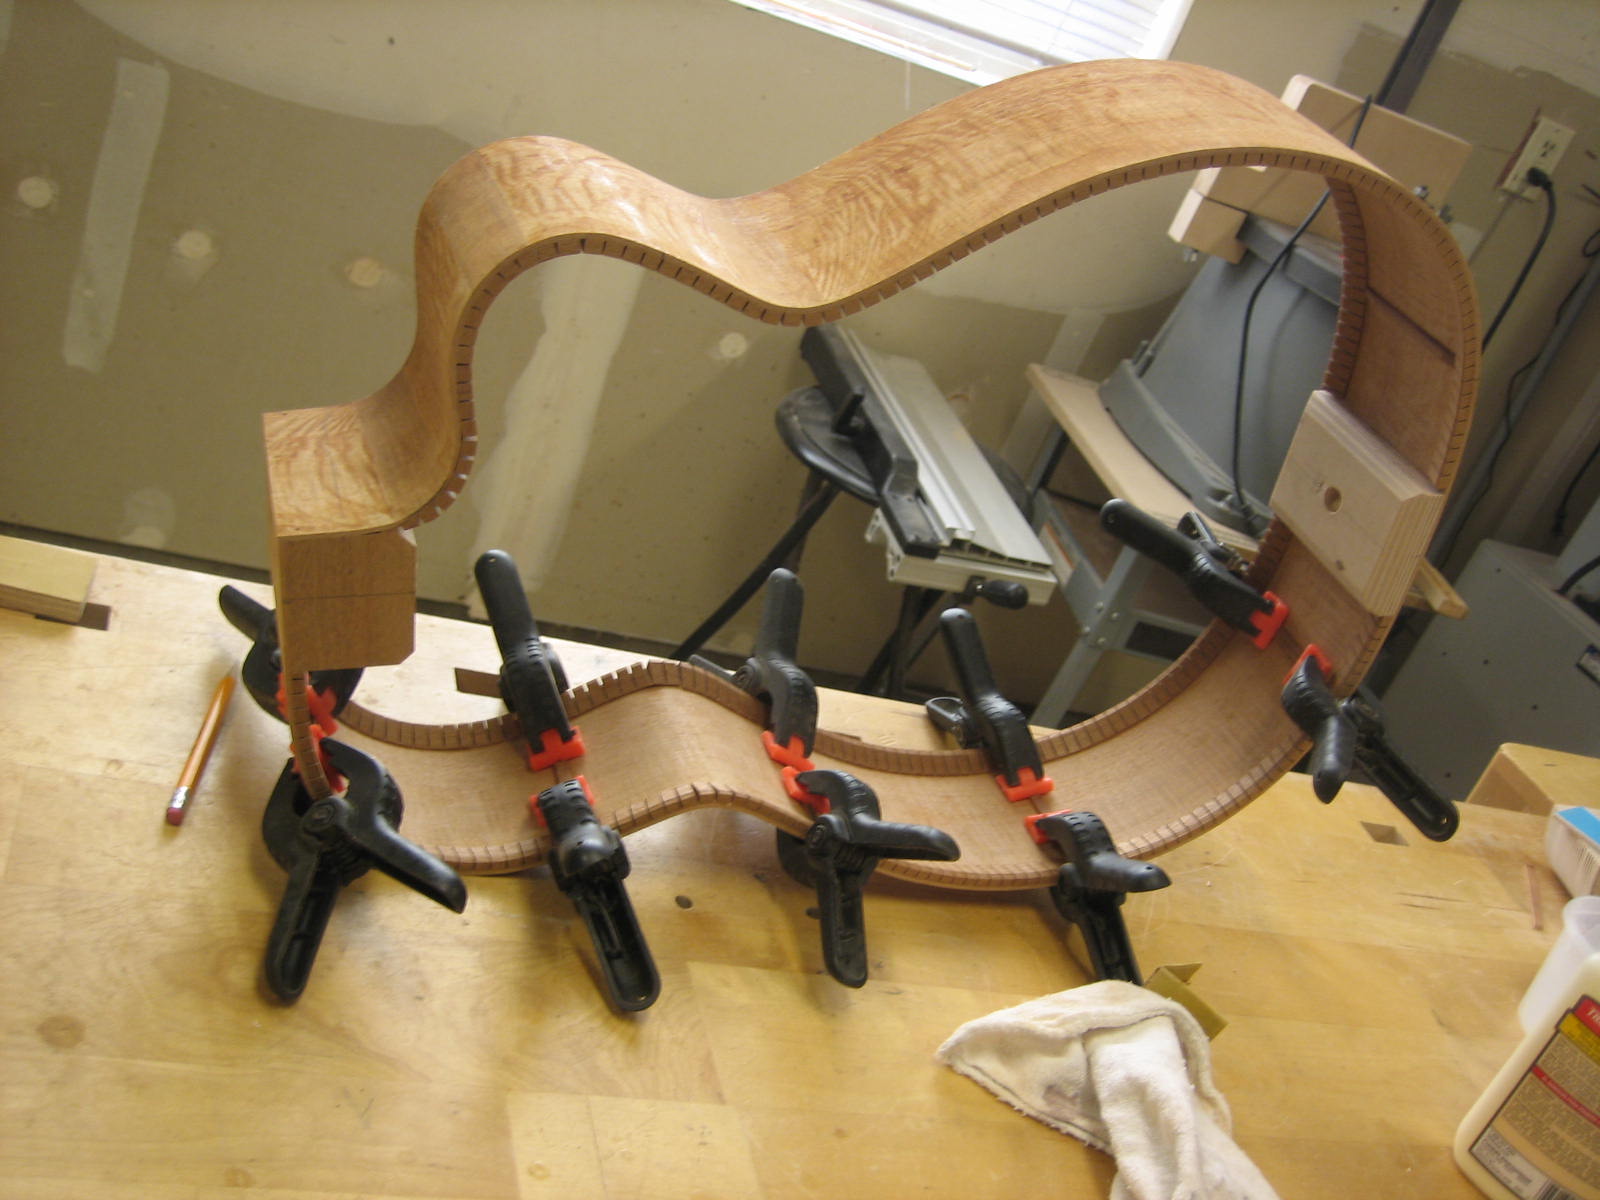
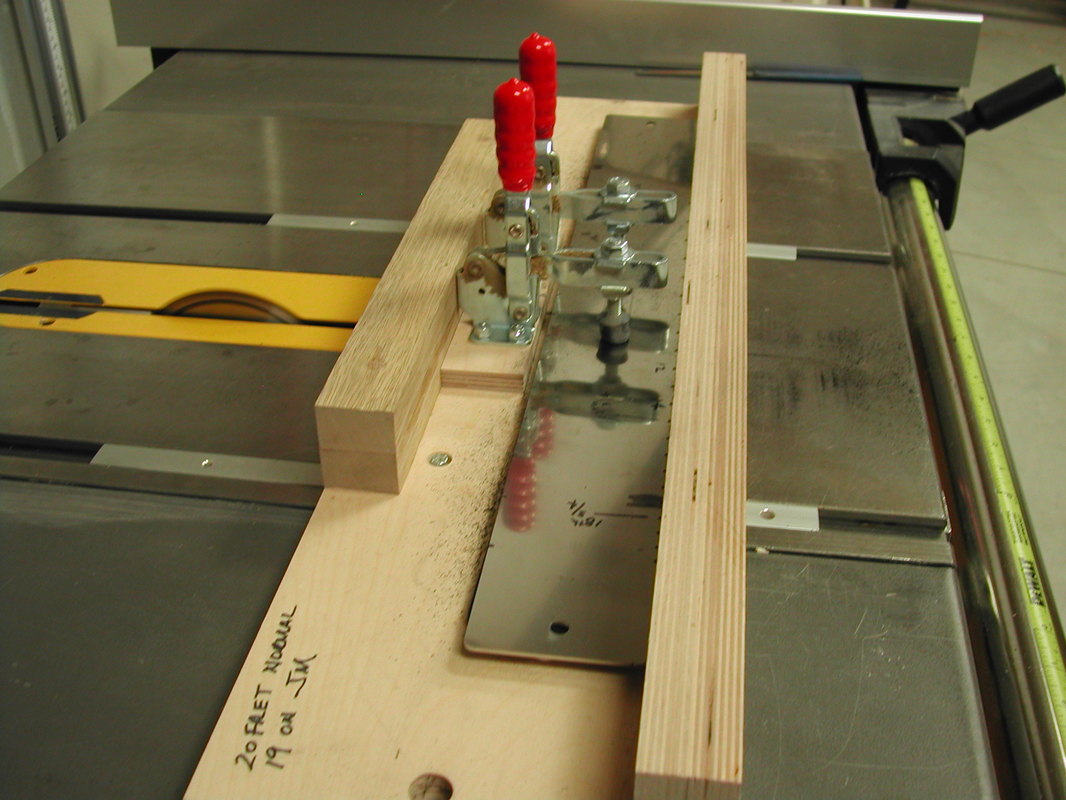
Bending the cutaway side
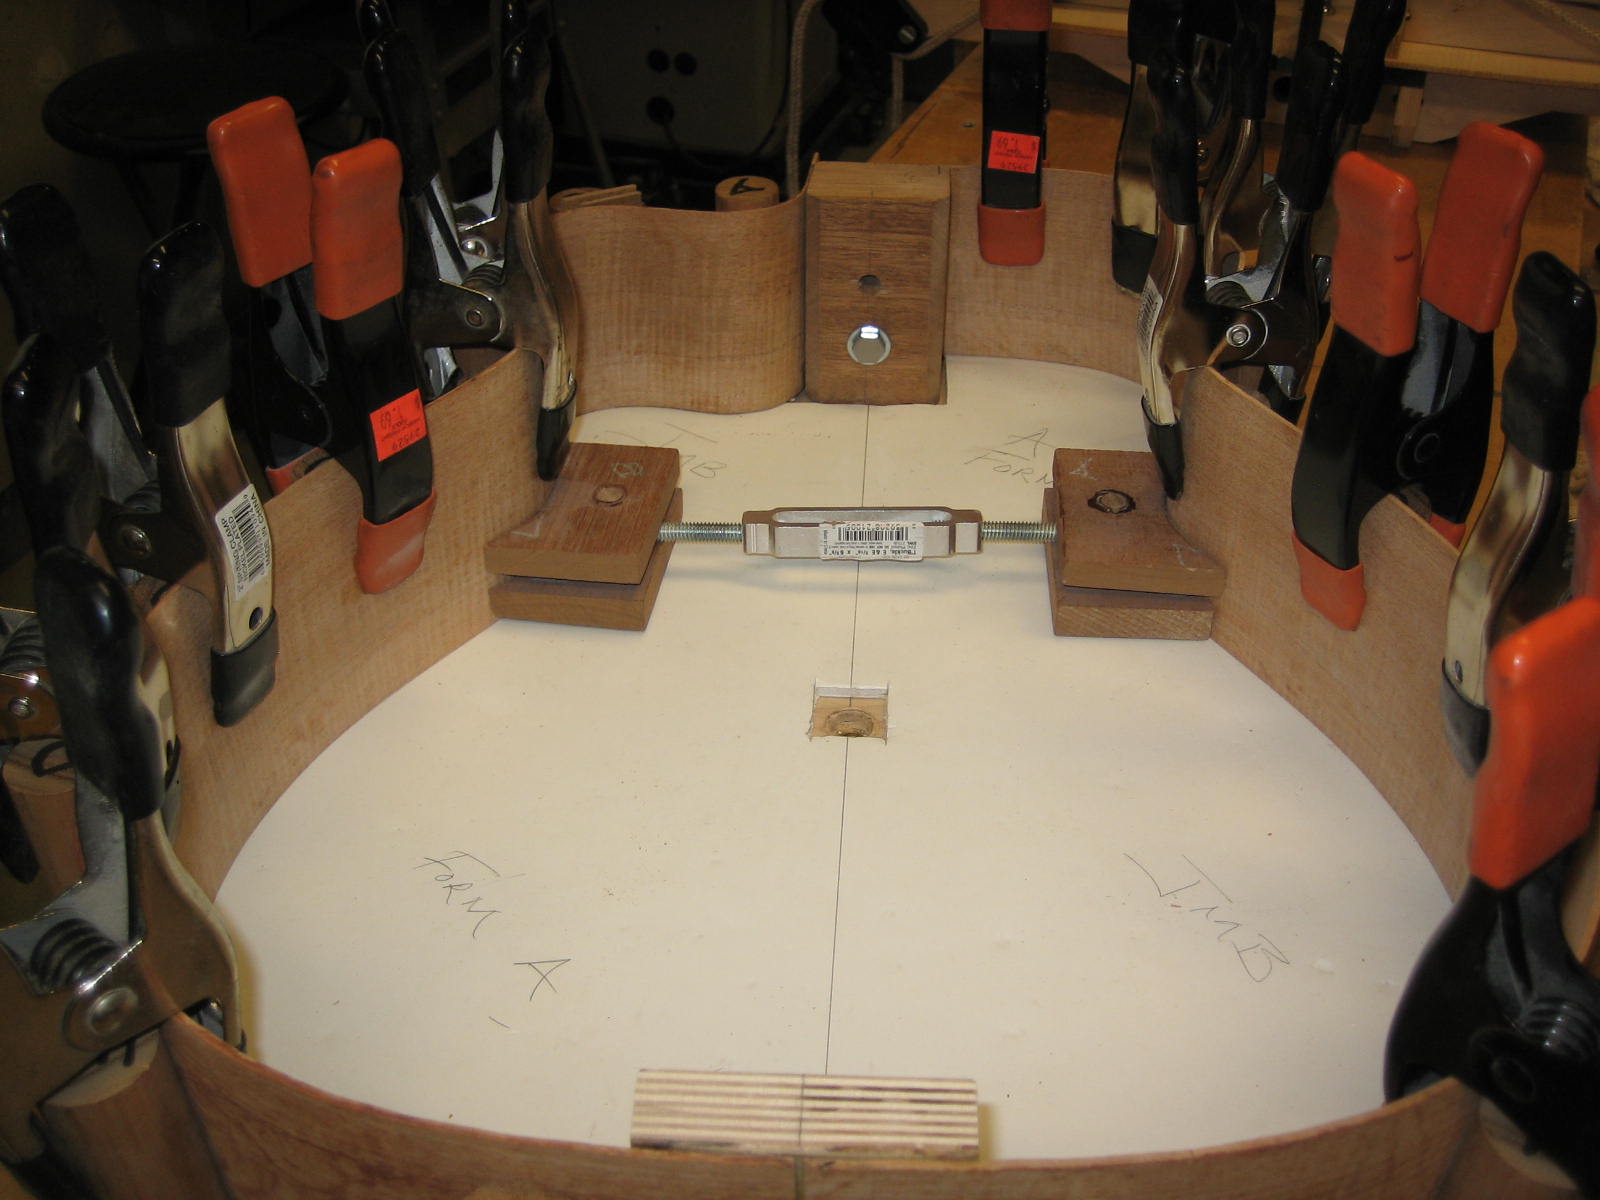
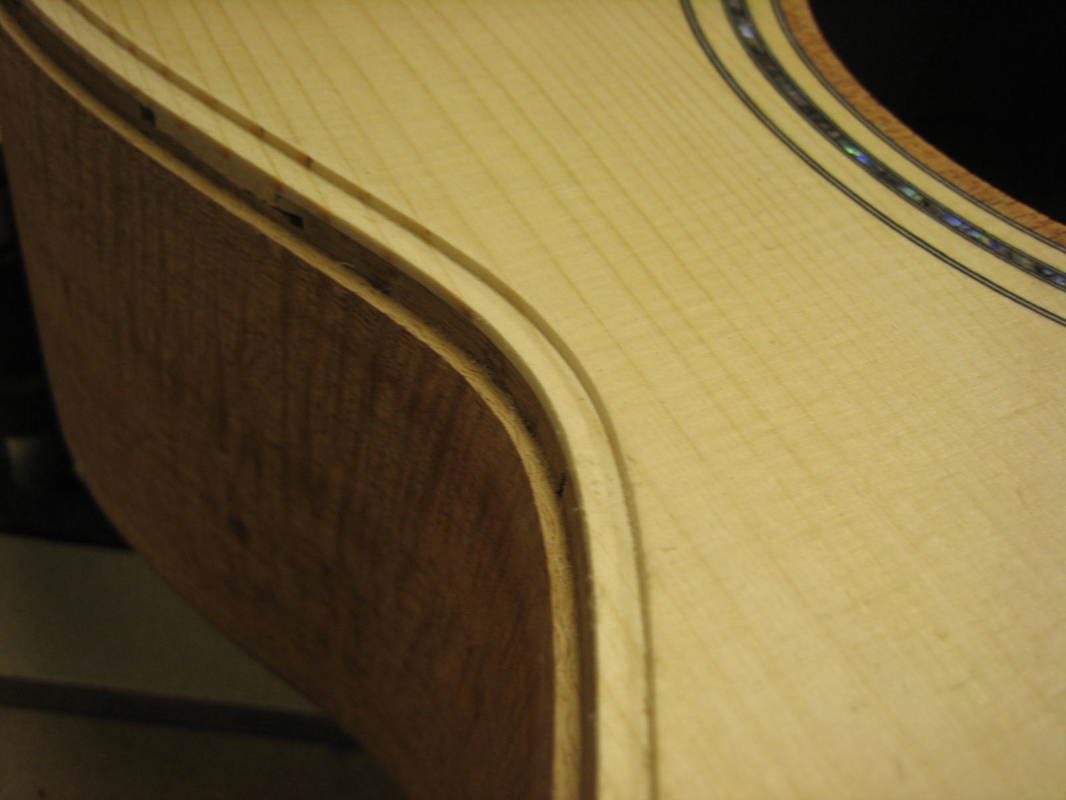
Cutaway and regular side in the form with tail & heel blocks
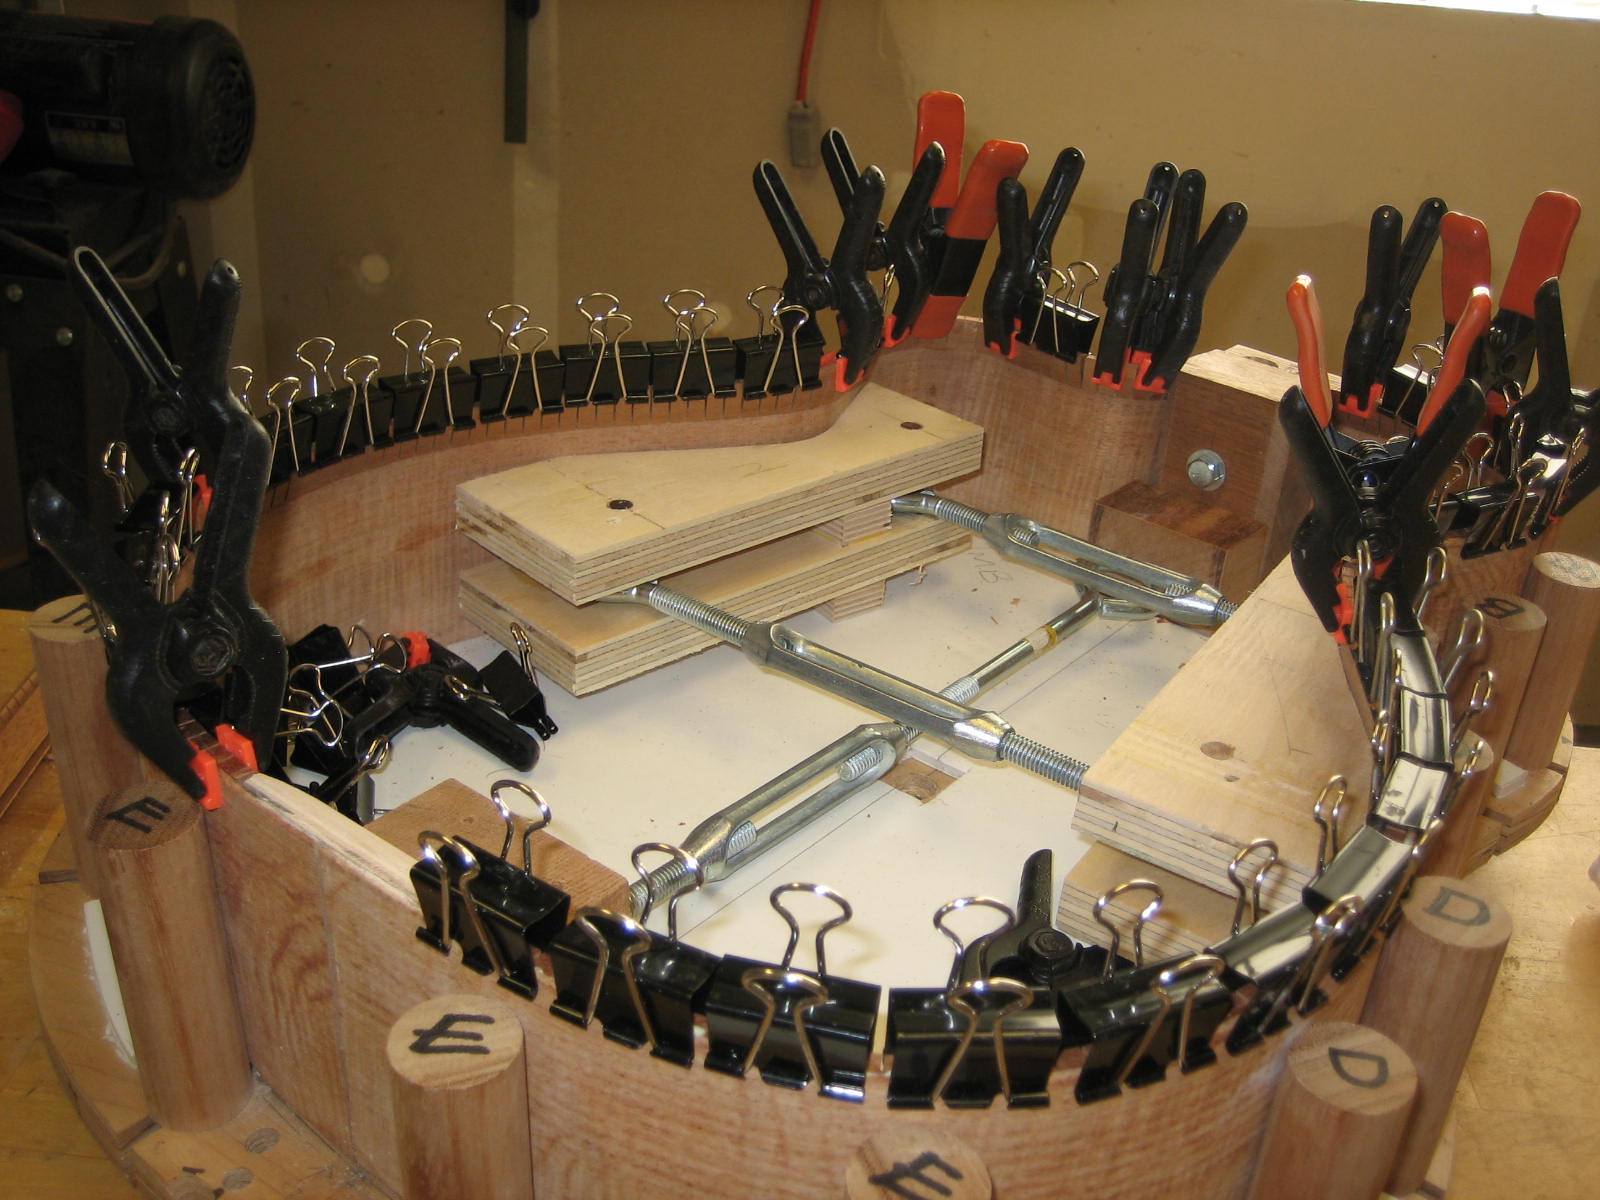
Installing kerfed linings
Side crack stop reinforcement
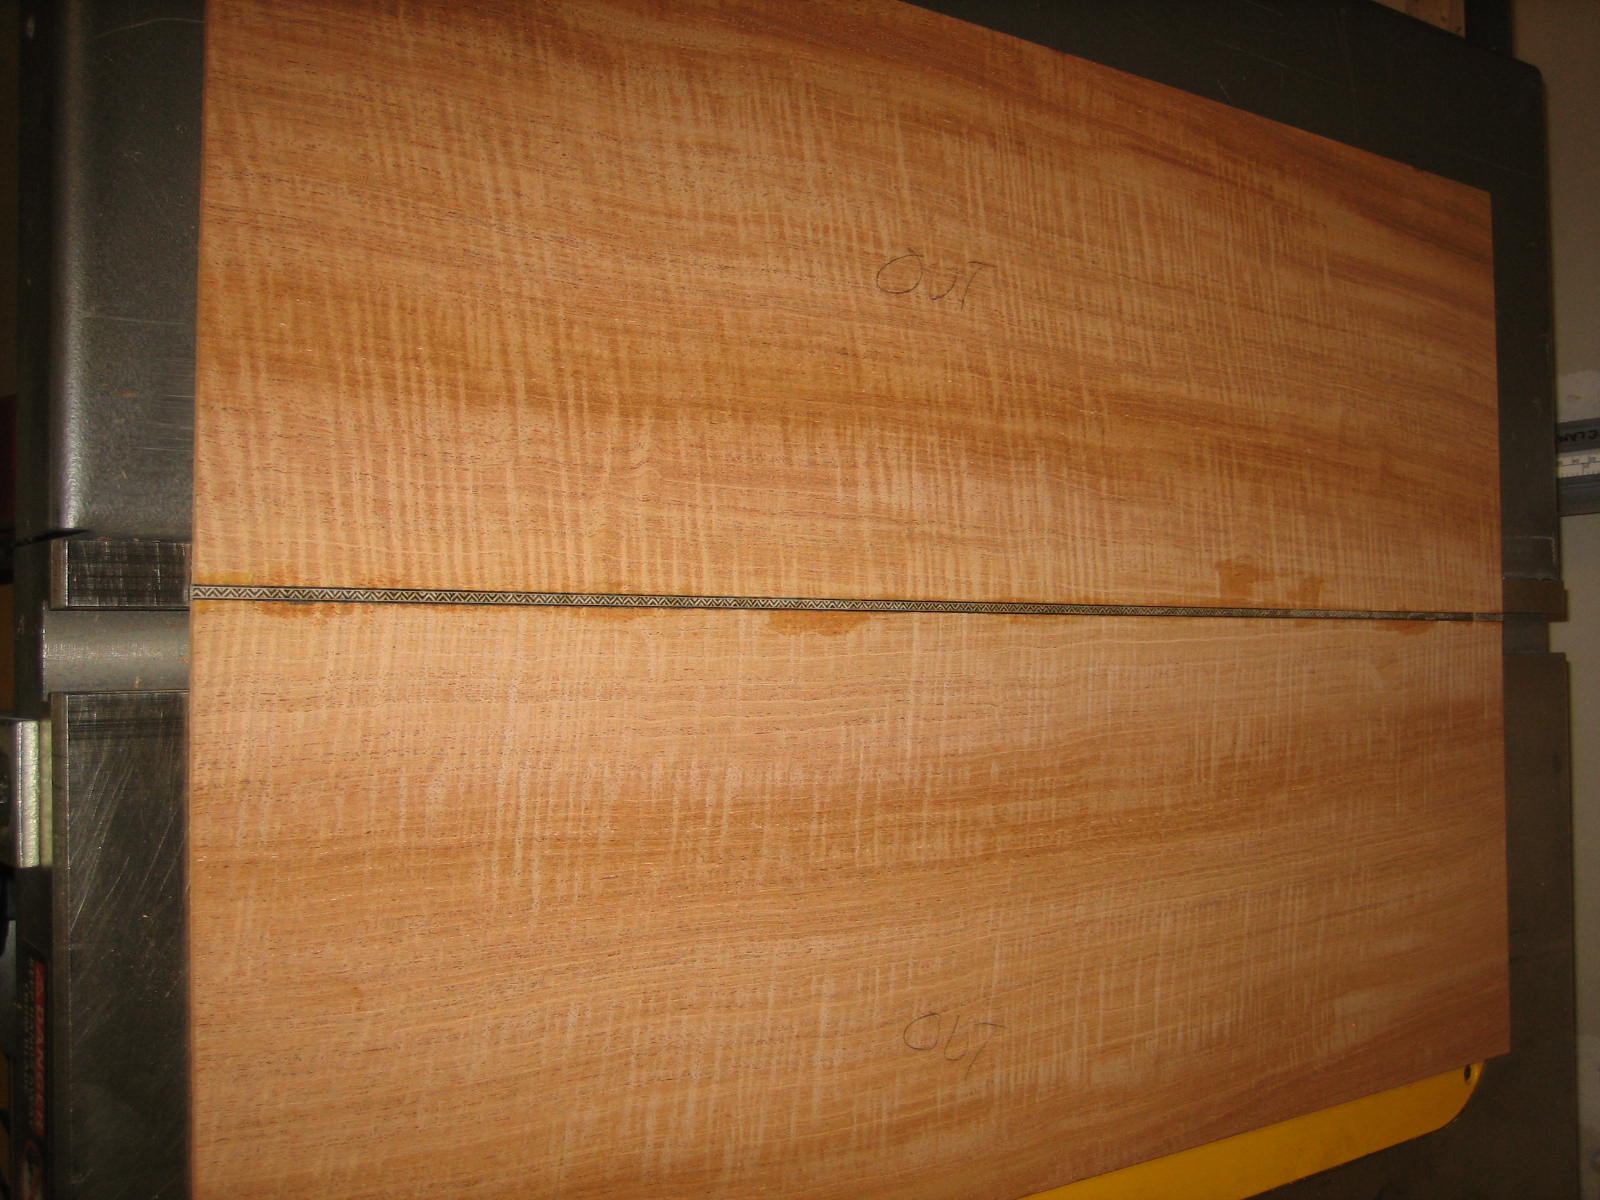
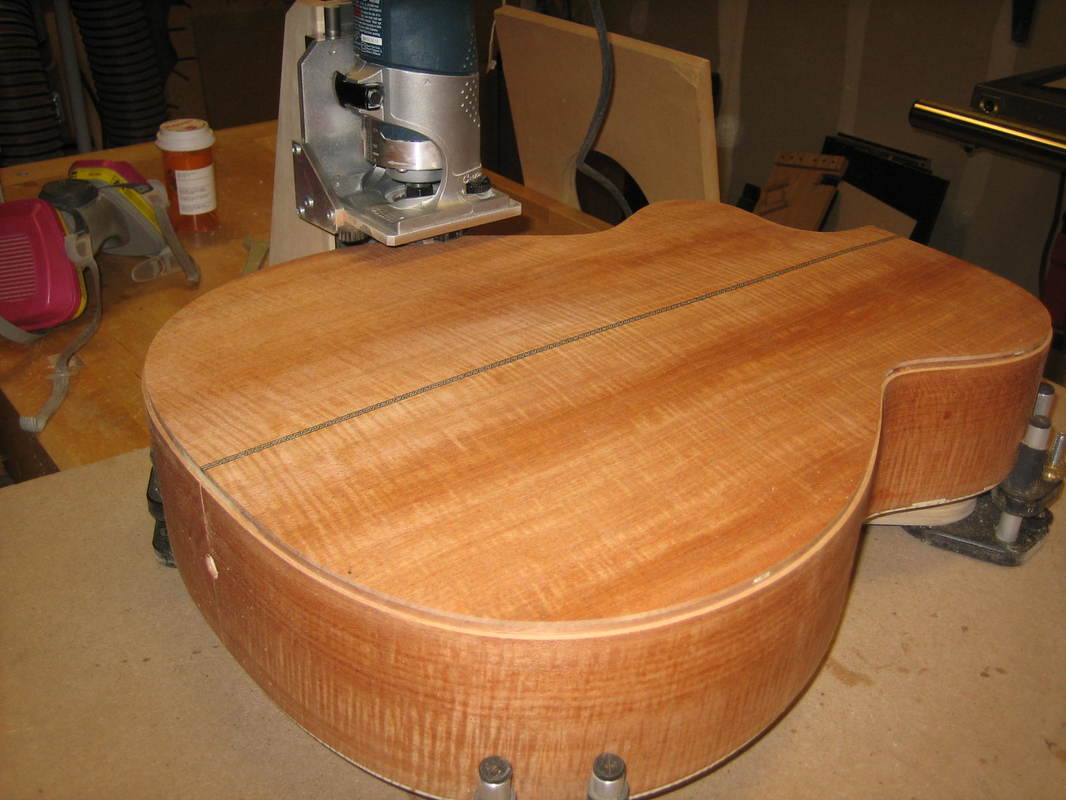
Back has been mated with center zipper line back strip and thinned to 0.080"
Interior center reinforcement strip and guide lines for back braces added.
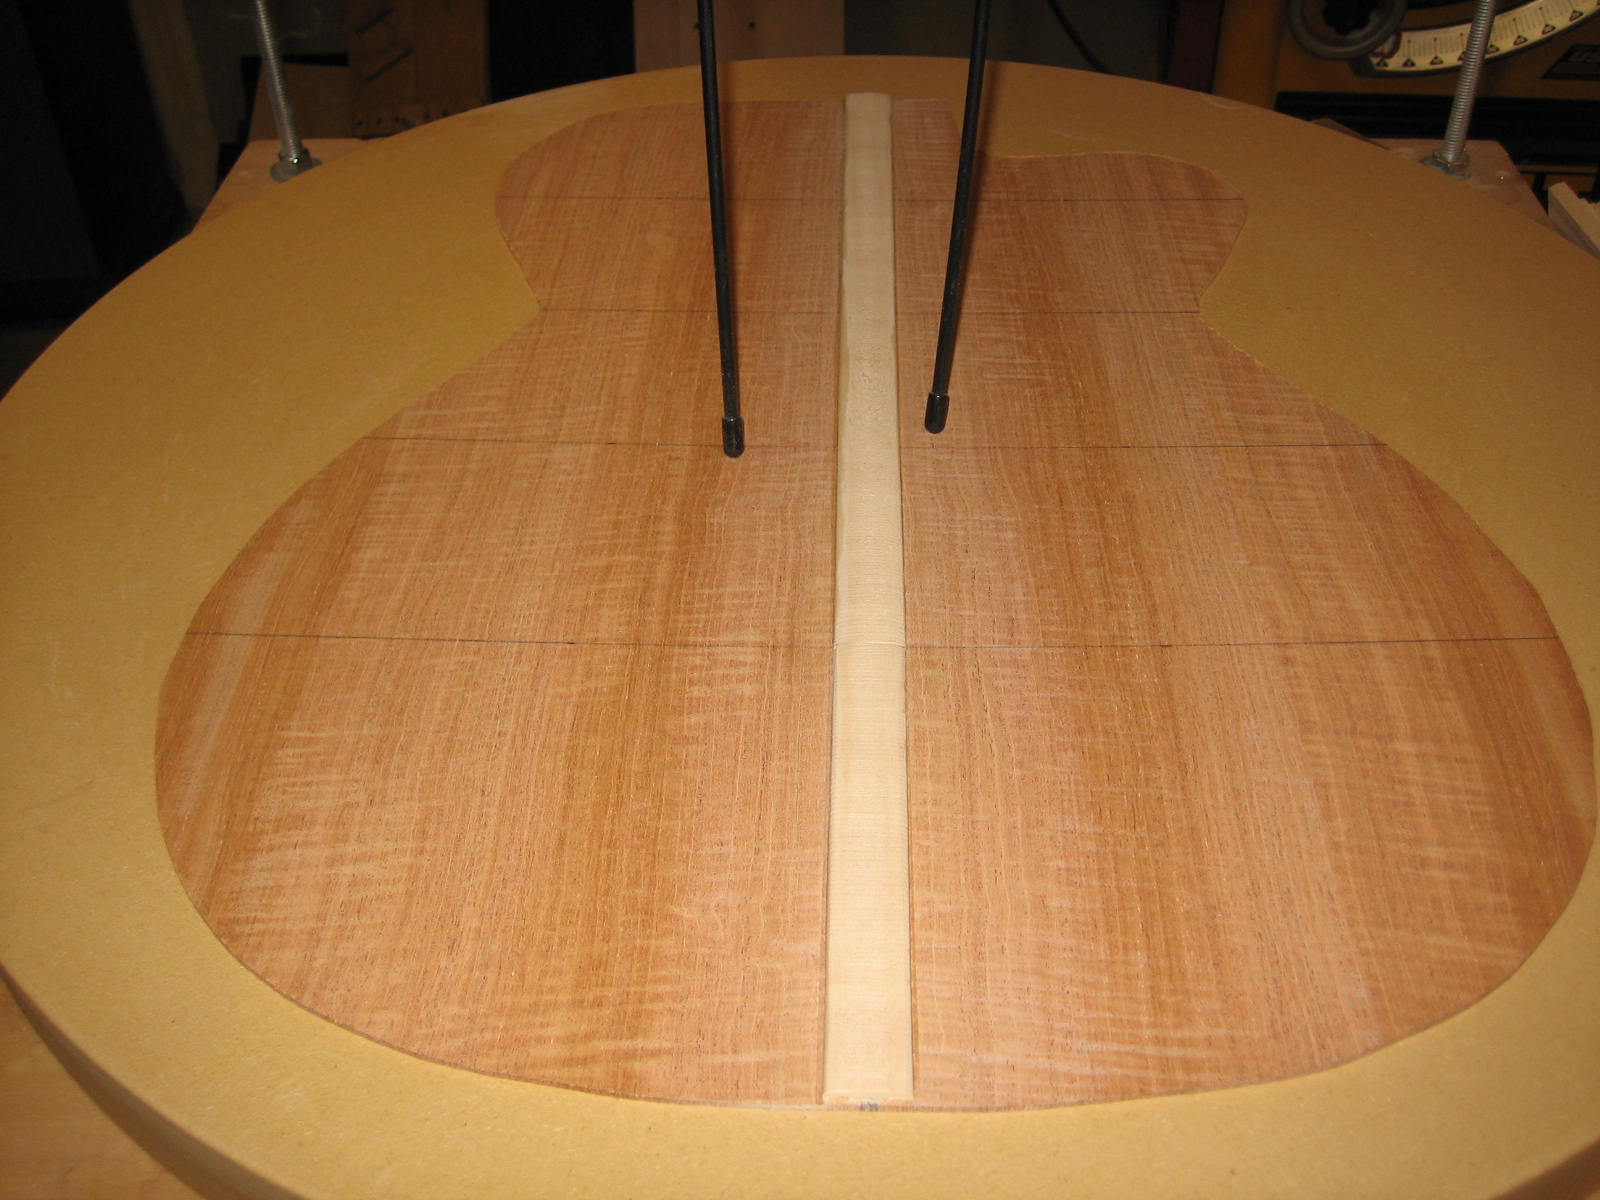
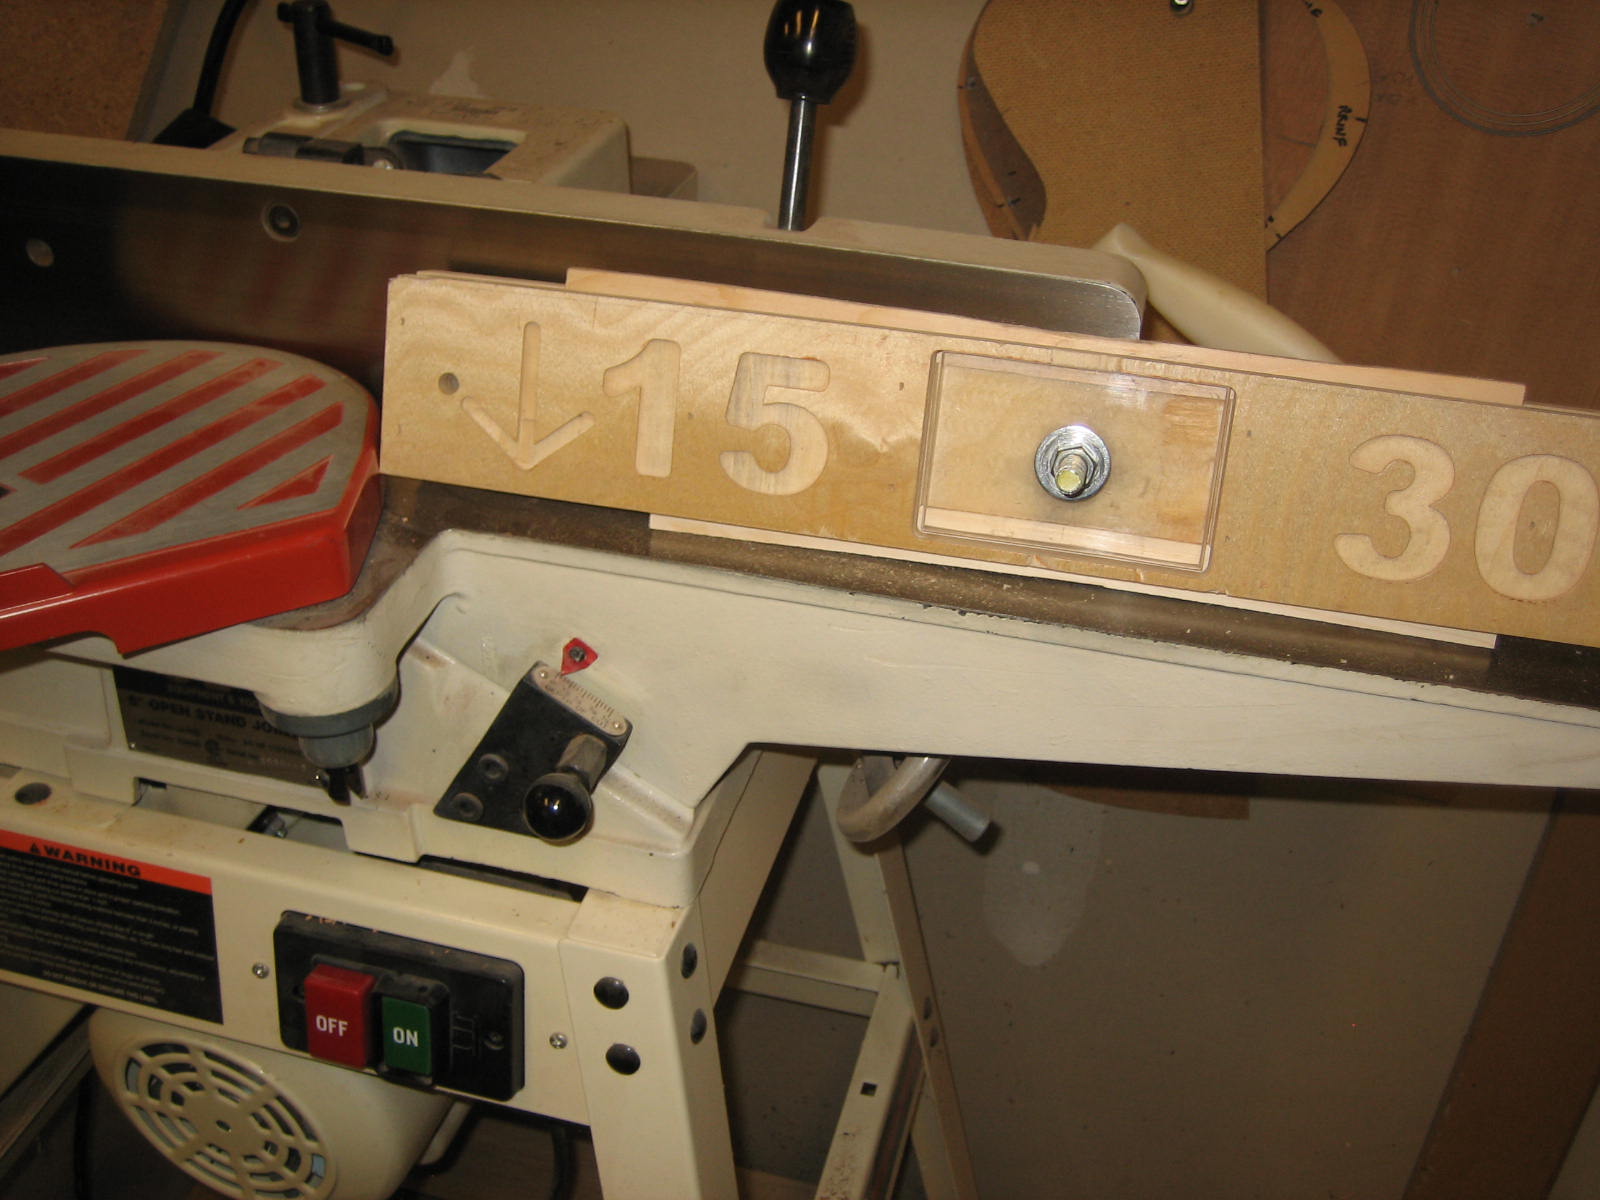
15' curve cut in back braces
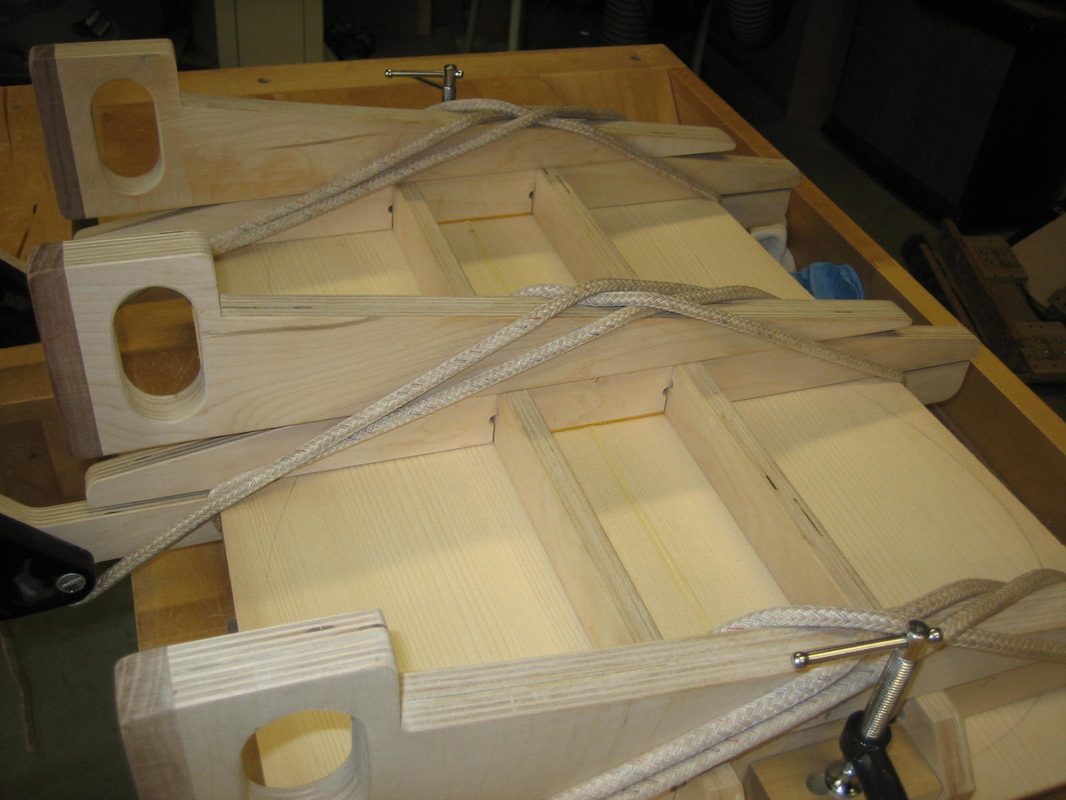
Gluing back braces with clamping pressure from fiberglass kite rods

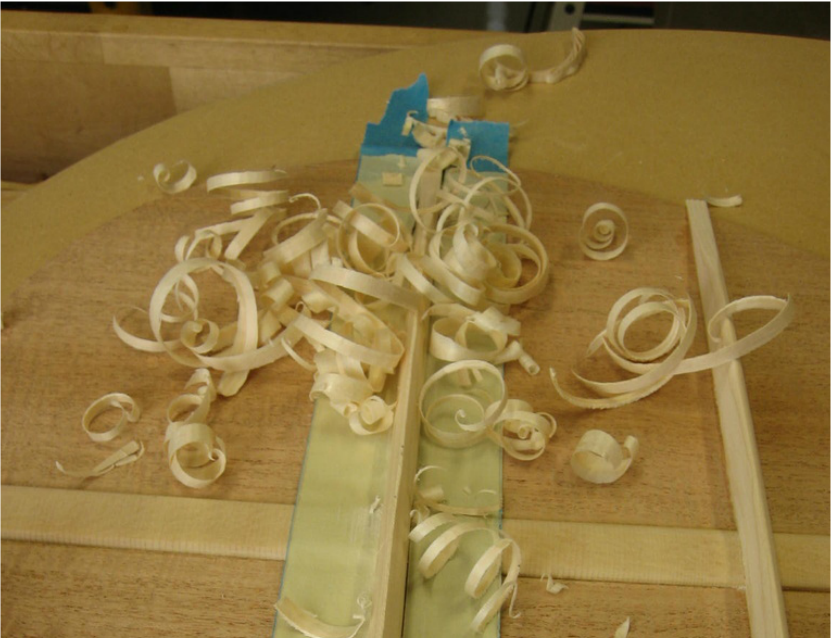
Carving back braces
Attaching back

Flush routing back to sides
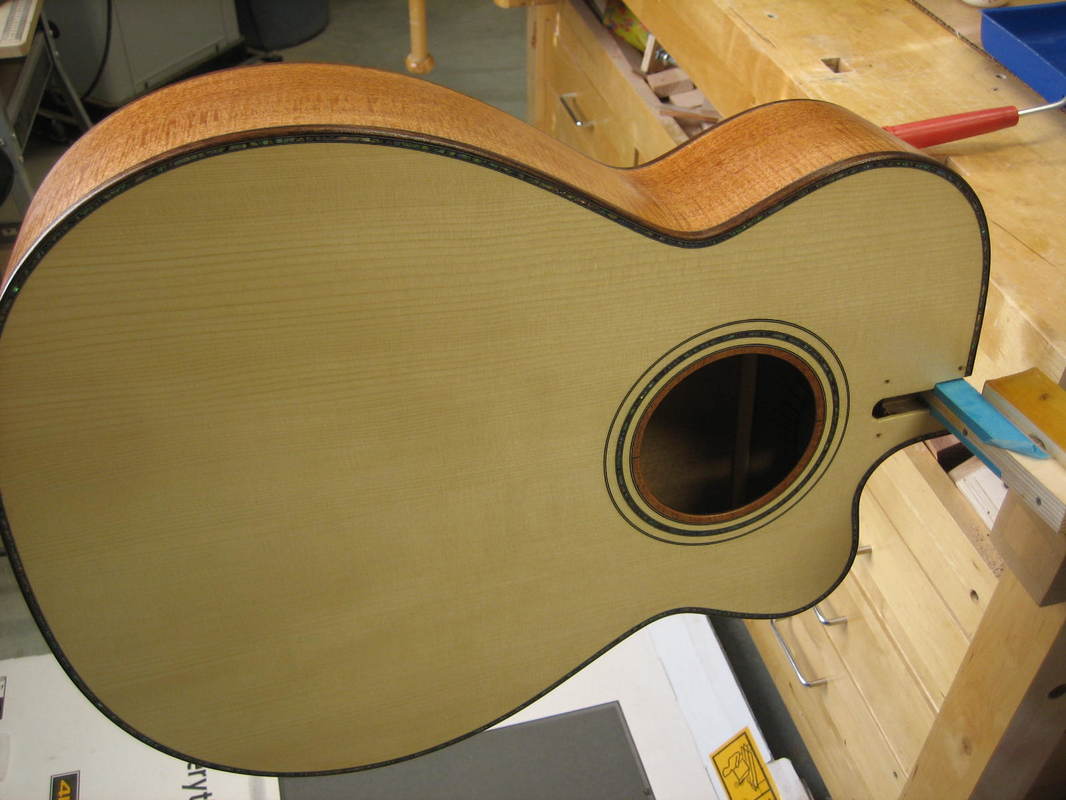
The sound board is a very nice piece of Adirondack Spruce. I start by joining the 2 book matched plates and thinning them.
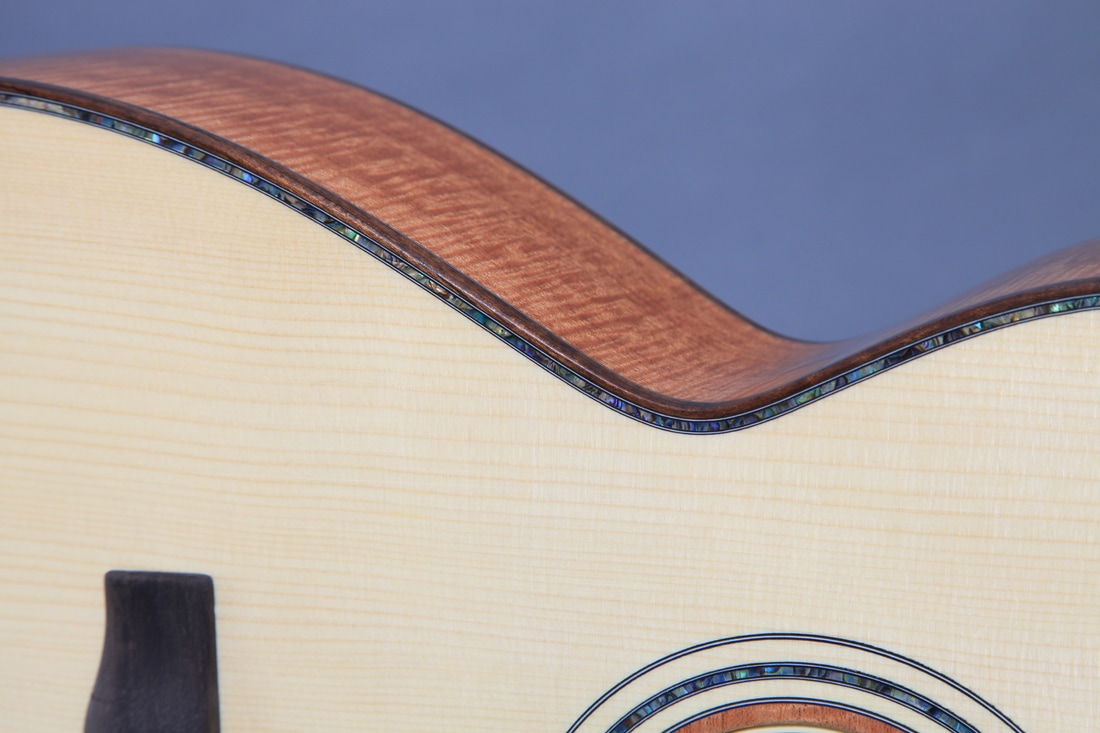
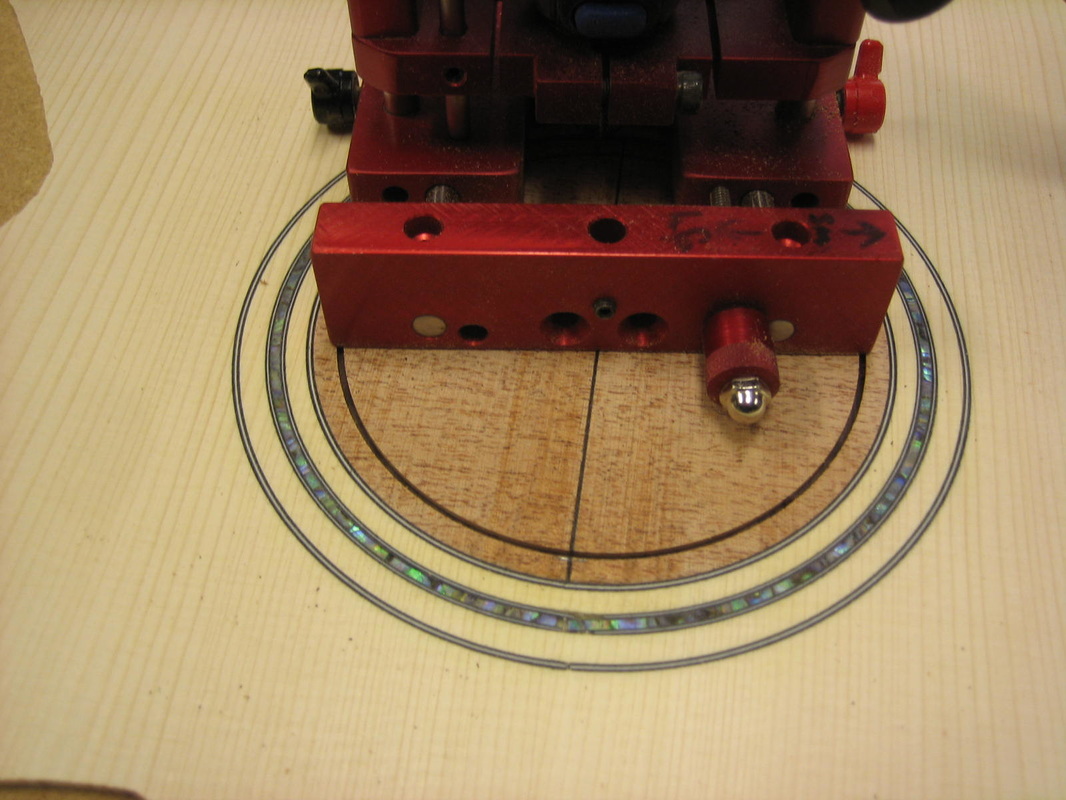
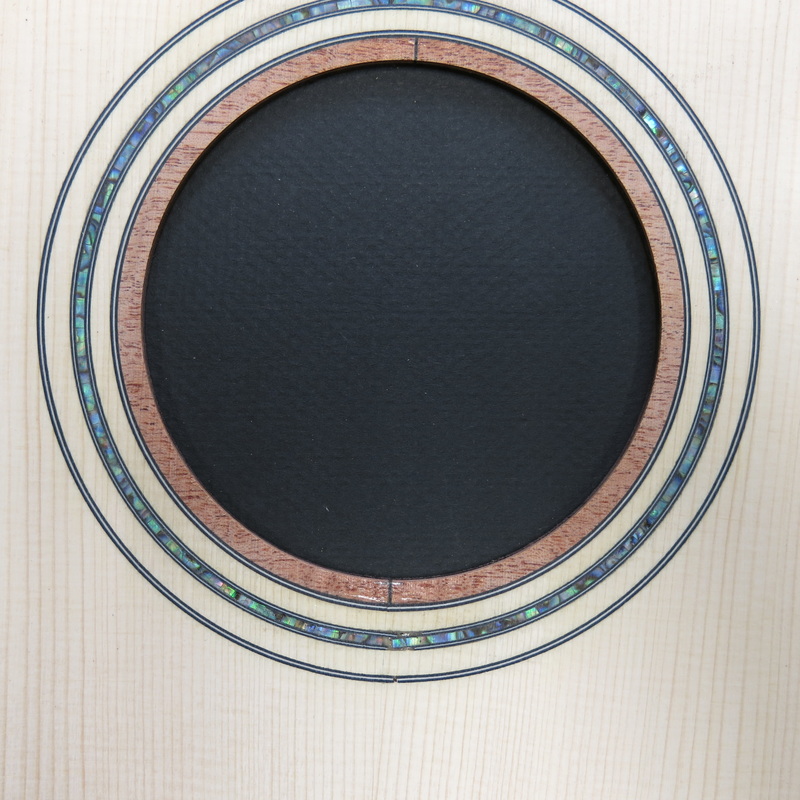
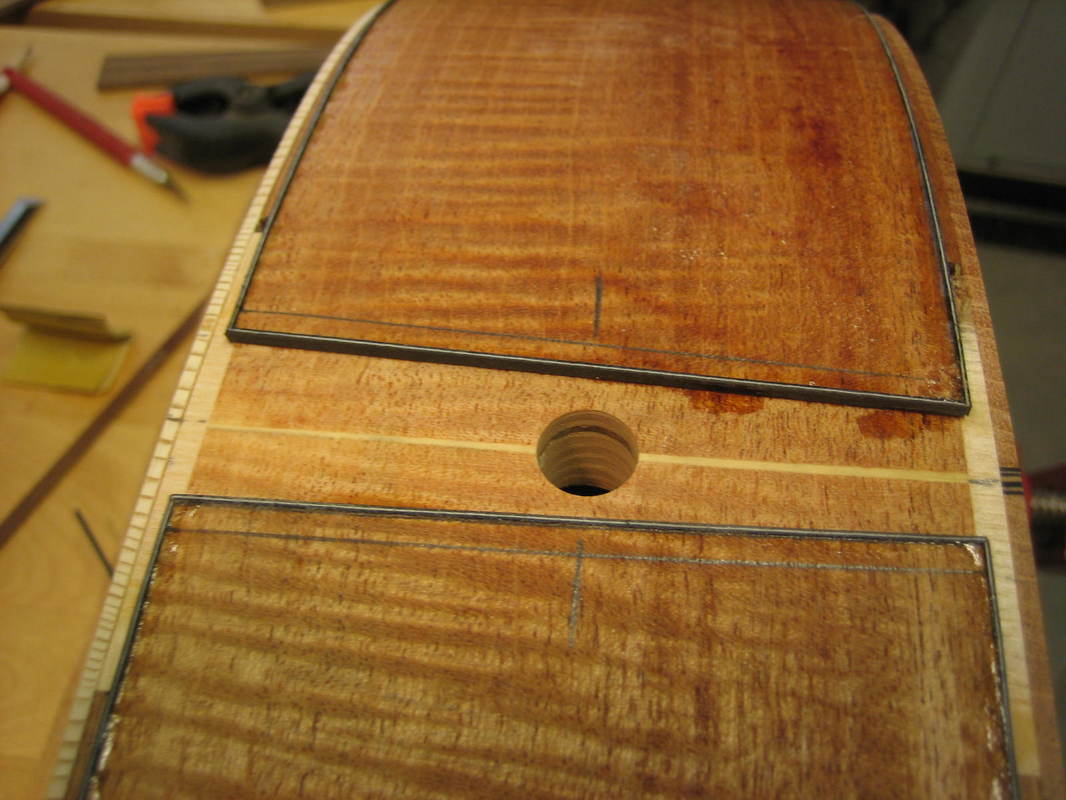
This top will have a sound hole rosette consisting of 2 black/white/black purfling rings, a ring of Pau Abalone with b/w/b purfling and a sound hole binding (in my case an inlay) of cut off side Mahogany. Starting this process with the cut out for the Mahogany inlay:
Mahogany inlay
Three rings cut and ready for inlay material

Initial scraping and sanding to level inlays
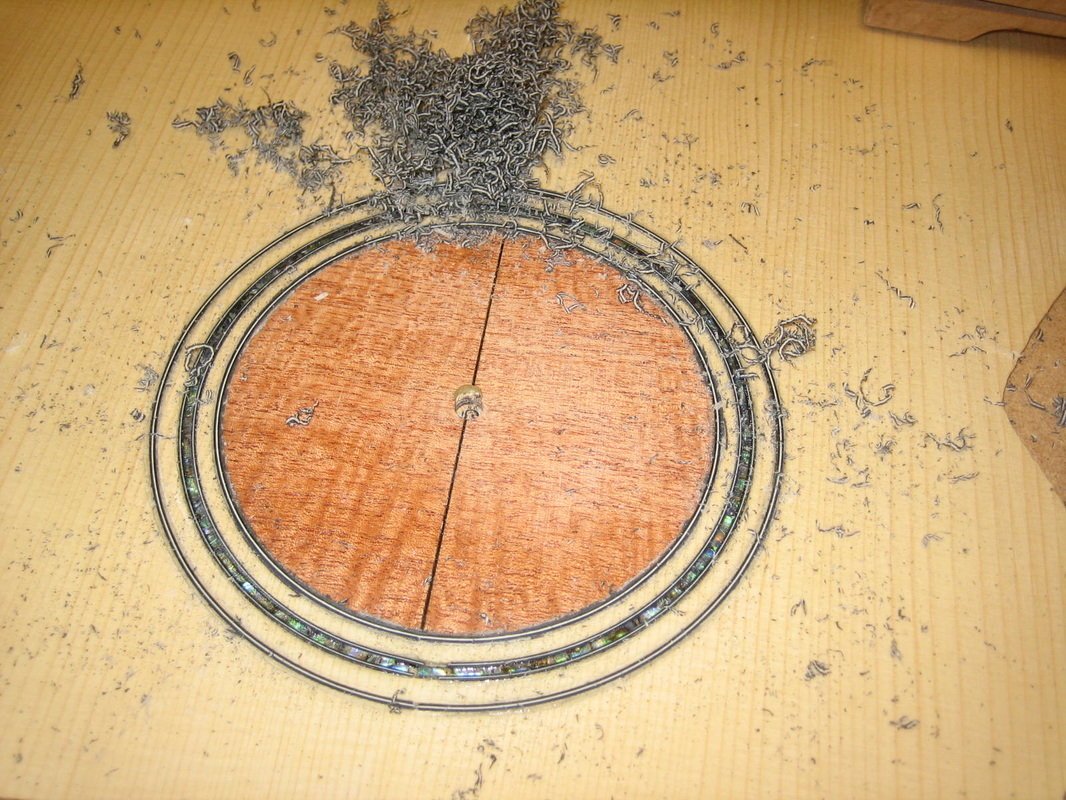
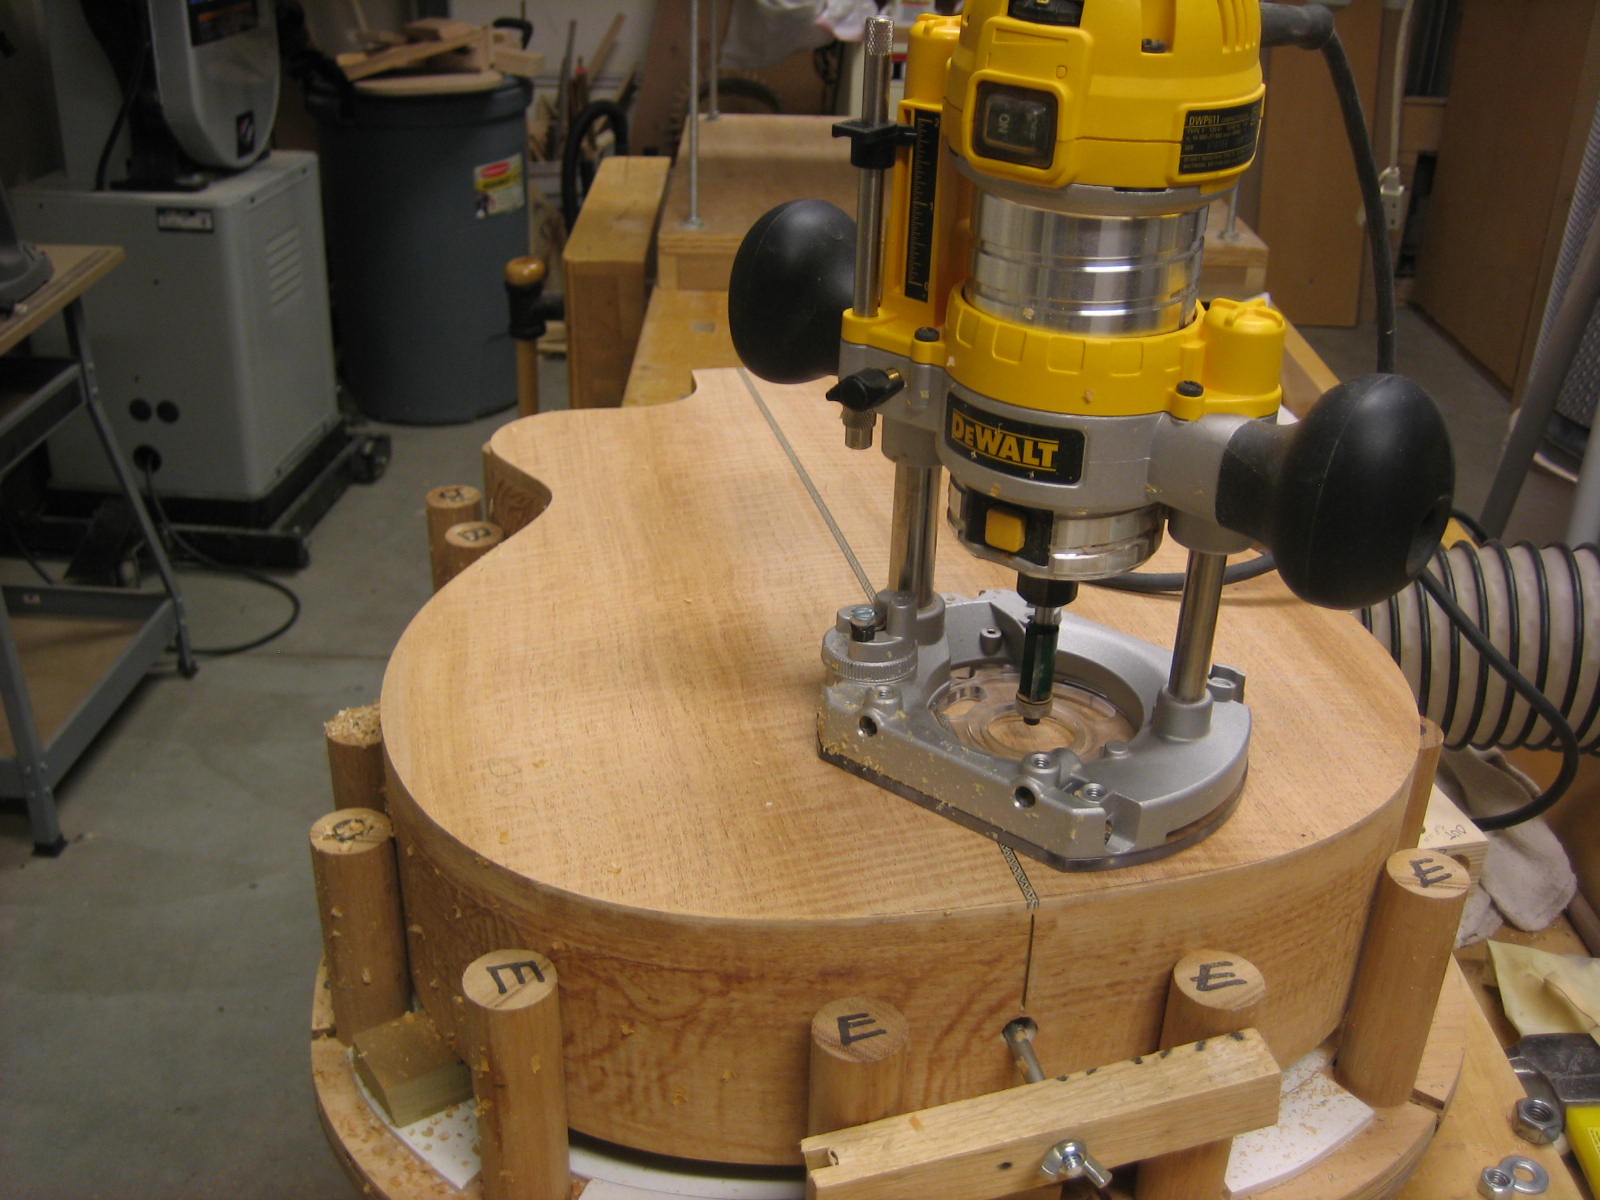
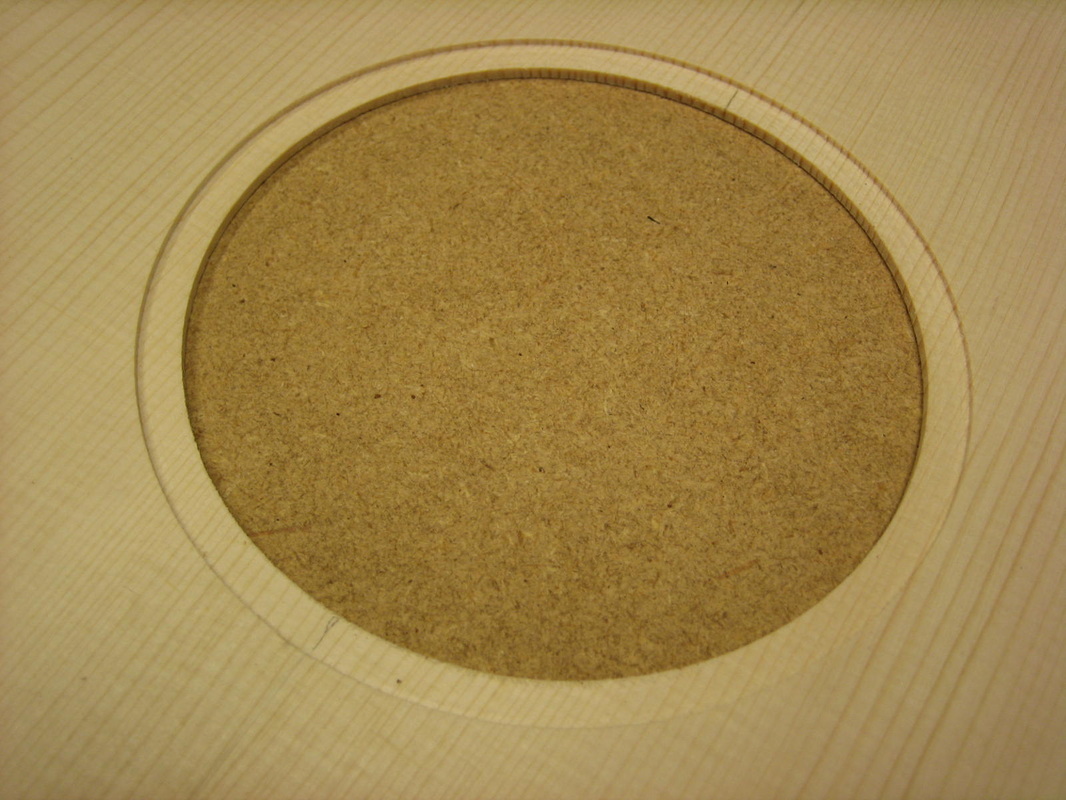
Routing sound hole
Sound hole rosette rough sanded
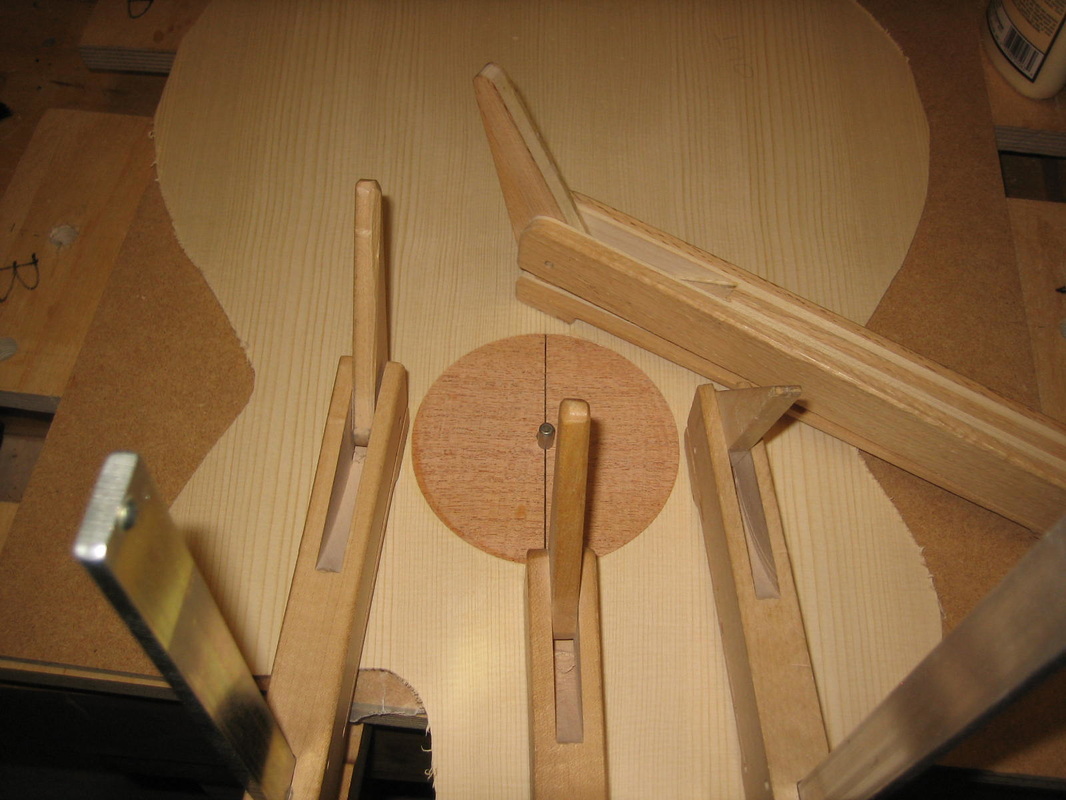
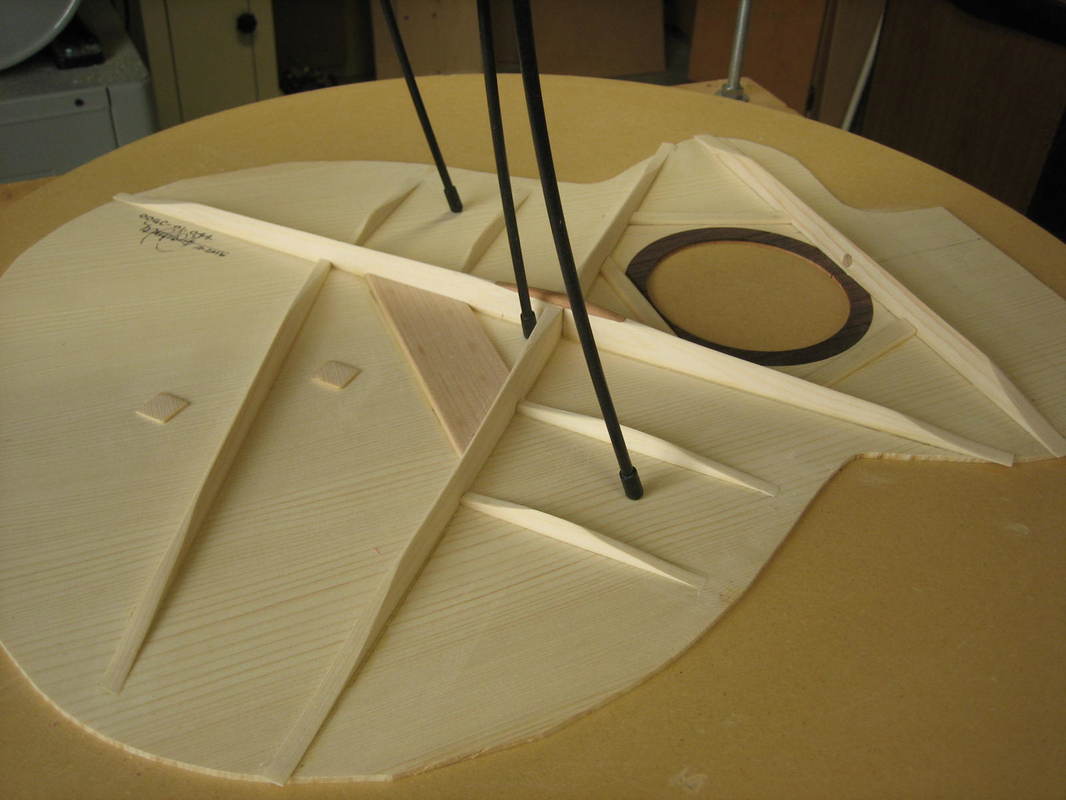
Starting the bracing on the sound board
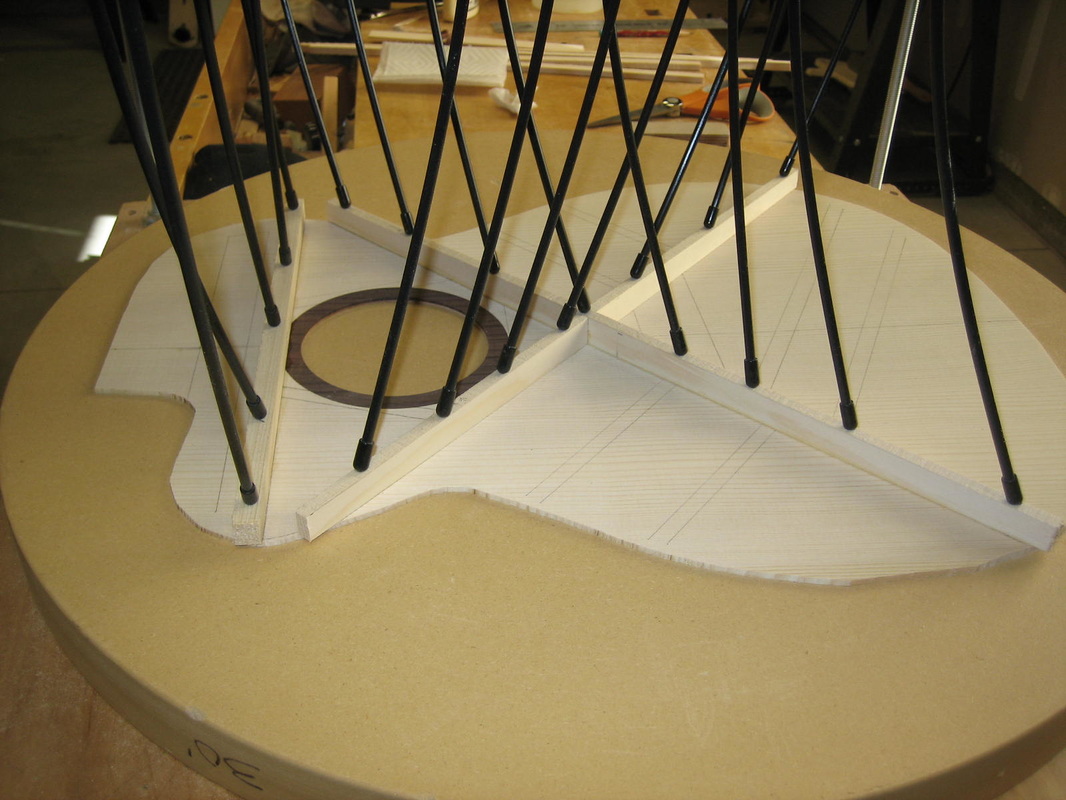
Sound board braced, carved and ready for installation
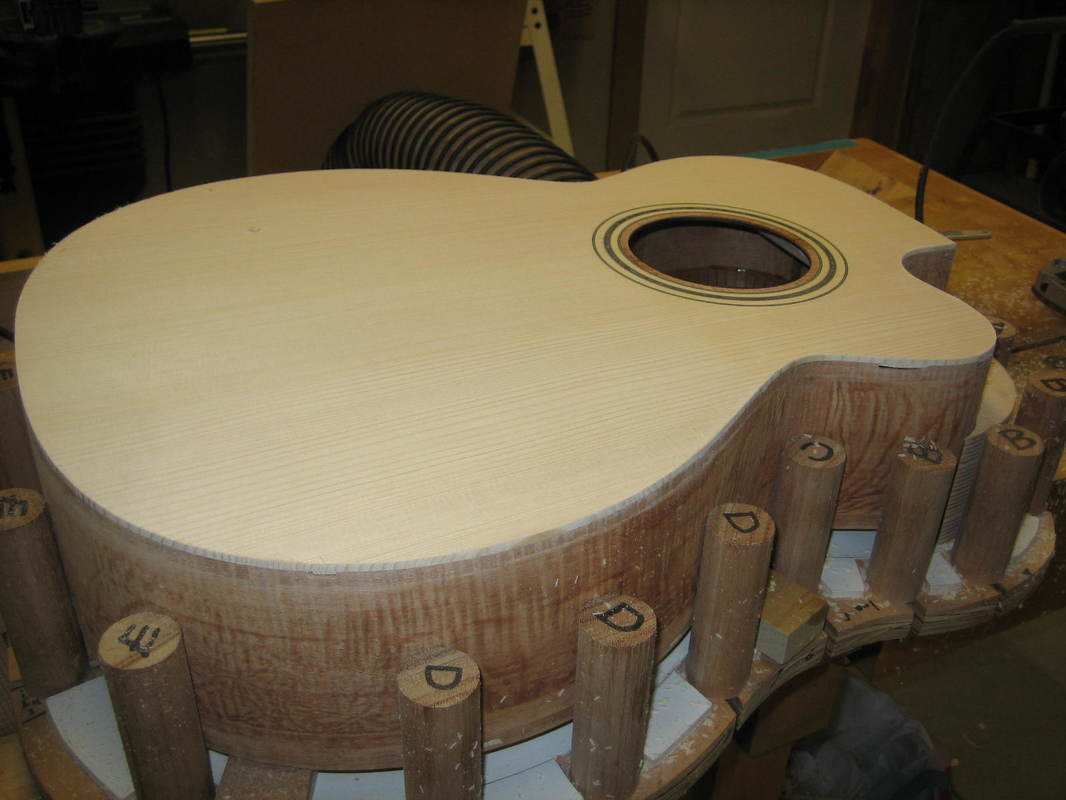
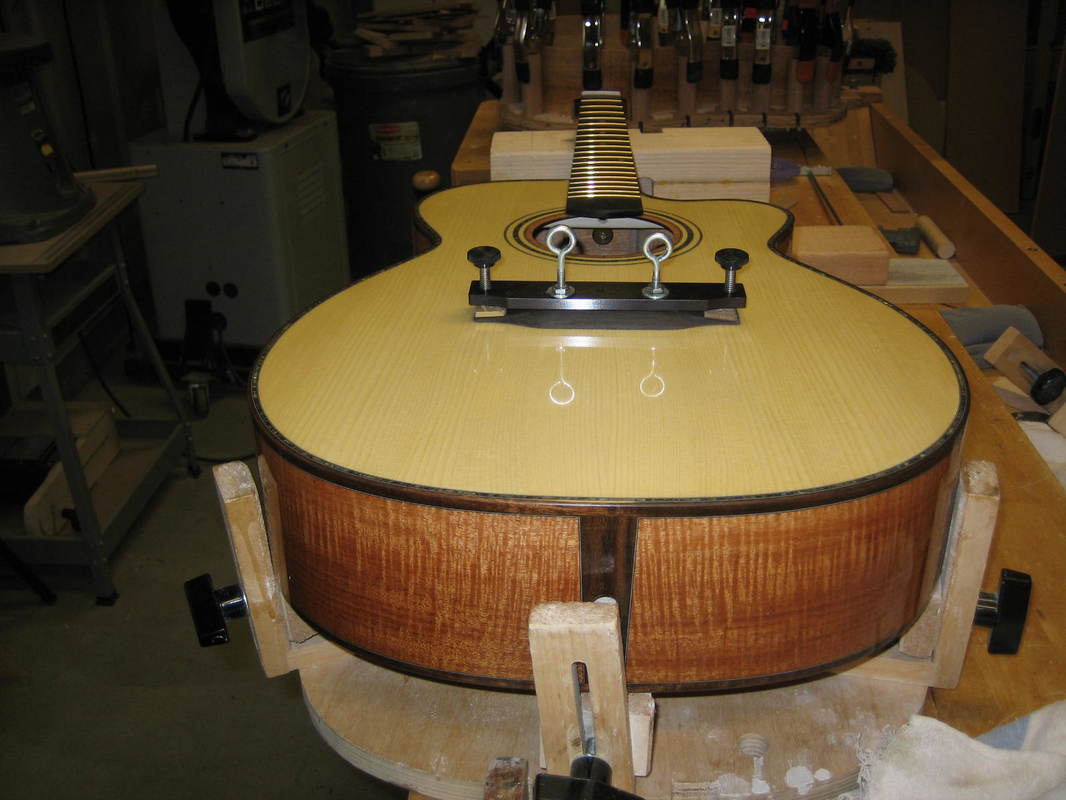
Sound board mated to sides
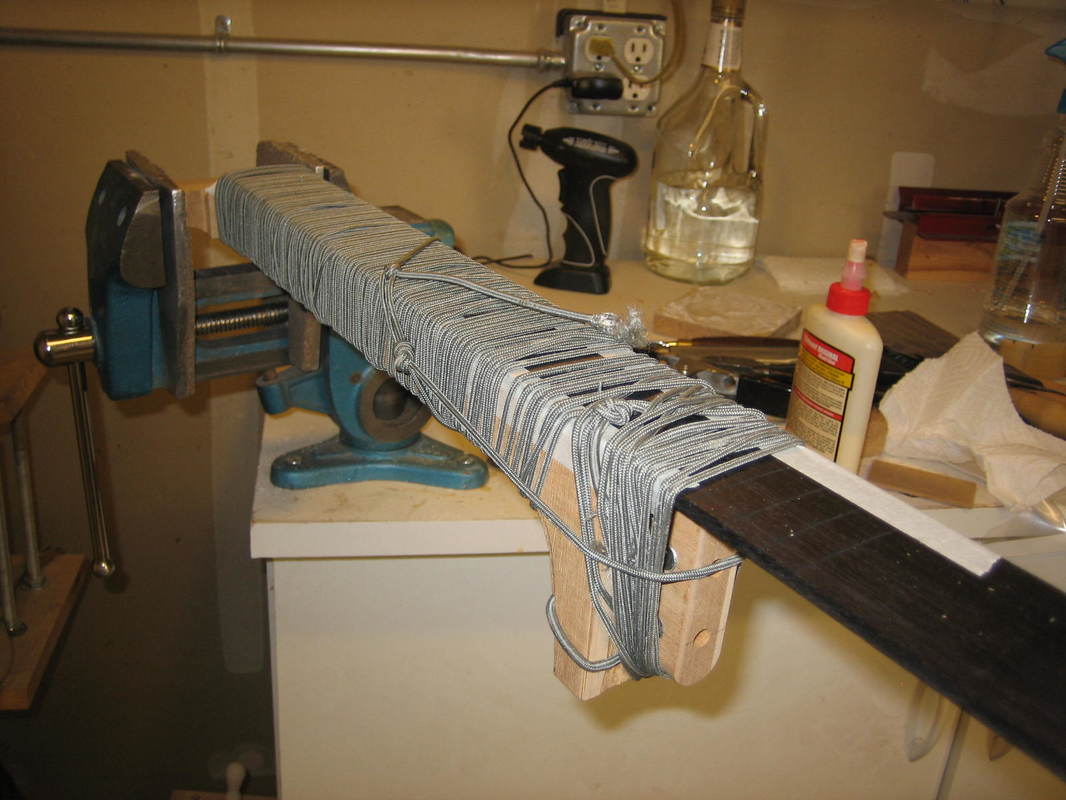
Bindings and purfling bent
Cutting binding ledges
Tail graft recess cut and b/w/b purfling installed in binding ledges
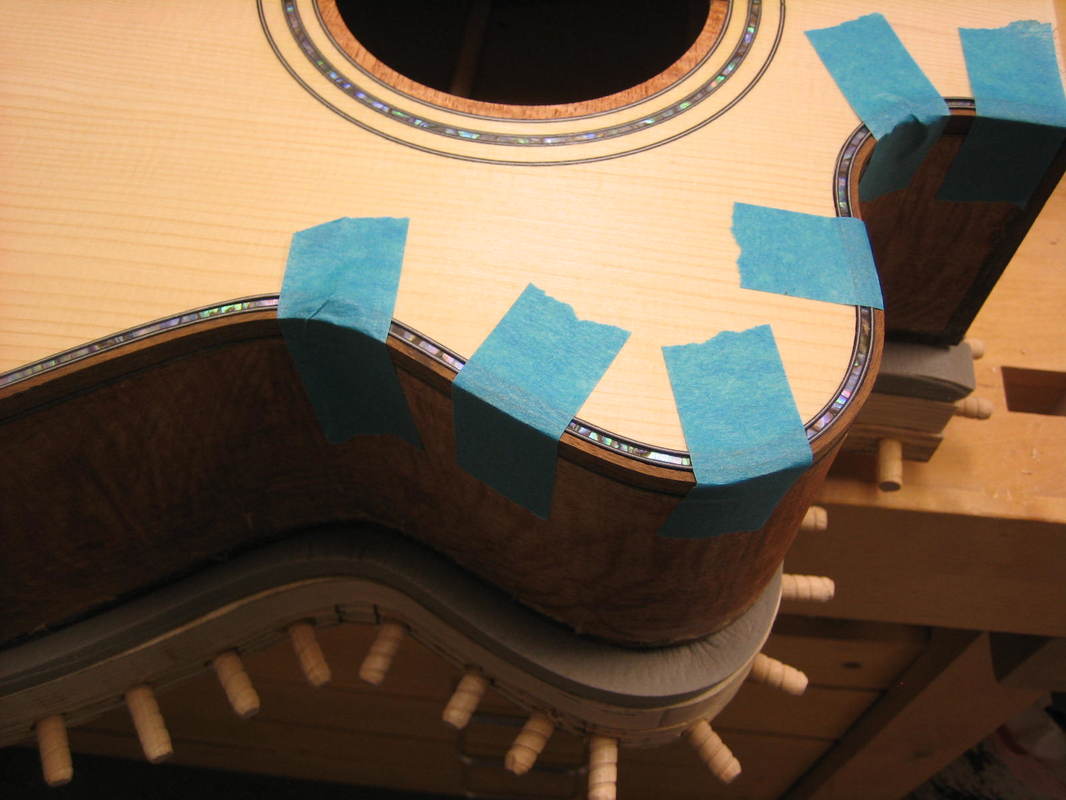
Installing bindings

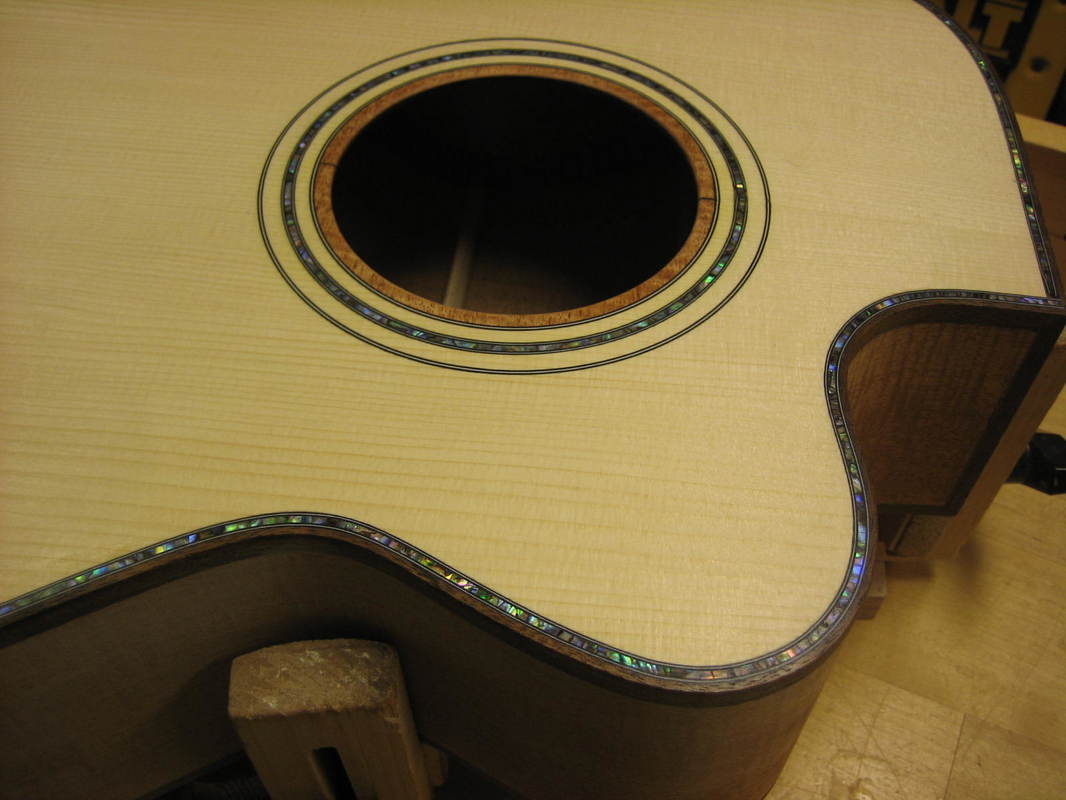
Test fitting purfling and Pau abalone
Bindings and purfling scraped and sanded
Gluing neck peg head splice
Gluing stacked heel
Fitting neck truss rod
Cutting mortise & tenon for neck attachment

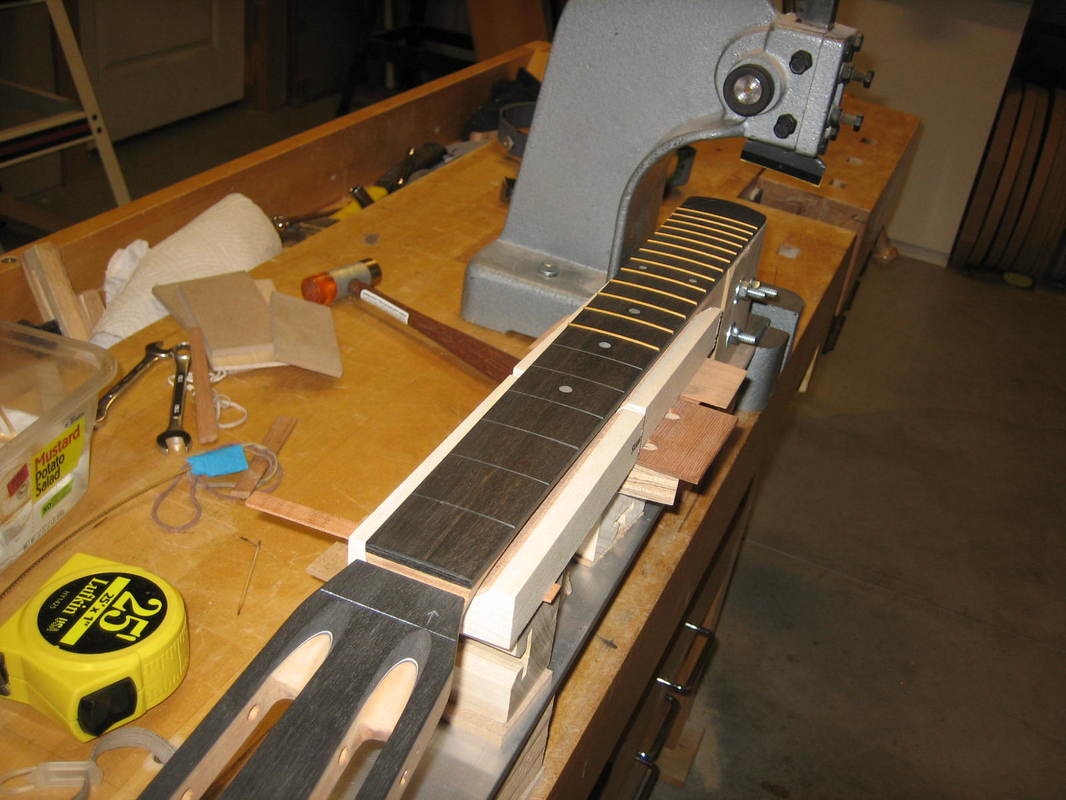
Cutting fret slots using a sled, special saw blade and metal fret location template
Initial fitting of neck to body

Gluing fret board to neck
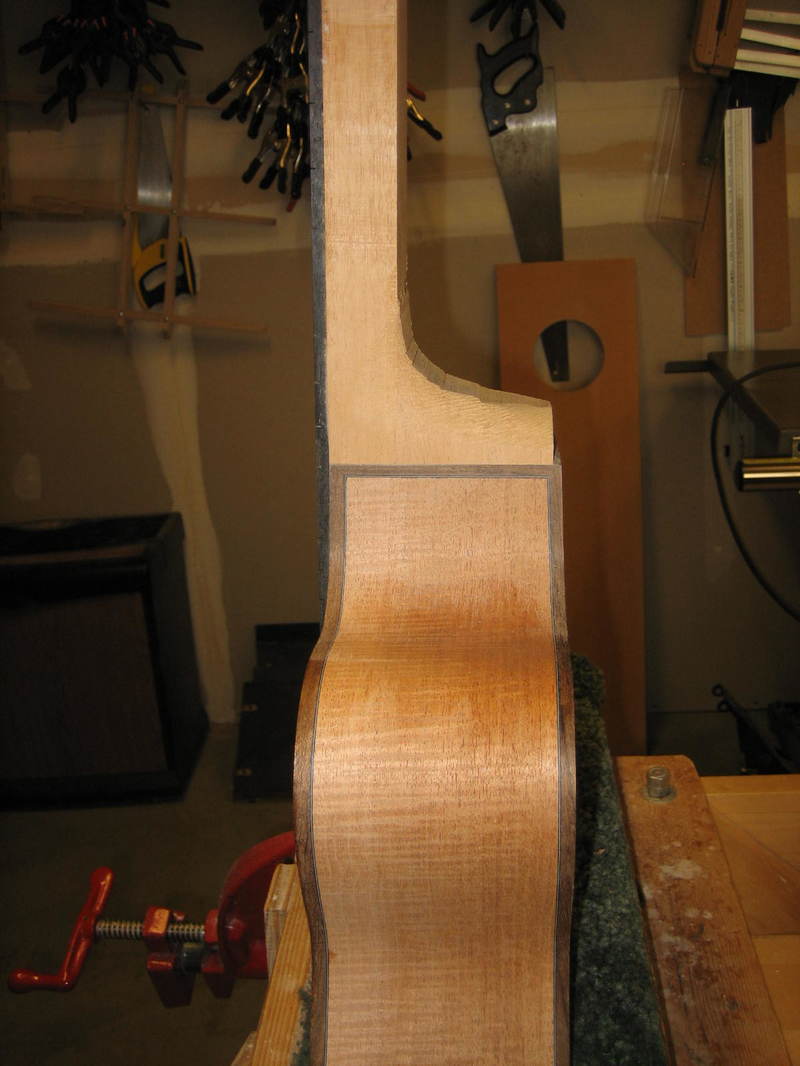
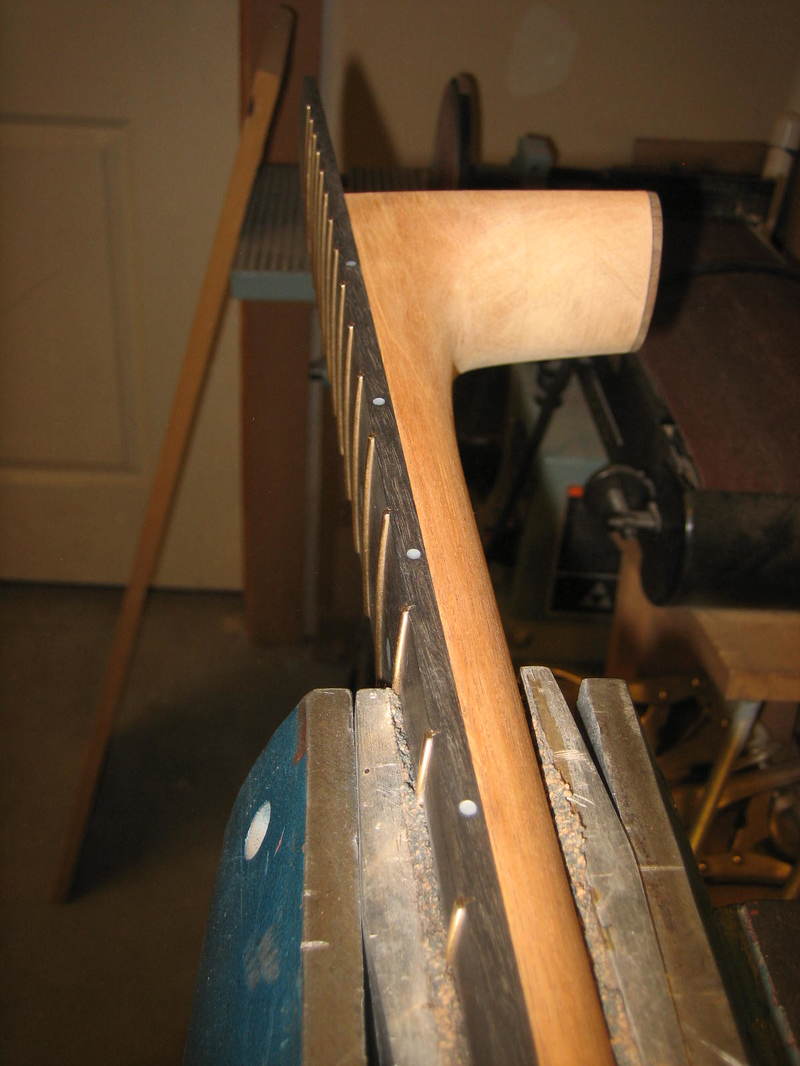
Start of neck carving process. Here I am mating the cutaway side of neck with the cutaway side of sound box and starting to rough cut the neck to size
Sealing the sound box with finishing epoxy to fill pores and give a smooth surface for finish to be applied. 3 to 5 coats of epoxy - sanding between coats.
No epoxy on the sound board as Spruce does not have large pours and the epoxy would dampen the movement of the top
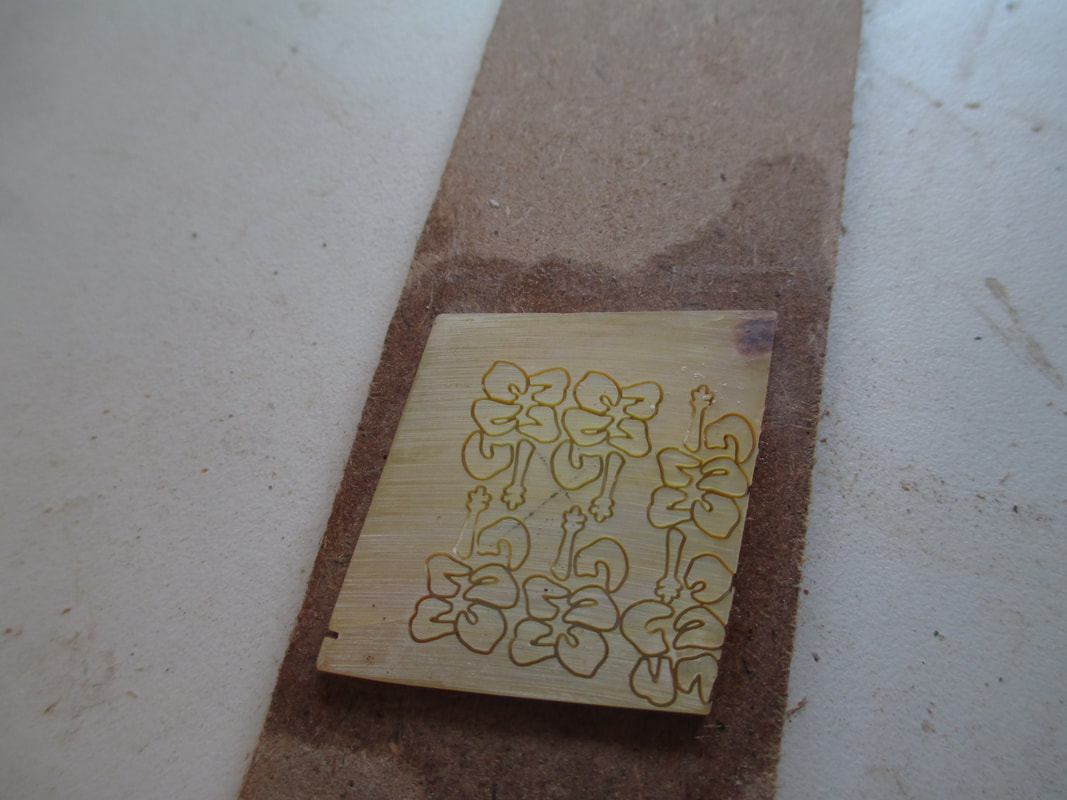
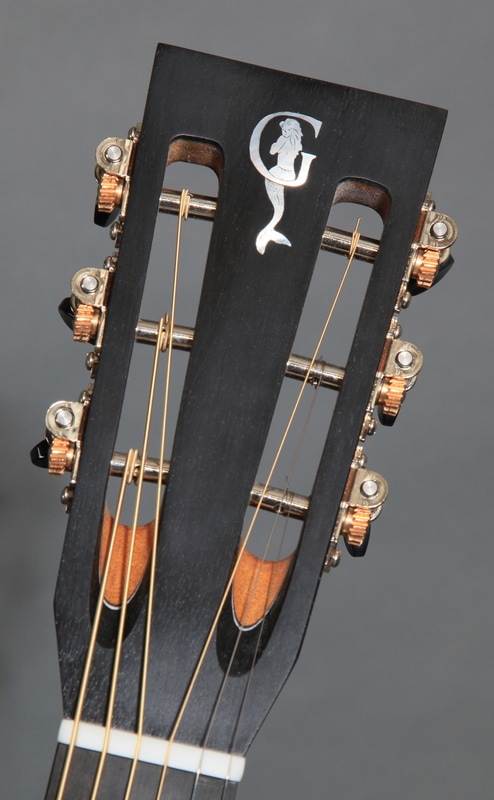
I will be inlaying a 'G' & mermaid on the slot head of this guitar. Jim's daughter, Hallie, designed the inlay. Very cool, super nice design!! Thanks Hallie!
A water based clear gloss finish applied
While waiting for the finish to cure, I will be working on the frets and the bridge.
Pressing frets in the picture below
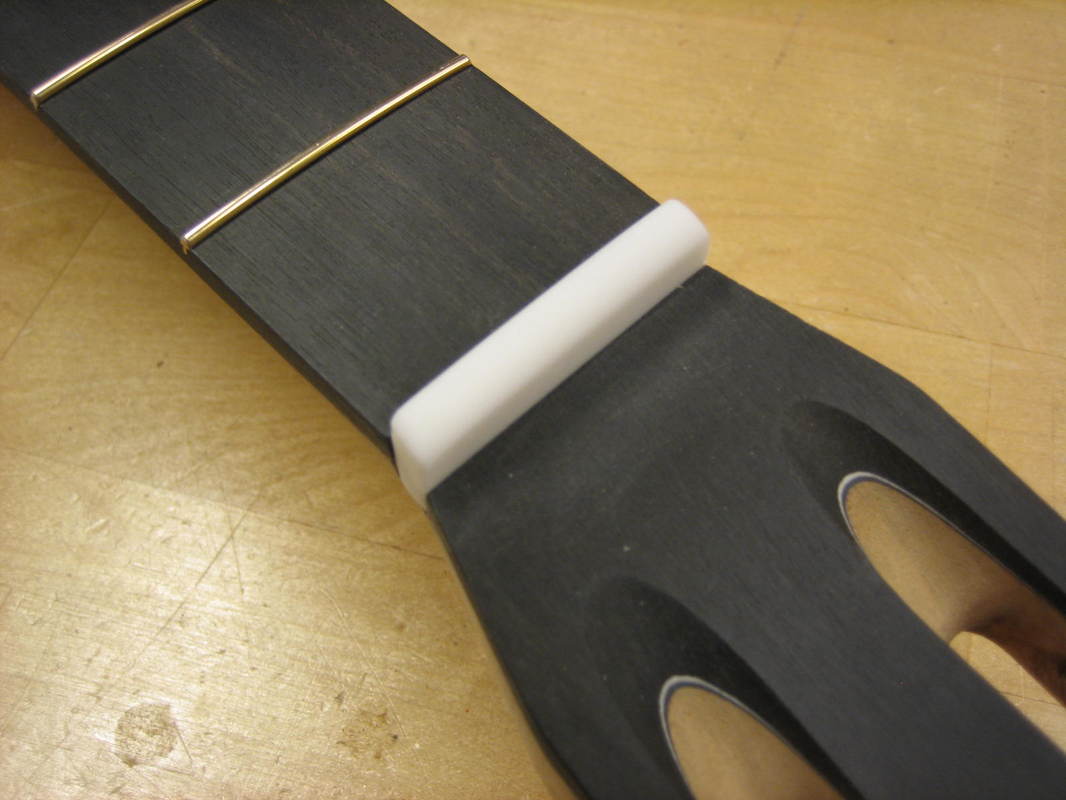
Mother-of-pearl side dots inlayed
The top of the guitar is not flat, it is built with a 30' radius or dome. To get the bridge to fit perfectly a 30' radius is sanded into the bottom of the unfinished bridge (in picture below) - using the top of the guitar as a guide.
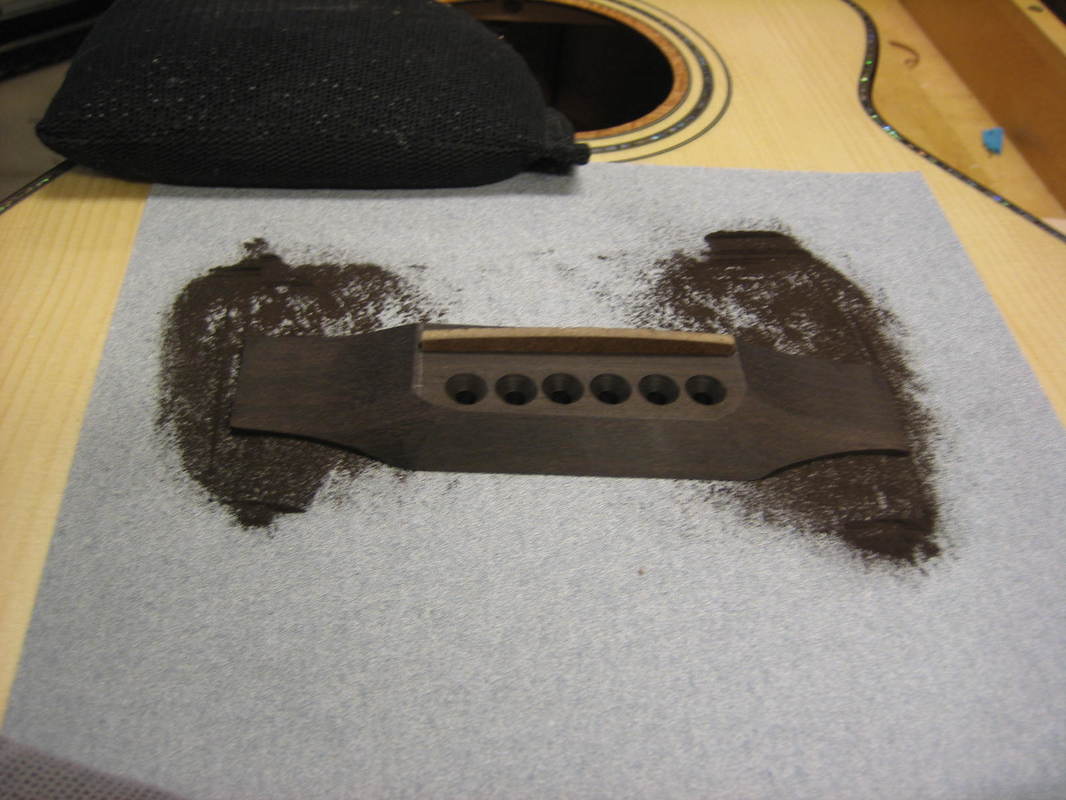
Bridge position is carefully calculated and the finish is scraped off of the bridge foot print area.

Then the bridge is glued onto the top
Fitting nut
Reaming bridge pin holes
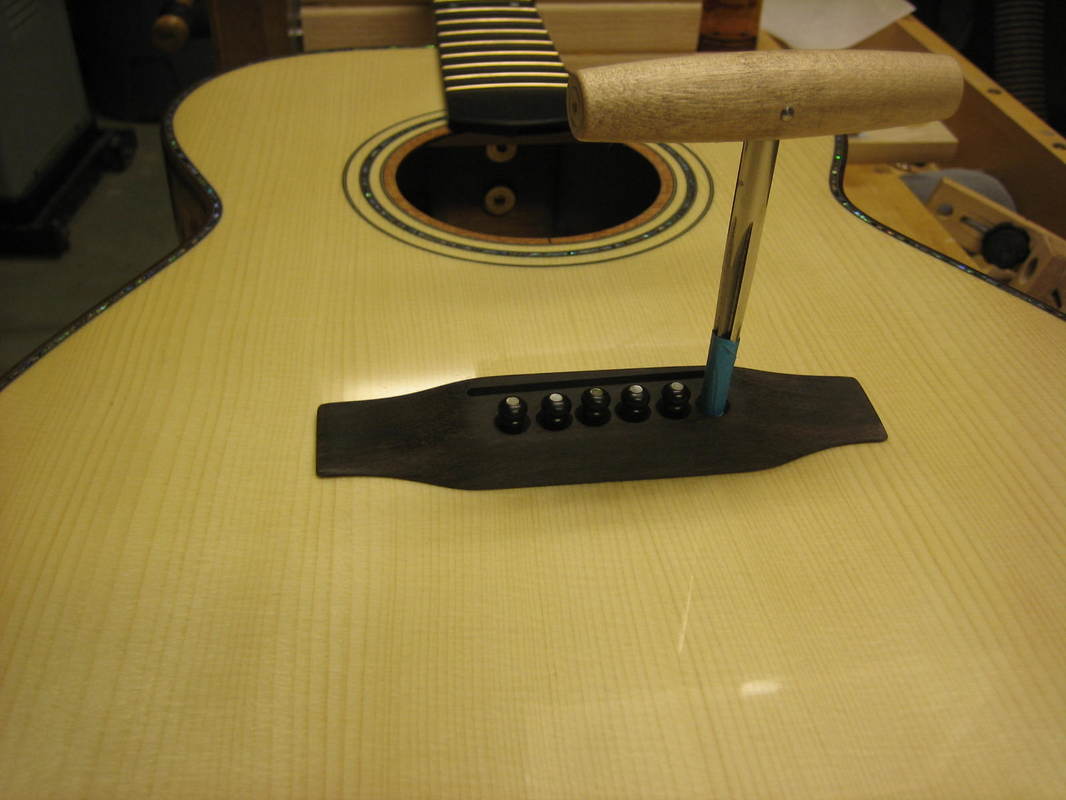
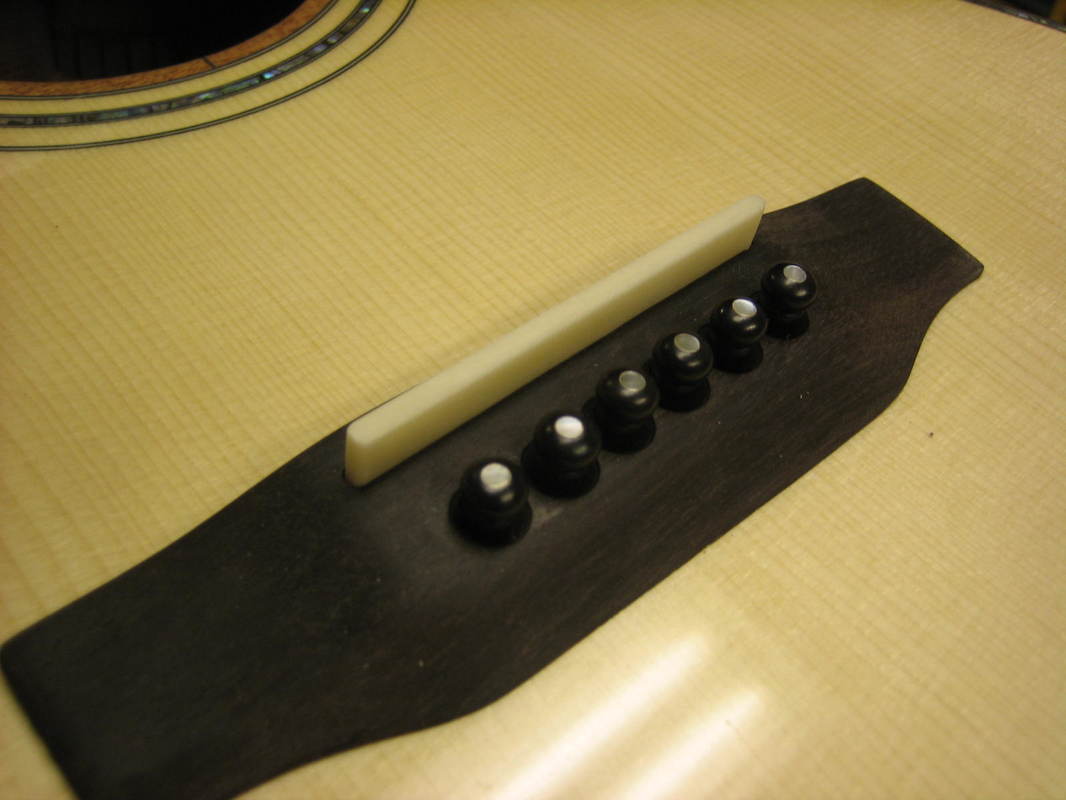
Initial saddle shaping
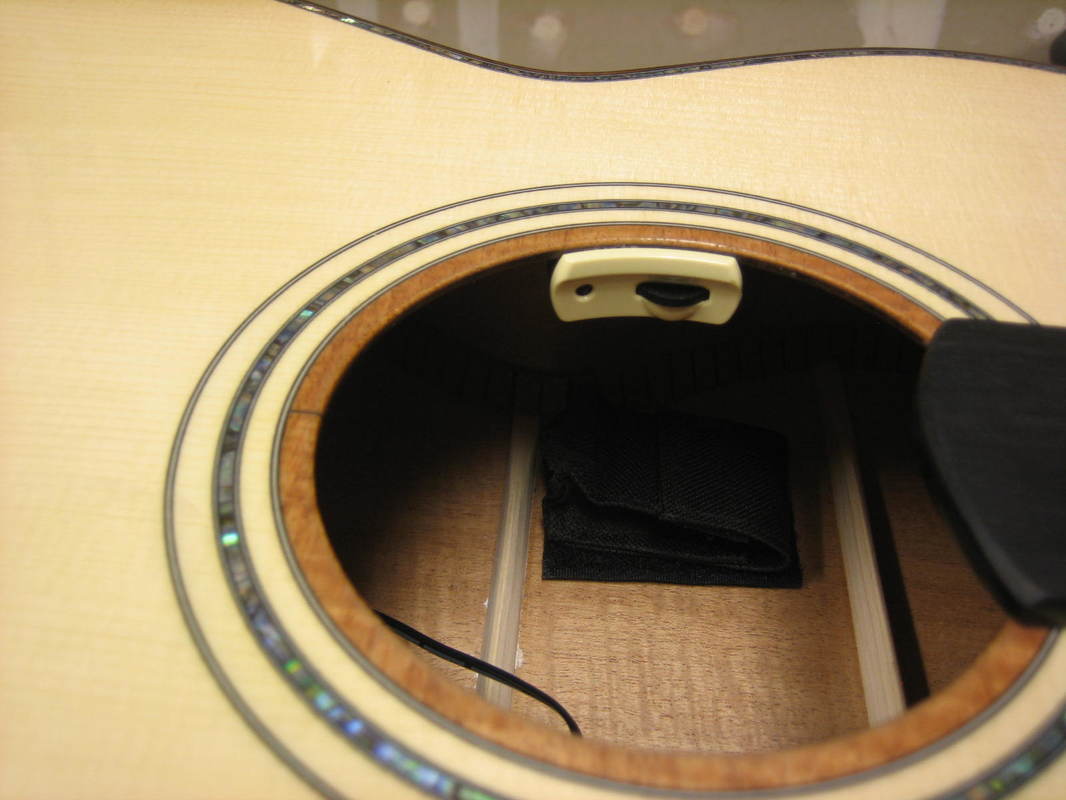
Installing L R Baggs Anthem SL pick up. Onboard pre-amp with Lyric microphone and undersaddle pick up. Volume control and balance control at top of soundhole.
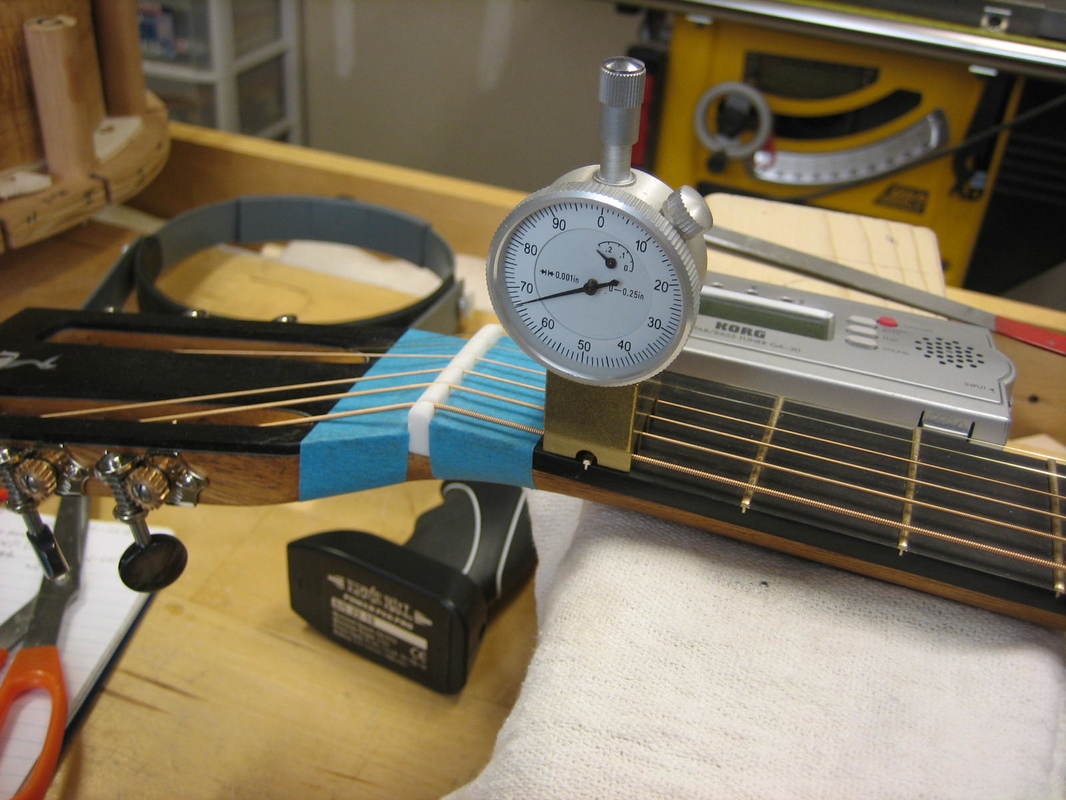
Setting nut action.
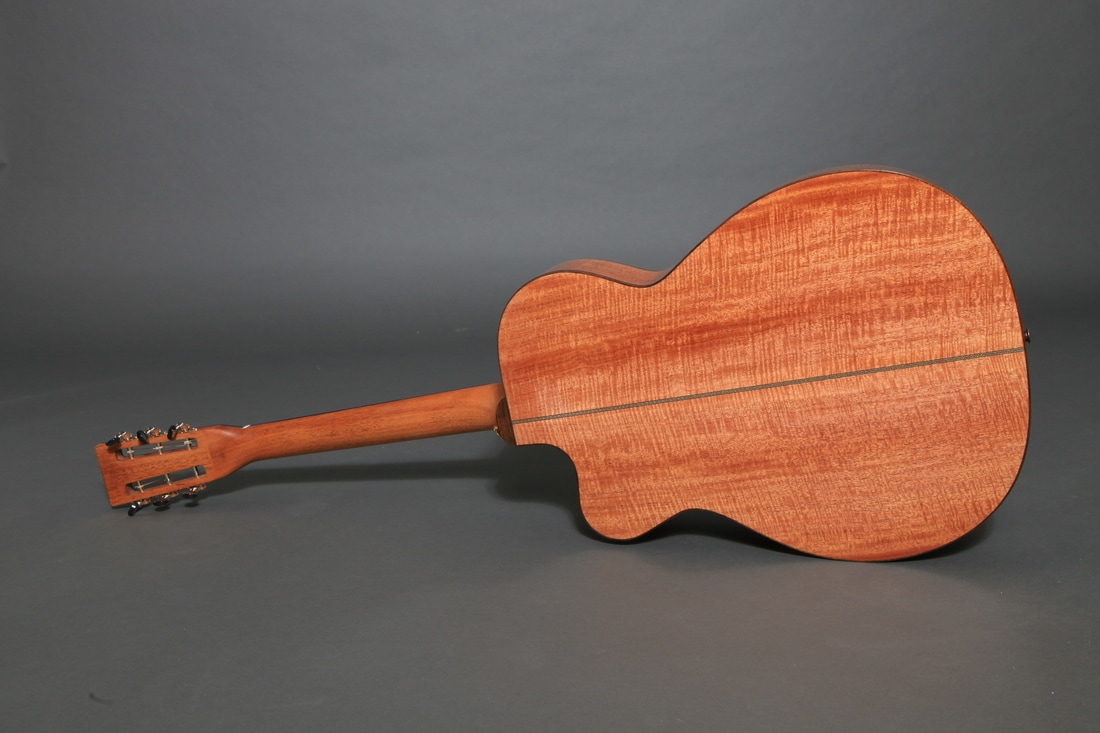
This guitar is essentially complete. I will be getting photos of the finished guitar this week and will post here soon. After the photos the guitar will be shipped to "Sunny Jim" in Florida.
Finished guitar pictures by Jeanne Giltzow :