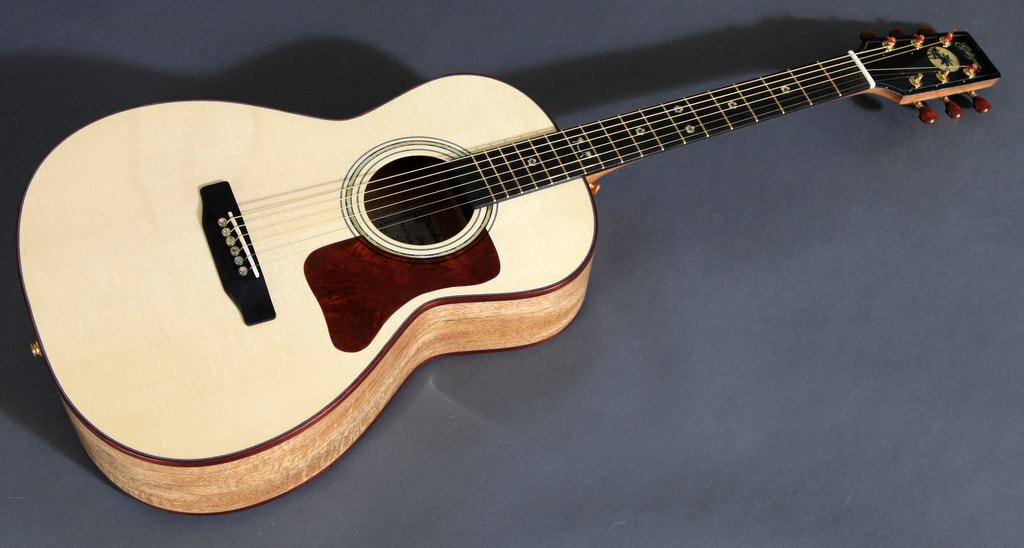
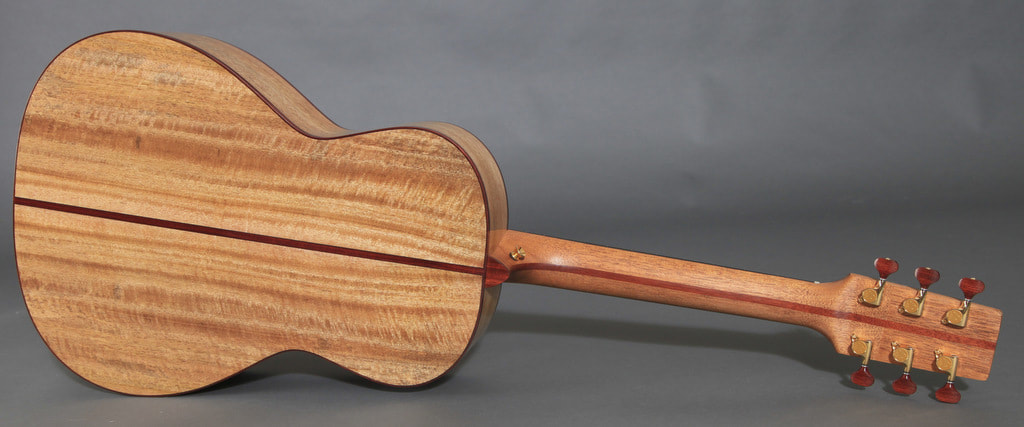
I am building a guitar for a close friend. It will be a model GL-00. A small bodied guitar with a 24.5" scale and 12 frets to the neck/body joint. I am using a curly set of Mango for back and sides and a master grade Engelmann Spruce top. Bindings will be Bloodwood.
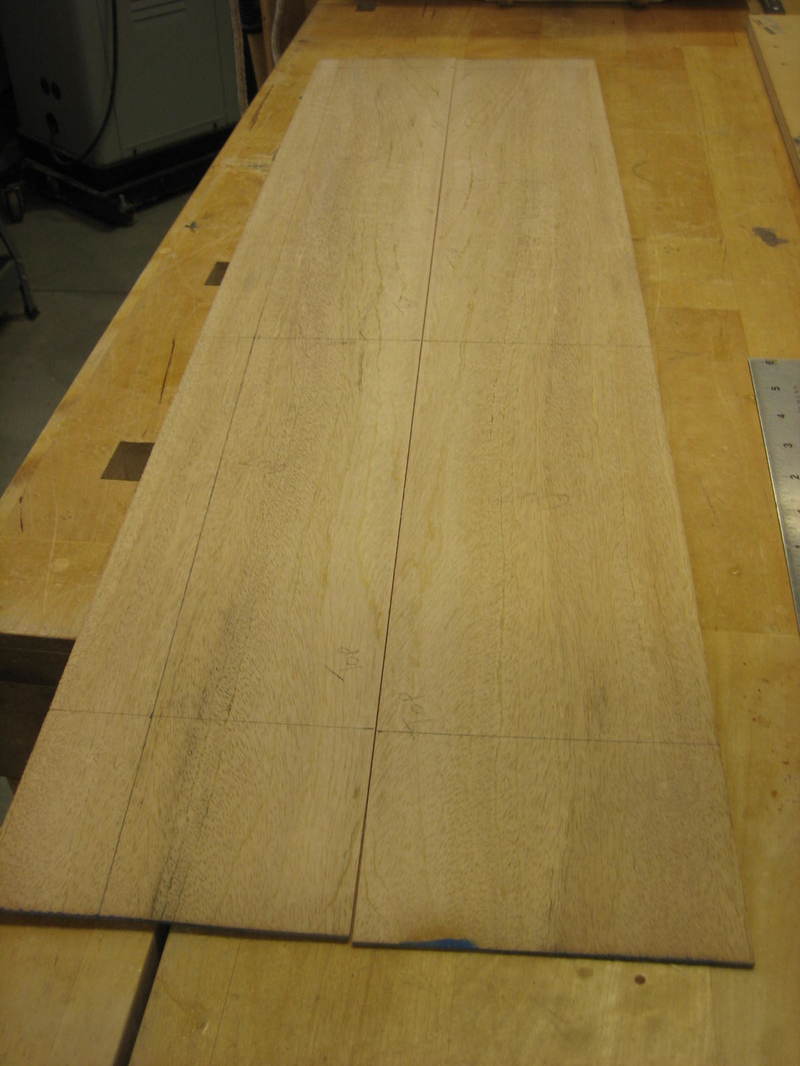
Sides marked for cutting and then thinned to 0.085"
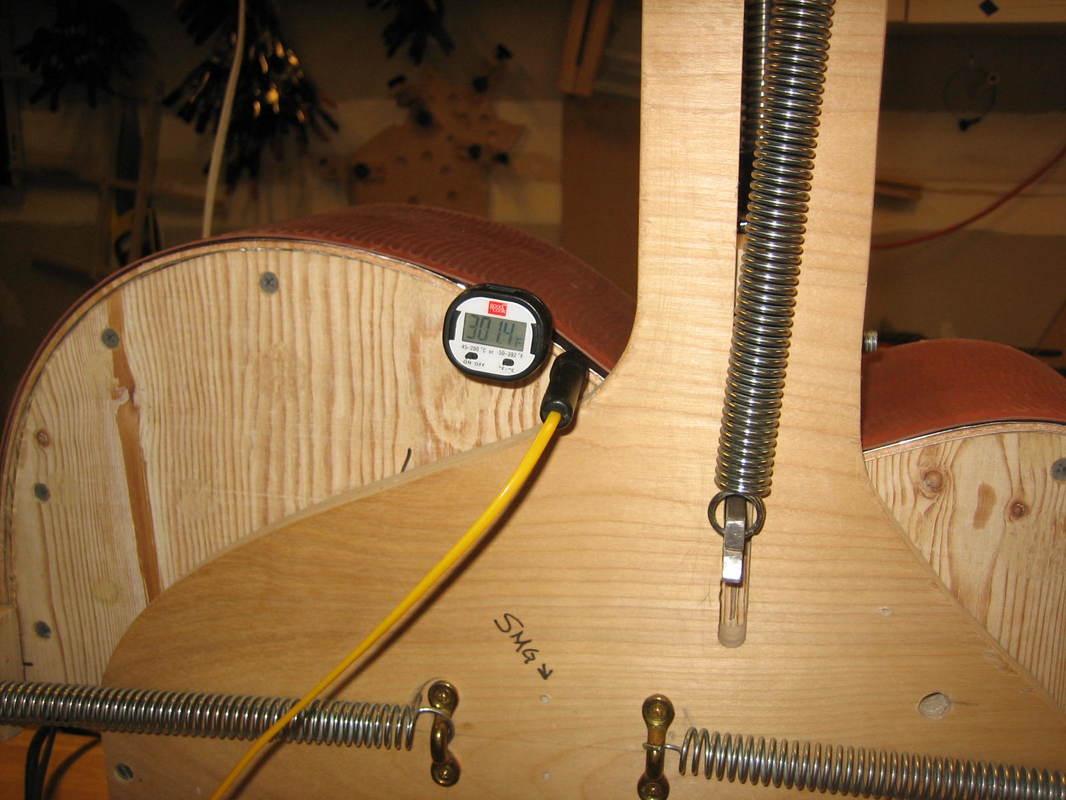
Bending sides at just over 300 degrees.
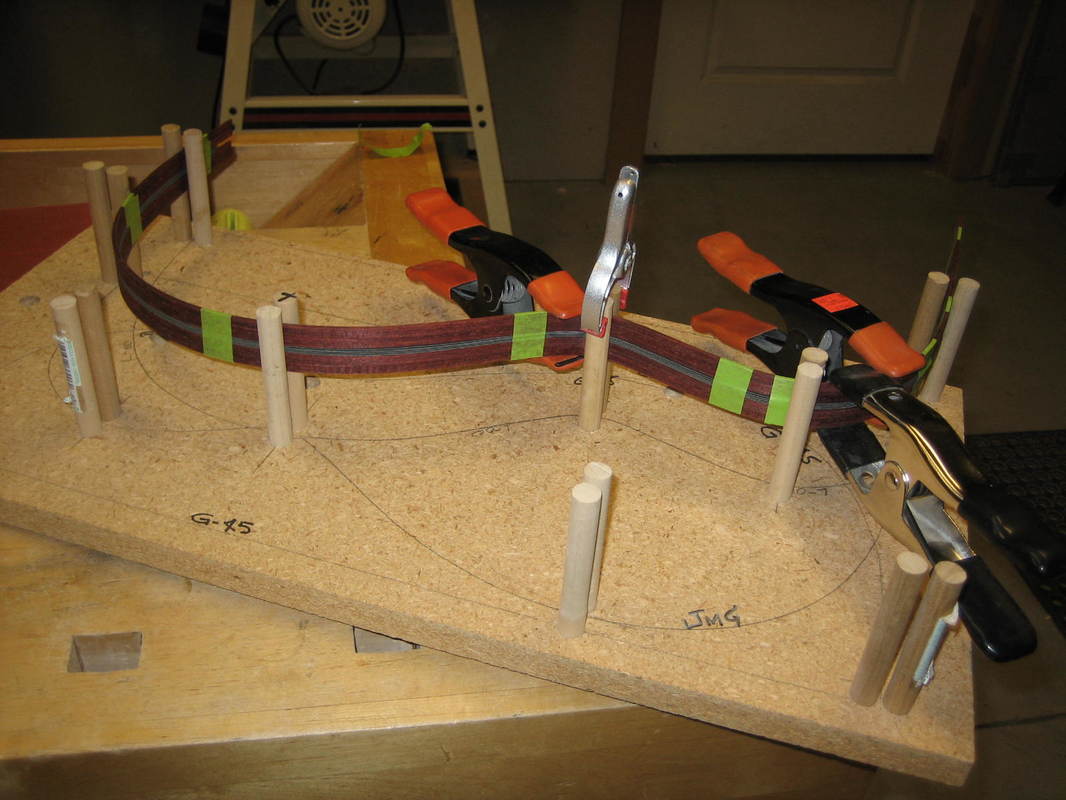
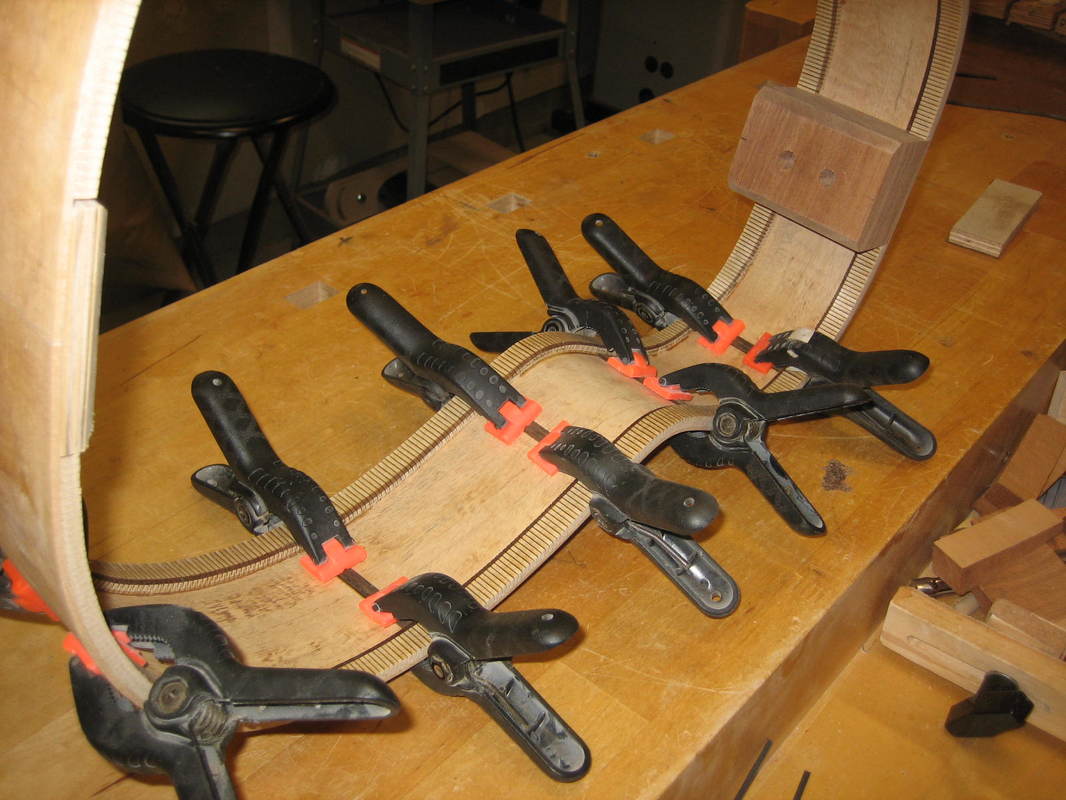
Bloodwood bindings and purfling bent and placed in a form until needed.
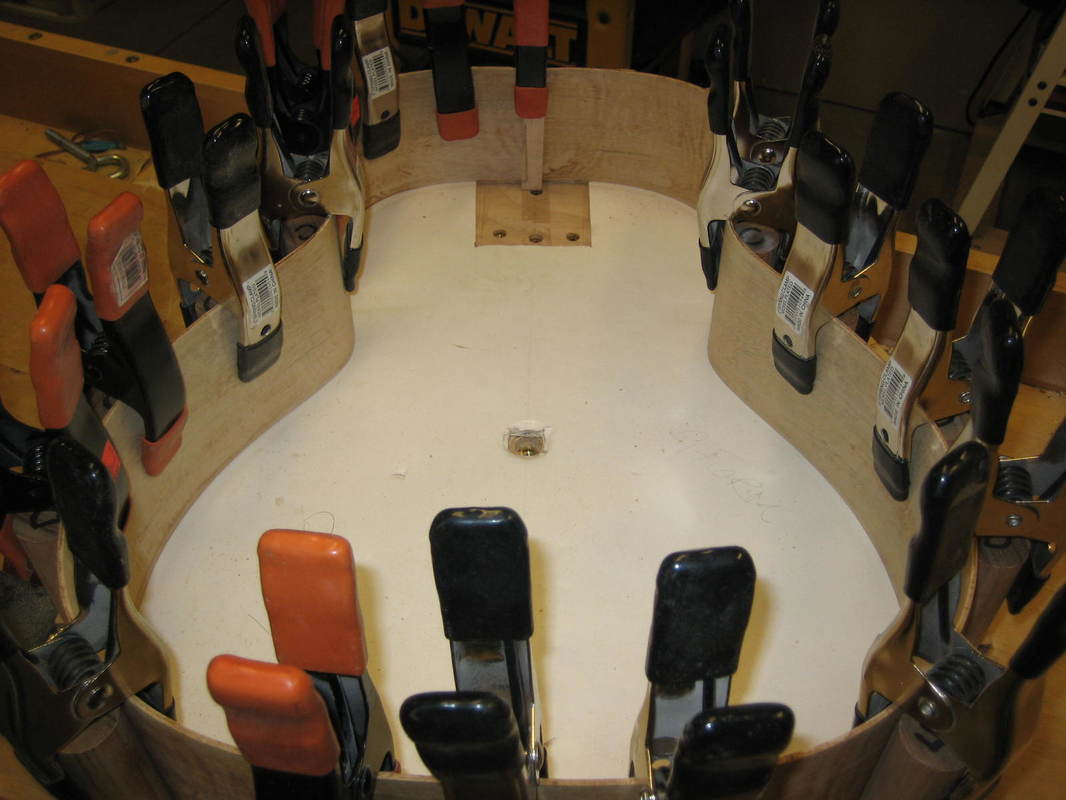
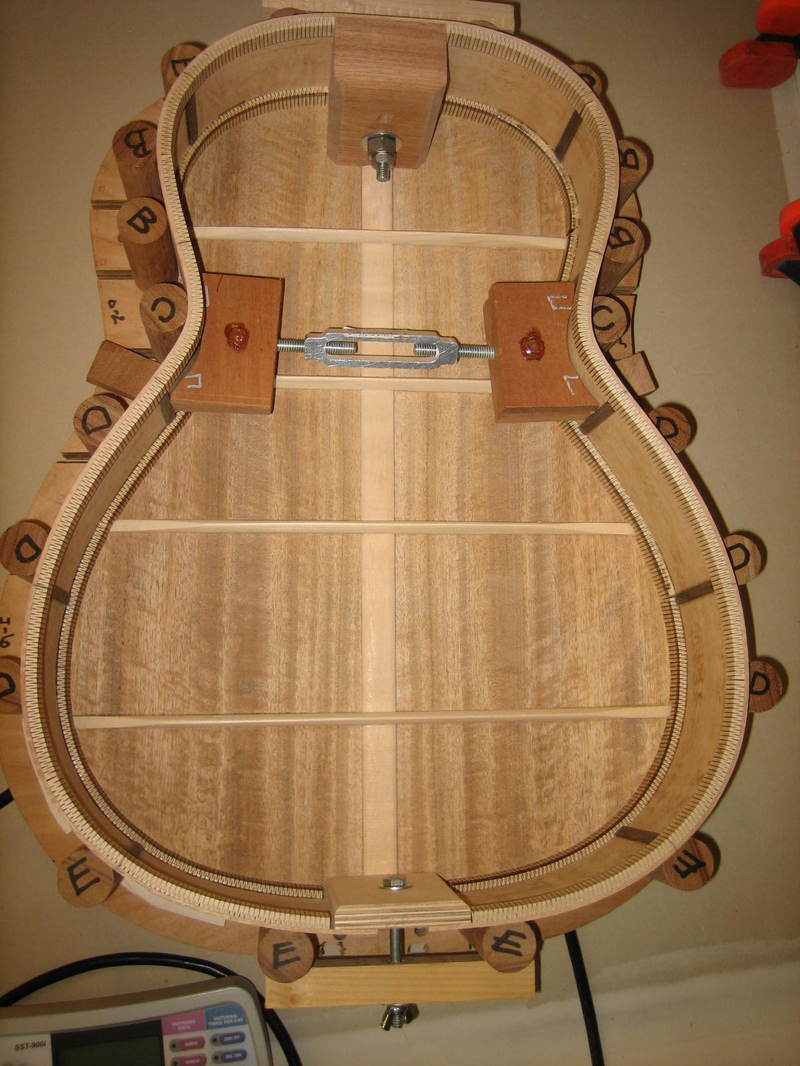
Both sides in building form
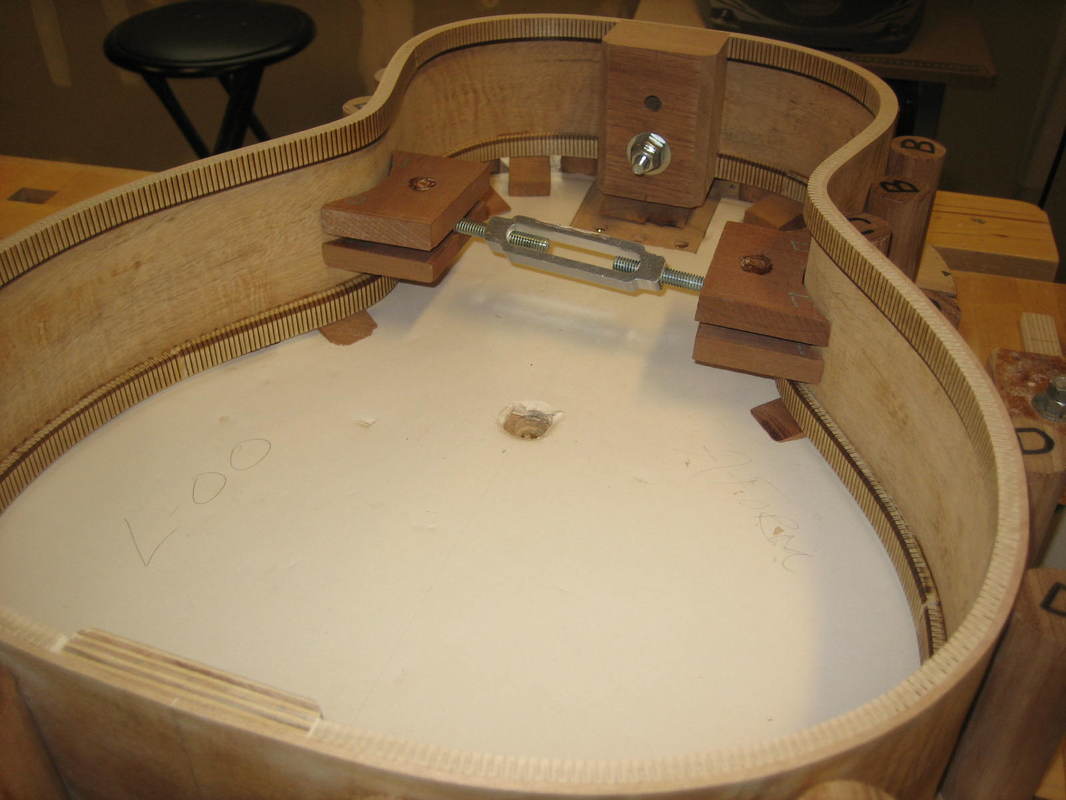
Heel and tail blocks glued to sides
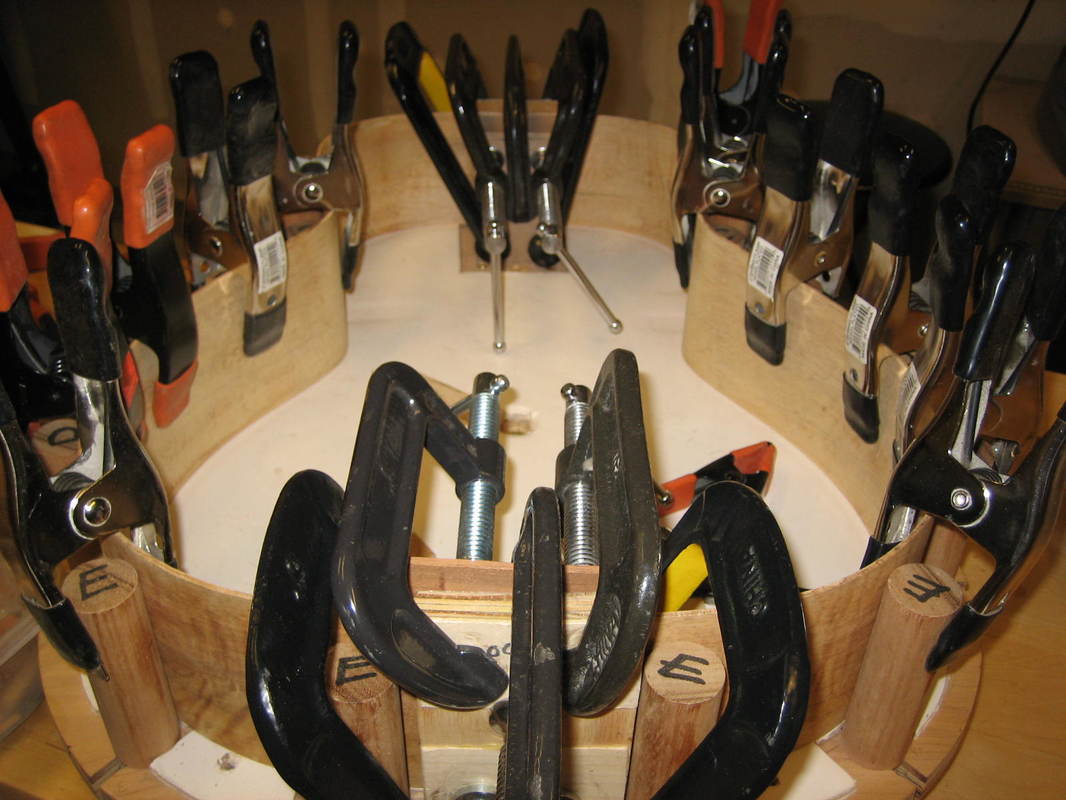
I am using a new brand of kerfed lininig. It is laser cut by Ryan Guitars and is a lot more expensive than my regular lining. It is however, much more flexible and so follows the sides very nicely. In the picture below, the linings have been installed
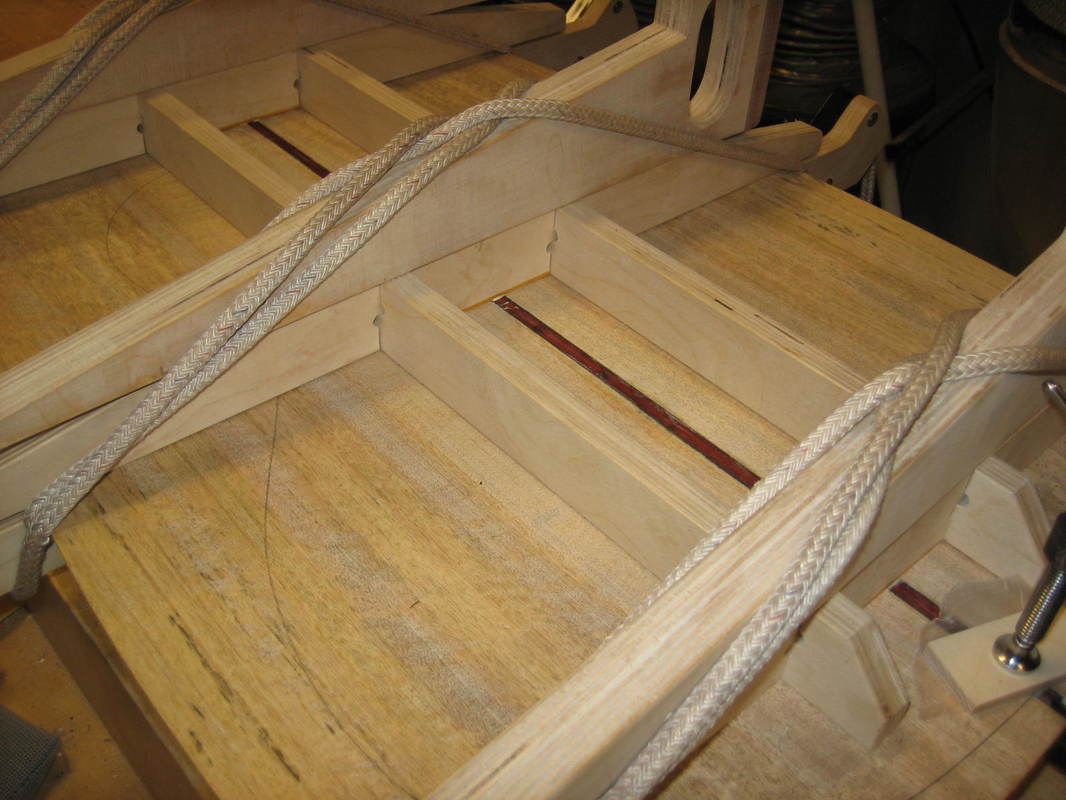
Back plate glued with back strip of Bloodwood
Adding side reinforcement
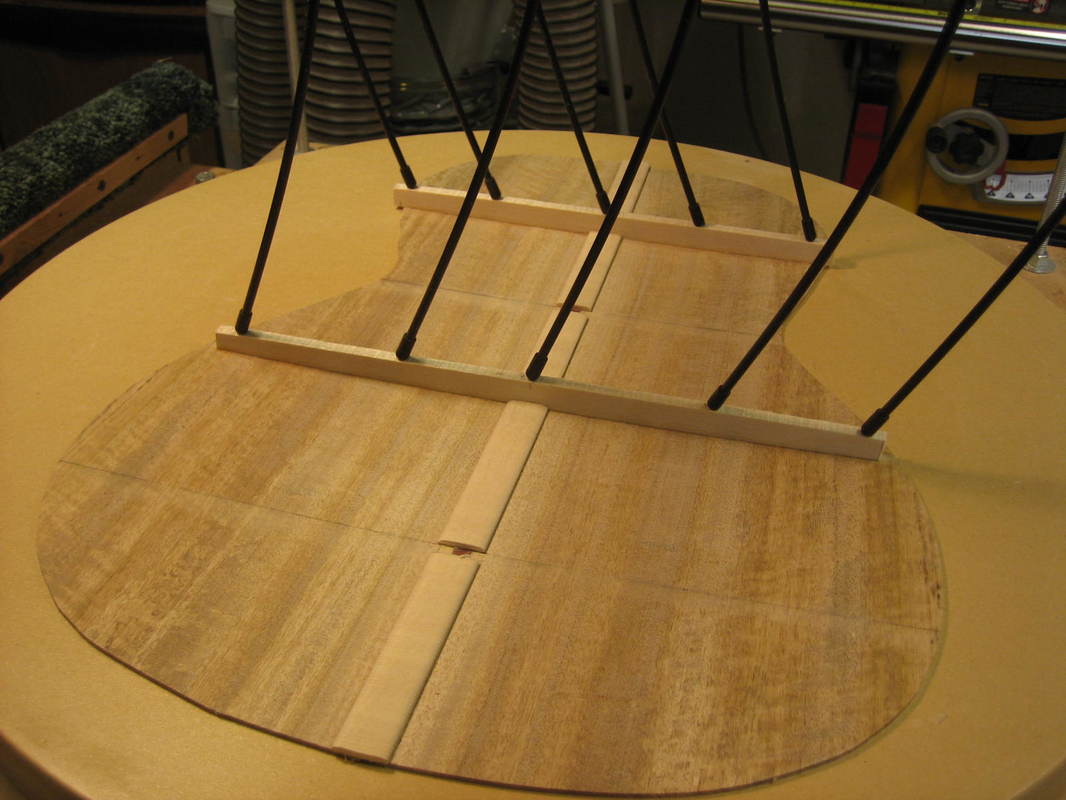
Reinforcing strip added and cut for braces. First 2 braces glued
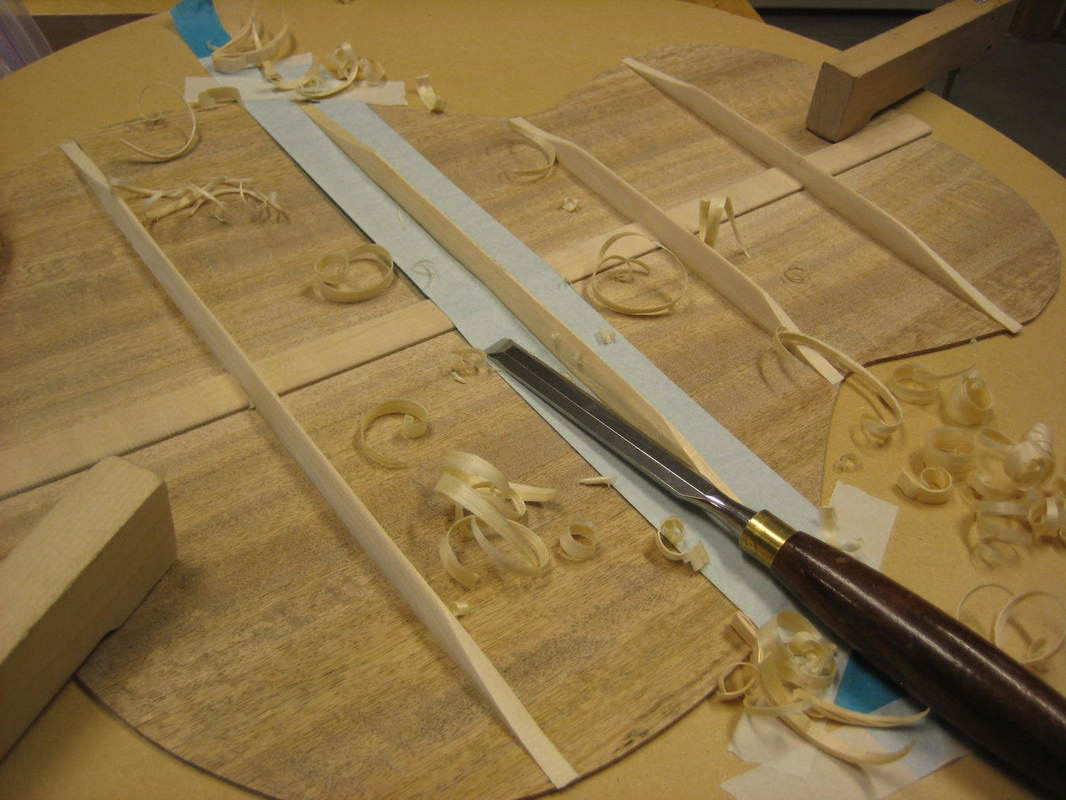
Braces glued and carving is almost done
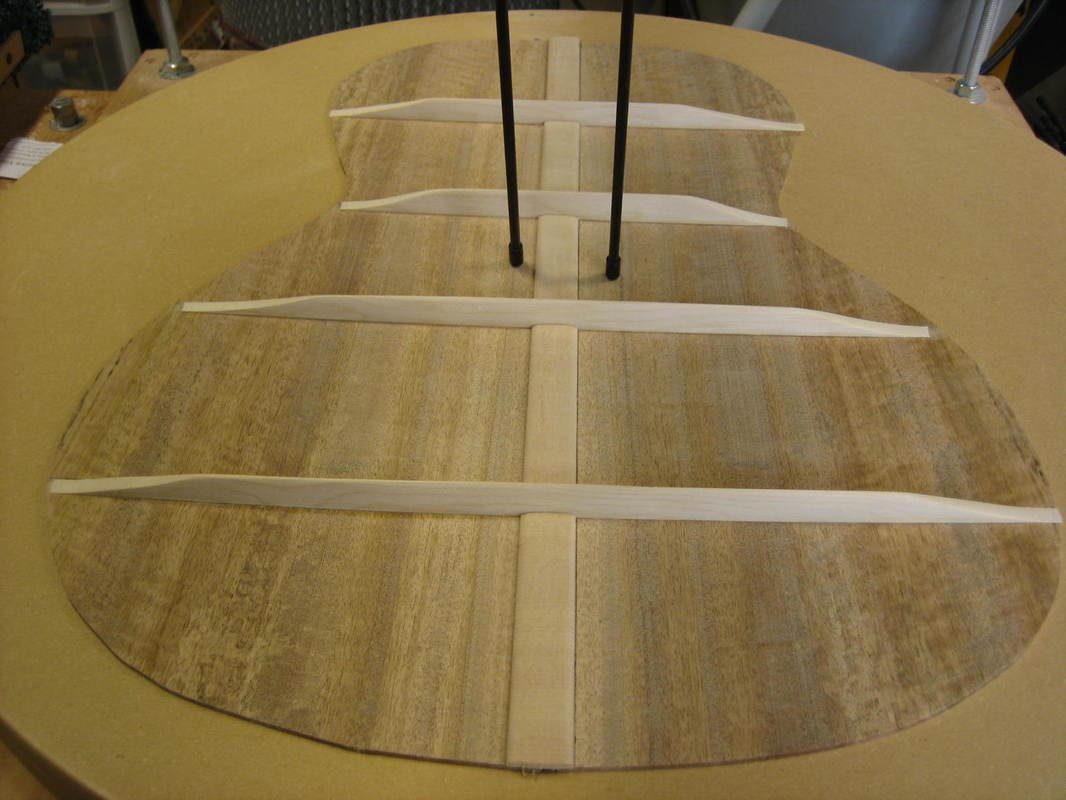
Back ready to mate to sides
Tail graft taper
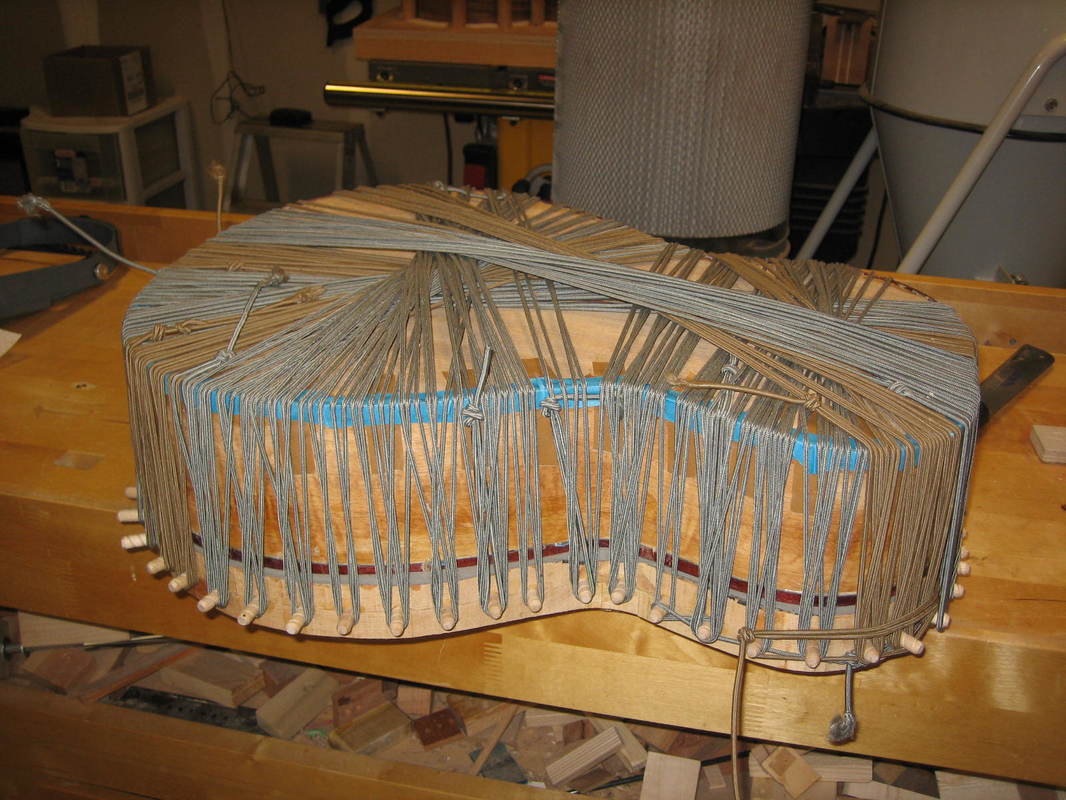
Installing the back
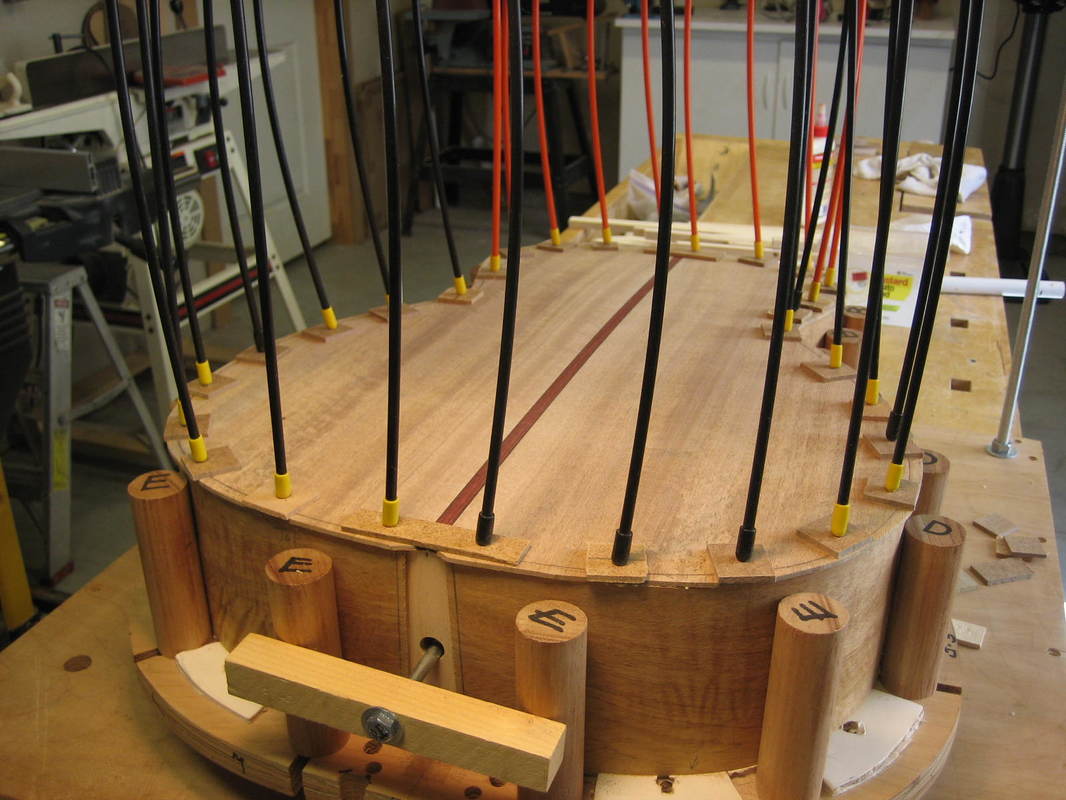
Back mated with sides - now to the soundboard
Rosette of gold Mother-of-Pearl with abalone inside and outside ring. This has to fit perfectly, there can be no gaps, as any gaps would be very easy to see. So..................
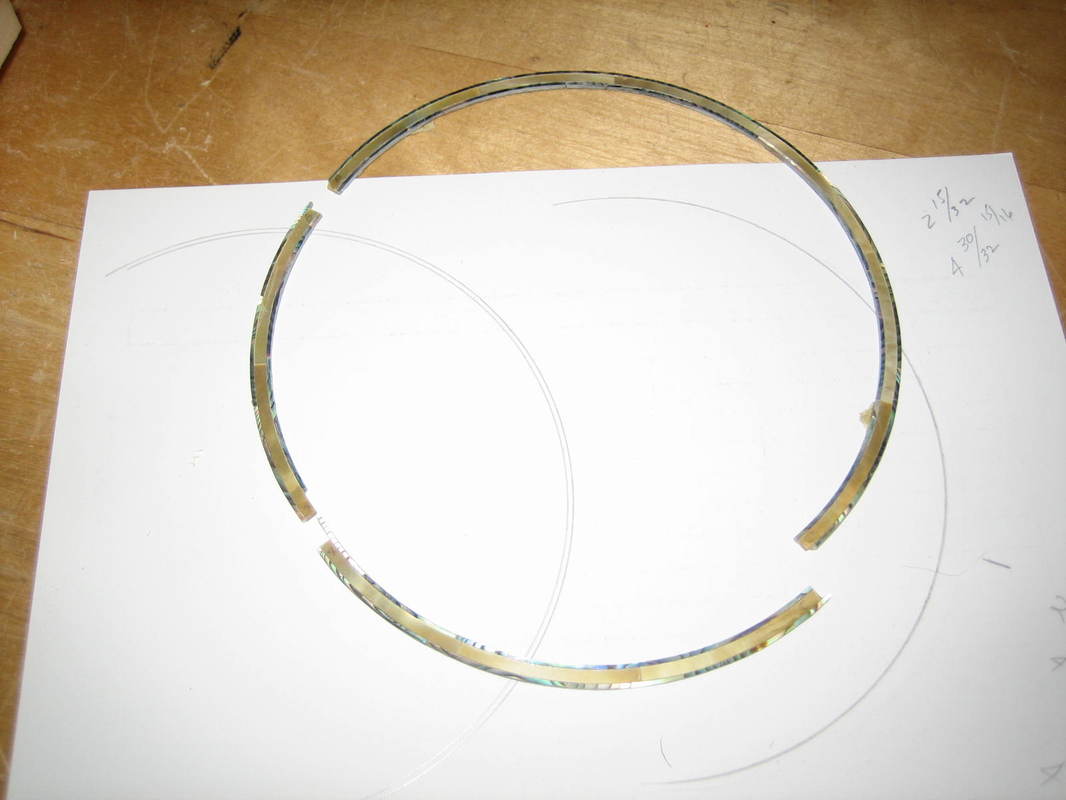
..... I inlaid the entire rosette in a scrap top (without glue) to get the inside & outside radii correct and the spacing of the channel.
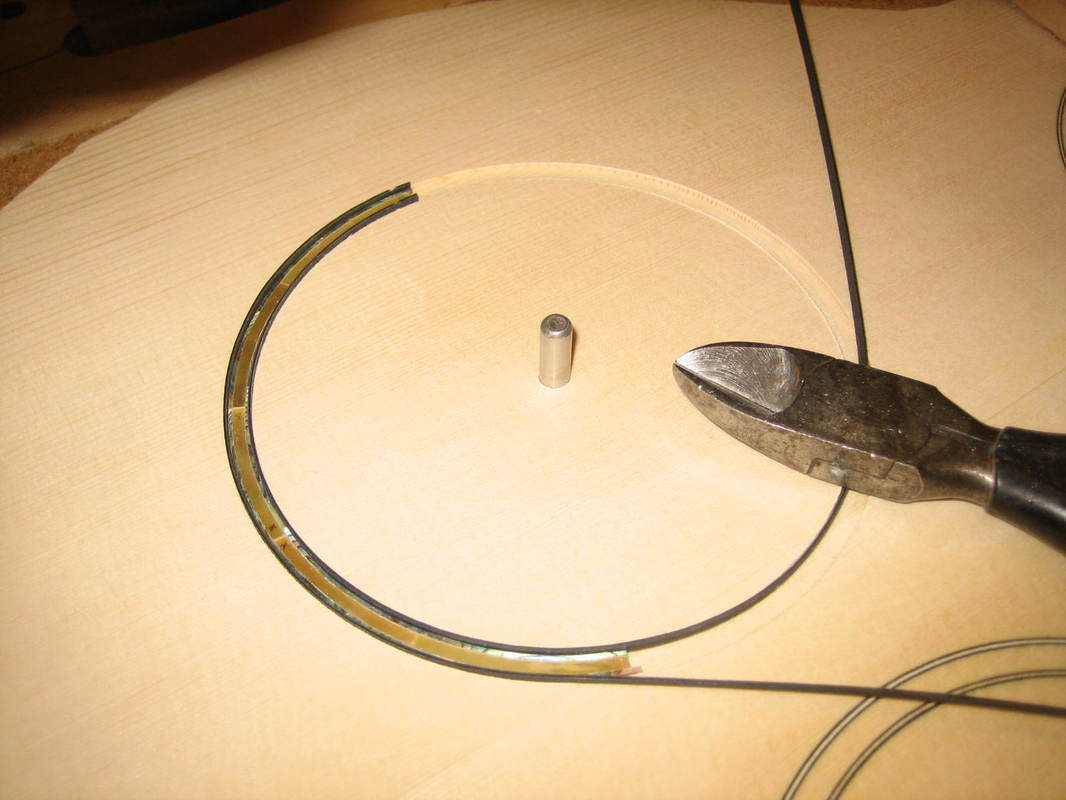
Then I removed those pieces and inlaid them into the Engelmann top. I think it came out very well and the extra time getting the dimensions right was time well spent.

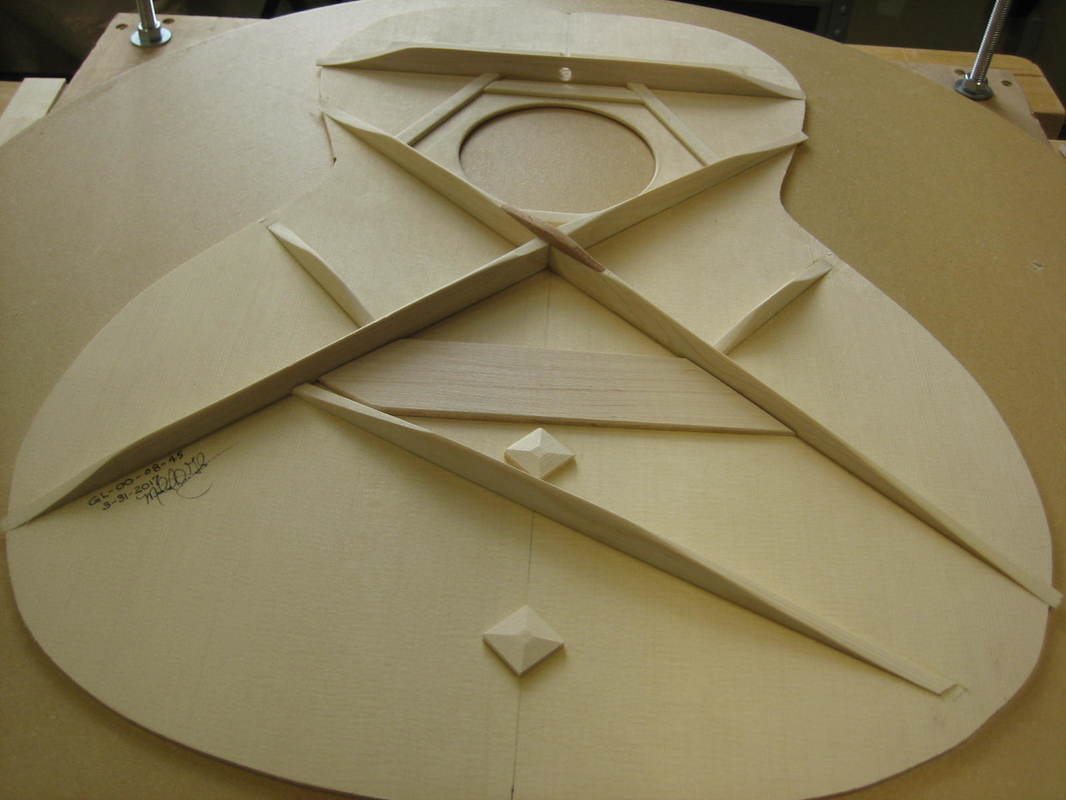
Start of bracing for soundboard
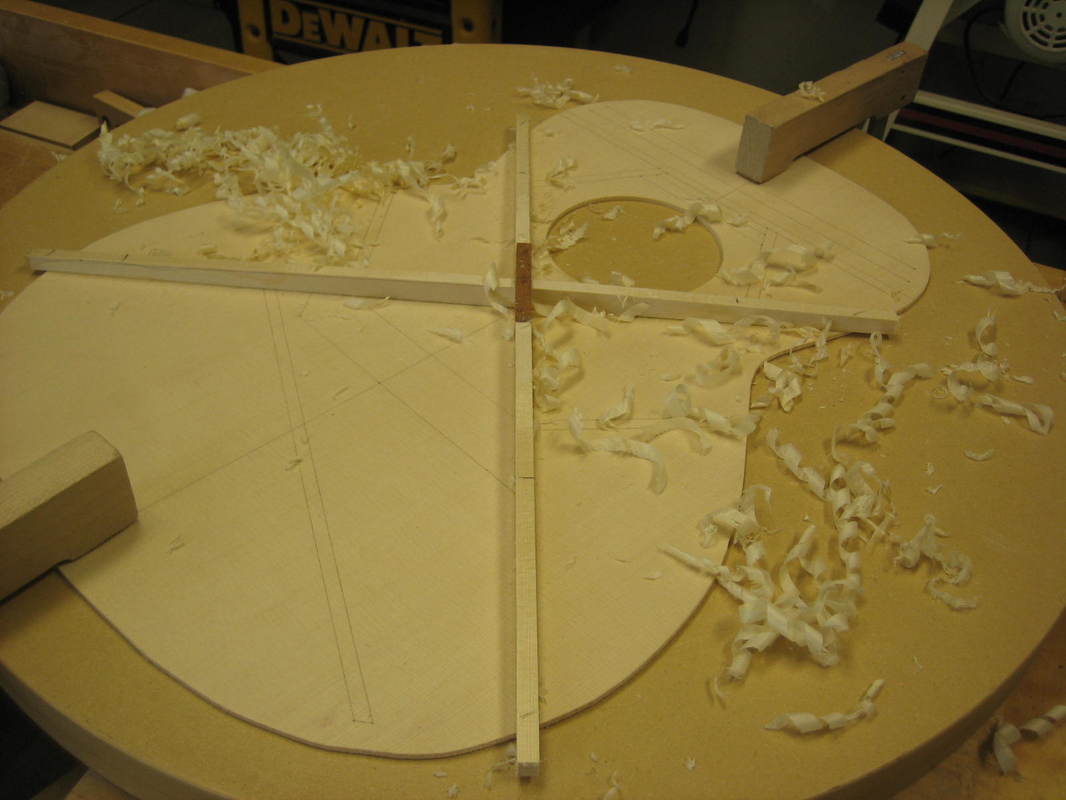
Top braced, carved and signed
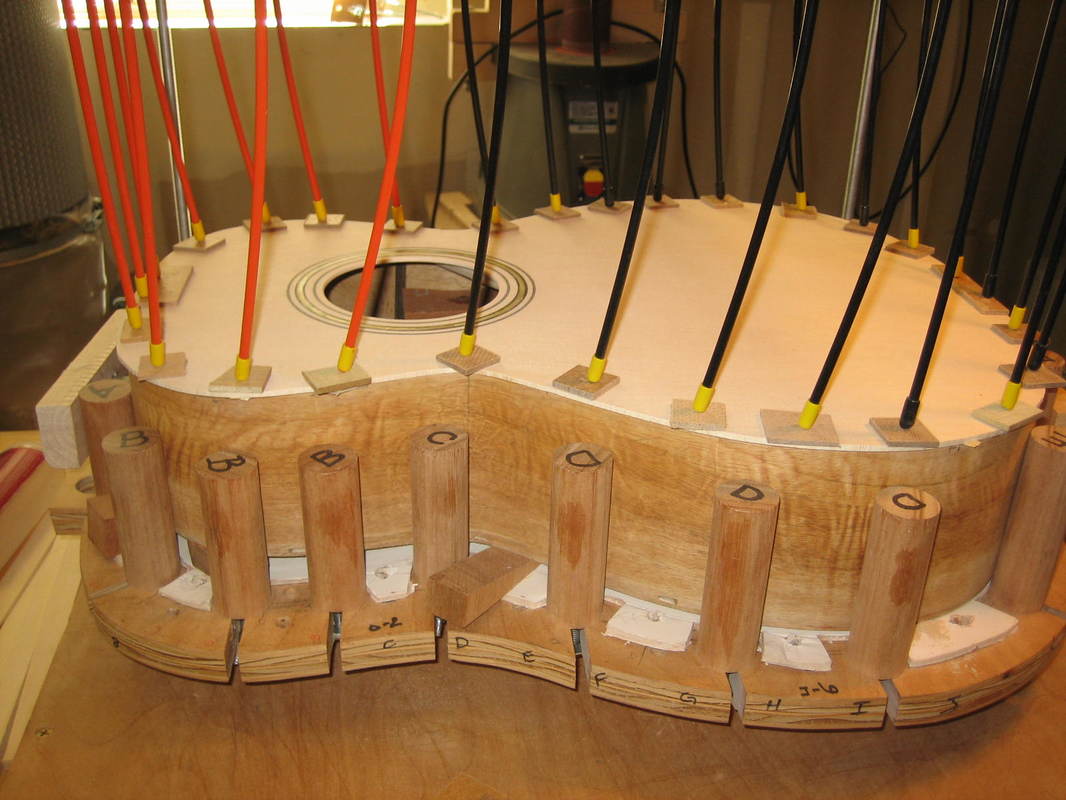
Sound Board glued to sides
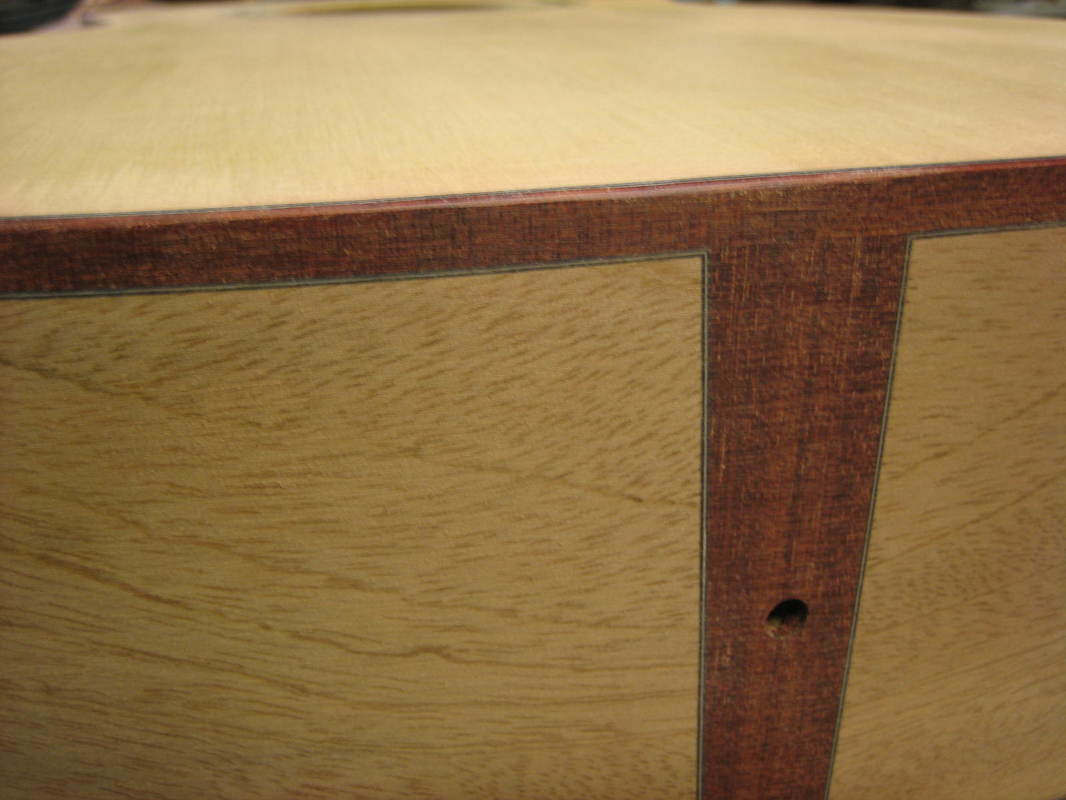
Installing Bloodwood bindings
Initial rough sanding of sides and bindings

Rough sanding of tail piece taper
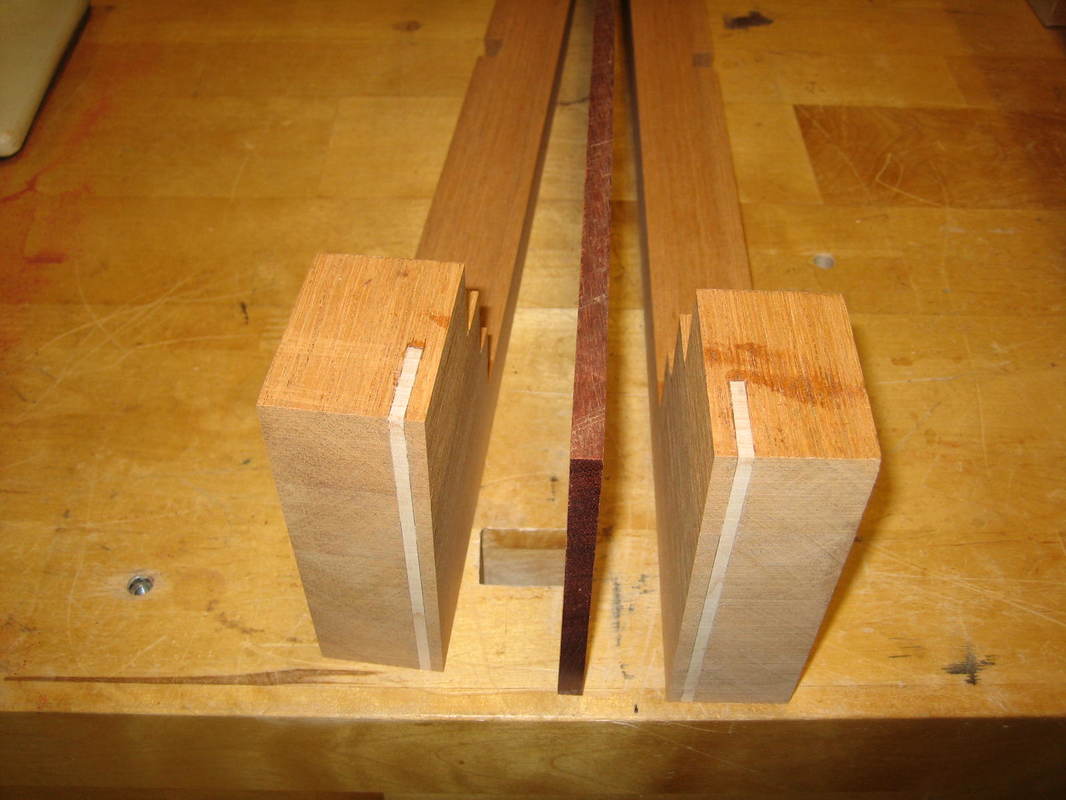
Adding a center stripe of Bloodwood down the middle of the neck
Starting with a cut down the middle of the neck and adding a piece of 3/8" thick Bloodwood
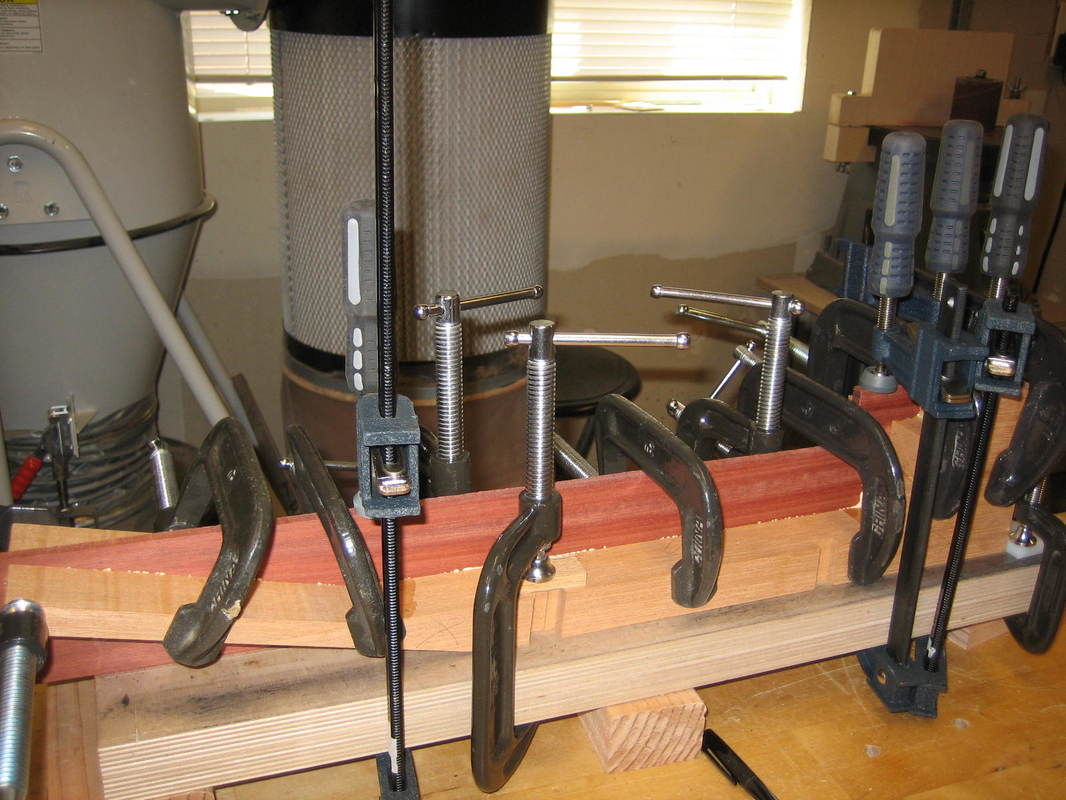
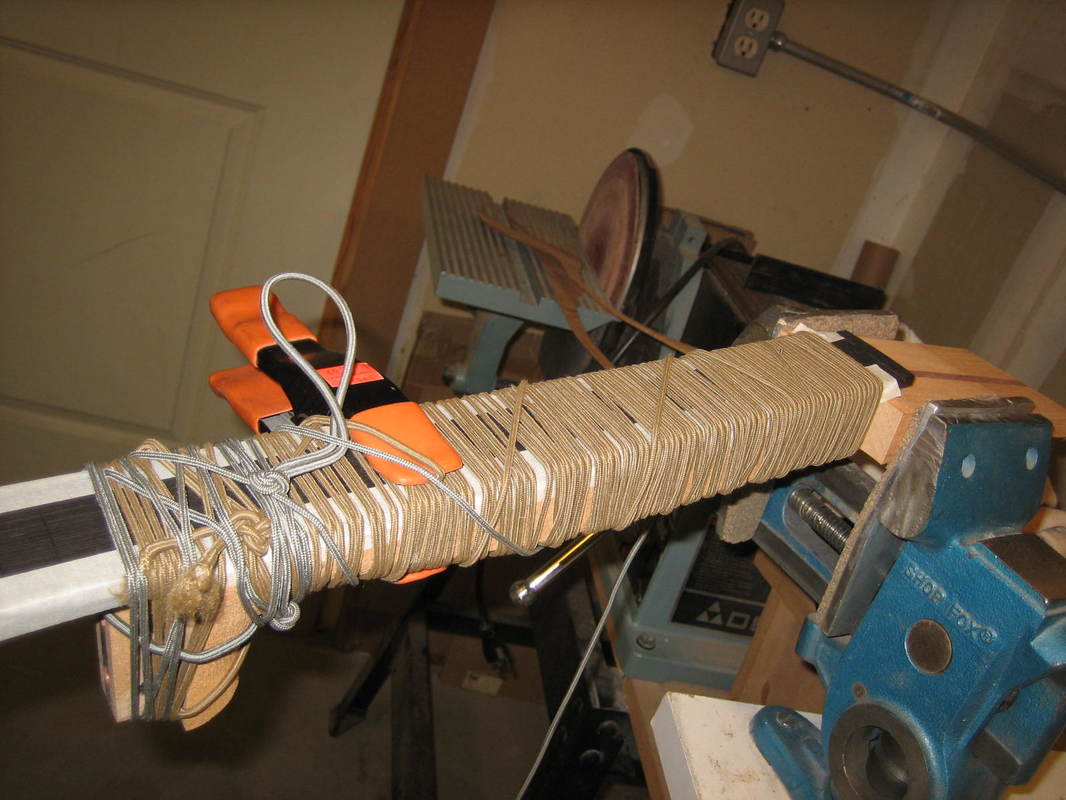
Gluing and clamping
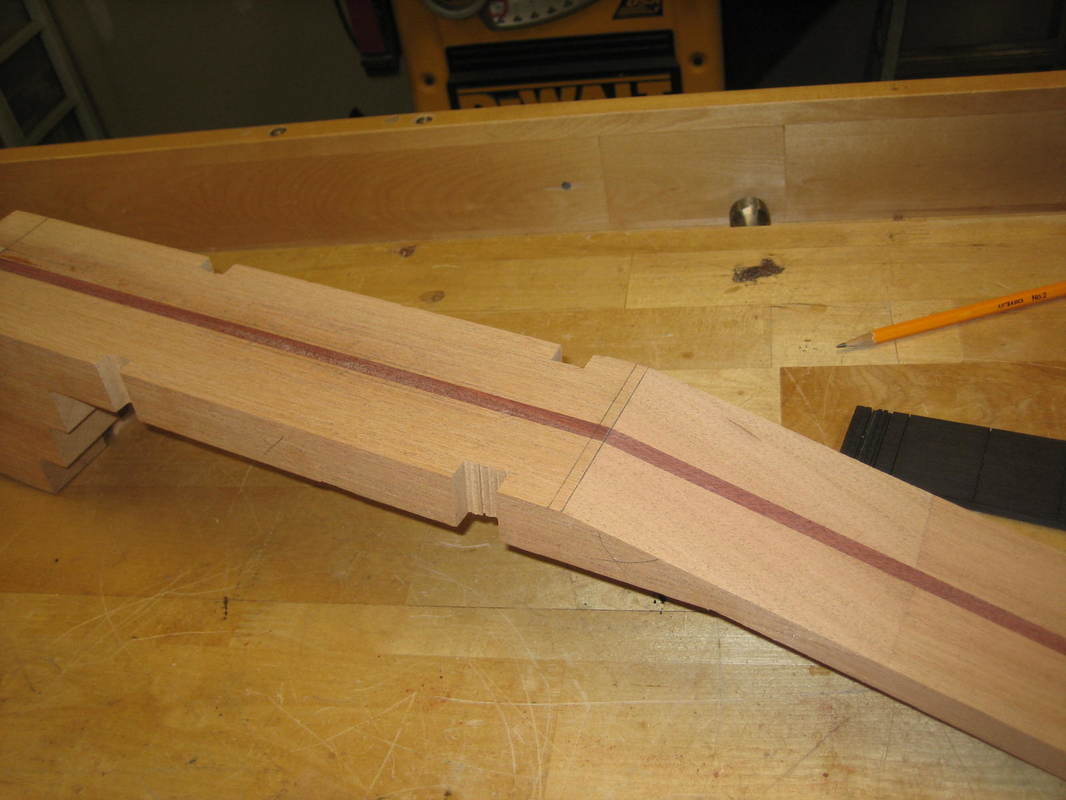
Cutting, smoothing and leveling
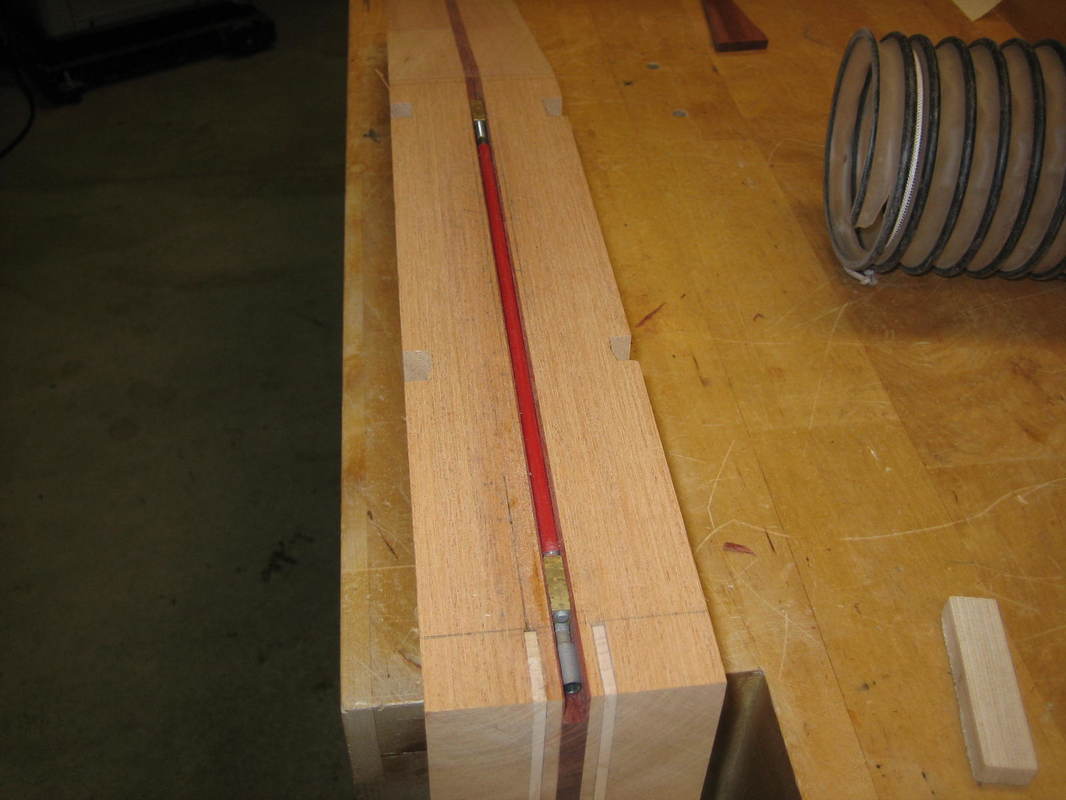
Routing for truss rod
Initial neck set
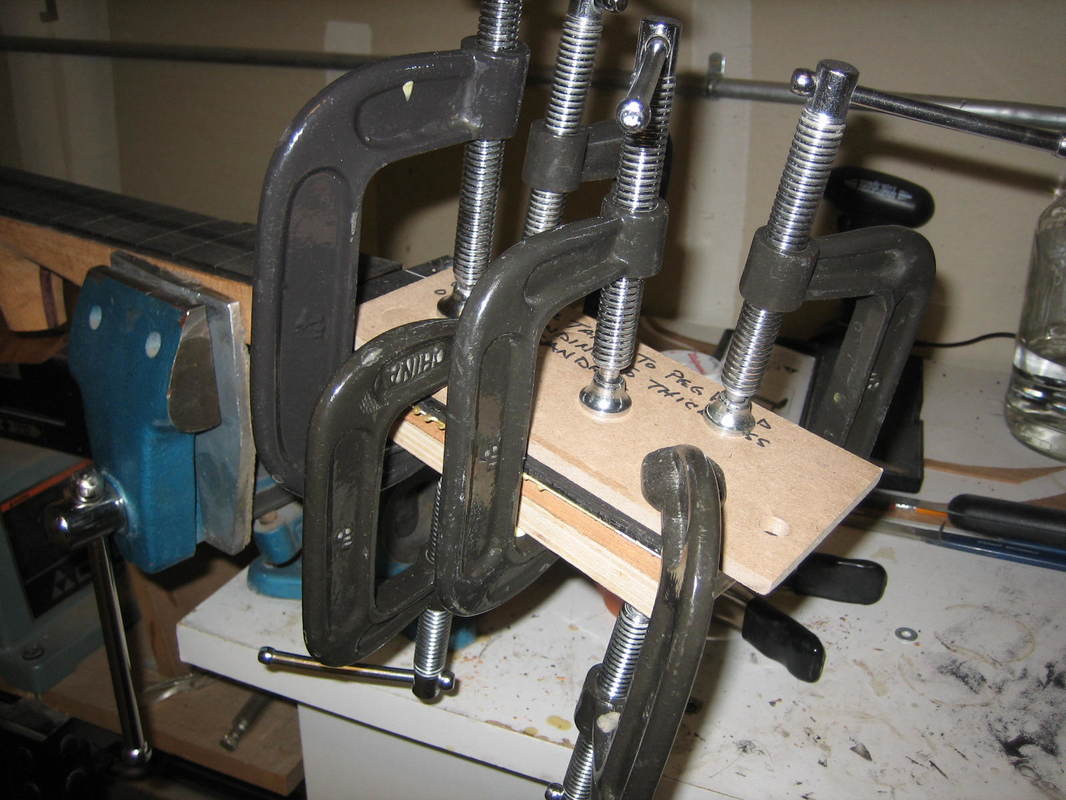
Gluing fret board to neck
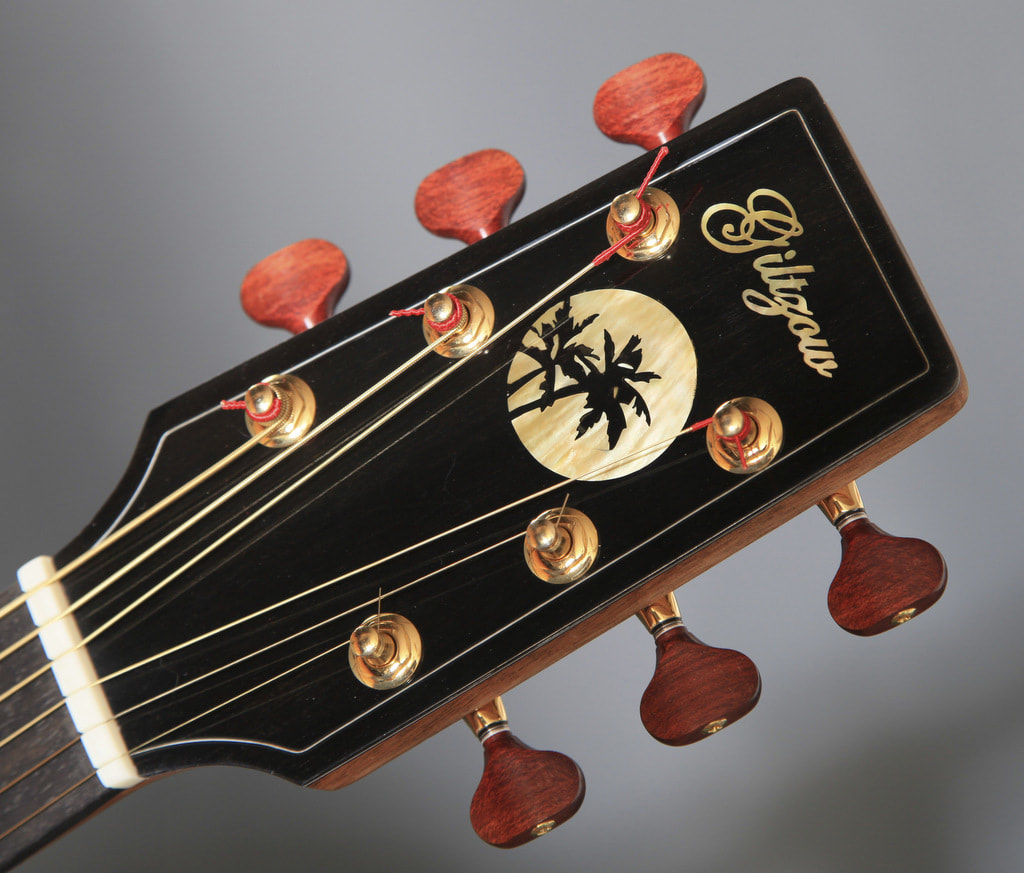
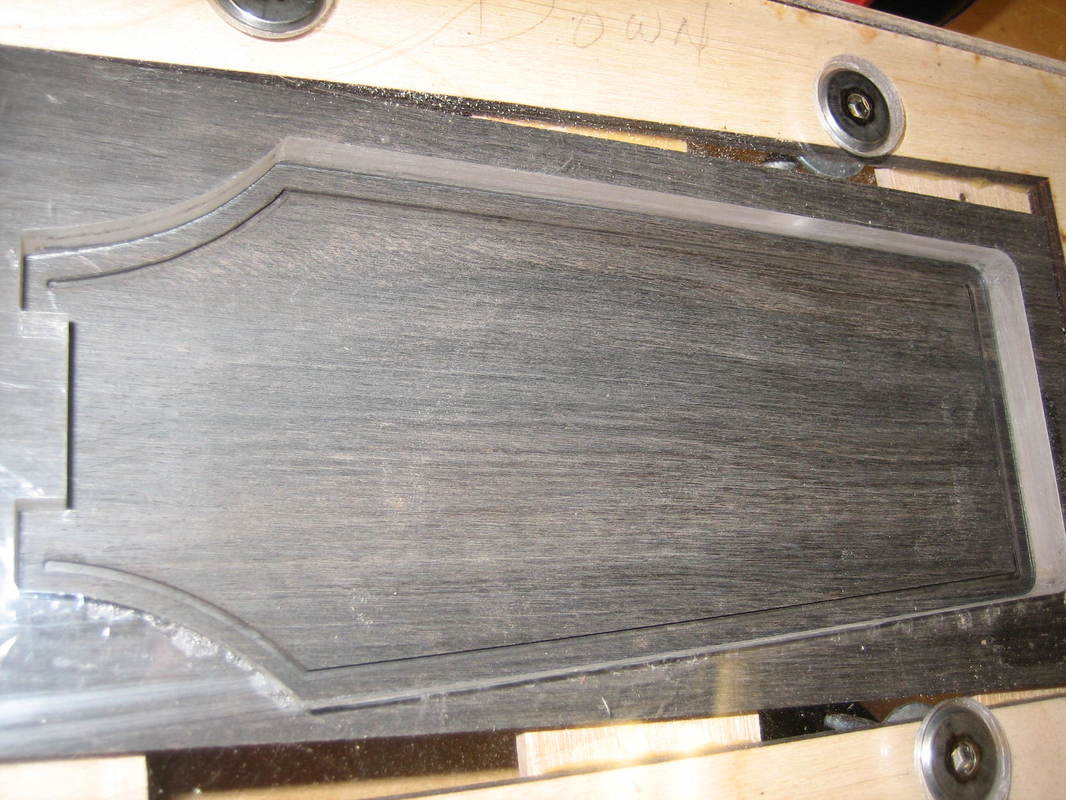
Cutting channel for thin white stripe around peg head
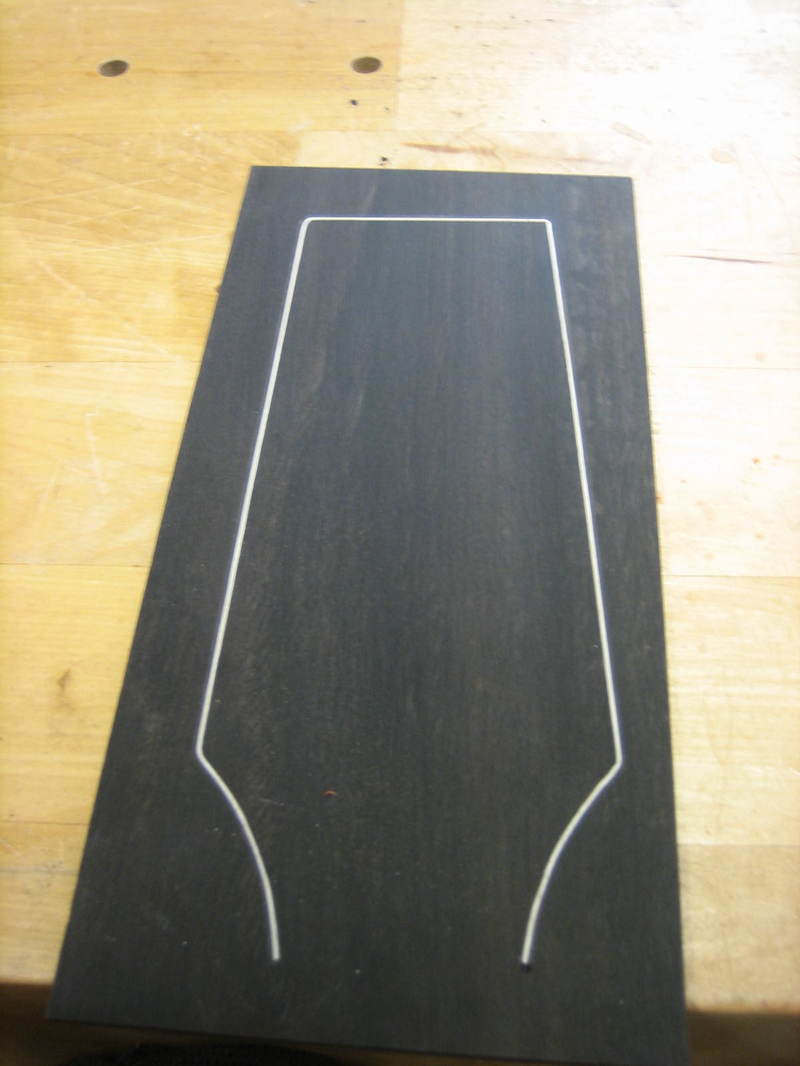
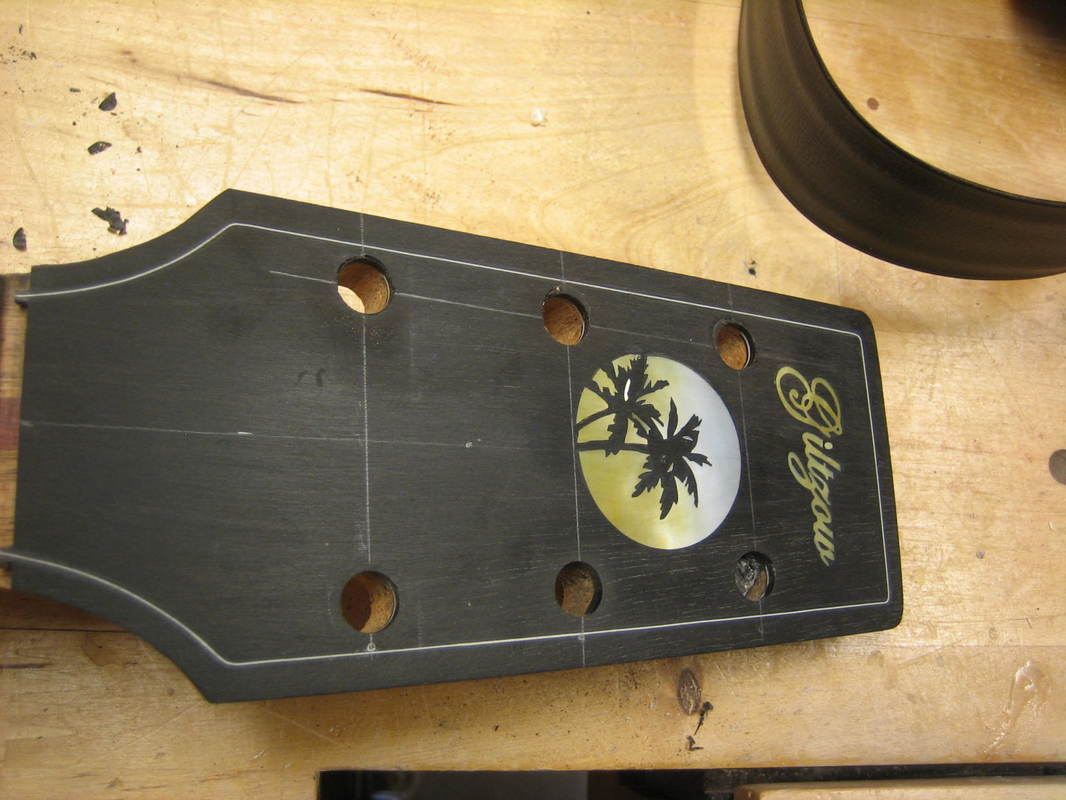
White plastic strip inlay
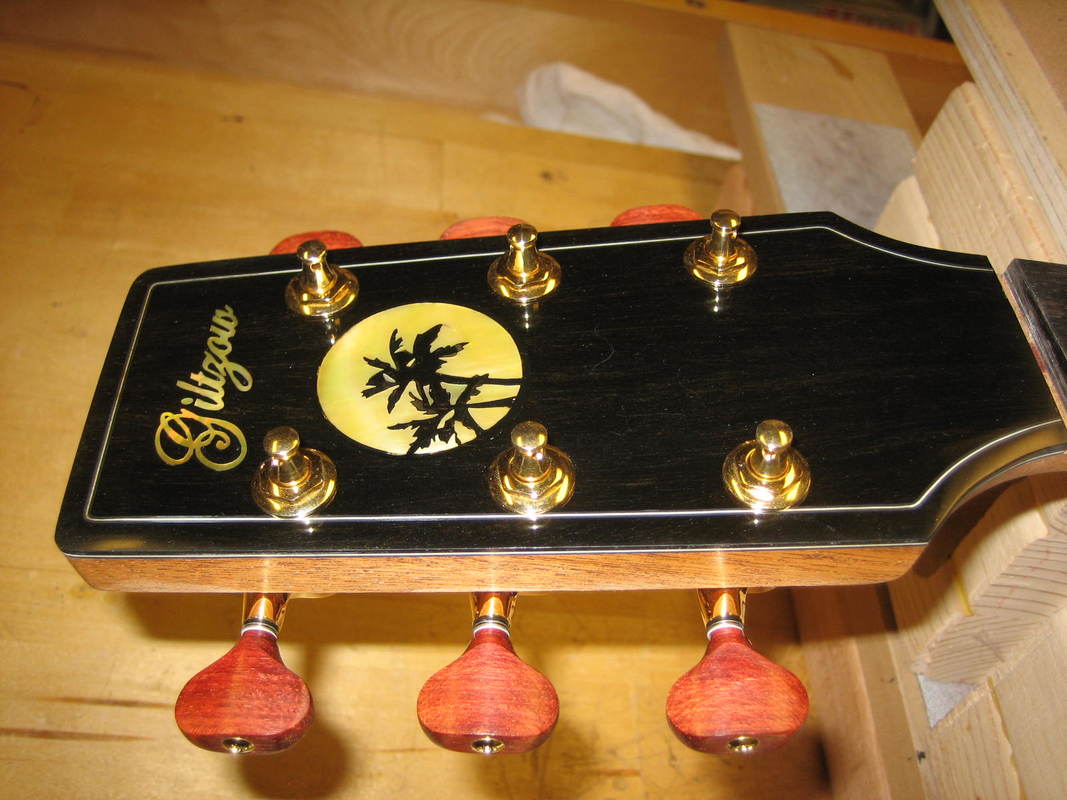
Peg head veneer attached to neck
Peg head inlays
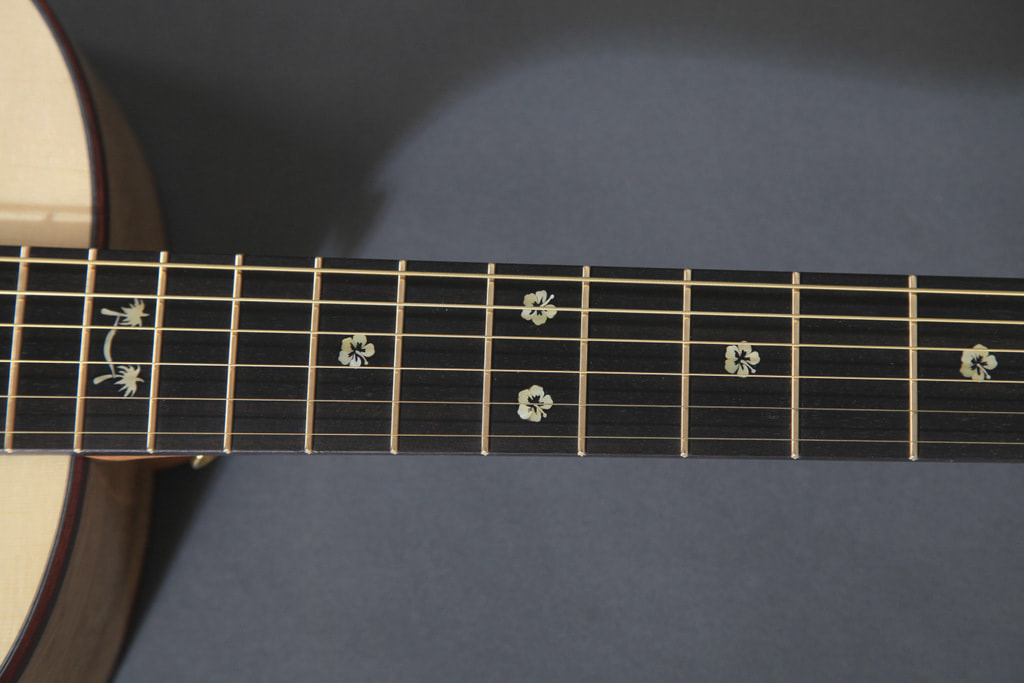
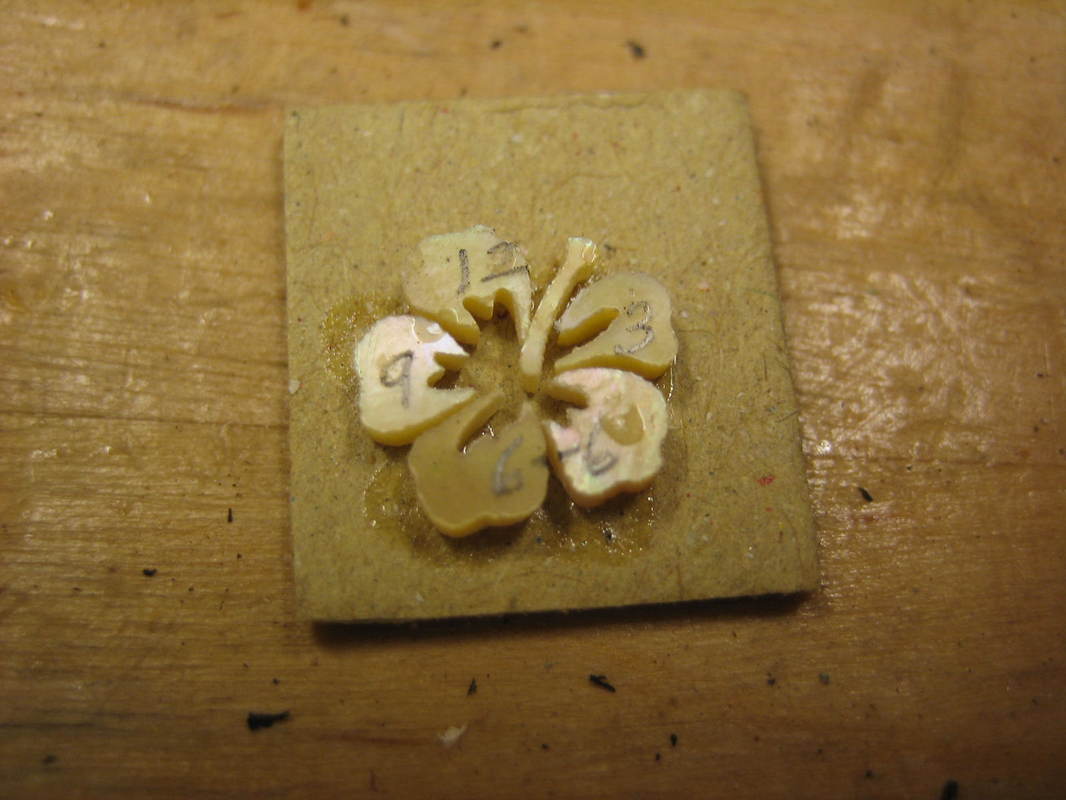
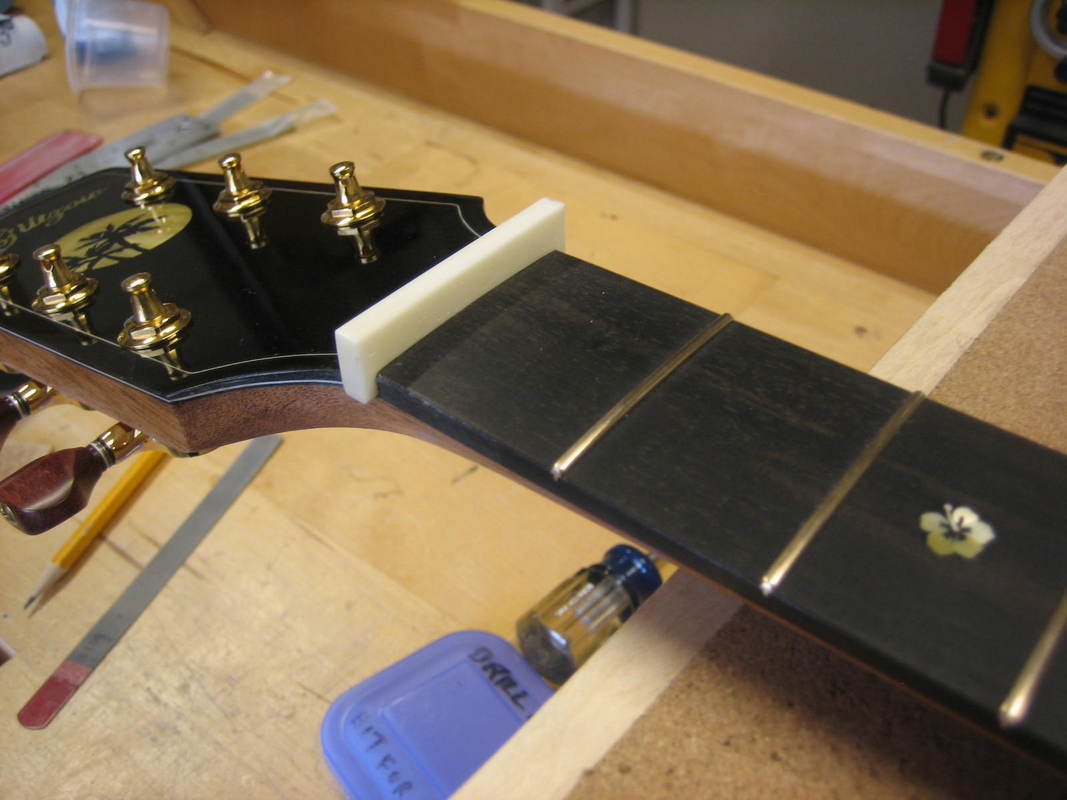
Six, six piece flowers to inlay in the fret board
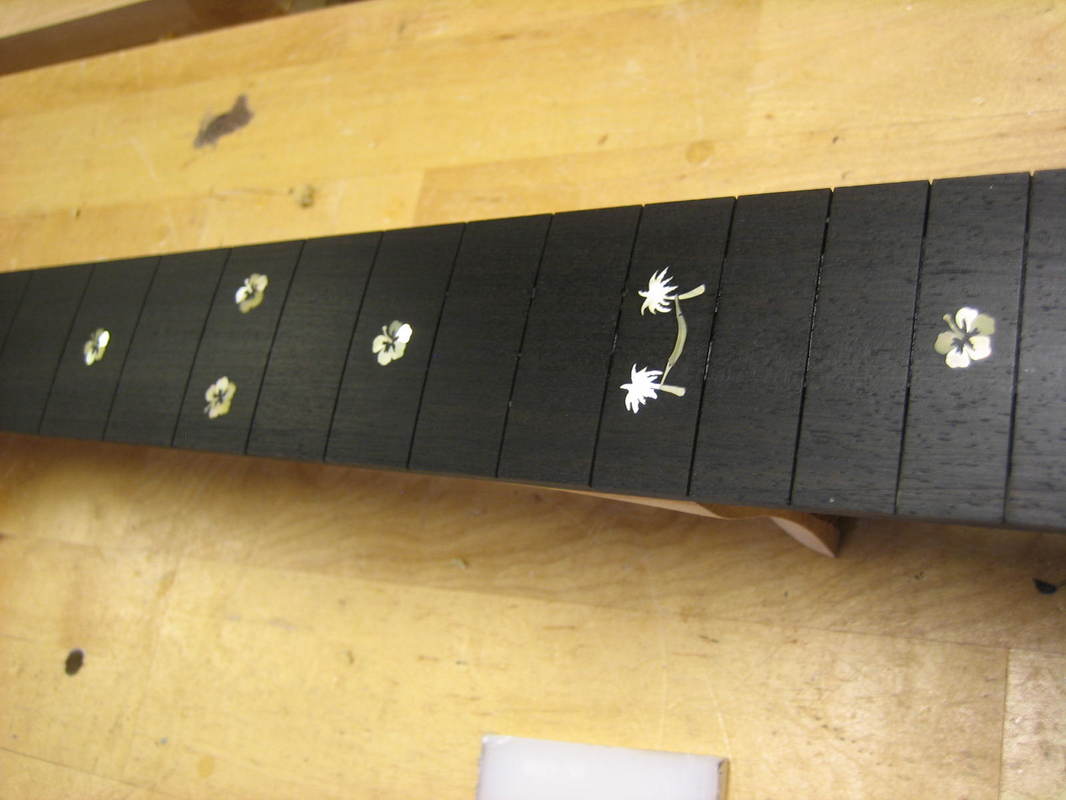
Flowers plus hammock inlaid
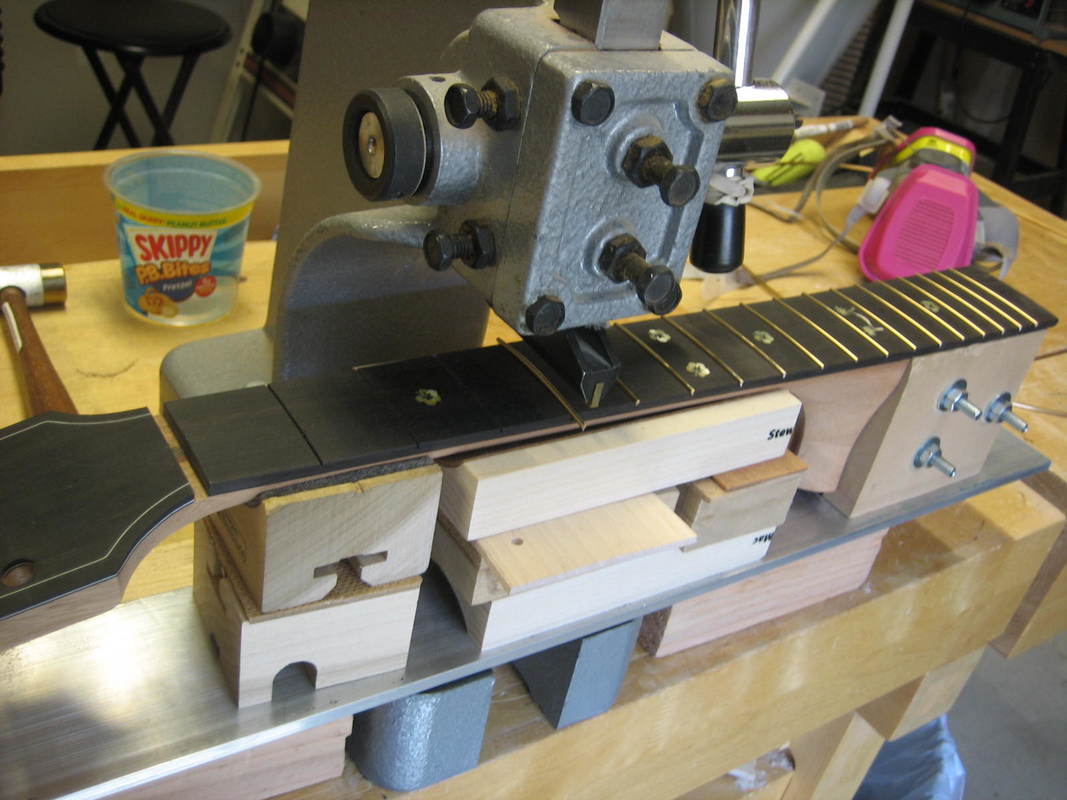
Pressing frets
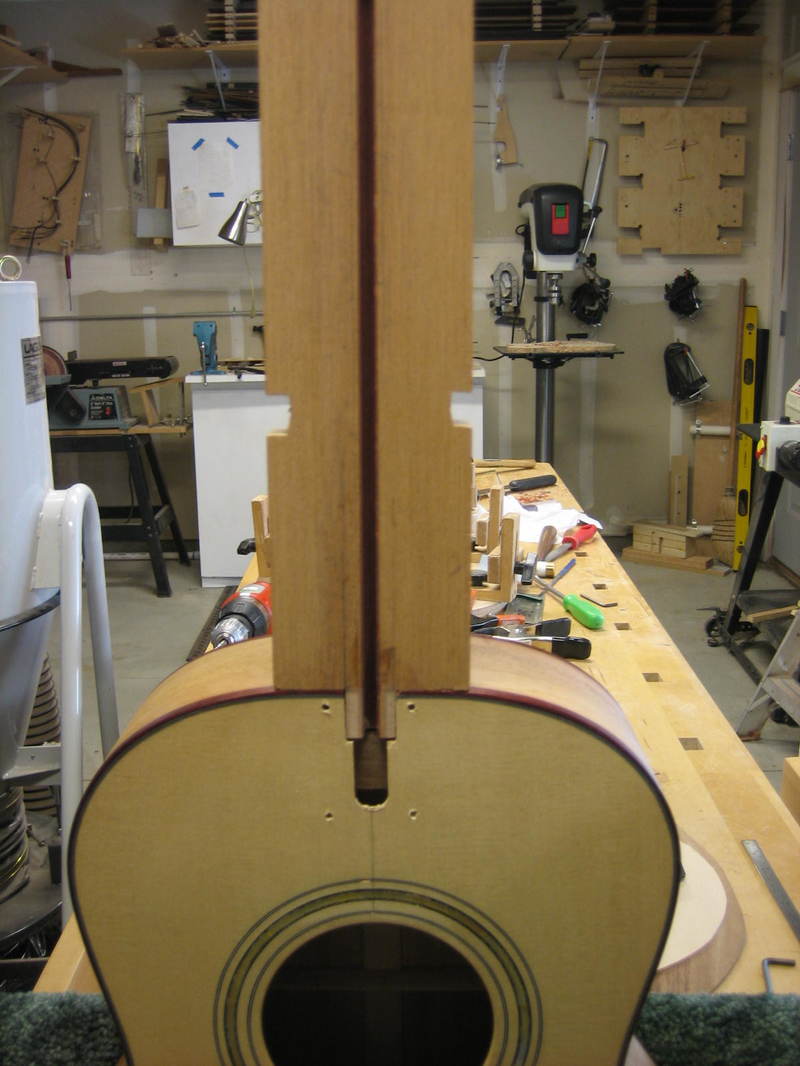
Attaching neck to sound box
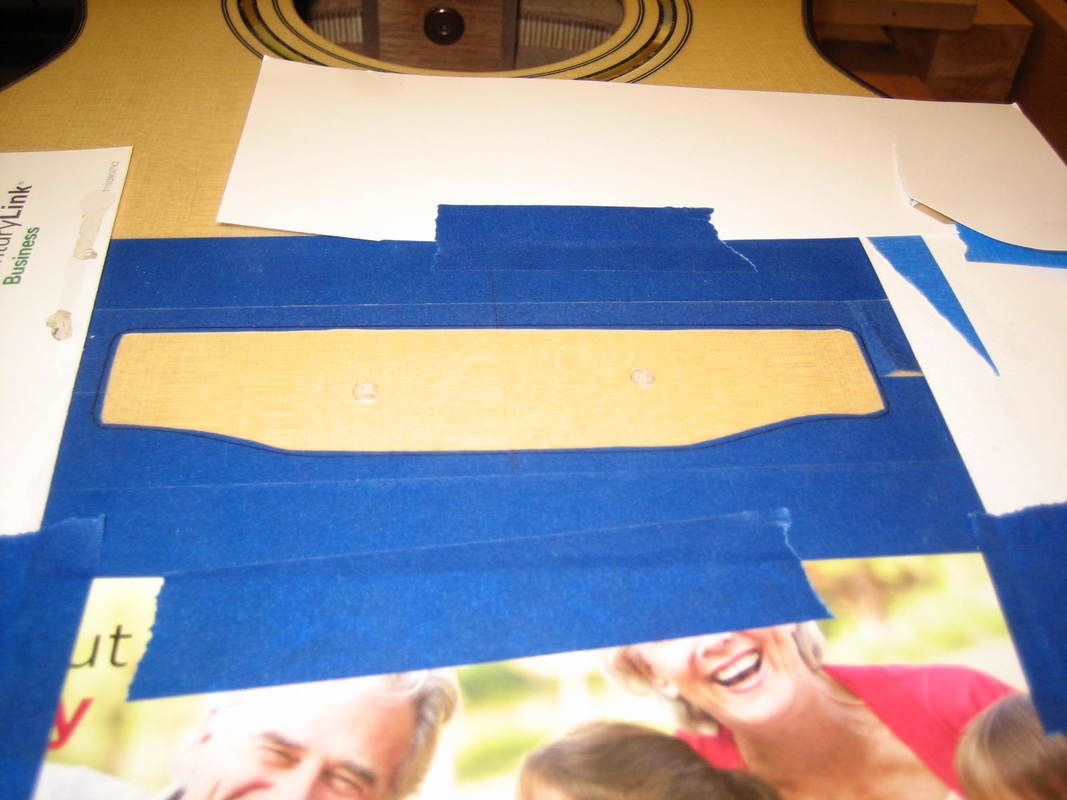
Locate bridge placement and remove finish from under the bridge
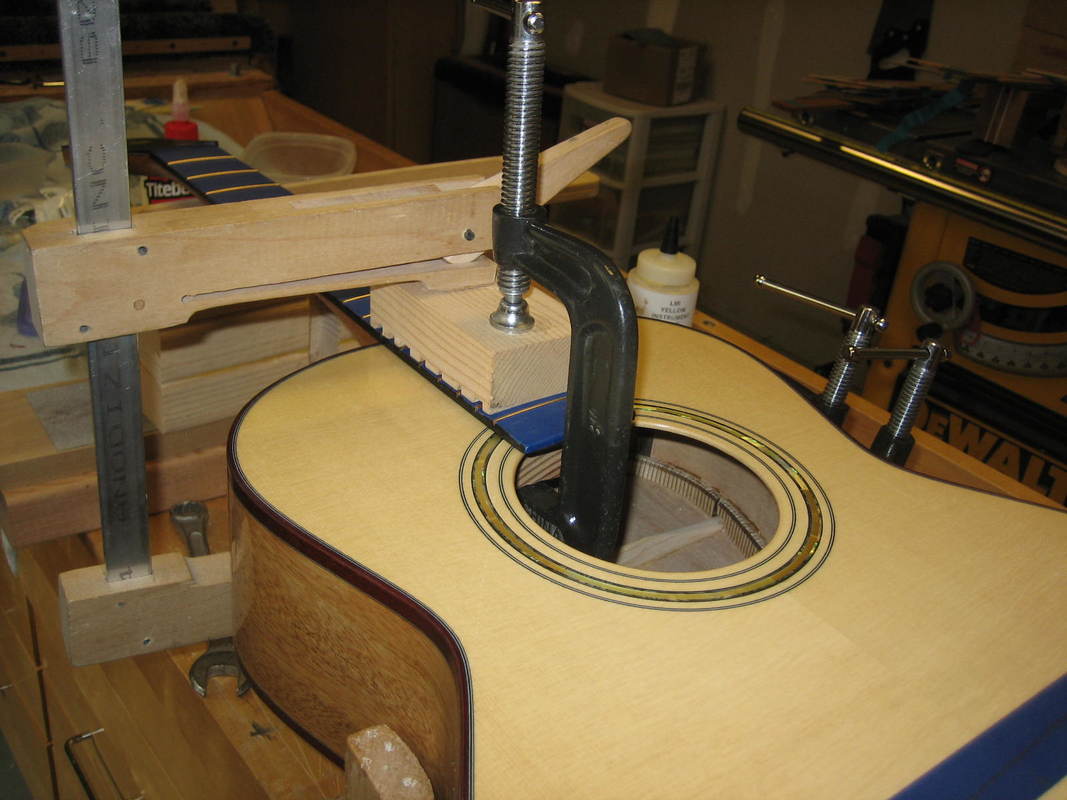
Gluing bridge
Gotoh tuners with bloodwood buttons
Fit bone nut blank
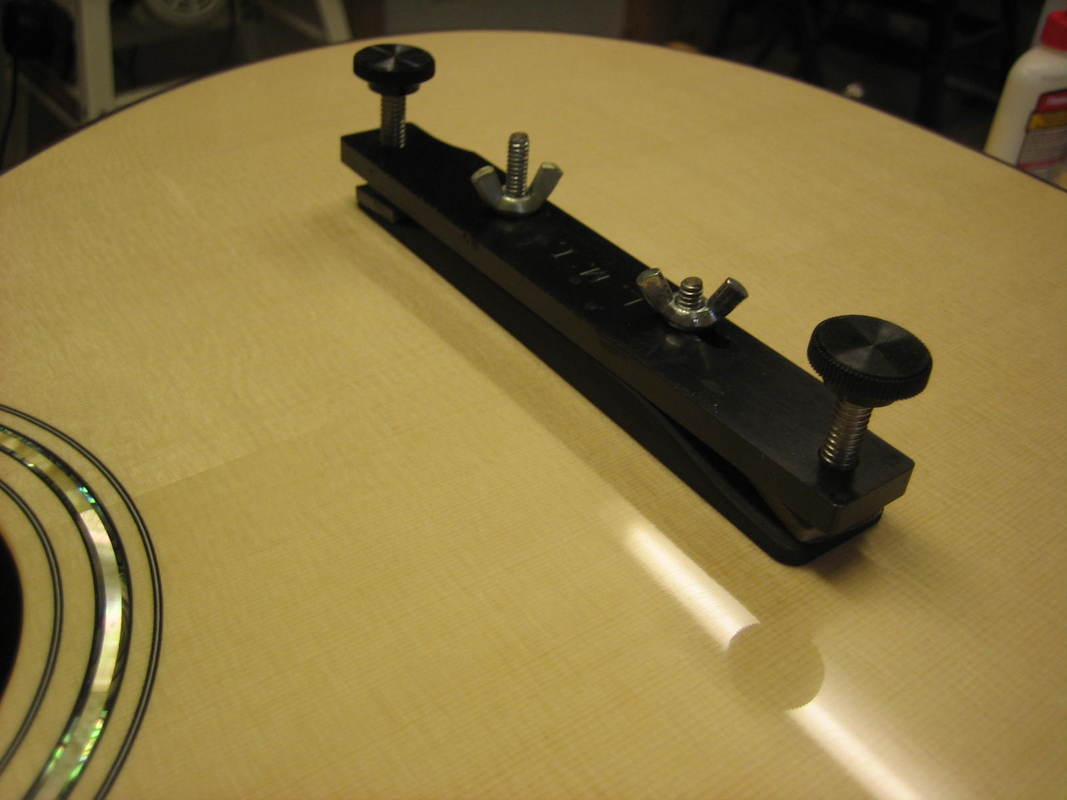
Shape nut and saddle - fit bridge pins - string up - set nut action - set action at 12th fret and install LR Baggs LB-6 pick up
It's done. Finished pictures by Jeanne Giltzow