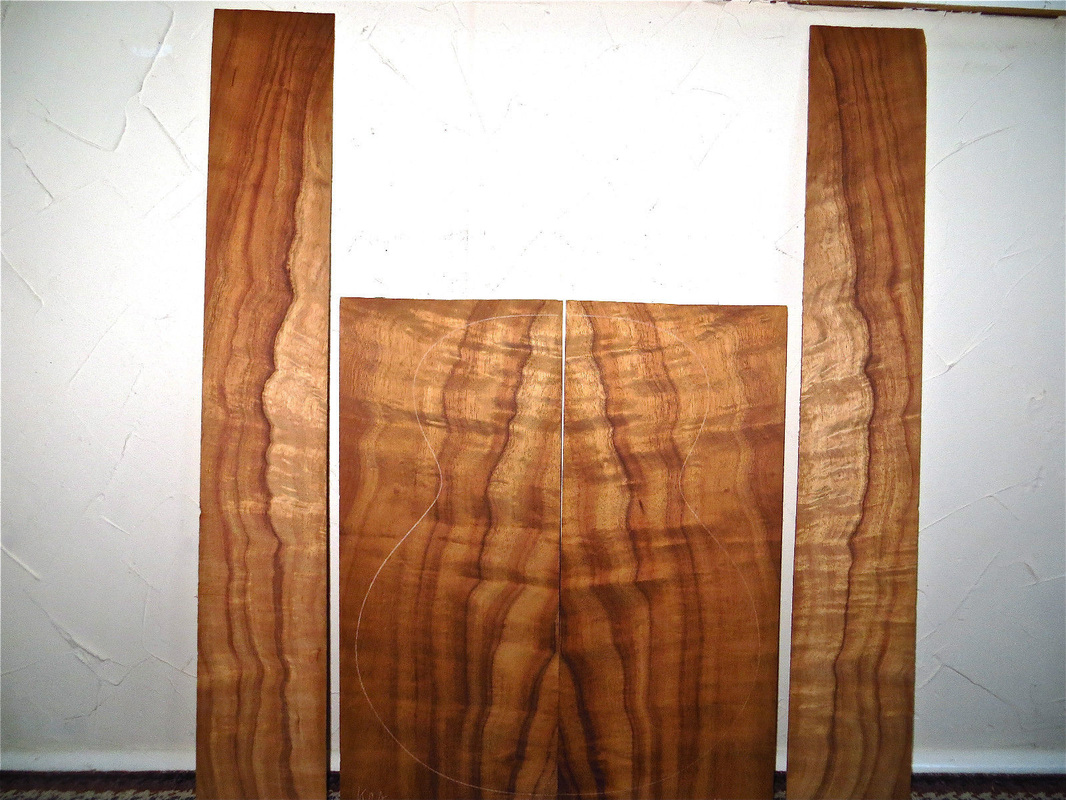
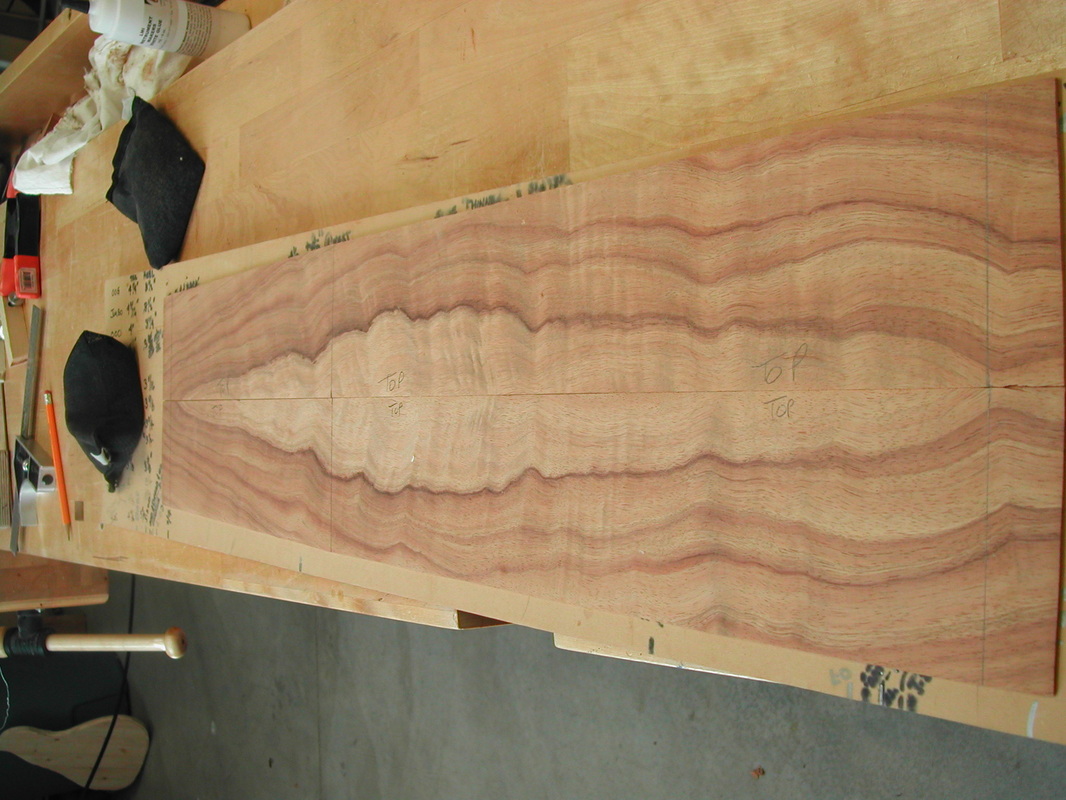
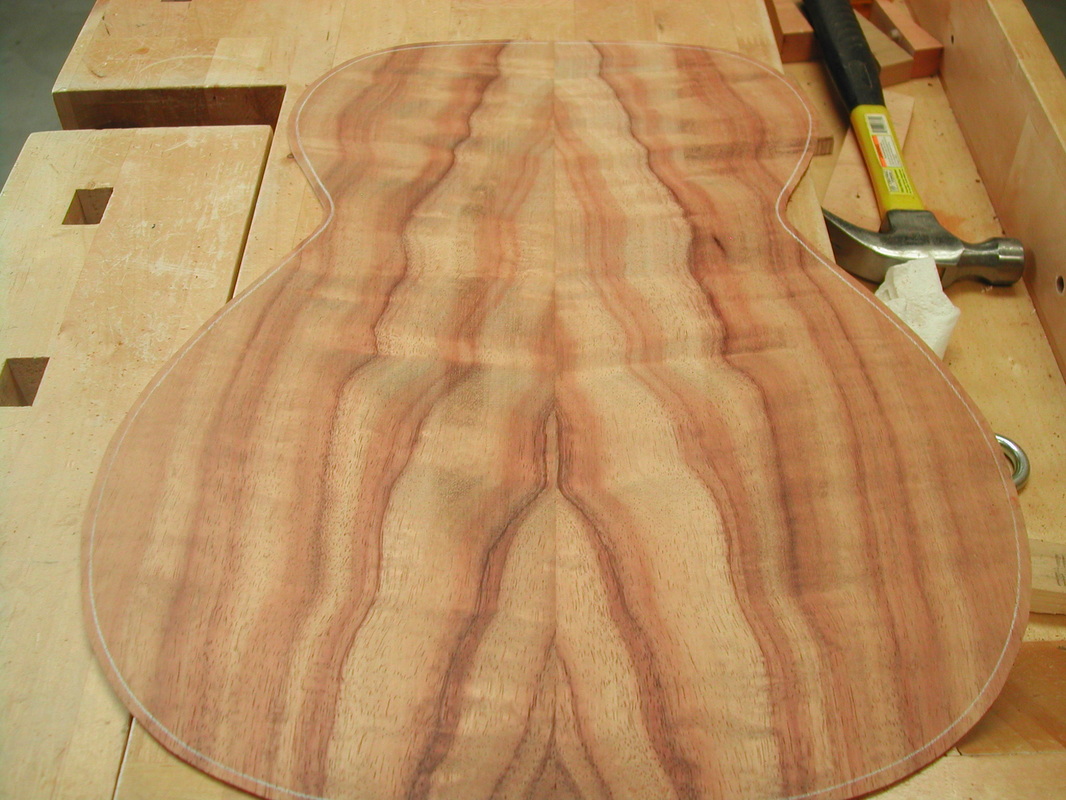
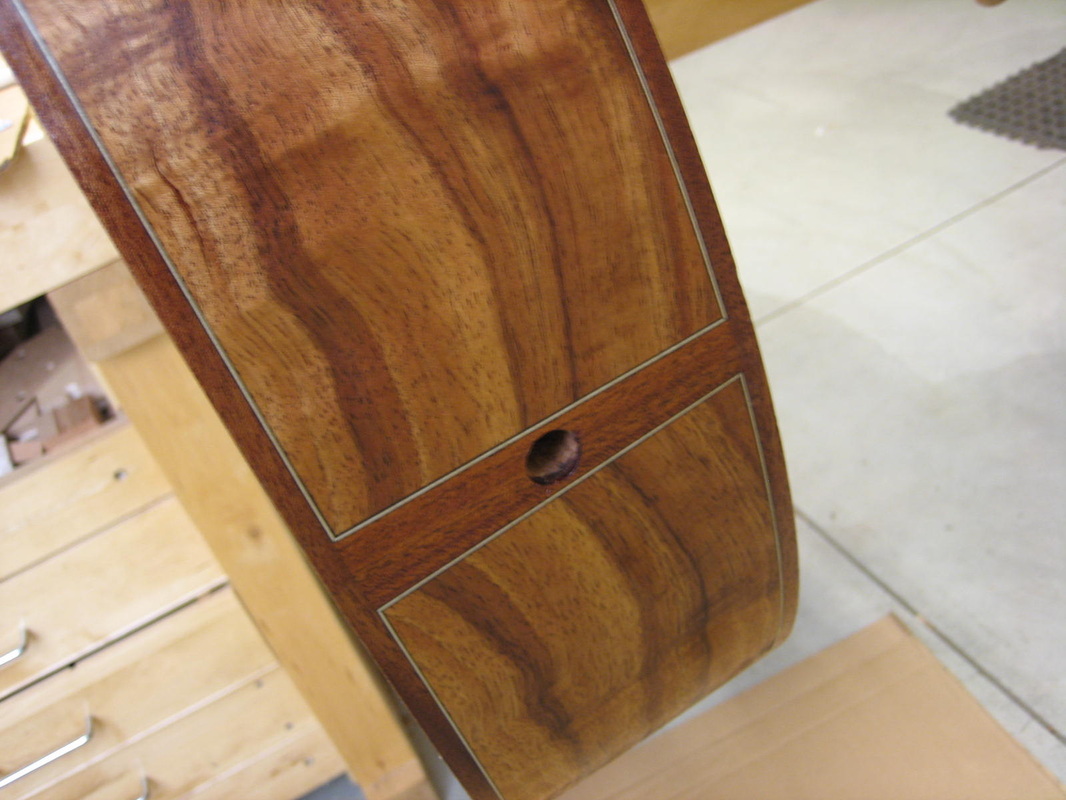
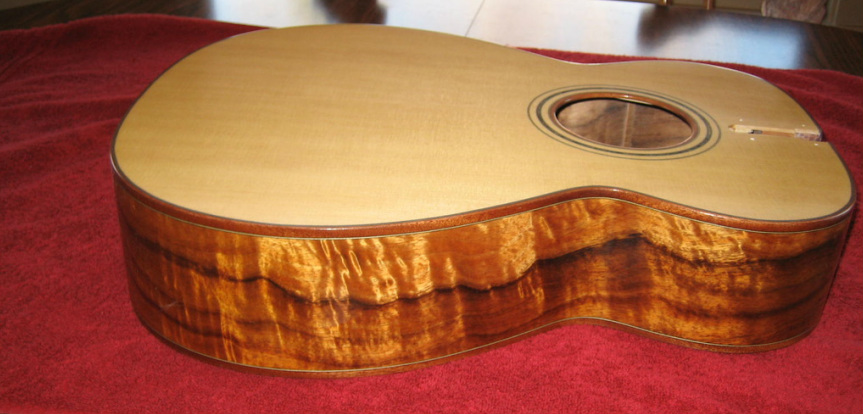
I have started a build for my good friend Ron V. who lives in the Seattle area. He has chosen a stunning set of Koa that we found from one of my suppliers. Pictured below. The guitar will be an OM size with Master Grade Lutz Spruce sound board. Finger board, bridge and headplate will be Ebony. The neck will be South American Mahogany.
I have thinned the sides for bending and will cut the side shape before bending:
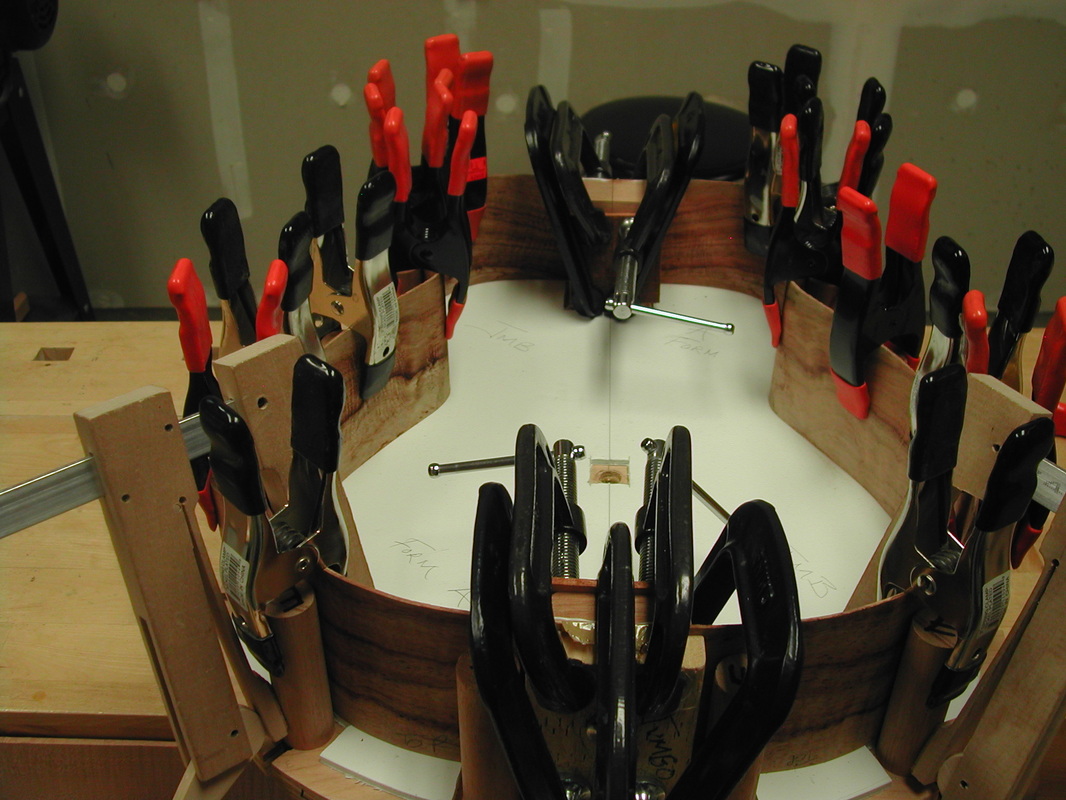
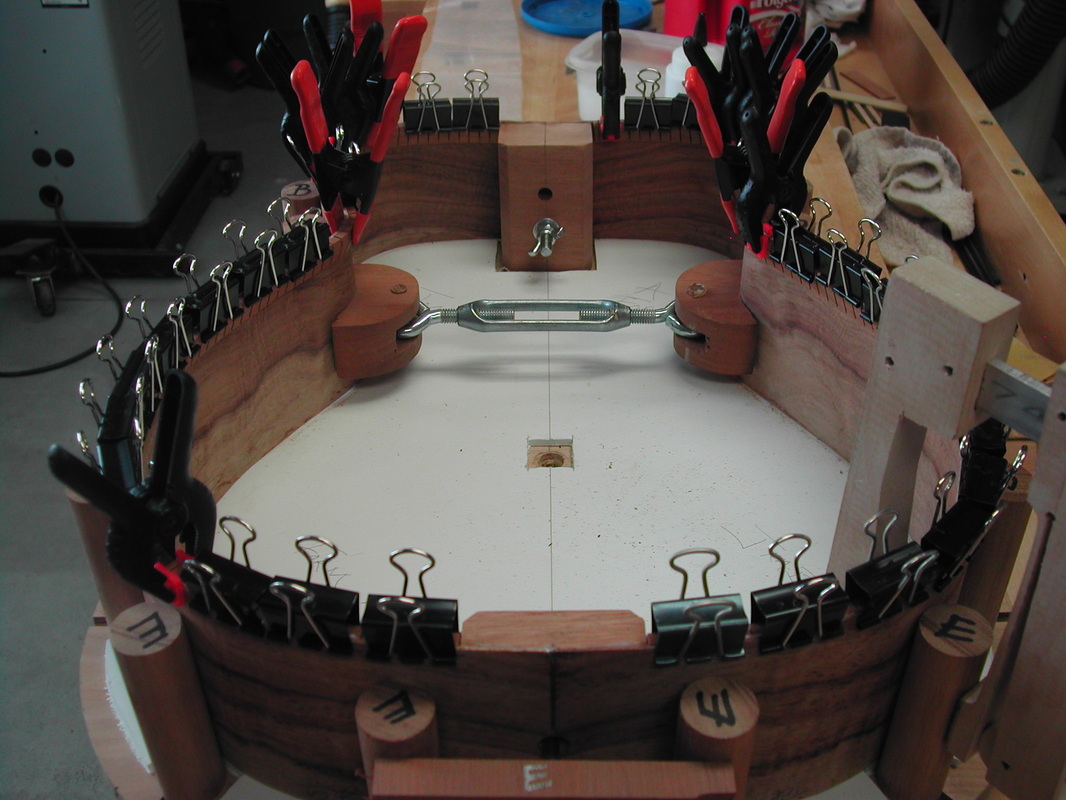
The sides are bent to shape and then placed in a building form. Heel & tail blocks are being glued below:
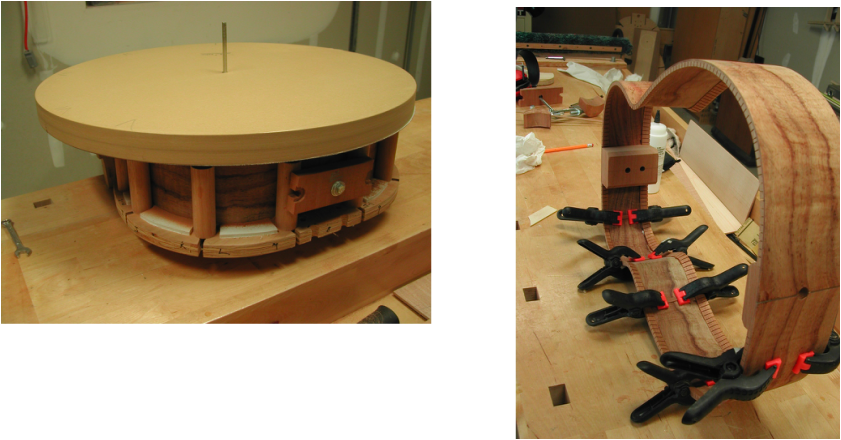
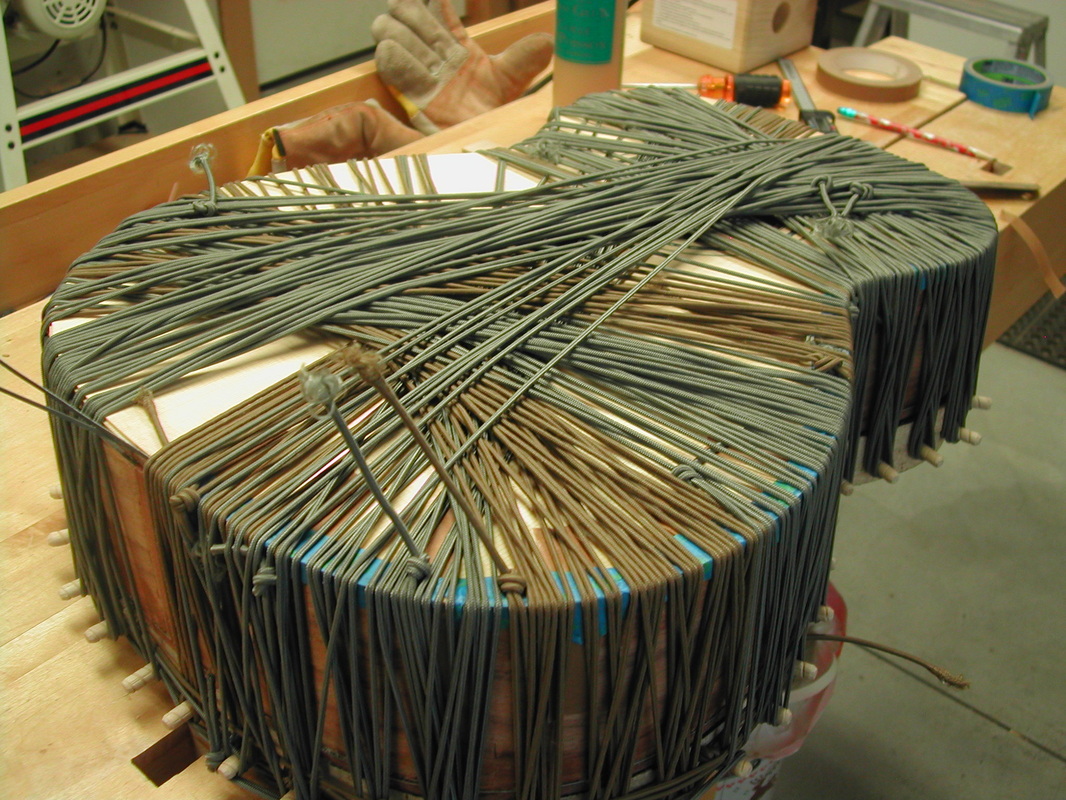
Kerfed linings are installed to give glue area for back and sound board:
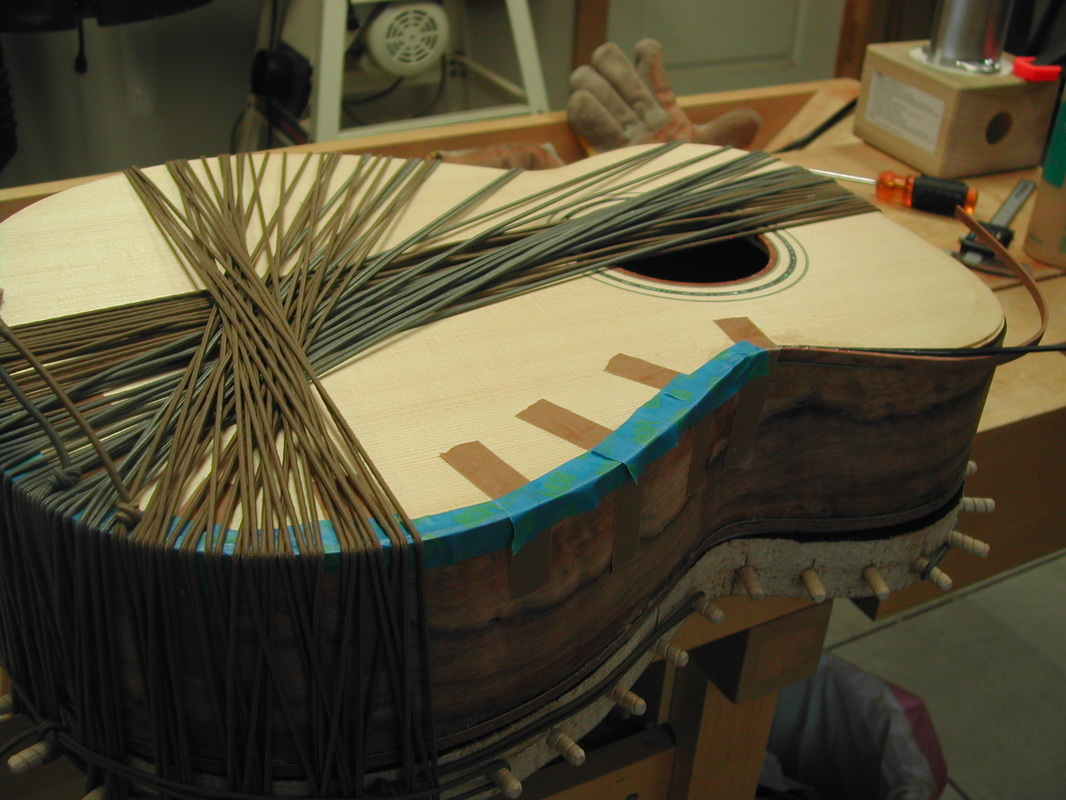
The top & back of the sides have been sanded to the correct radius and the side reinforcement pieces are glued:
Joining the back and sound board:
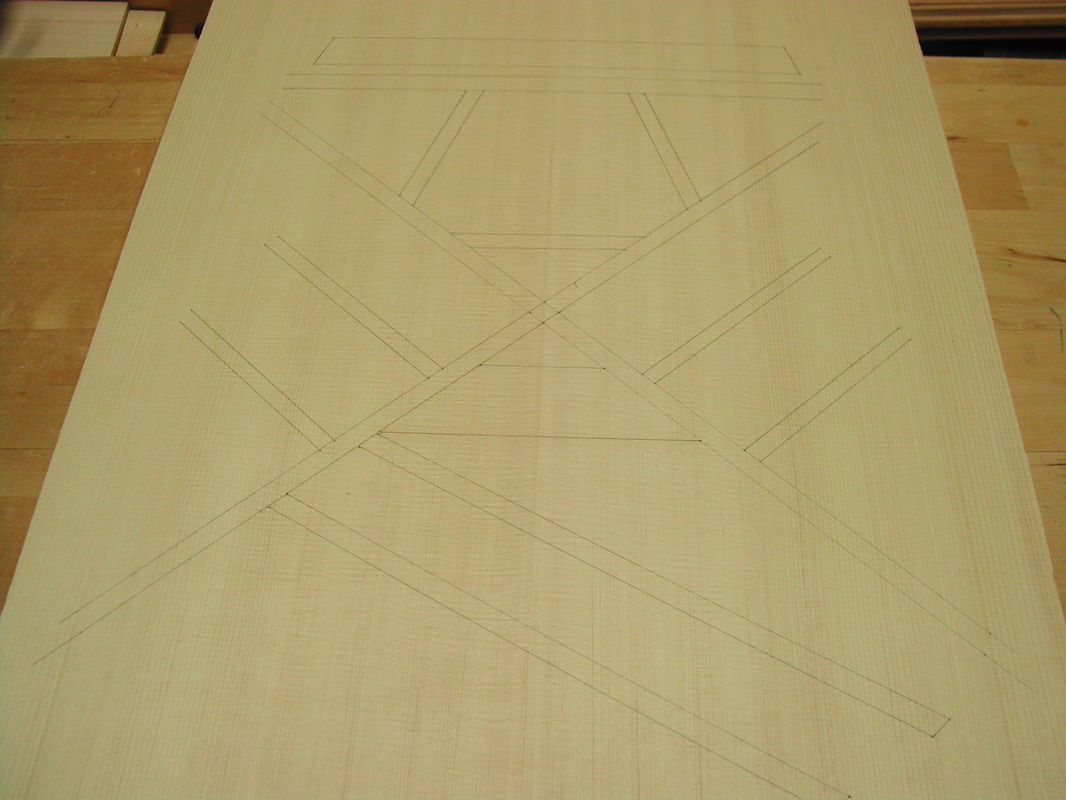
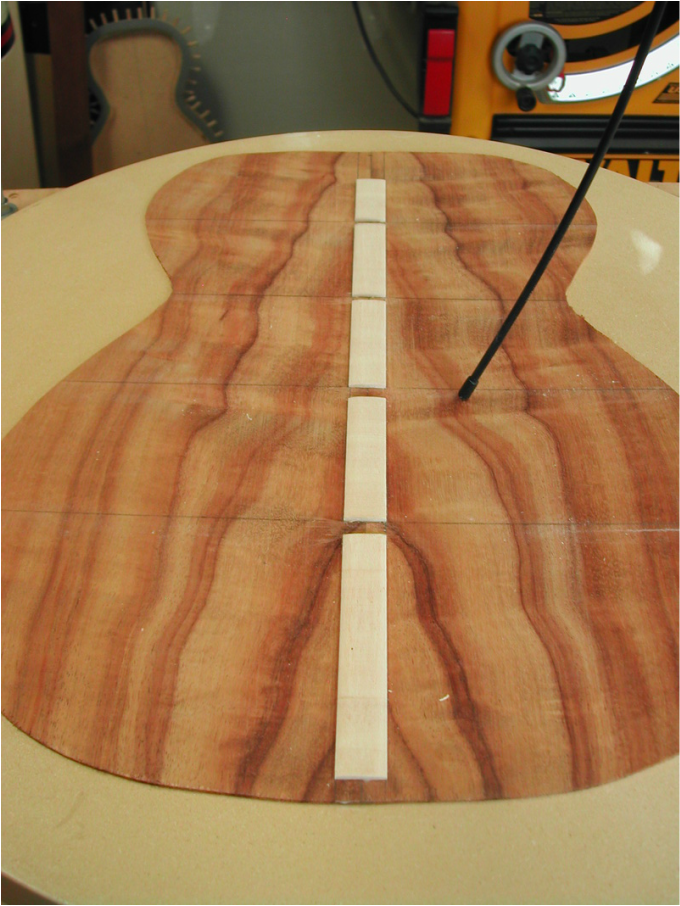
Marking the sound board bracing:
Routing the back for back strip inlay:
Interior back reinforcement cut to accept back braces:
Back braces installed:
Braces chiseled to shape:
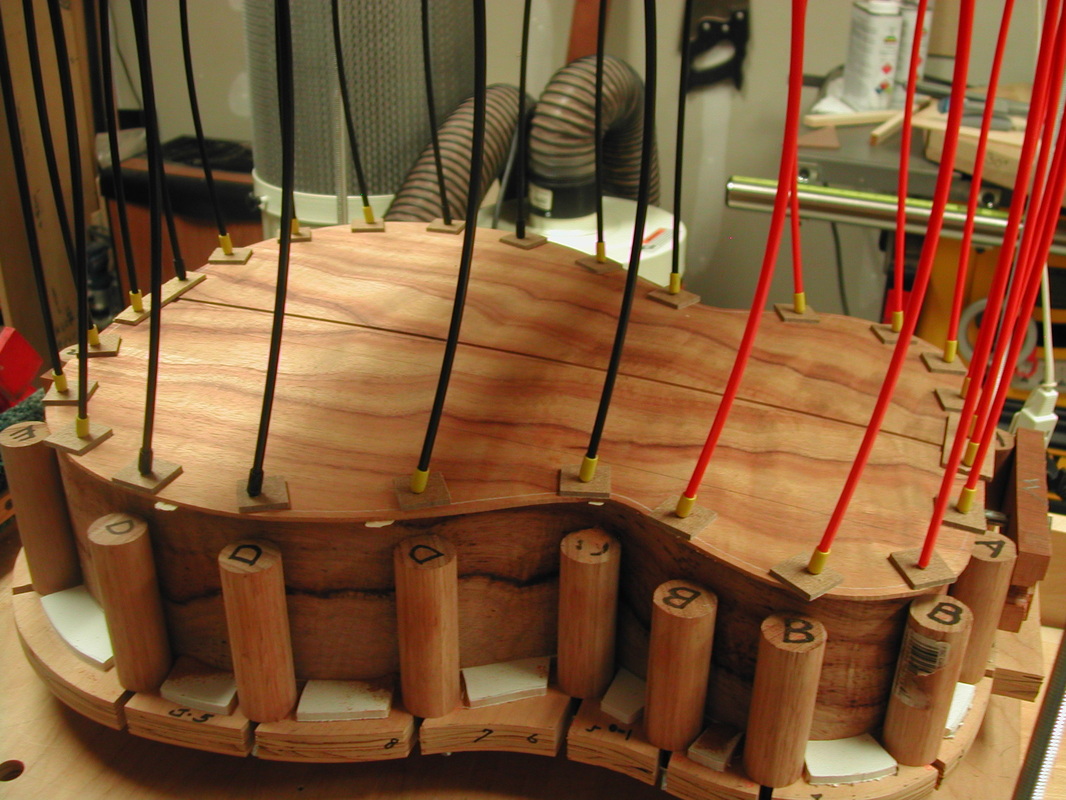
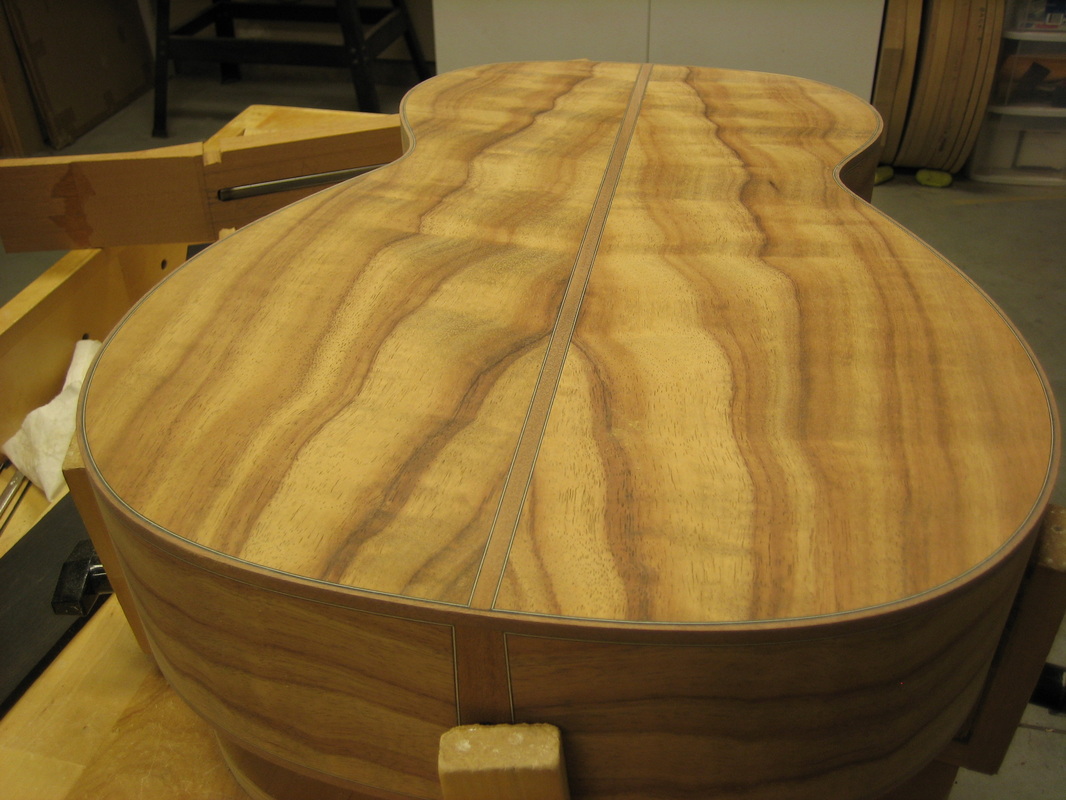
Back glued to sides:
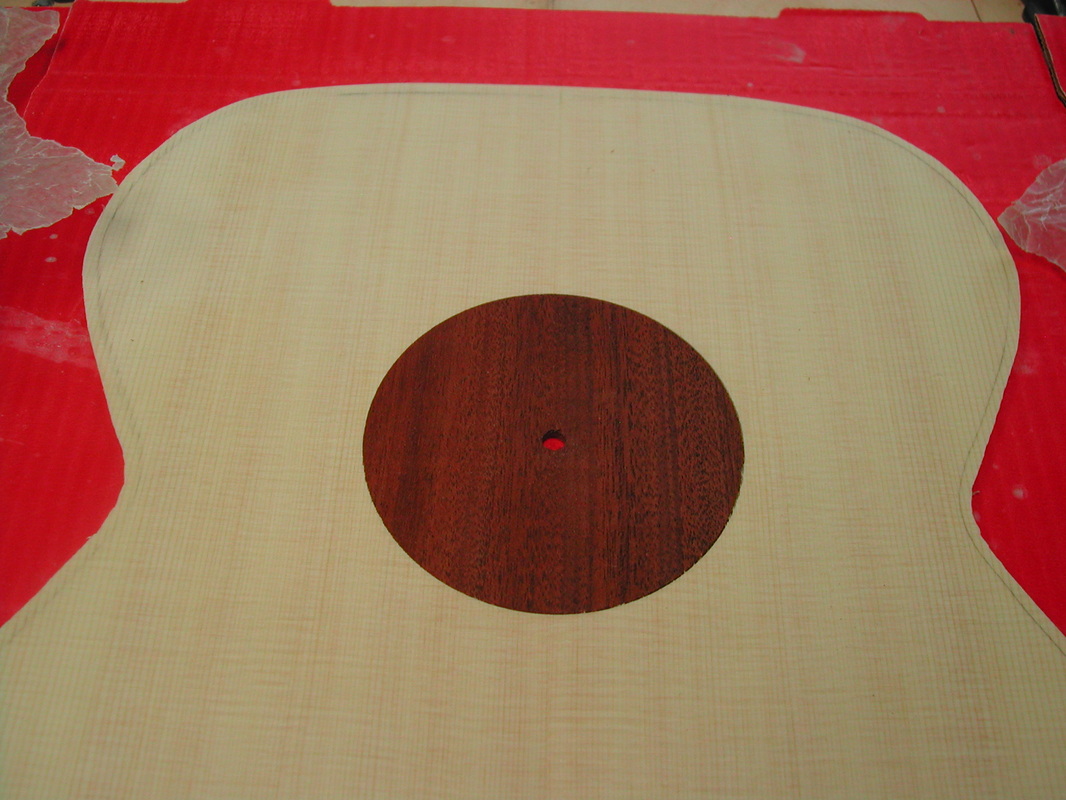
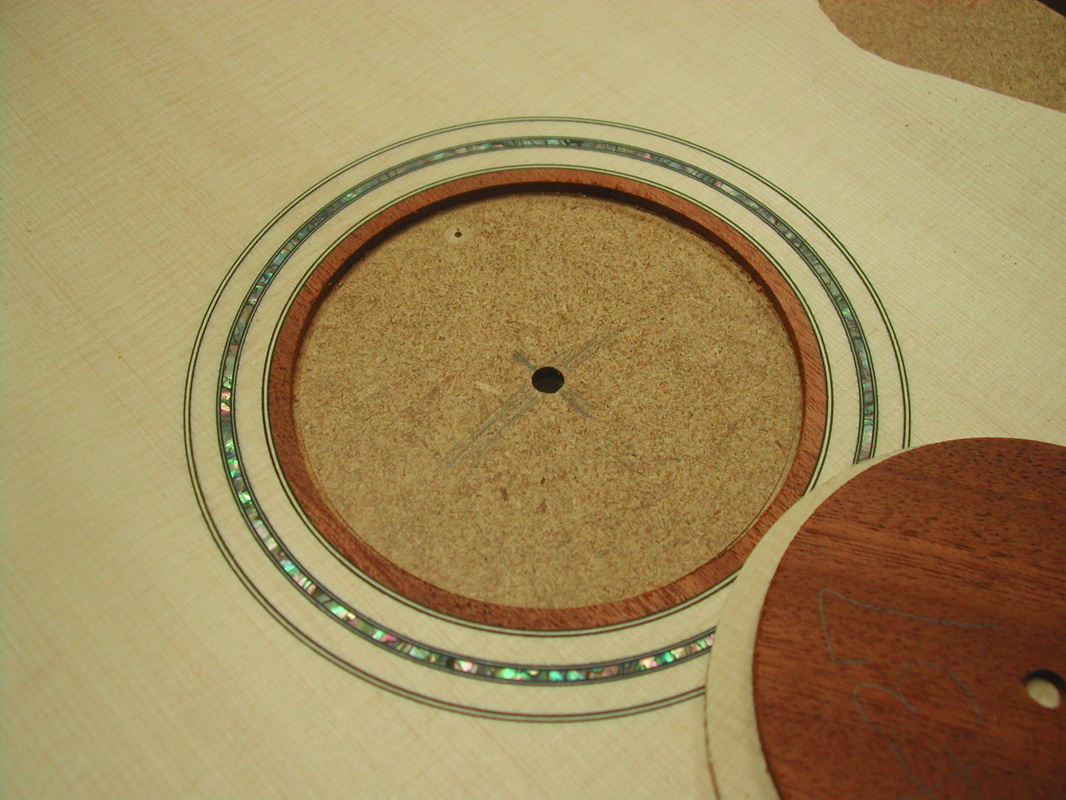
Rosette installation:

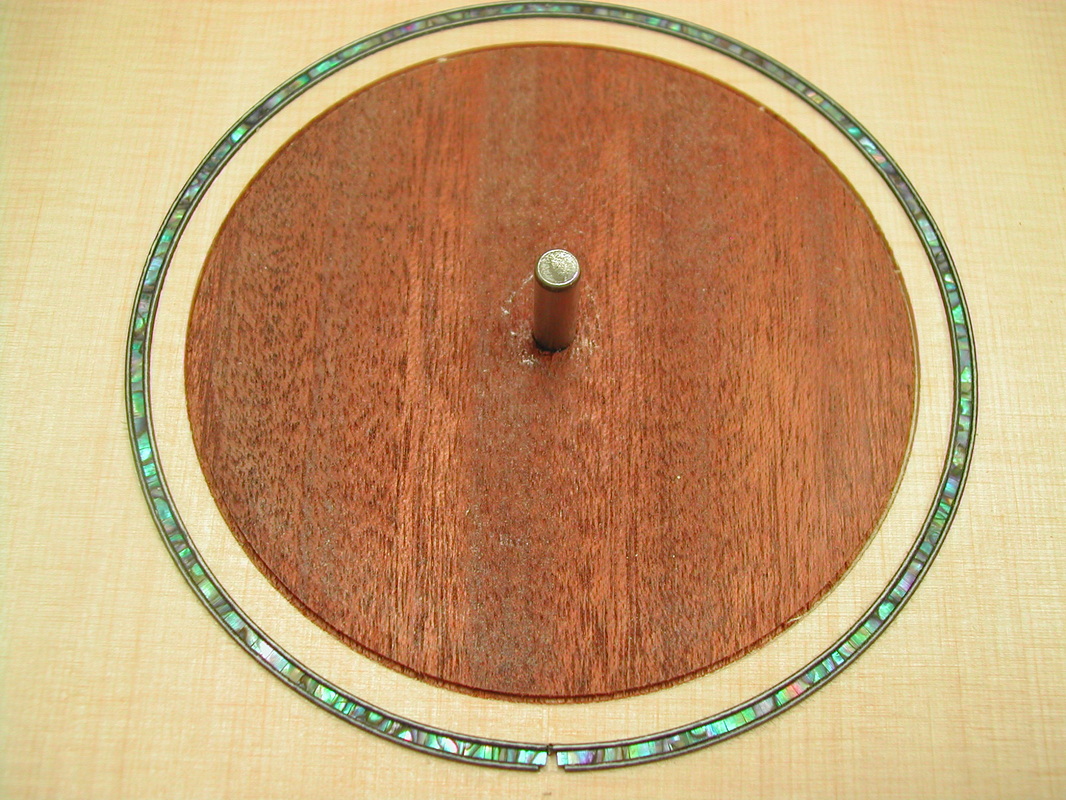
Test fit abalone before glueing:
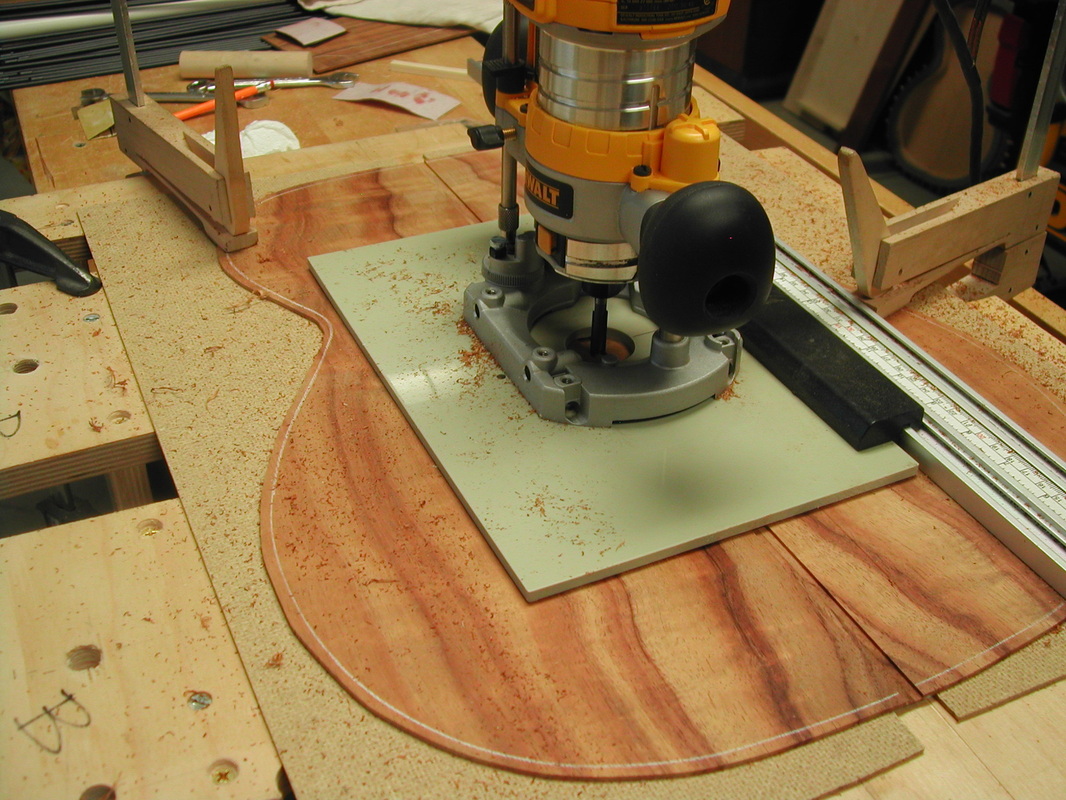
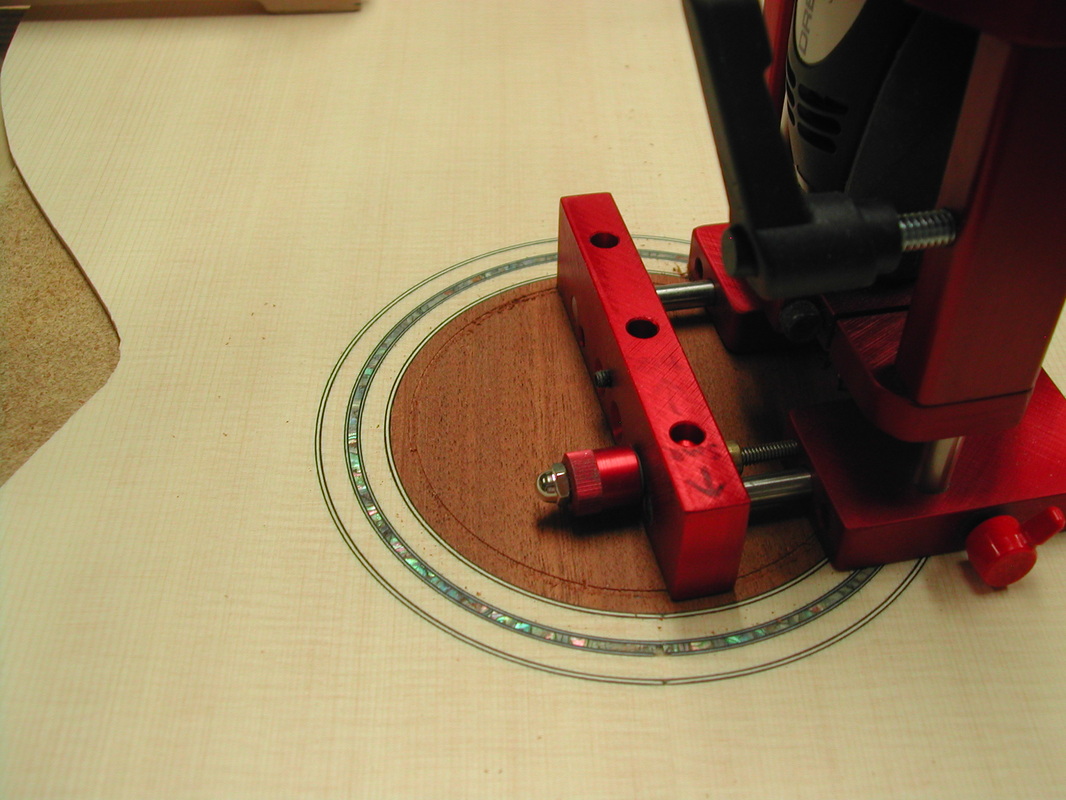
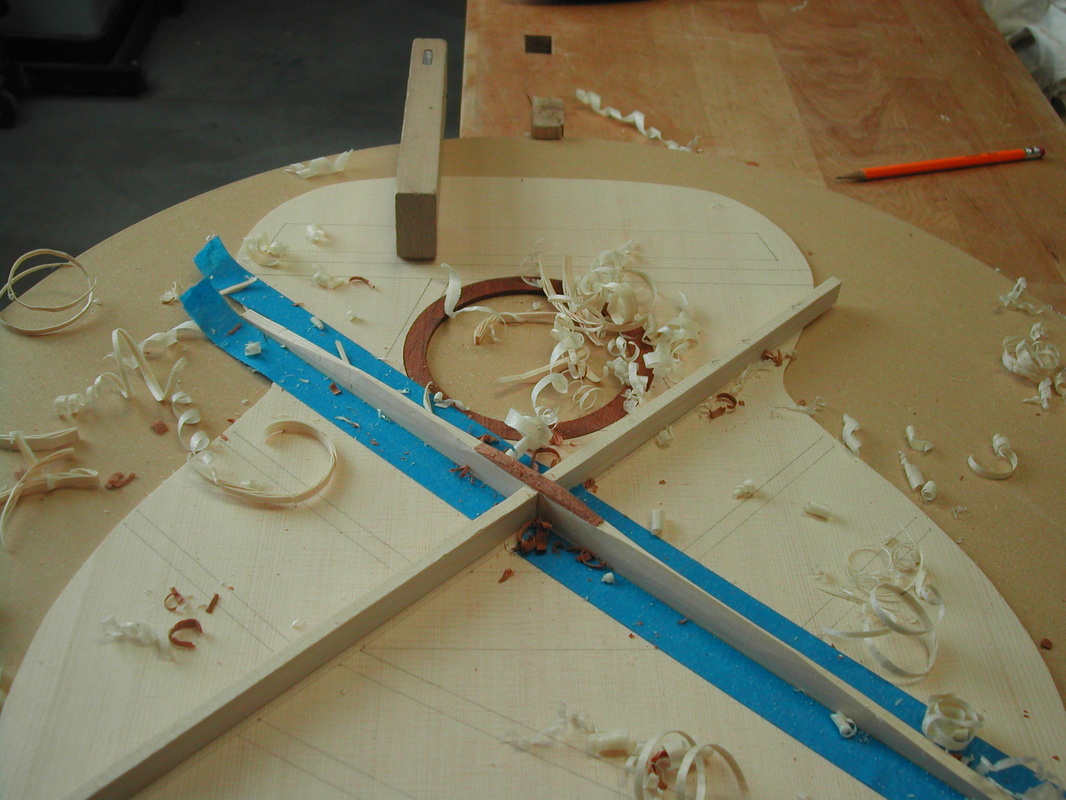
After glueing & leveling purfling and shell, cutting sound hole:
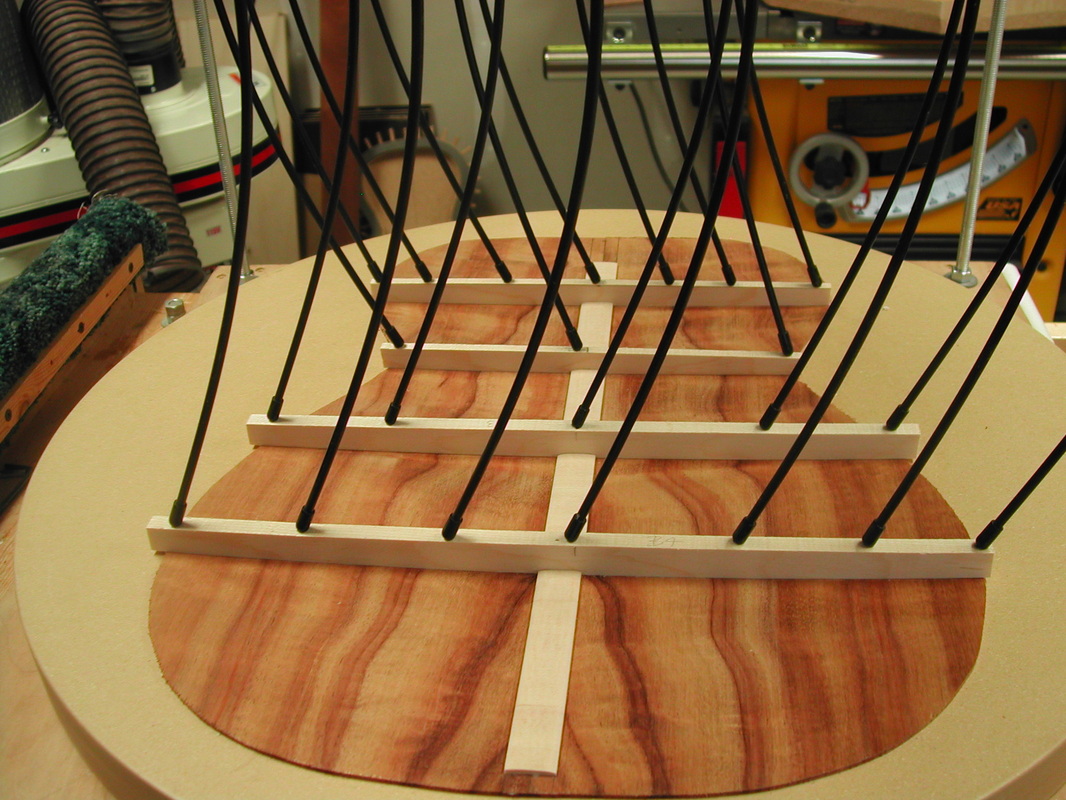
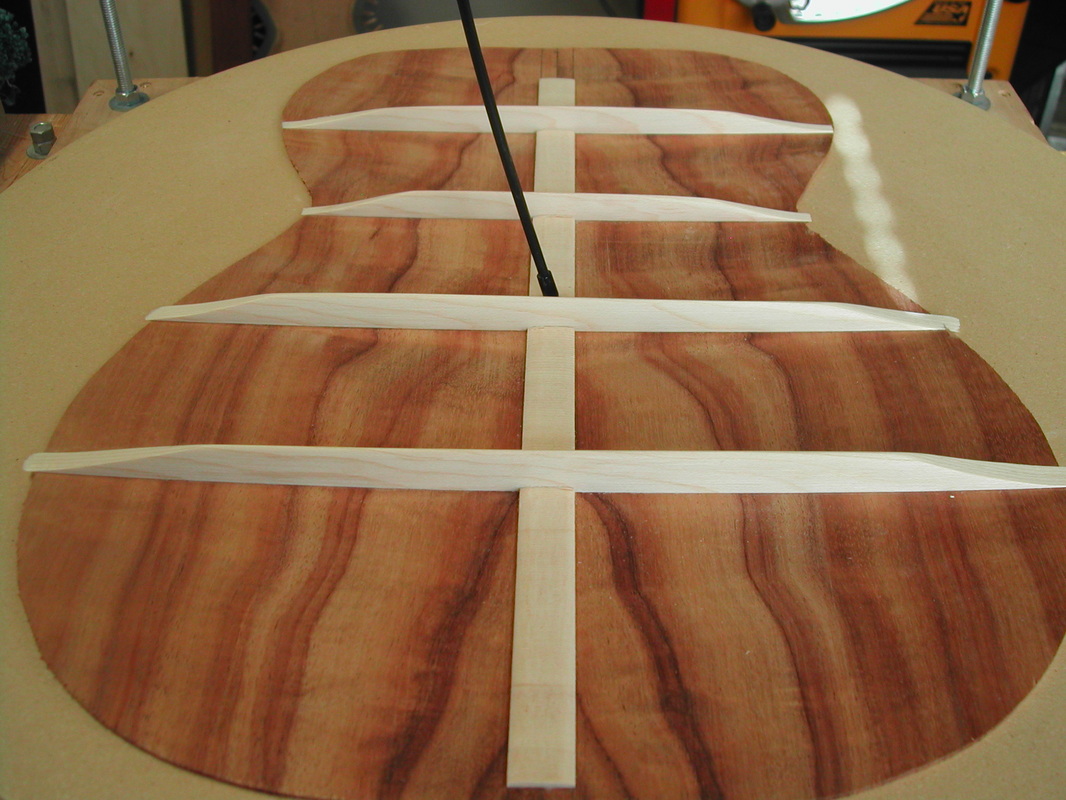
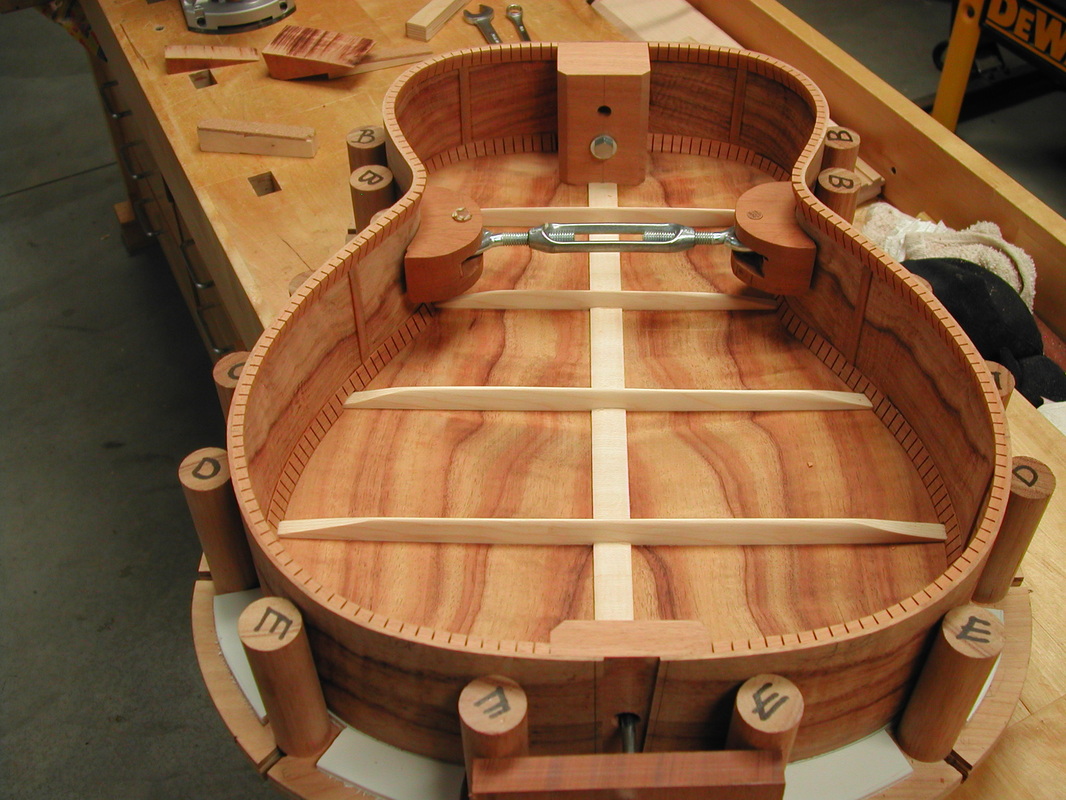
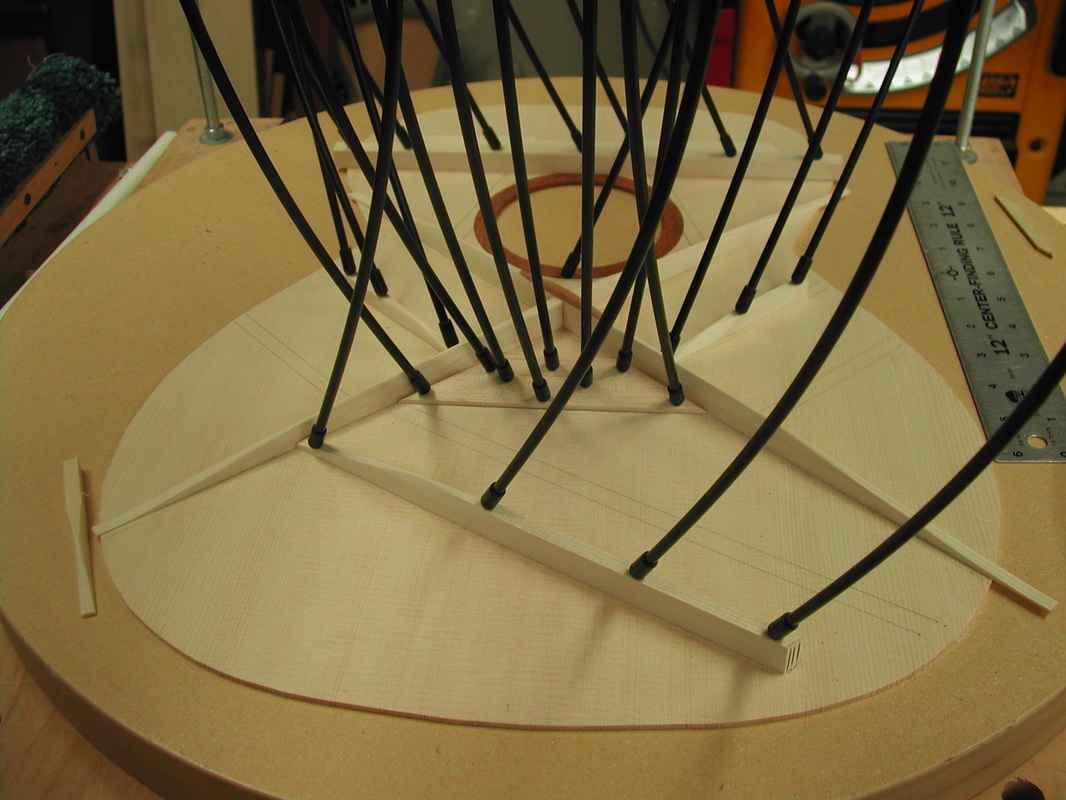
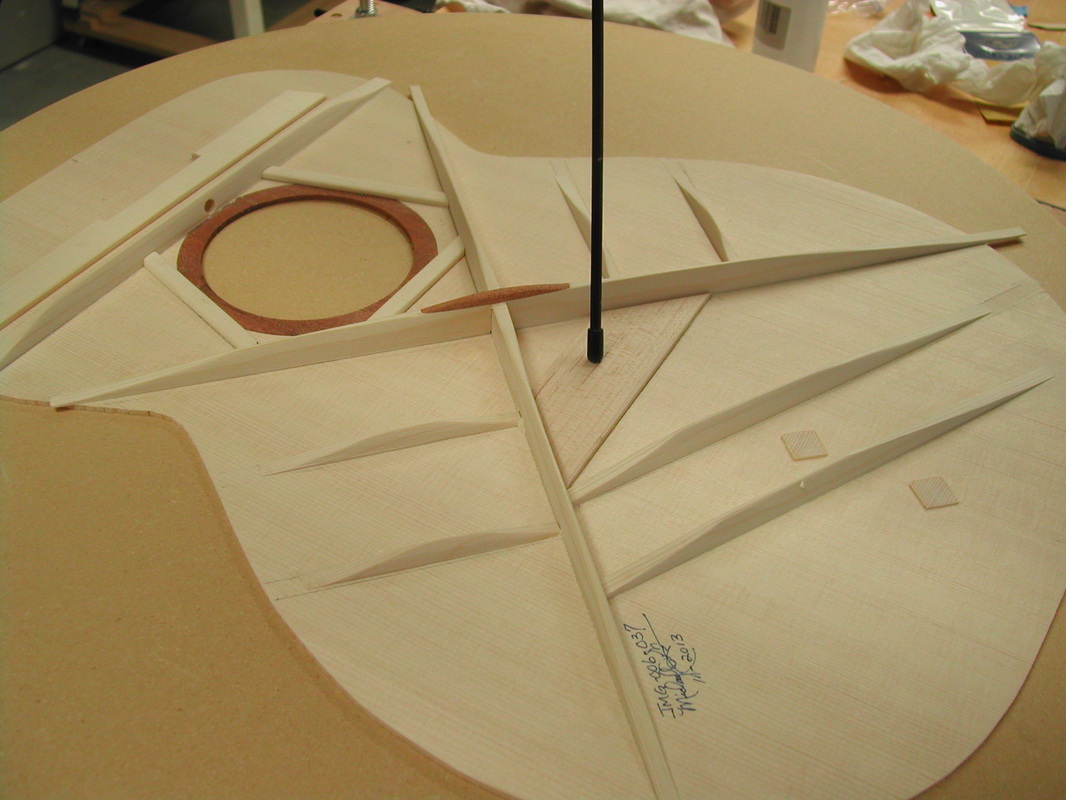
The top is braced and voiced in the following pictures:
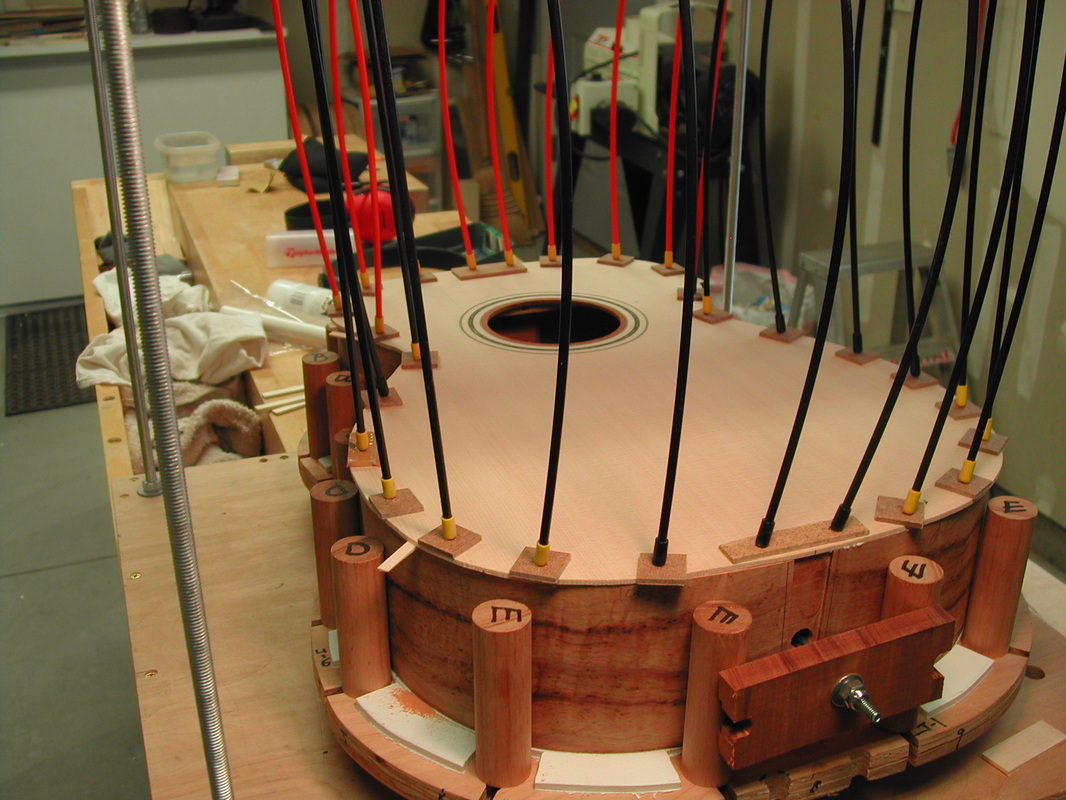
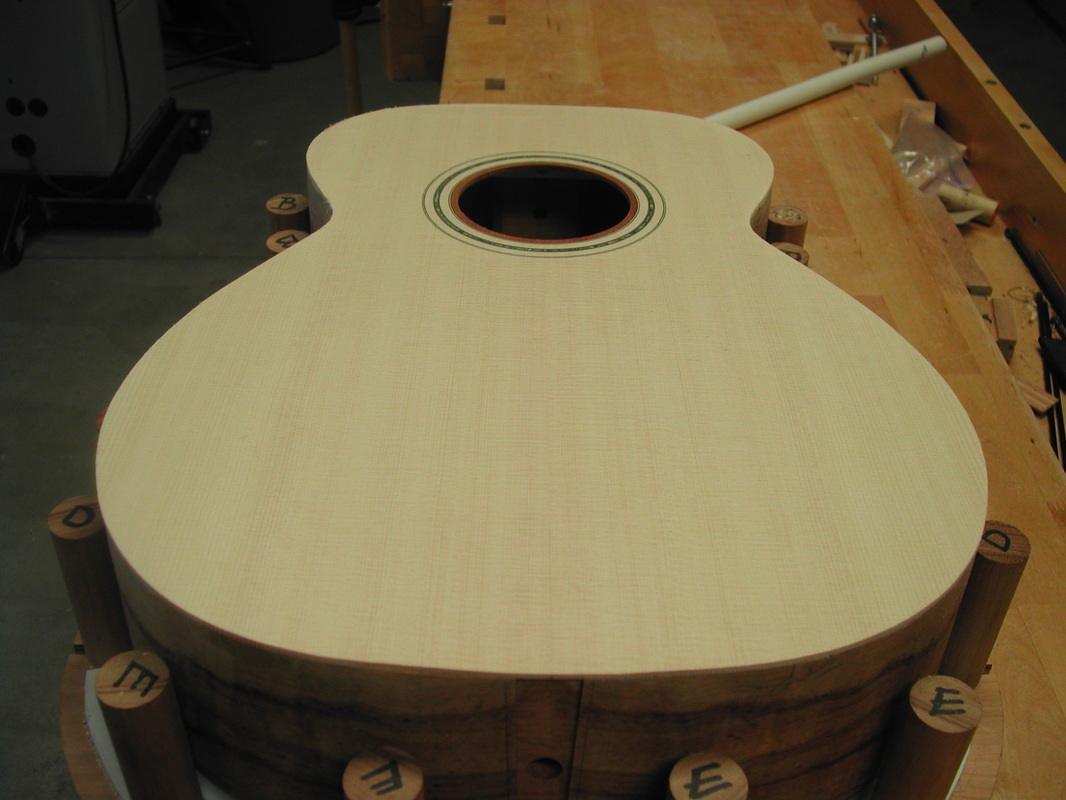
Mating top & sides - the sound box is assembled
Cutting channels for purfling and bindings

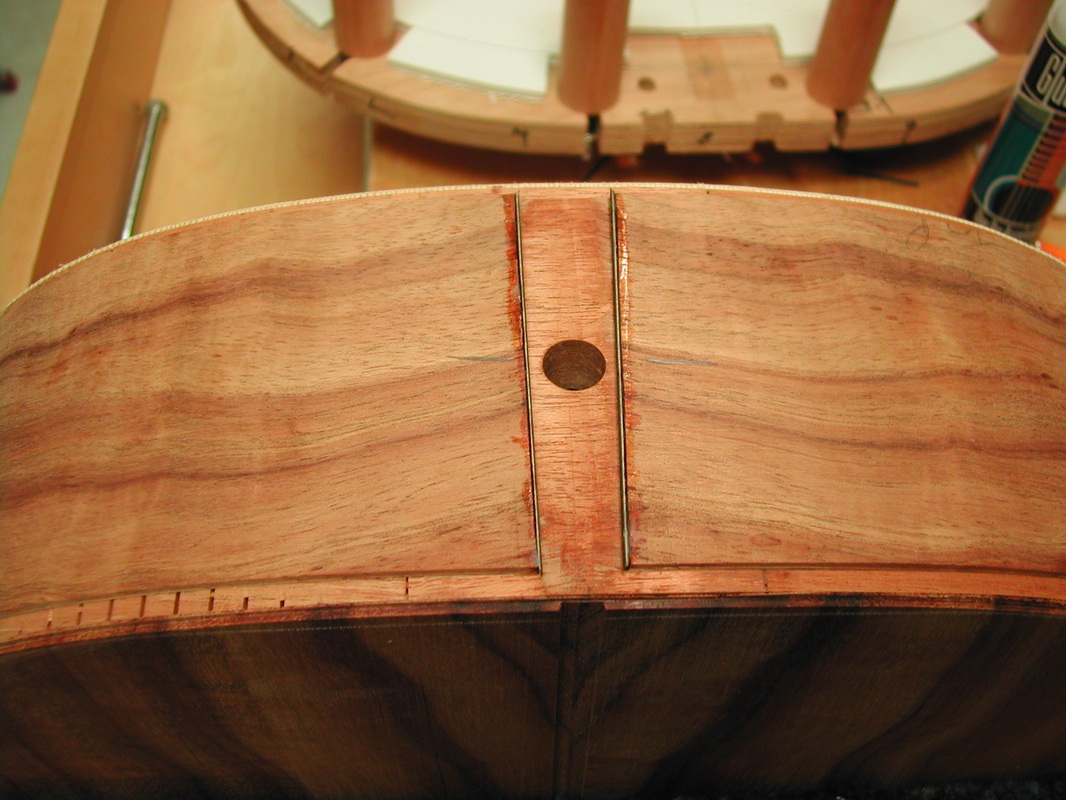
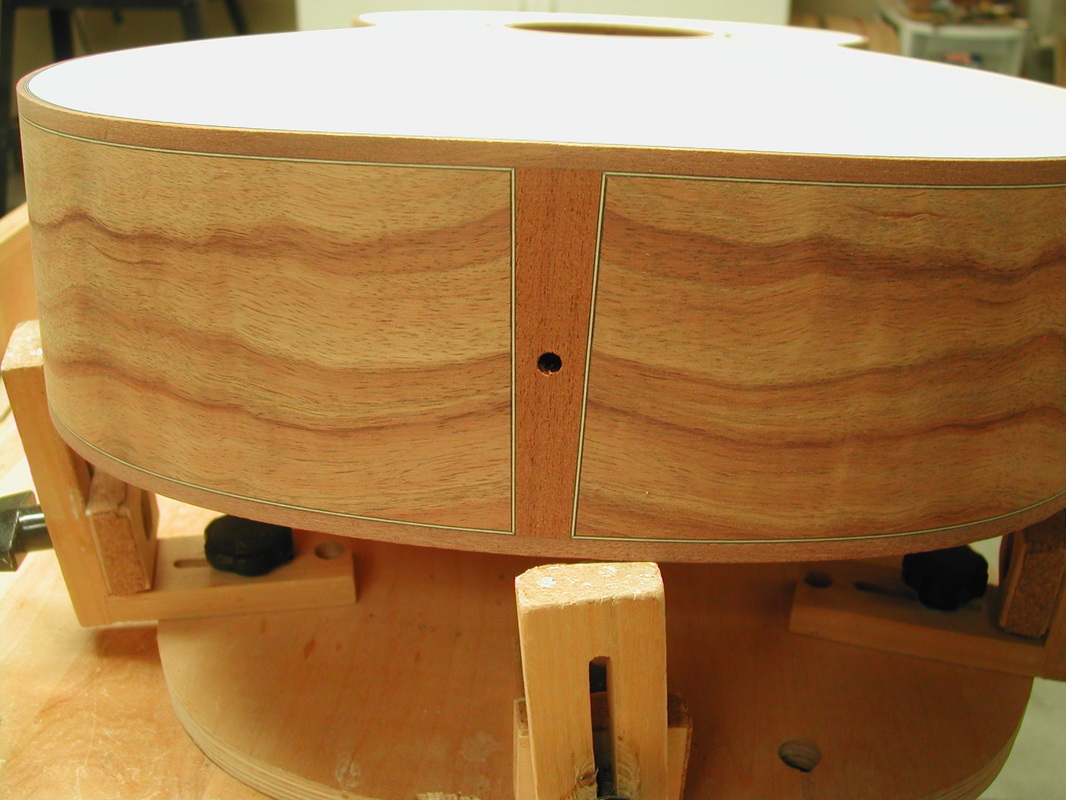
Installing black/white/black purfling at tail graft
And around the binding channel ledges and back strip
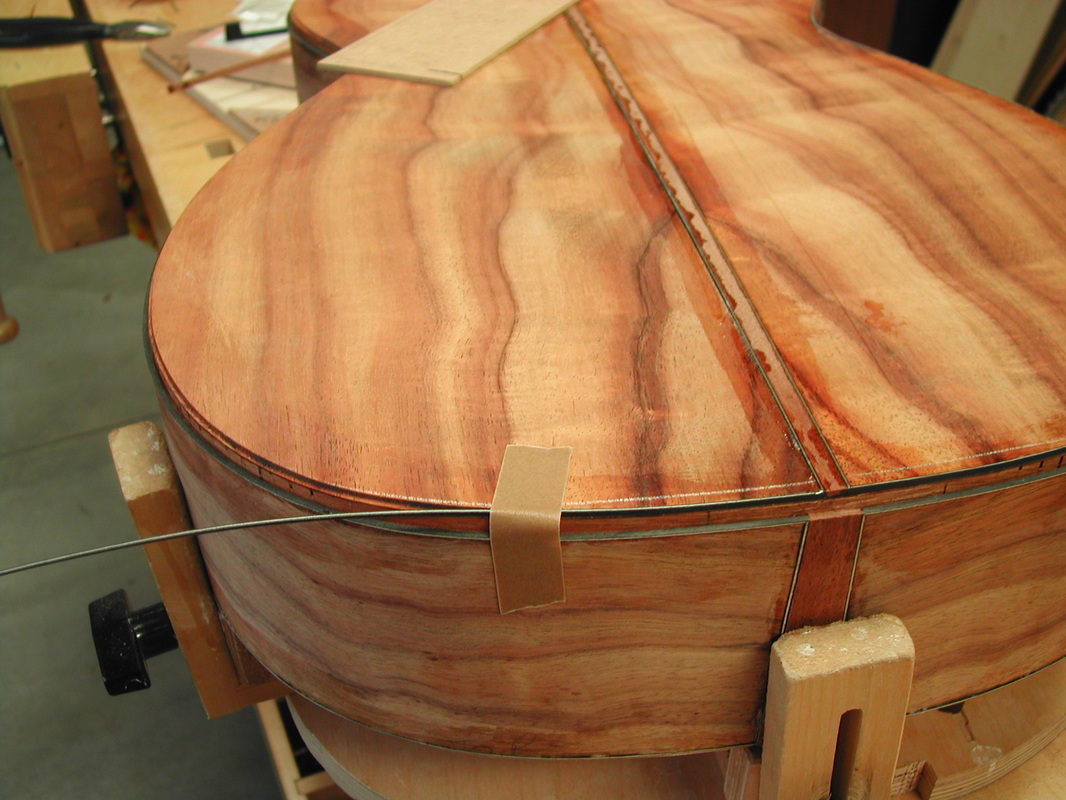
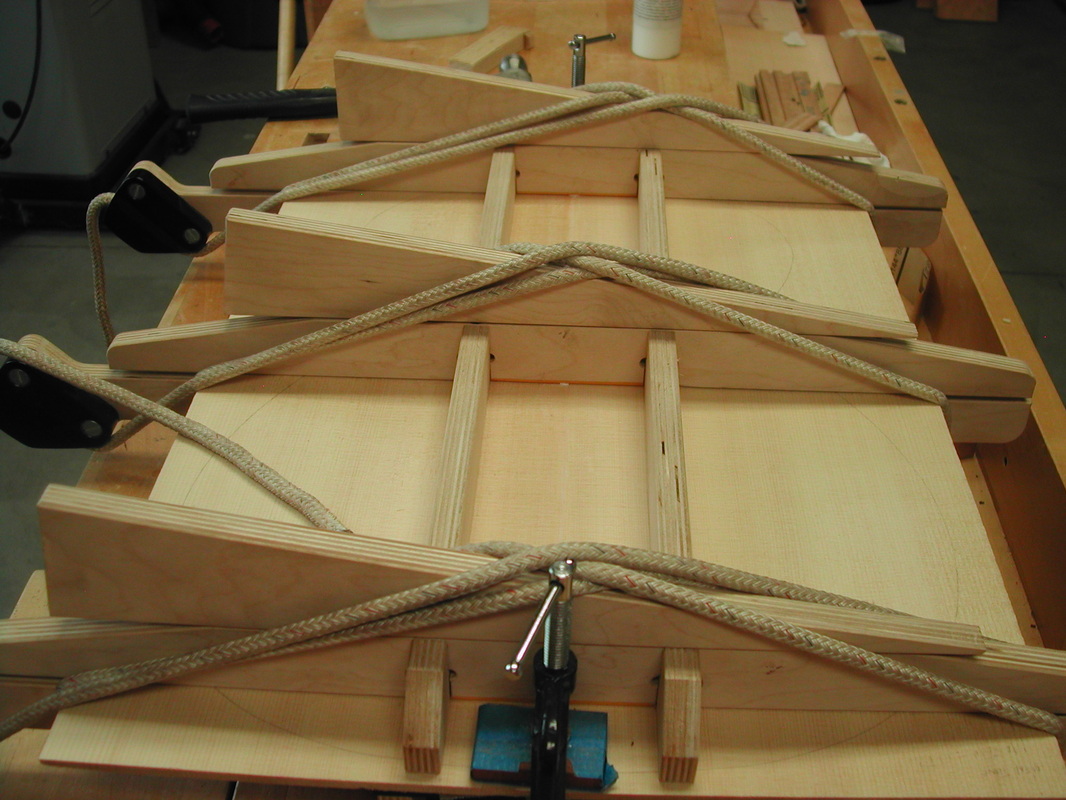
In the picture below the binding and top purfling is being glued. Usually do not get a picture of this as I am working fast to keep all the items in register and trying to beat the glue open time. I usually have glue all over my hands as well, so that picking up the camera is not a real good idea.
One side of the top binding complete
The bindings have all been installed and scraped and sanded. Pictures below:
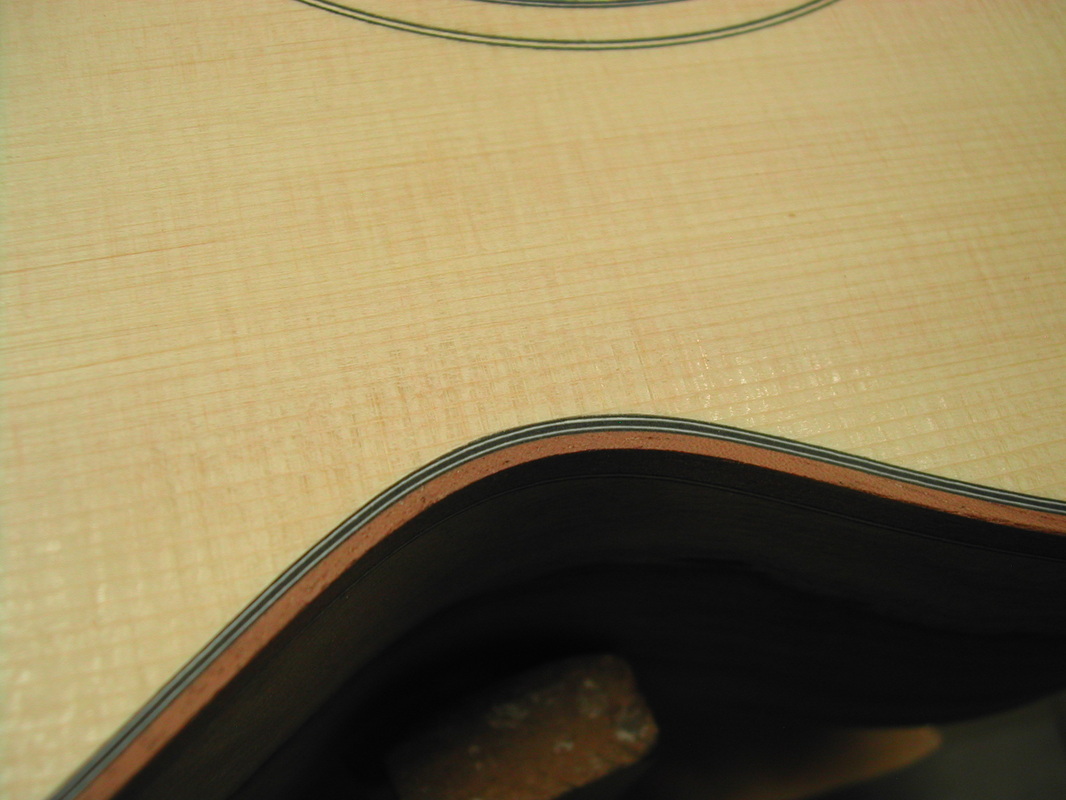
Will be doing some finer sanding on the sound box and then starting on the neck................
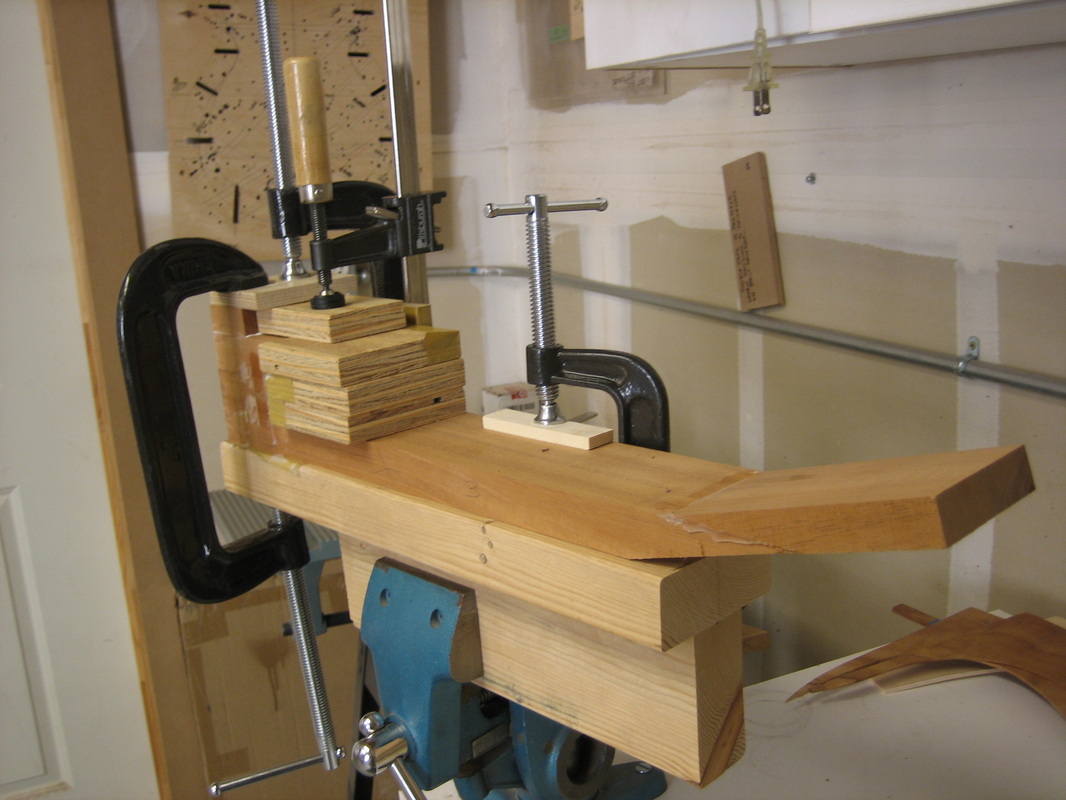
The Neck - The neck starts out as a 1" X 3" X 30" piece of South American Mahogany. After truing up the Mahogany board I cut & glue a 15 degree splice for the peg head and stack piece of the board for the heel.
The neck blank is then routed for the two-way adjustable truss rod
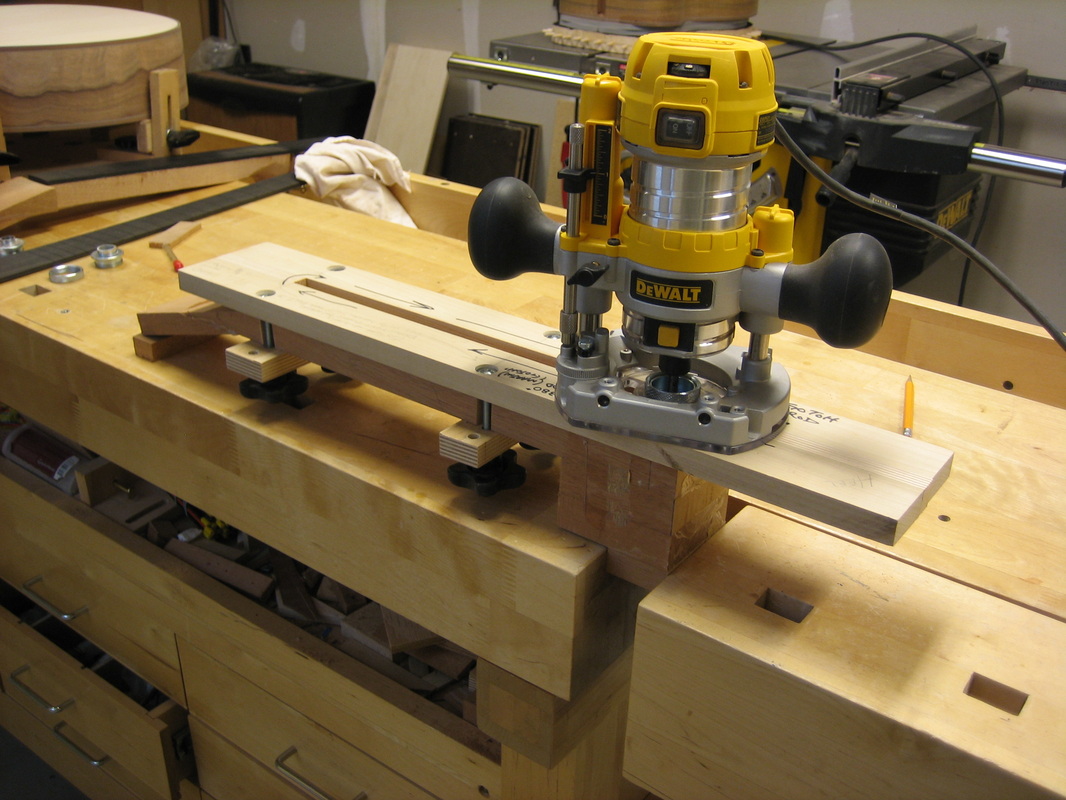
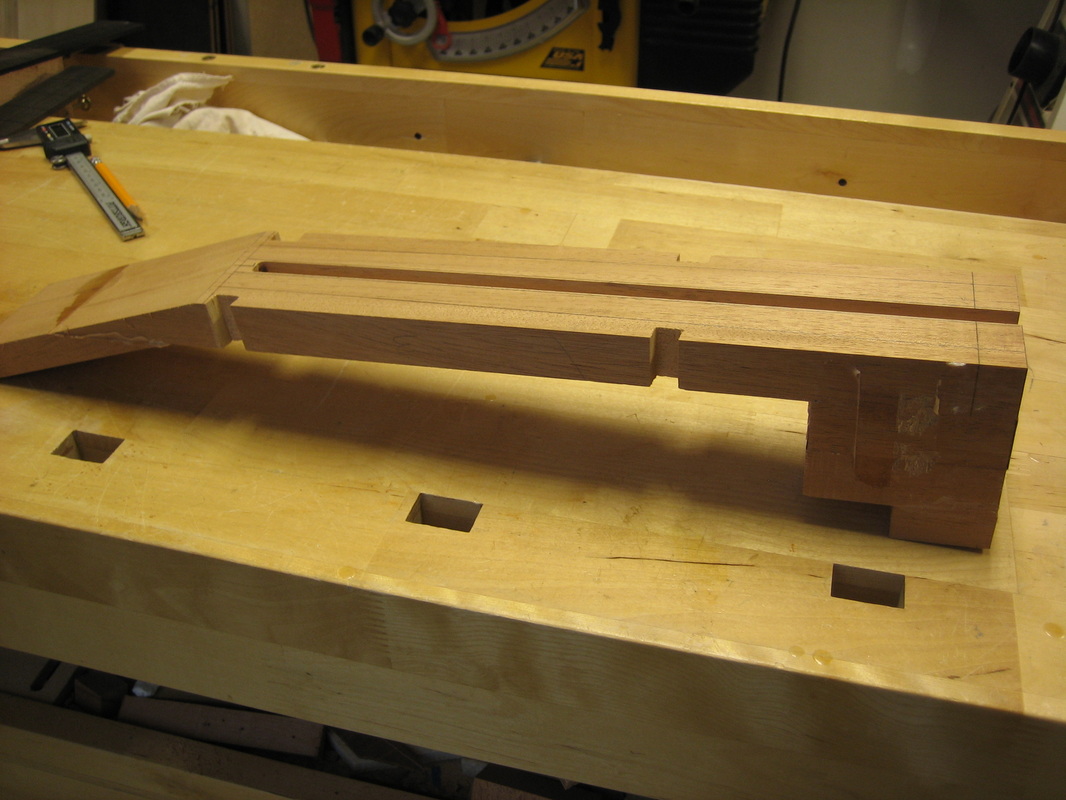
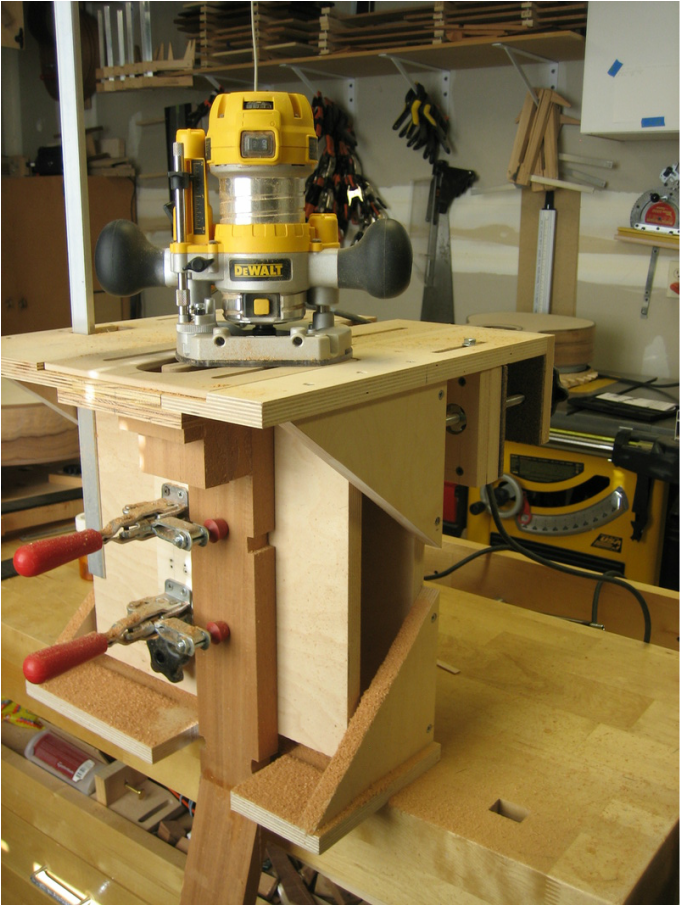
Now starts the process of getting the neck and body set up at the correct neck angle, neck centered with the body center line and heel cheeks flush with the body sides. This is a time consuming operation and can be quite frustrating as a change to anyone of the 3 alignments can cause a change to the other 2. I am using the jig, pictured below, to cut the tenon on the neck. The other side of the jig is used to cut a mortise in the body.
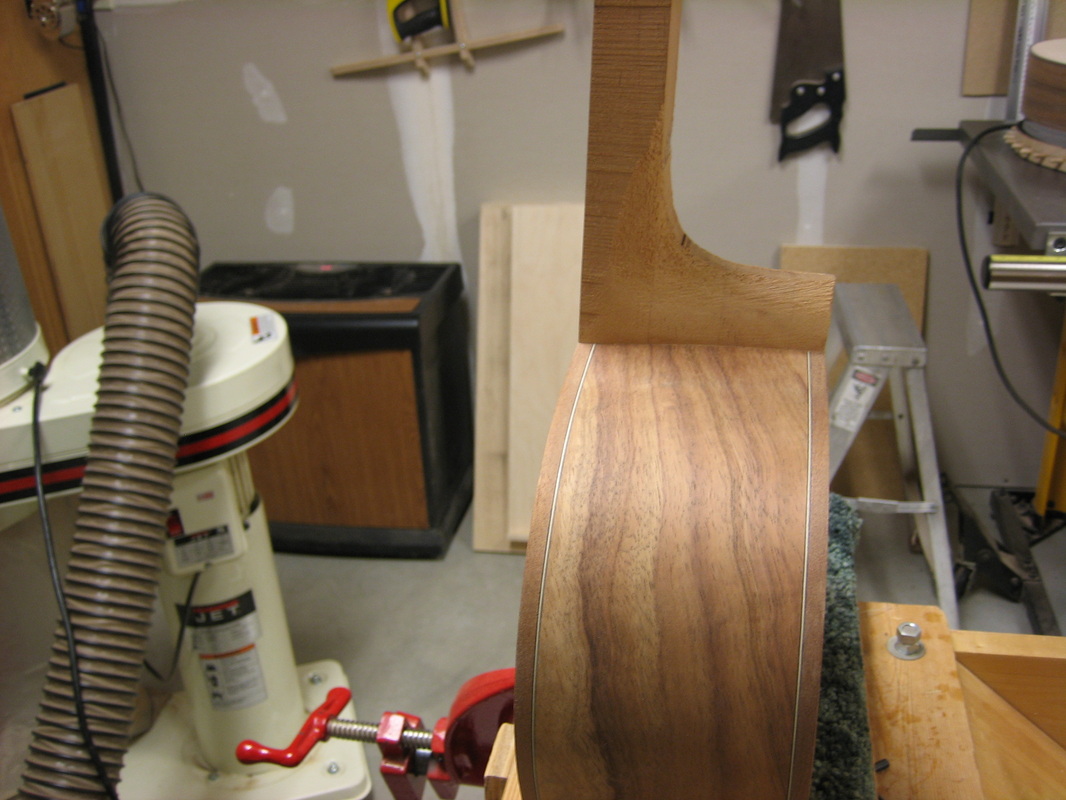
The rough shaped neck mated to the sides at the correct neck angle & center alignment
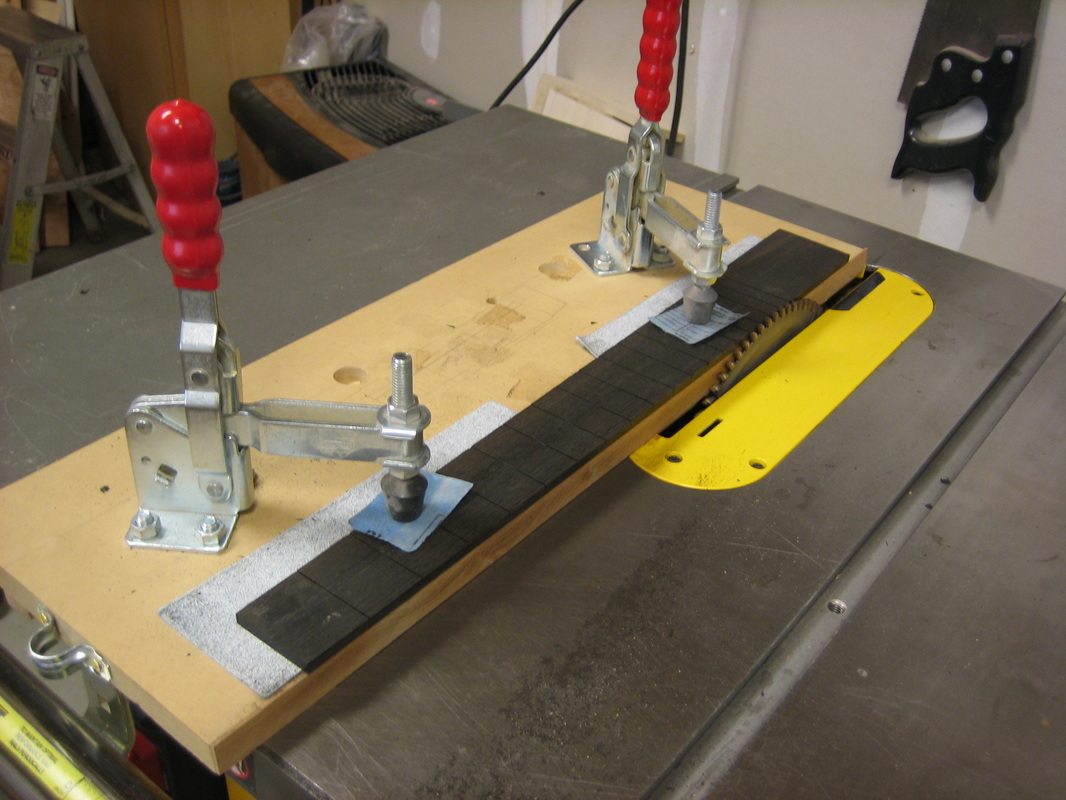
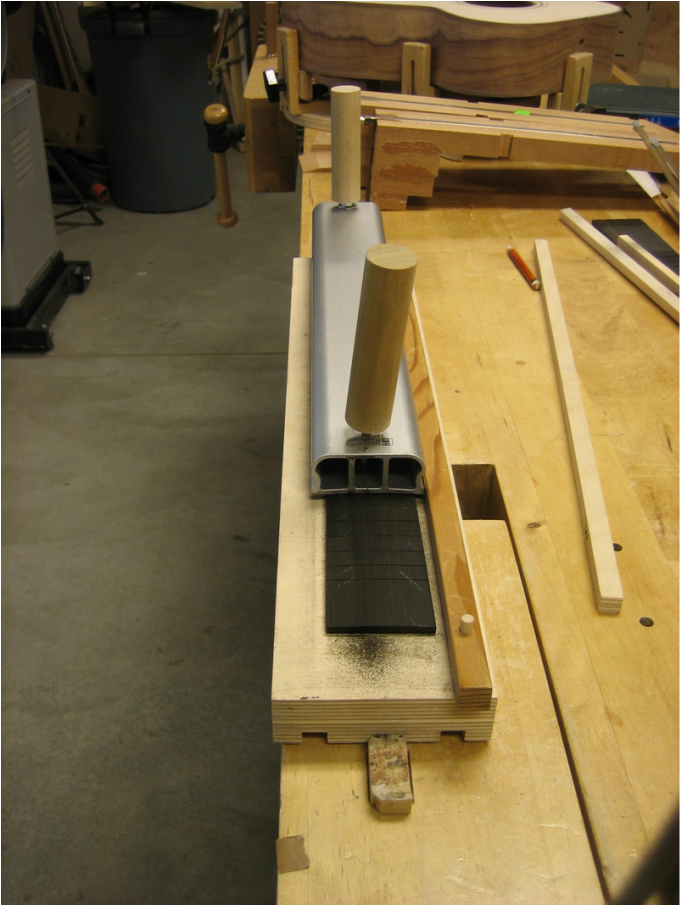
The Fret Board
Cutting slots for the 25.4" scale
Cutting fret board side taper
Getting the 16" fret board radius
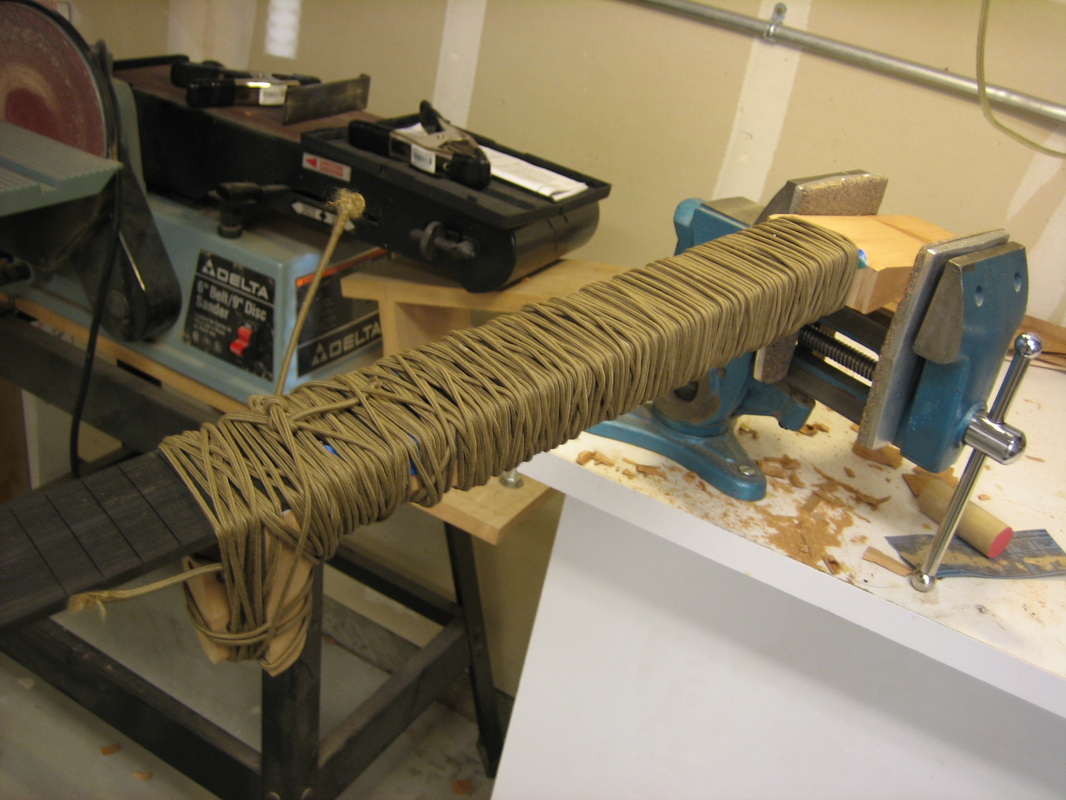
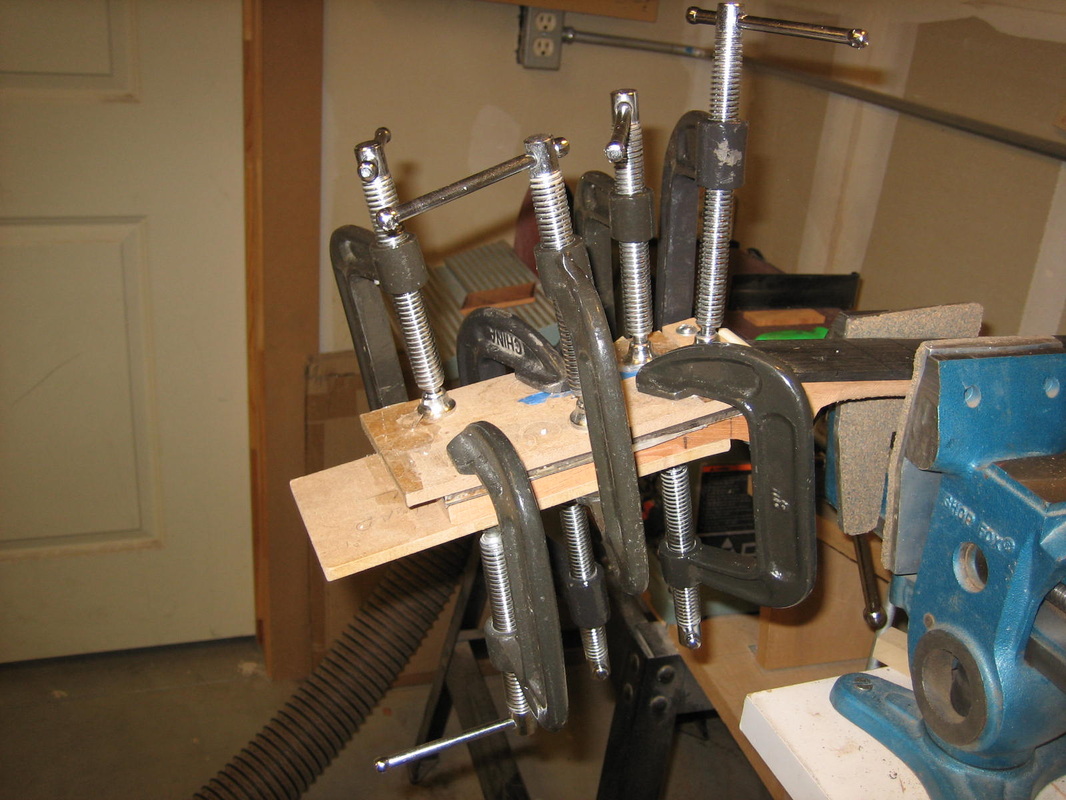
Mating fret board and neck
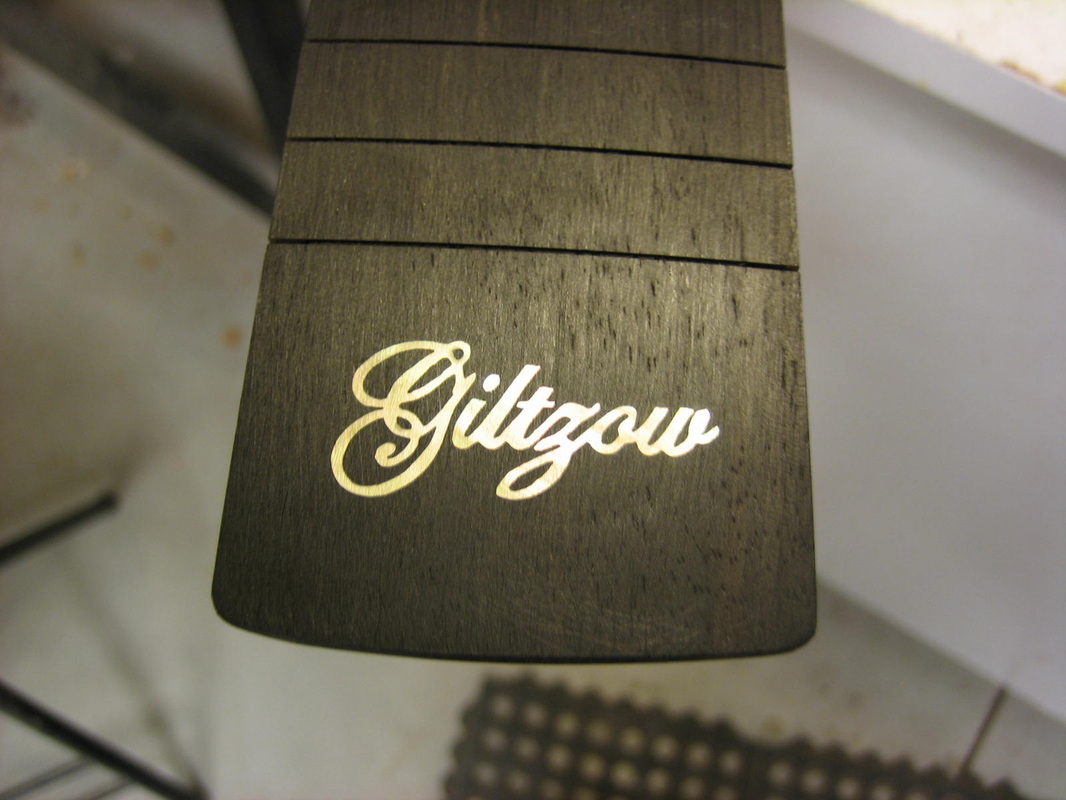
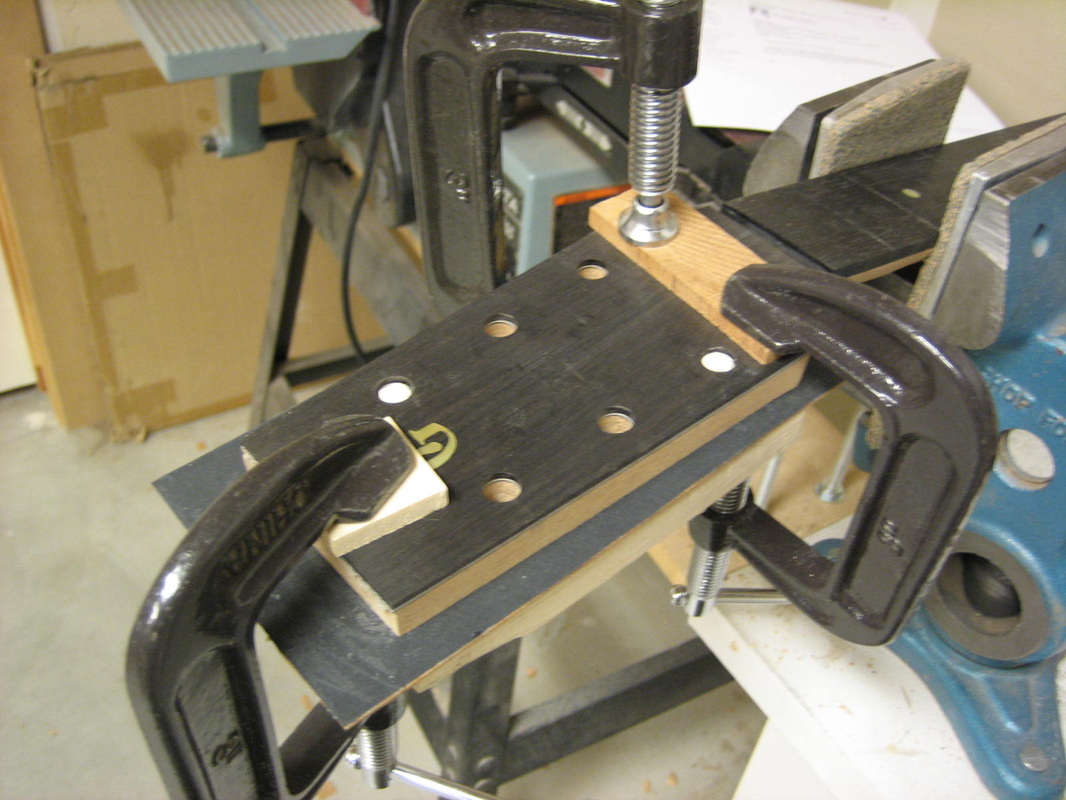
Glueing peghead veneer
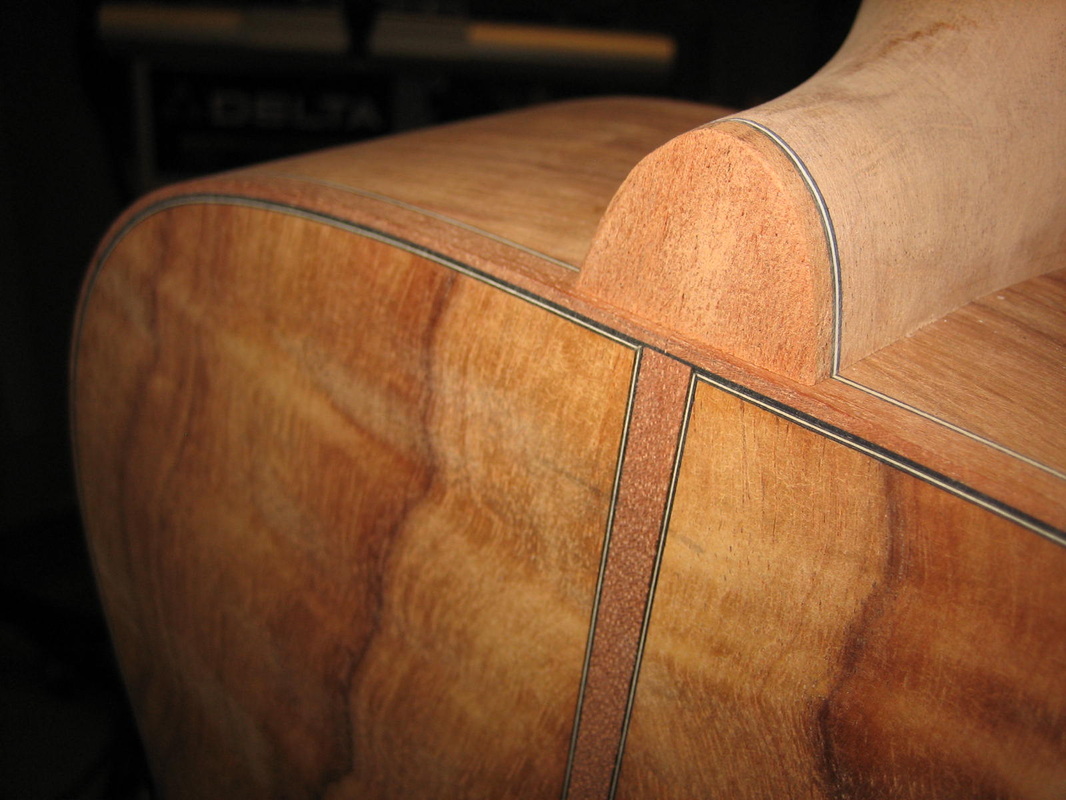
Matching side purfling and heel cap
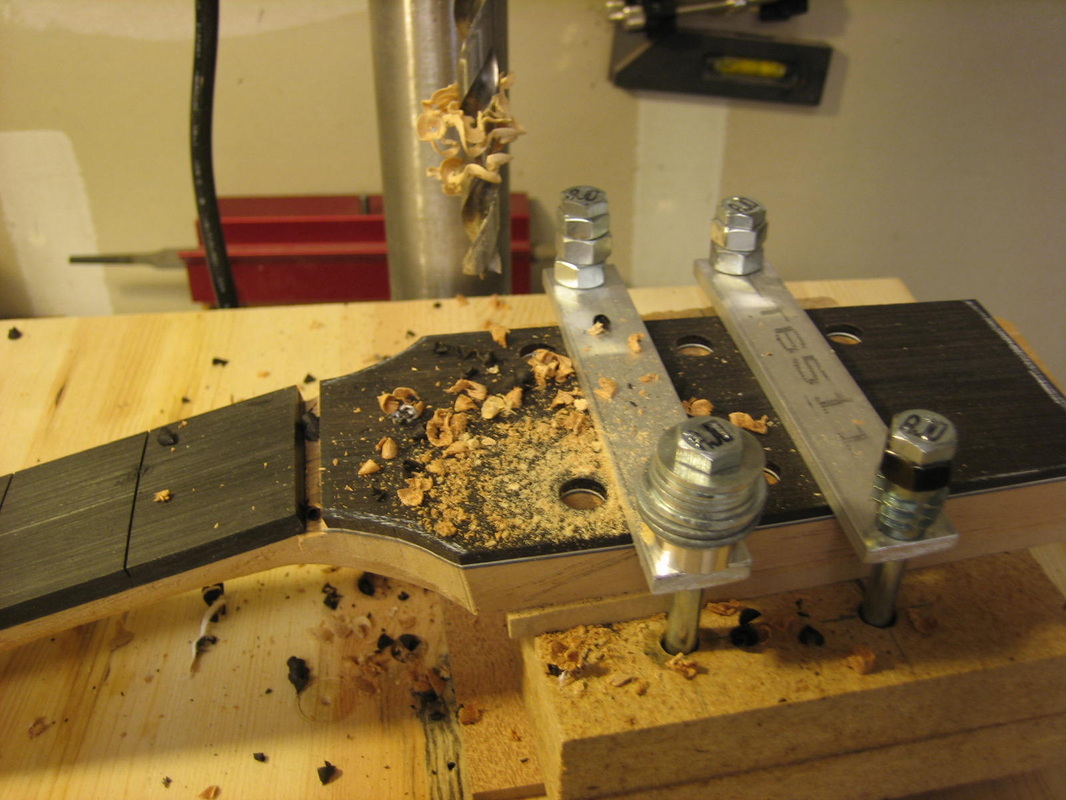
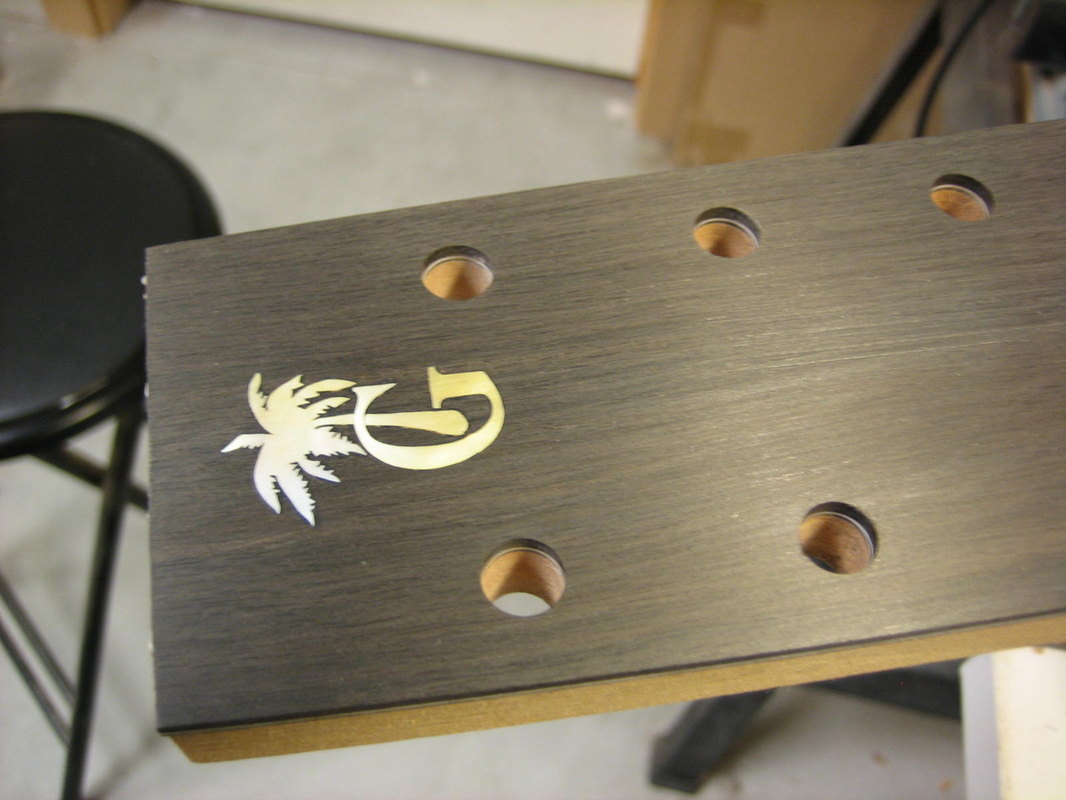
Drilling tuner holes
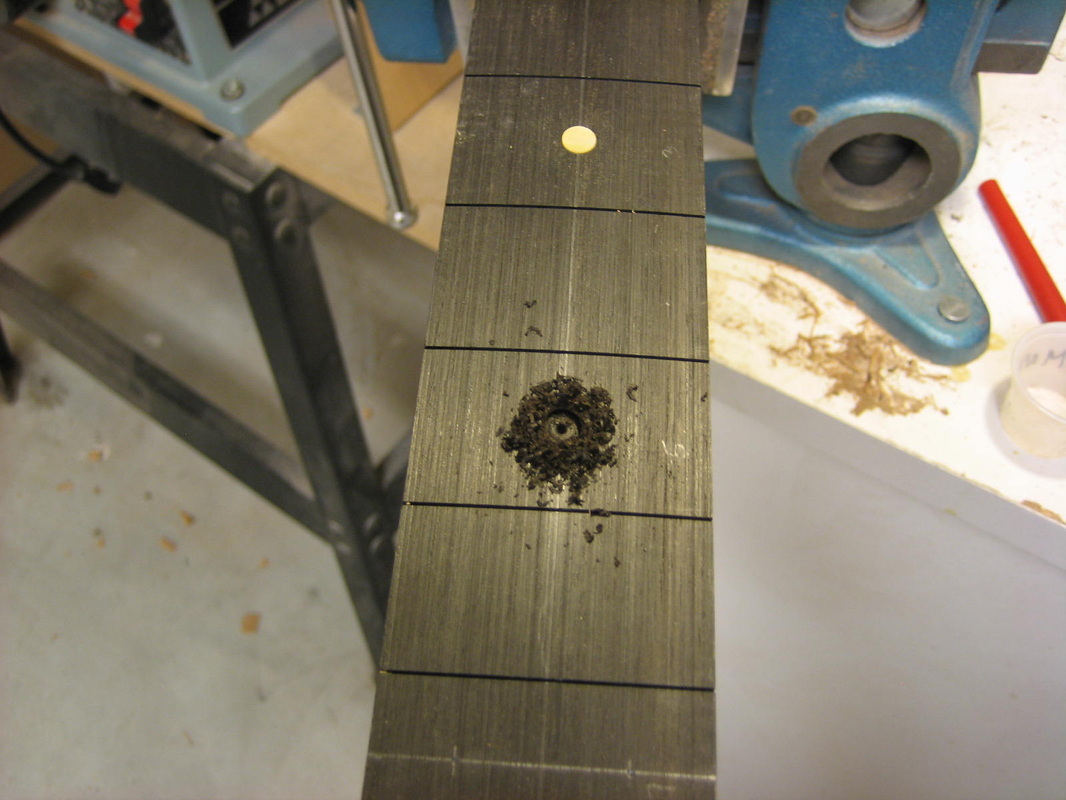
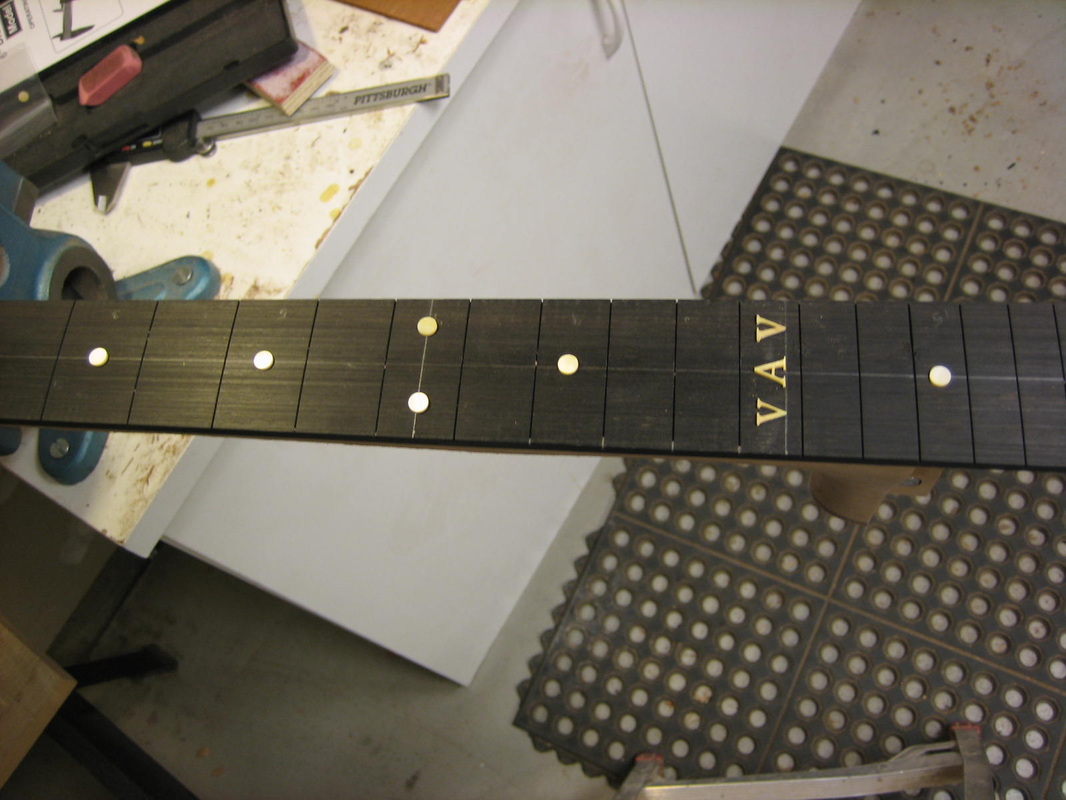
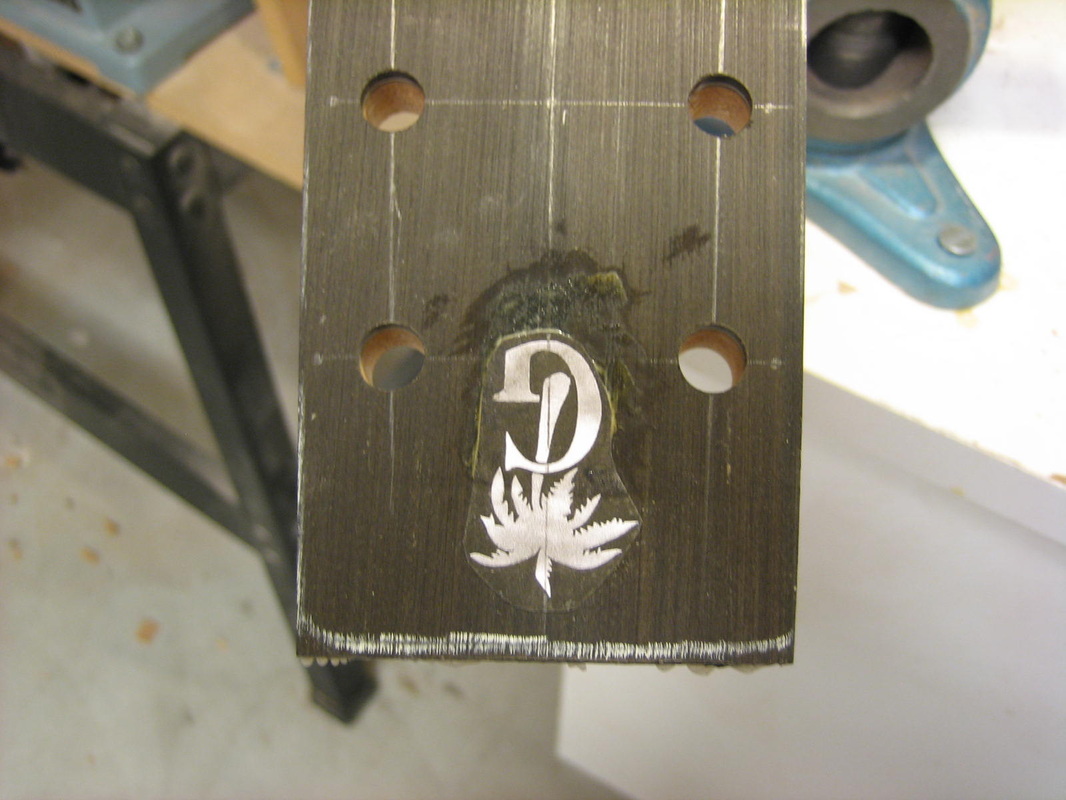
Inlays
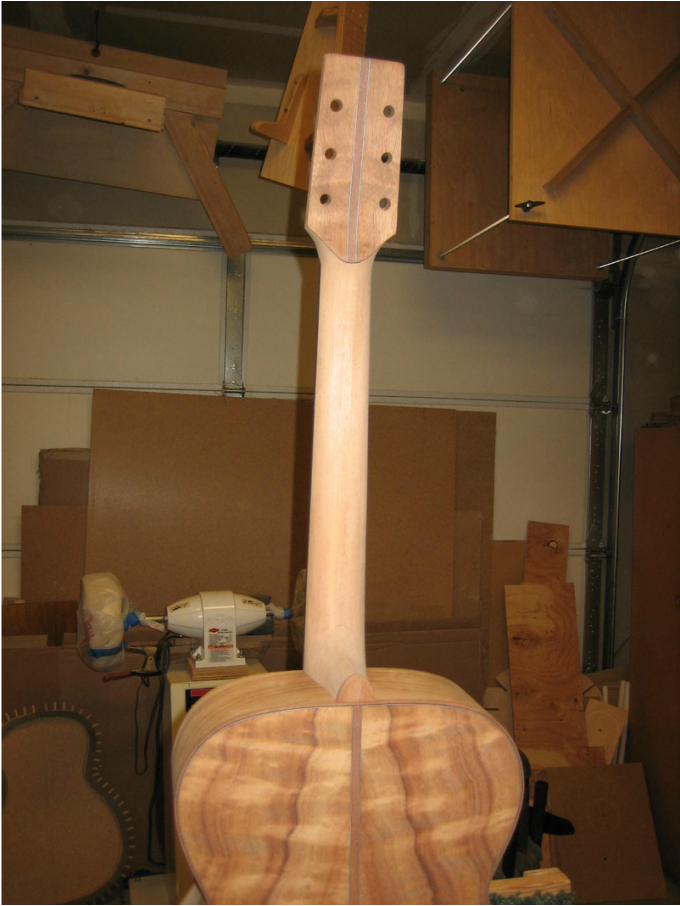
Head stock back veneer
Installing frets
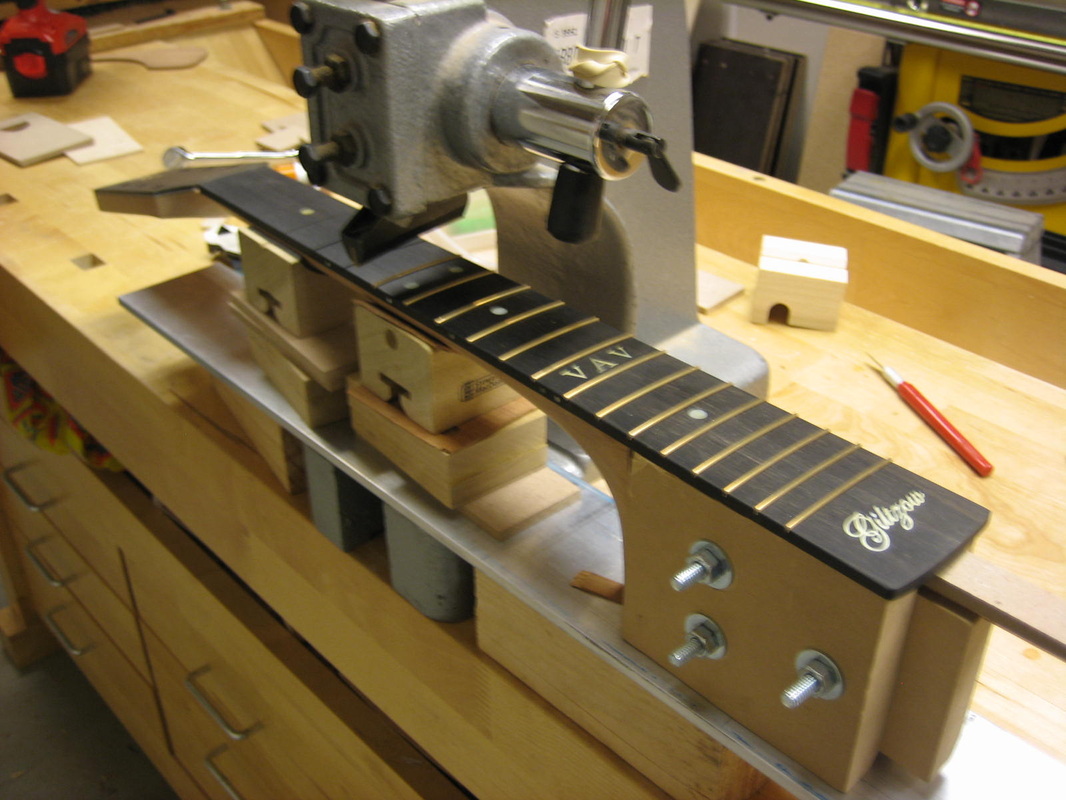
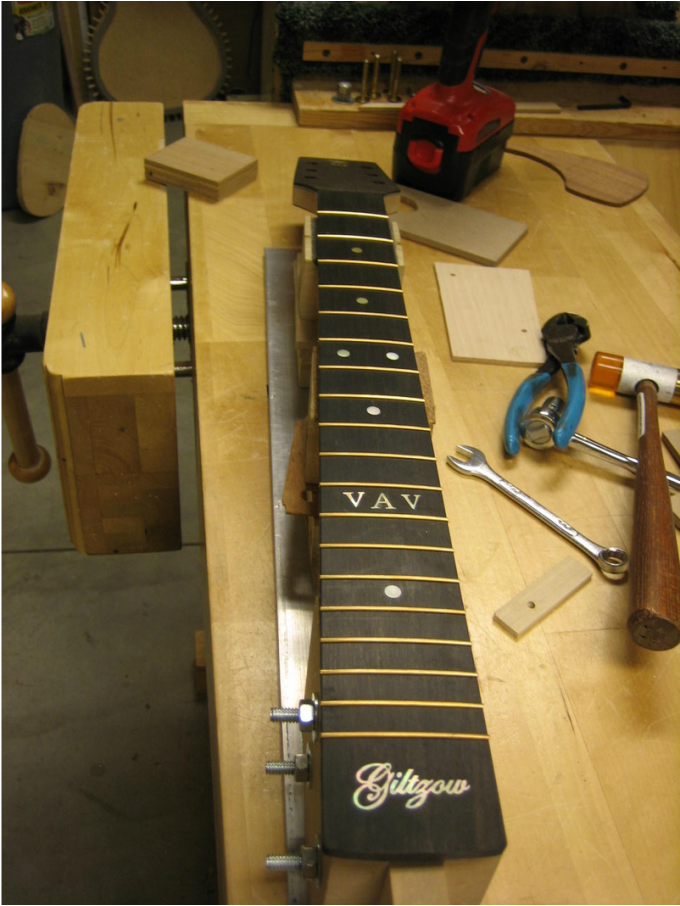
Filling ebony under fret ends
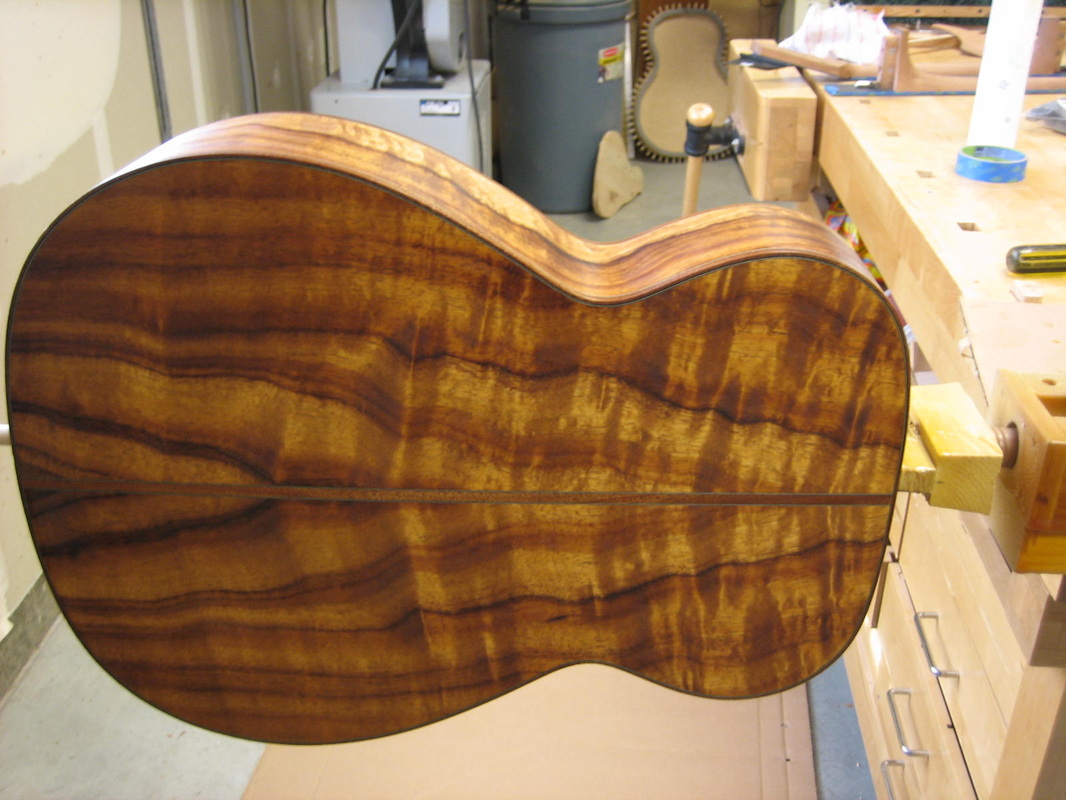
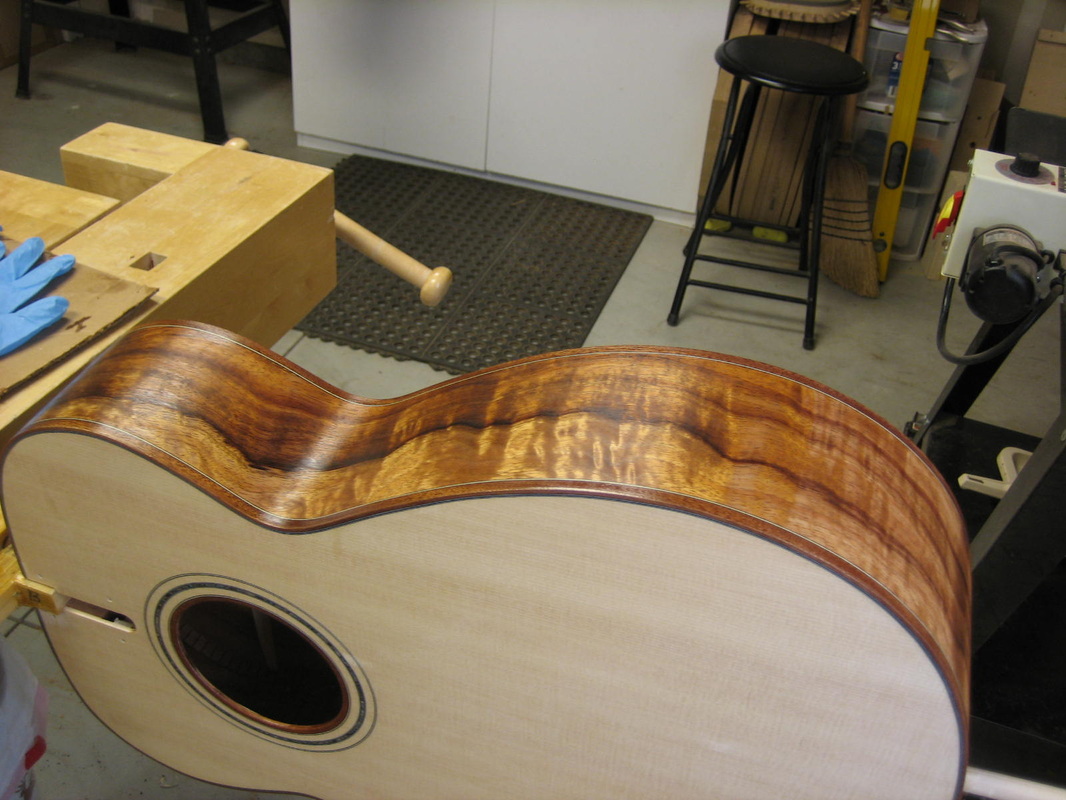
The last step before spraying finish on the guitar sound box is to fill the pores. I use an epoxy finishing resin to fill the pores. I heat the box with a heat gun and work the epoxy in with a flexible credit card. Sand it down after it cures over night and then do it again. Usually 3 coats of epoxy does it. Very little epoxy is left - just a very thin coat. The epoxy fills the pores but also gives a good base for the spray finish to adhere to. The sound board does not get epoxied as it does not have large pores to fill.
The neck is filled with a traditional pore filler and will be finished with 4 to 6 coats of Tru-Oil.
The epoxy darkens the color of the sound box and gives us an idea of what the finished guitar will look like after spraying and buffing.
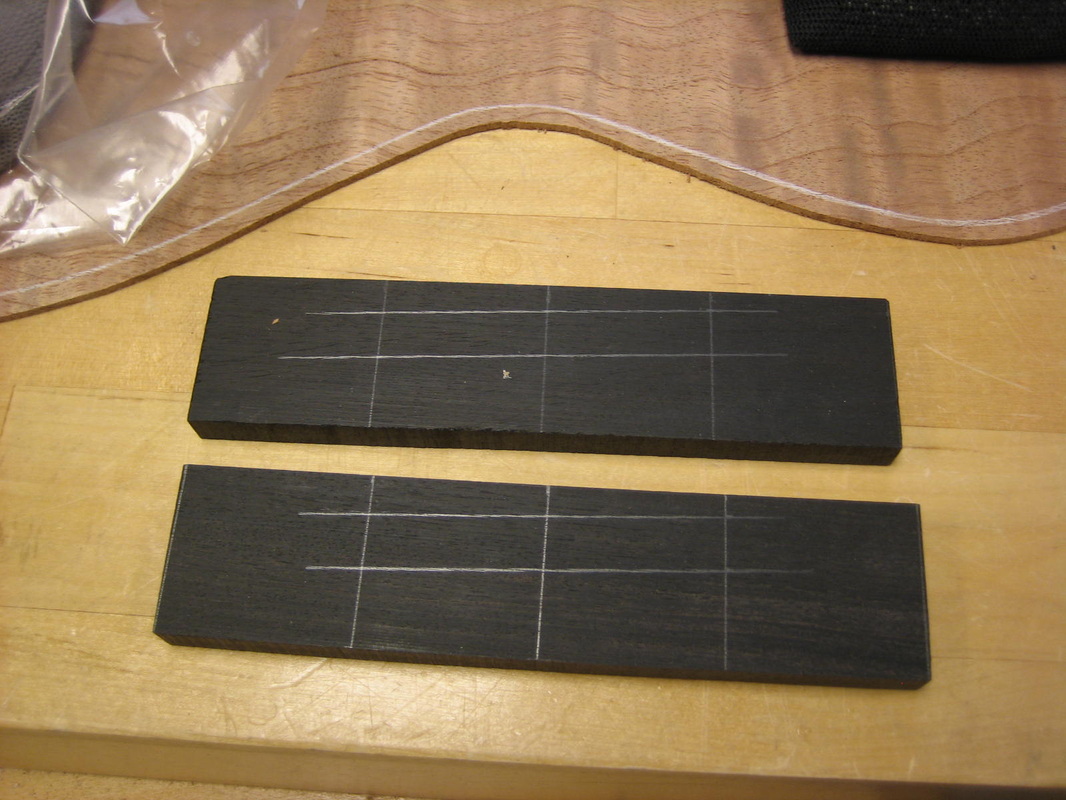
Now I am waiting the 3 weeks before I can sand and buff the finish on the body. No guarantee that I won't sand through the finish and if I do that, then I will spray over again and then wait 3 more weeks to sand & buff again. In the meantime I keep busy with the bridge & pickguard. Pictures below, starting with a piece of ebony dimensioned and marked with saddle and bridge pin location.
Route saddle slot:
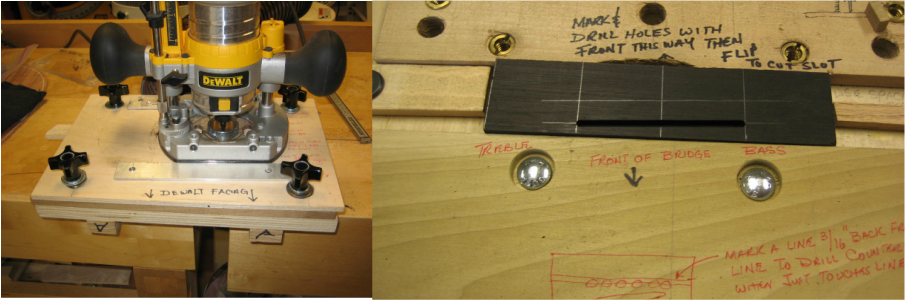
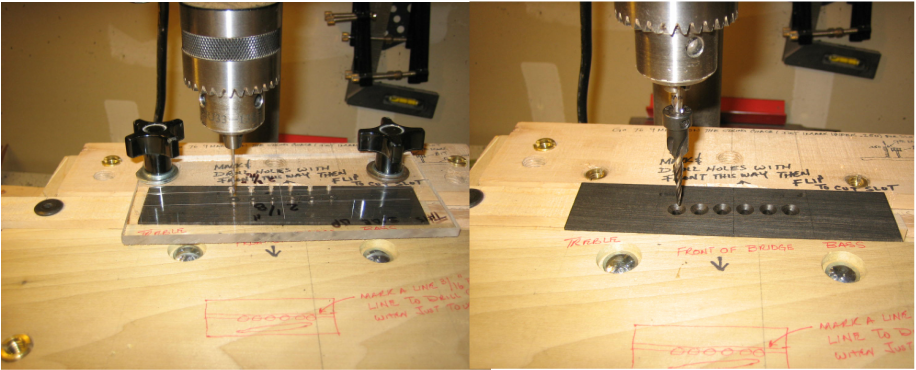
Mark & drill bridge pin holes:
Shape and sand bottom of bridge to 30' radius:

Hand shape and sand bridge wings:
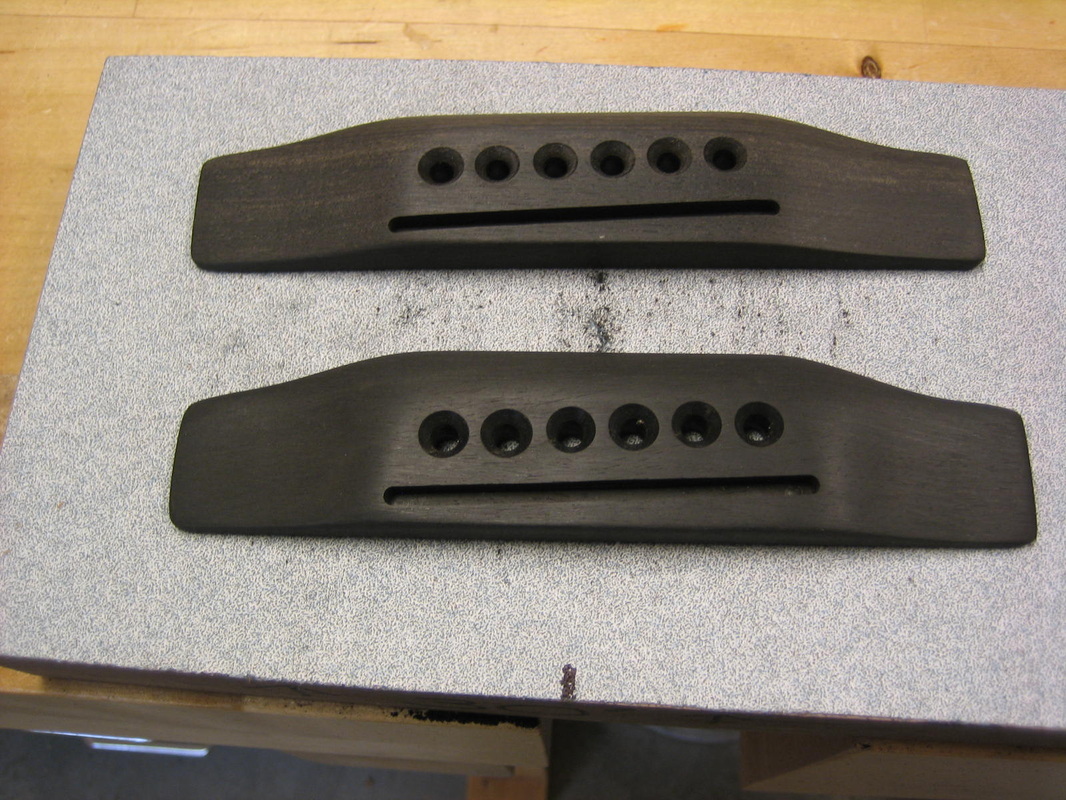
Two bridges to choose from. The bottom will be sanded on the buffed-out guitar top so that the bridge will fit the top very closely.
The sound box has been sanded and buffed :
Scraping finish so the fret board extension can be glued to the sound box:
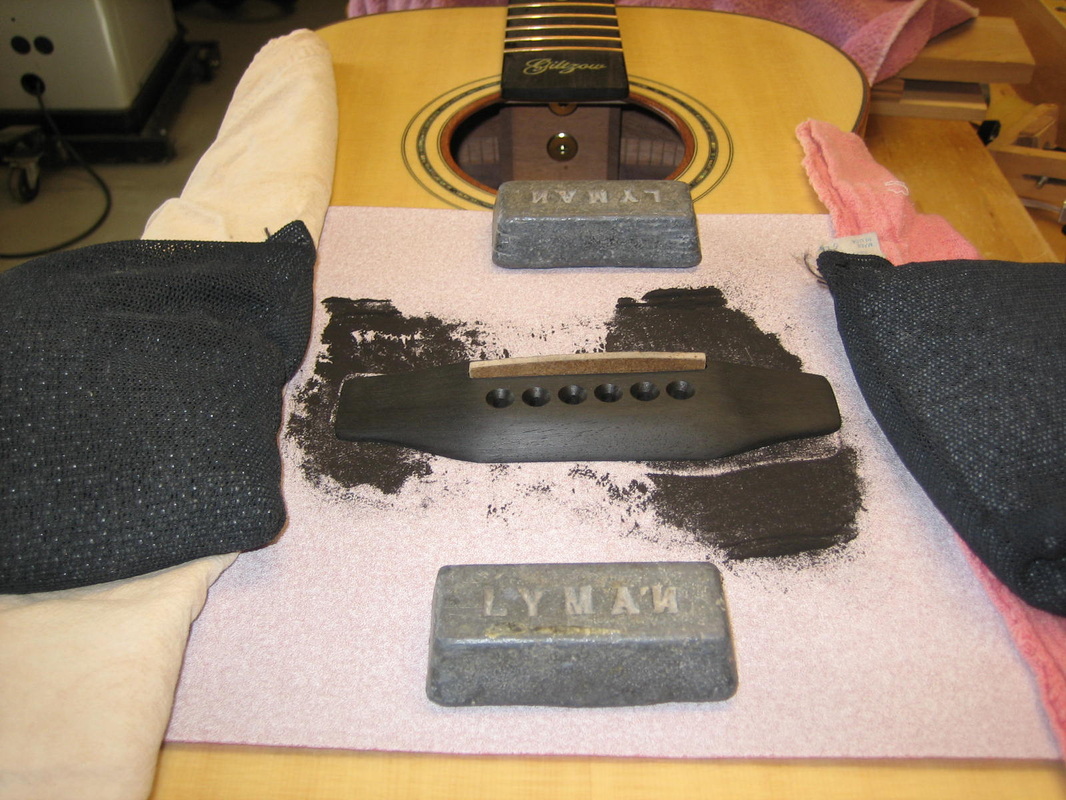
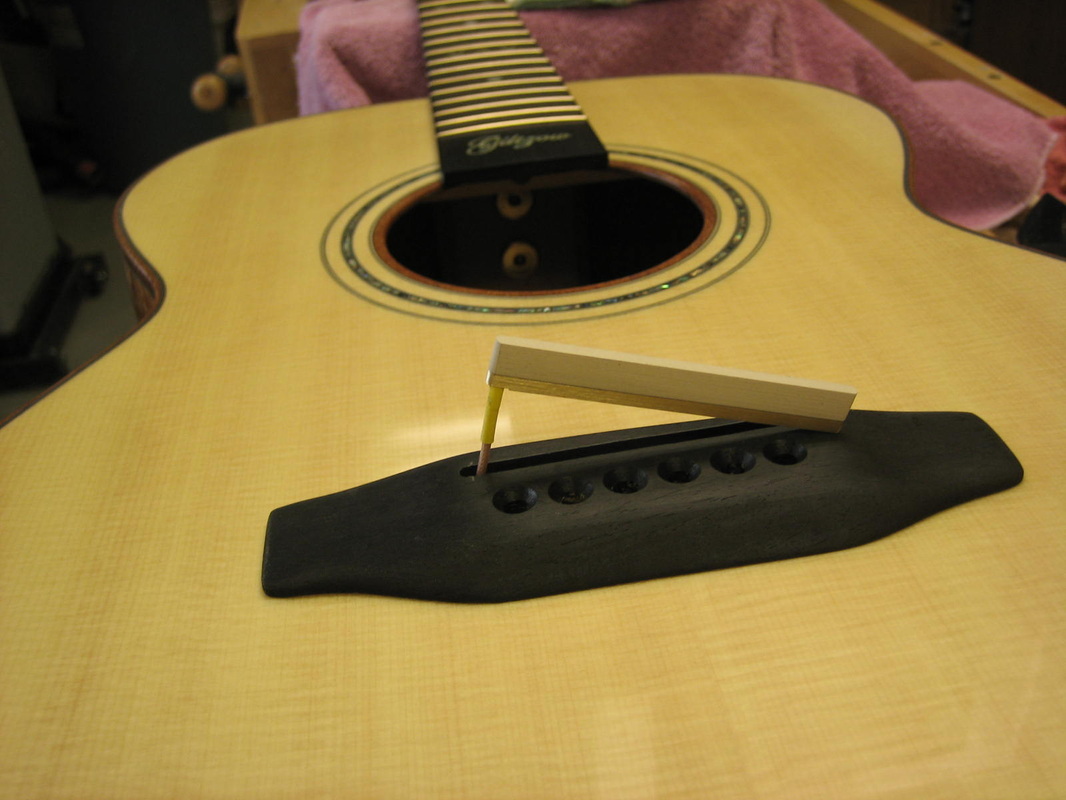
Sanding the bottom of the bridge to top curvature:
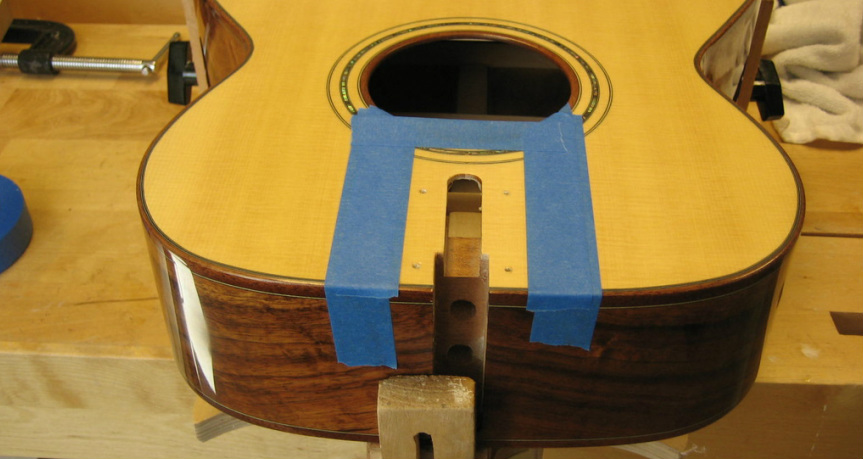
Locating bridge
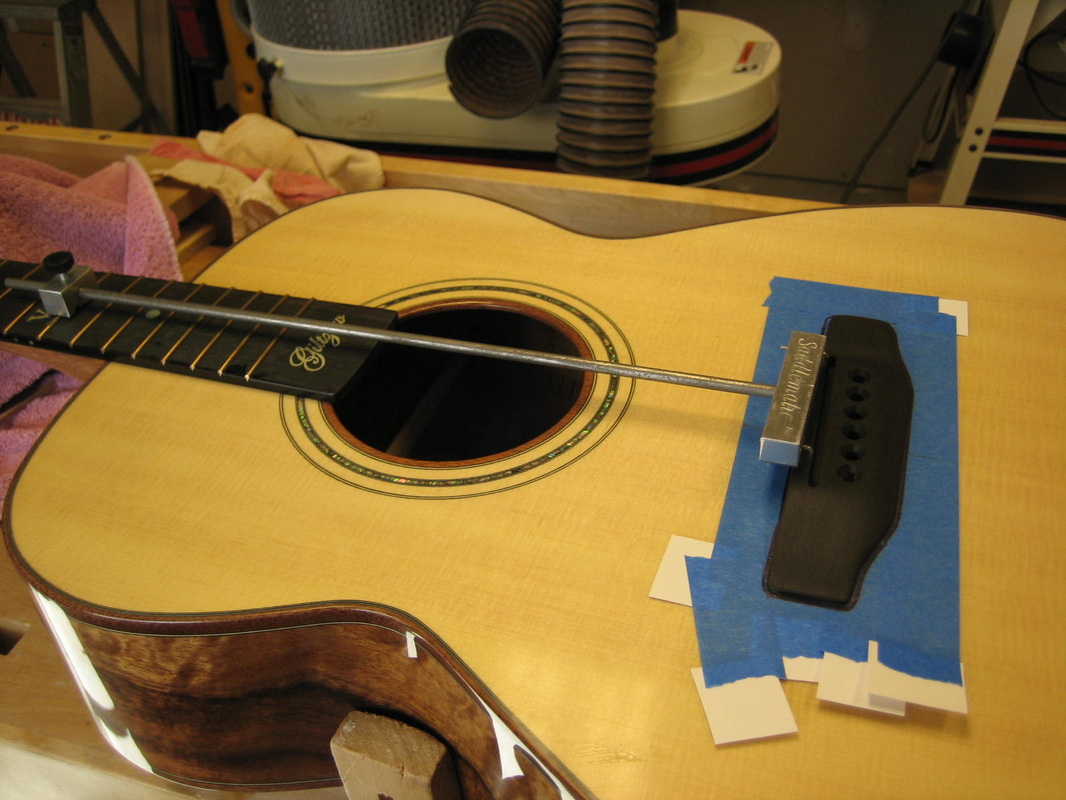
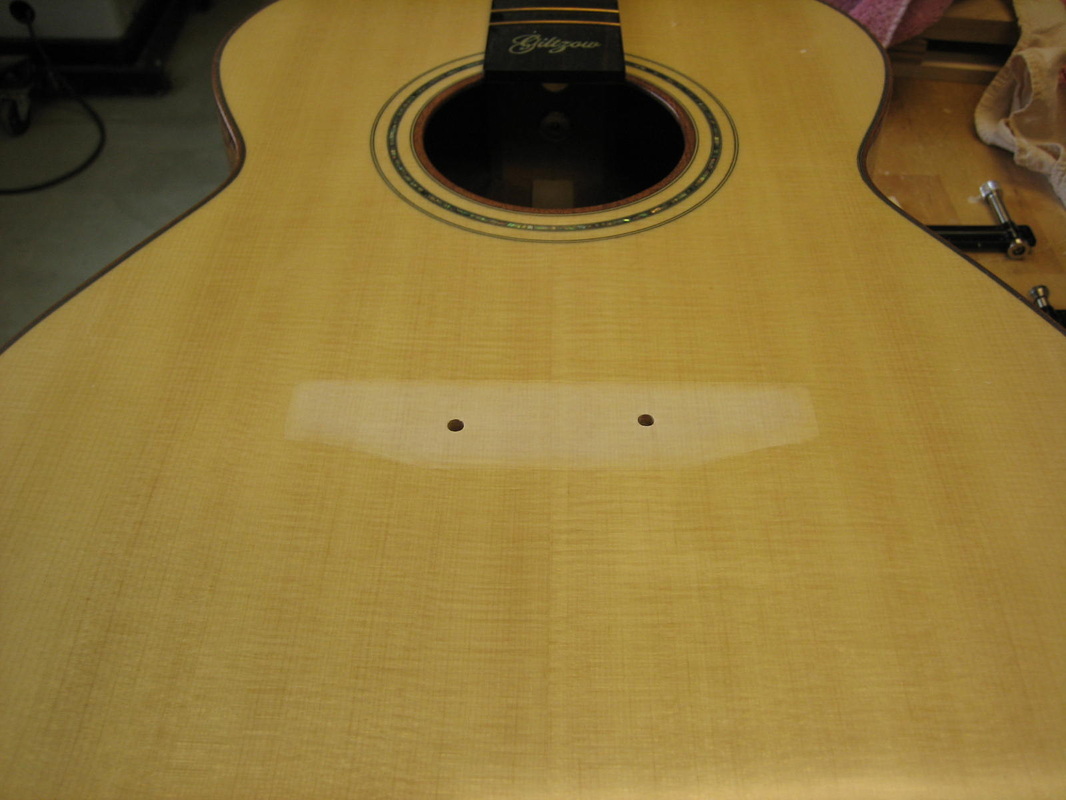
Finish removed from bridge area
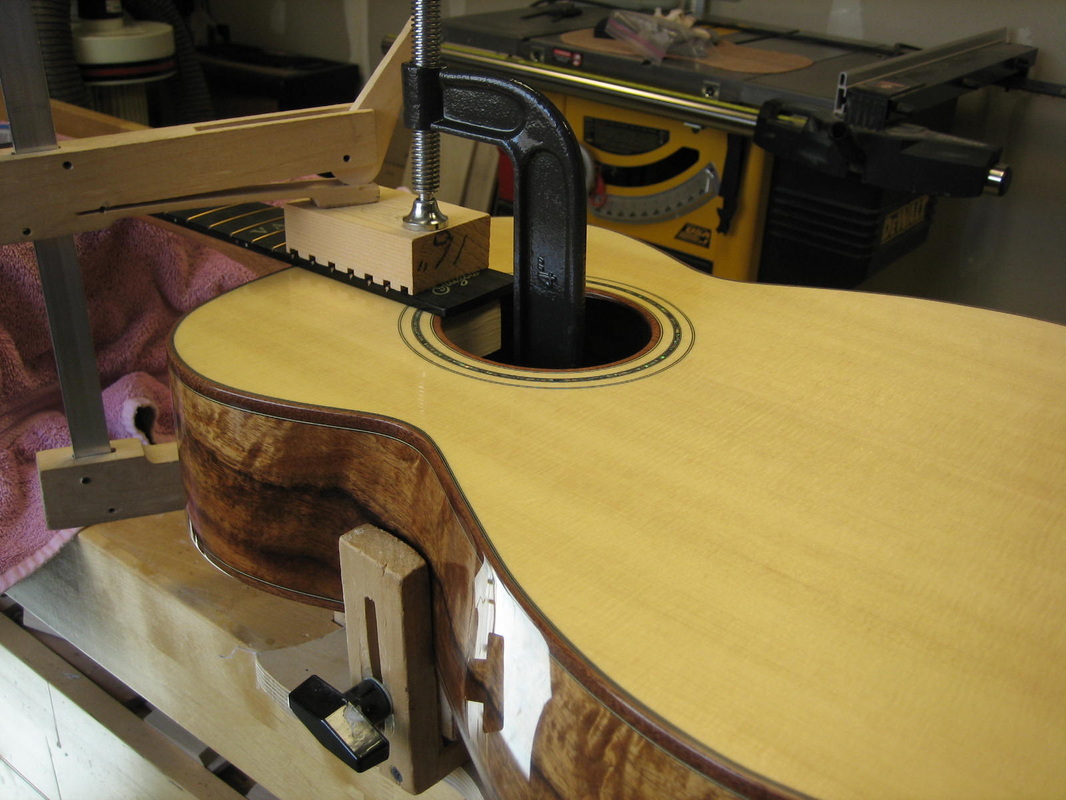
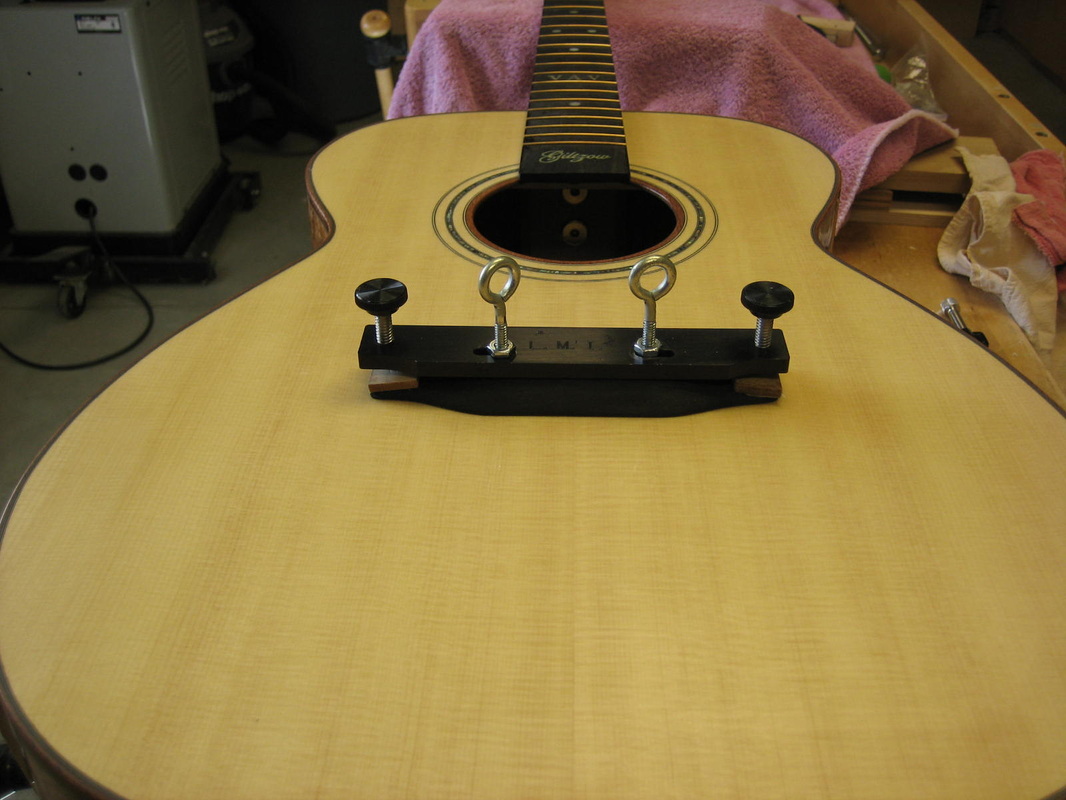
Bridge glued:
Fitting LB-6 Baggs saddle pick up. Saddle will be shaped to get correct intonation and for action height
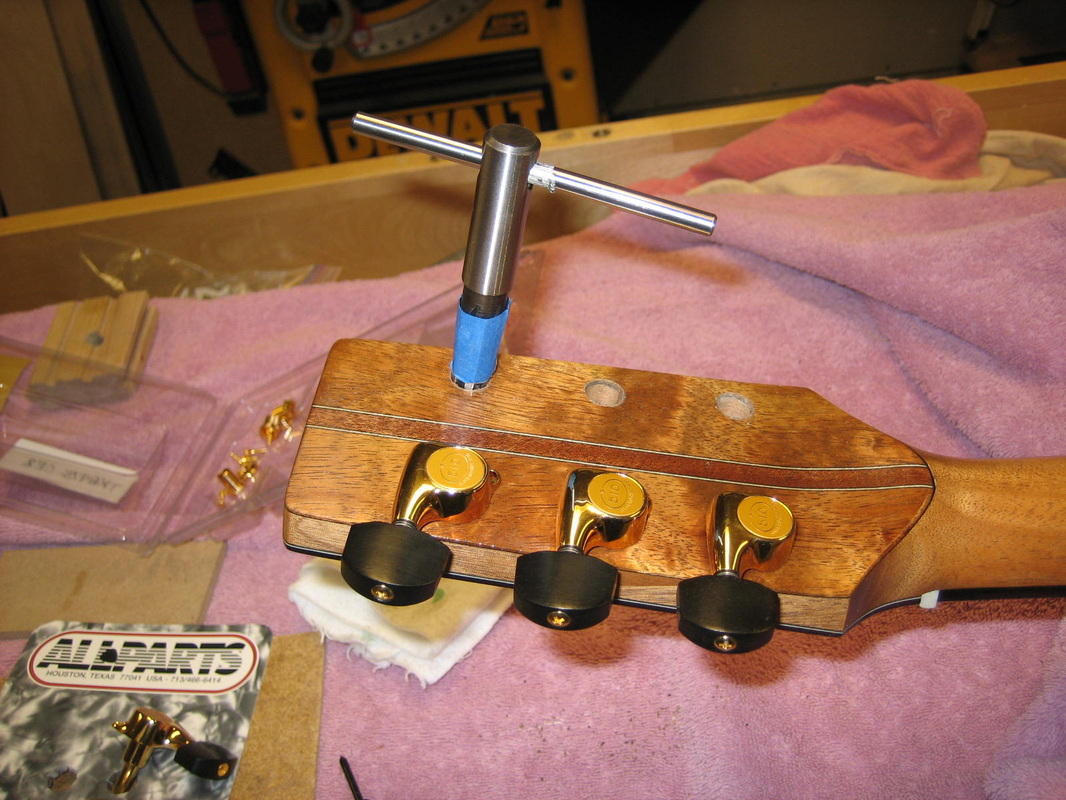
Reaming for Gotoh 510 tuners:
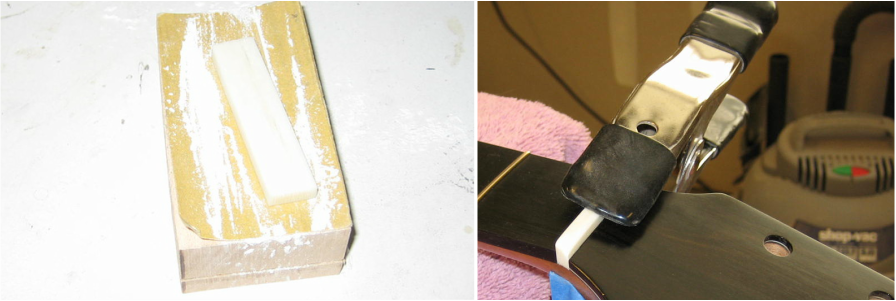
Preparing bone nut and glueing to nut slot
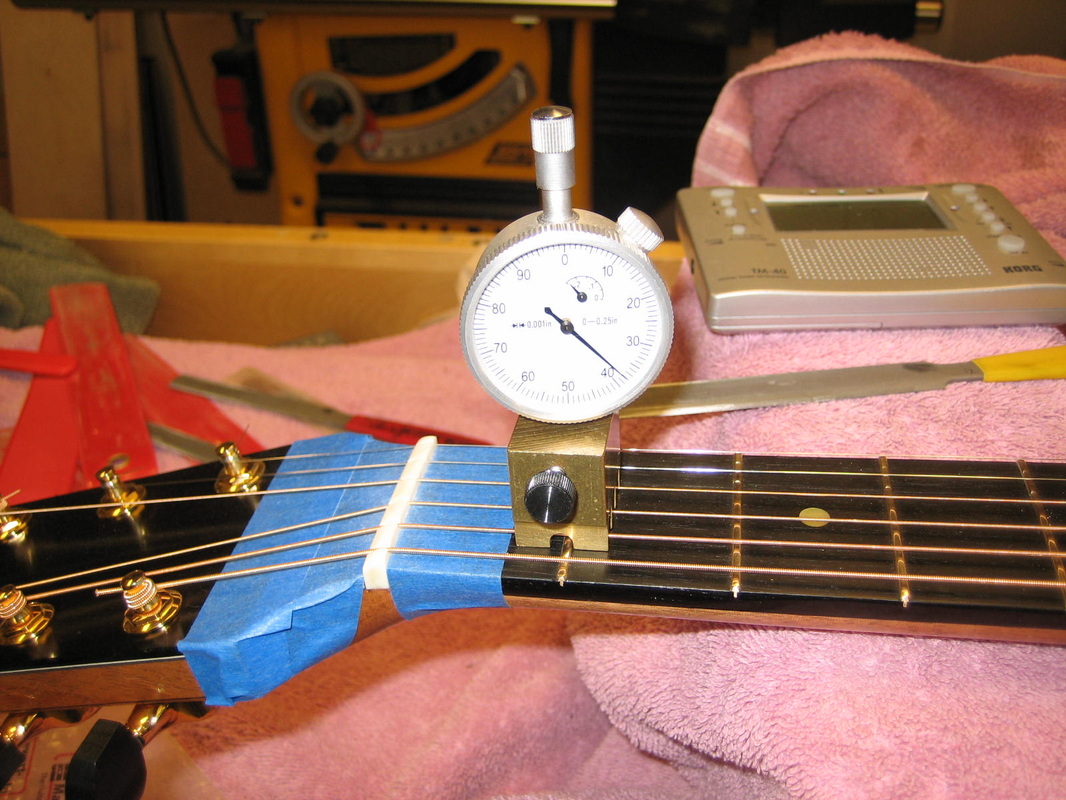
Stringing up and setting nut action
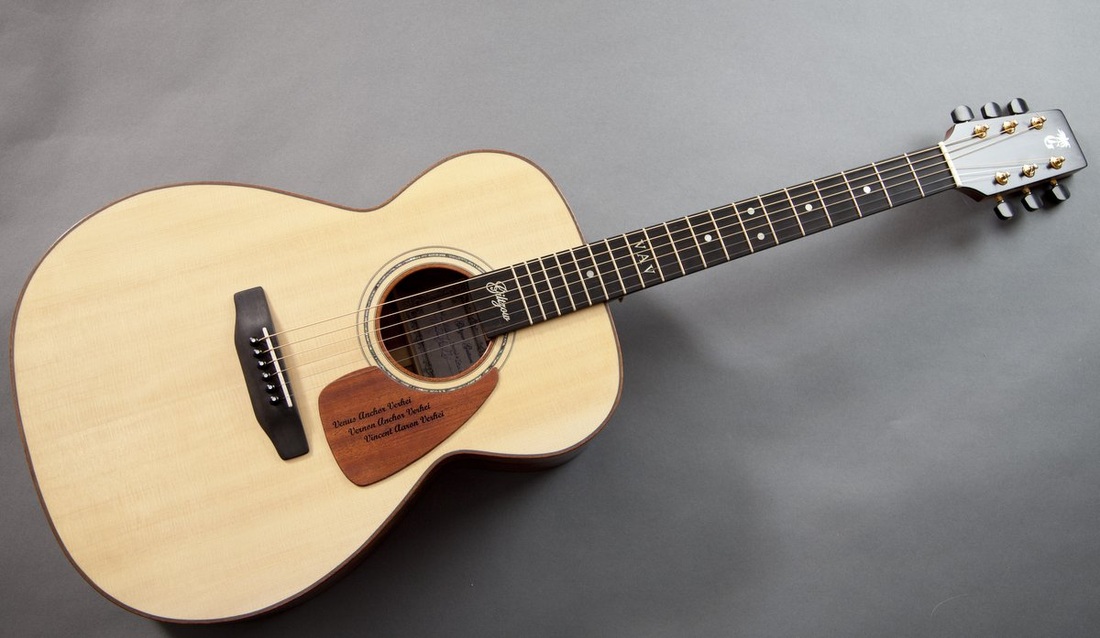
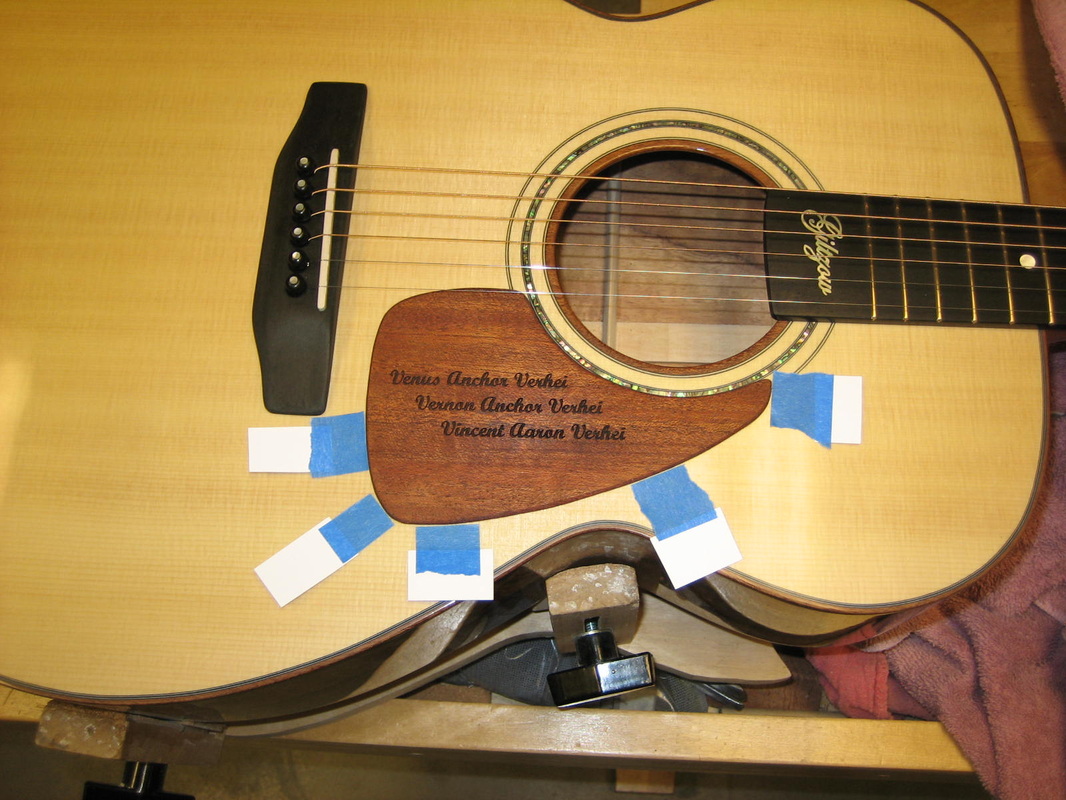
Installing pickguard
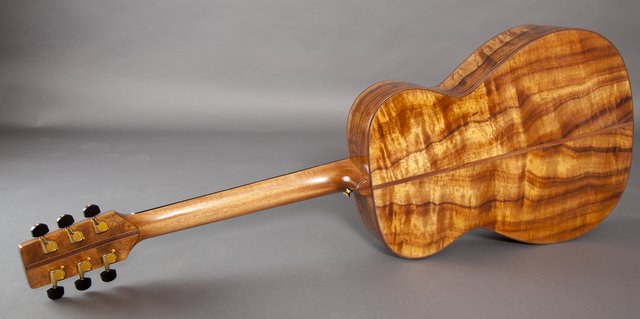
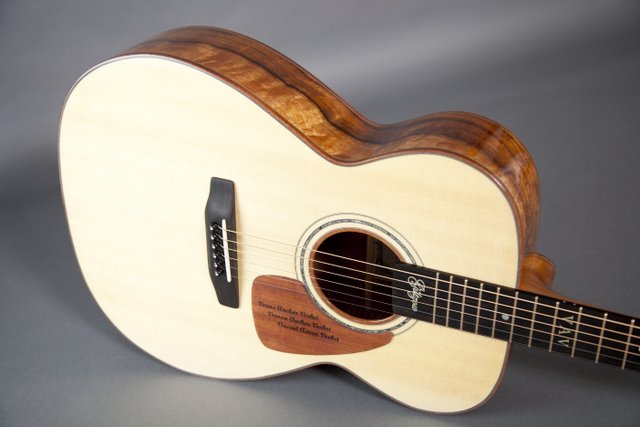
Pictures of finished guitar by Jeanne Giltzow