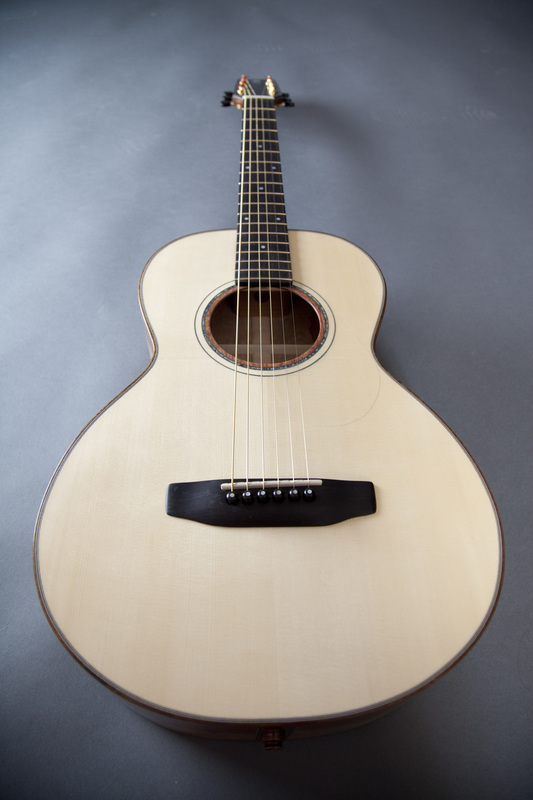
It's always nice to build a guitar for a friend that already owns one of your guitars. The fact that he would come back for a second and wants one of my new parlor guitars is very encouraging for me. Dave M is a good friend and scuba dive buddy of mine. We have been to some wonderfully beautiful dive destinations over the past ten years and diving with Dave is always an adventure. Very lucky to know this man and to have the opportunity for underwater exploration with a man of his skills.
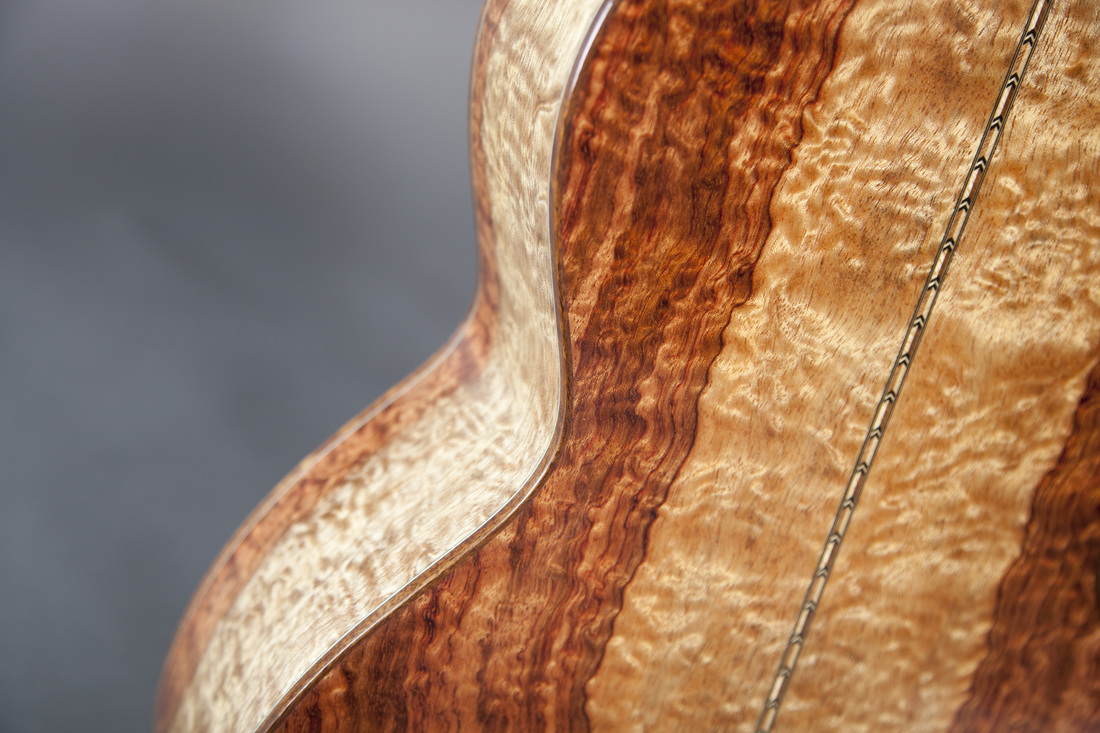
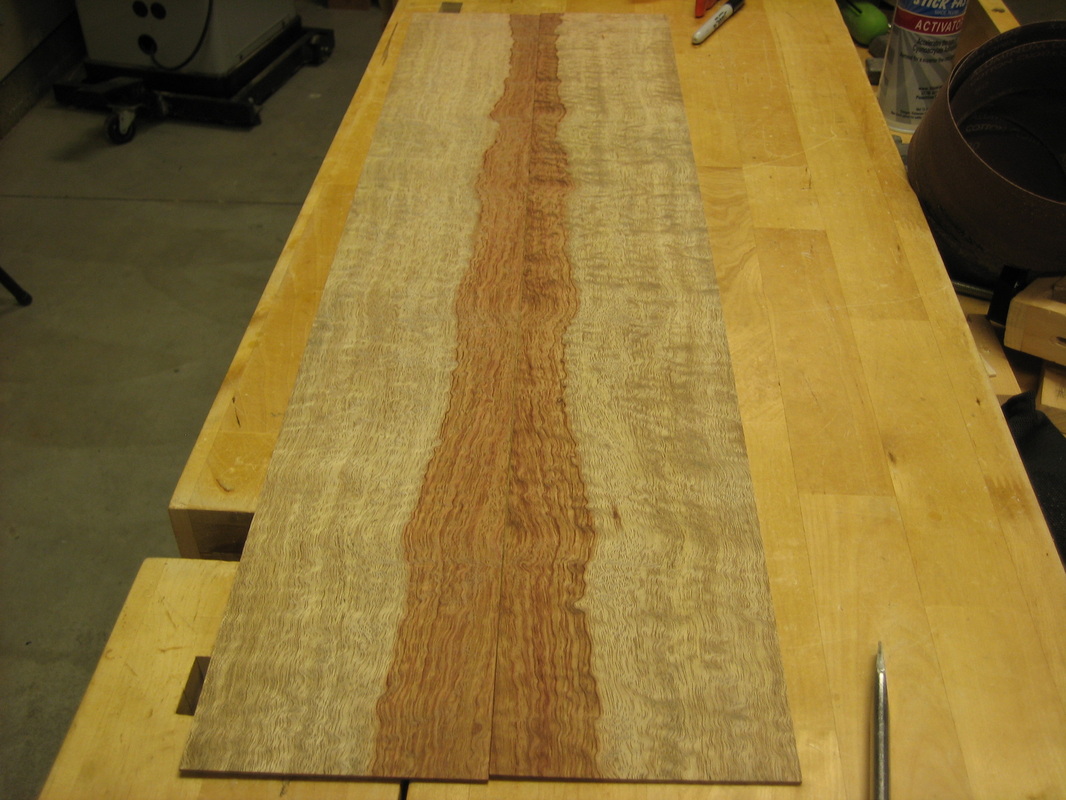
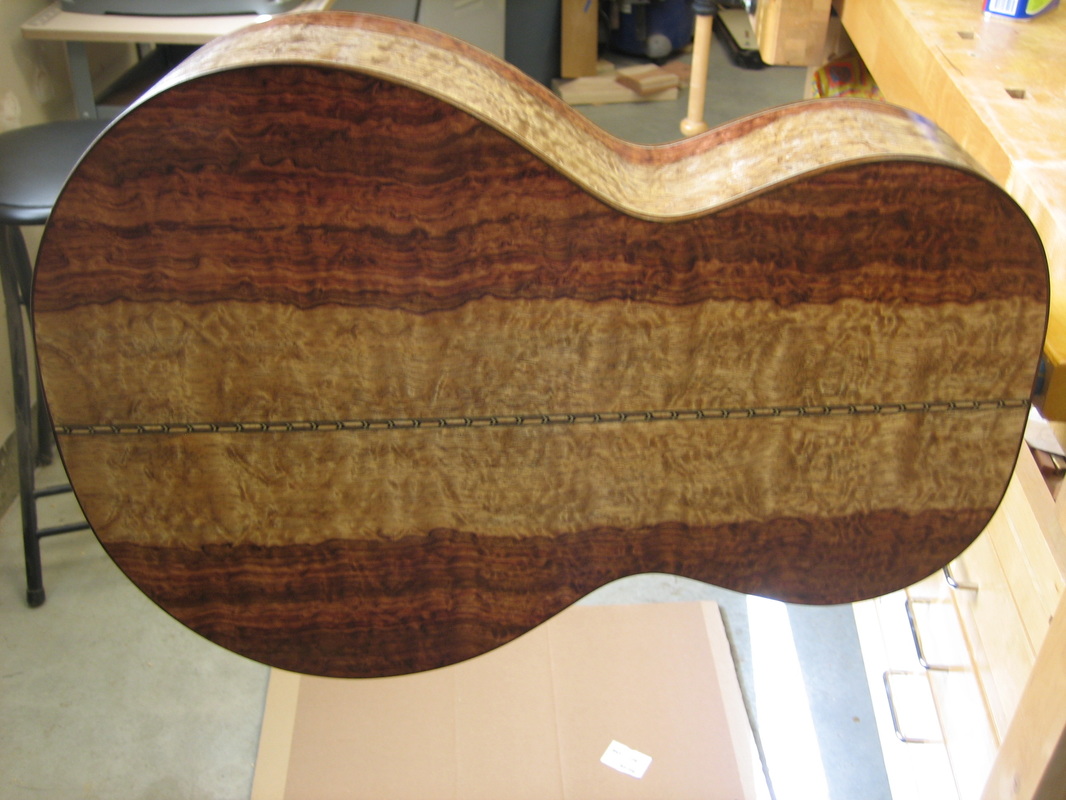
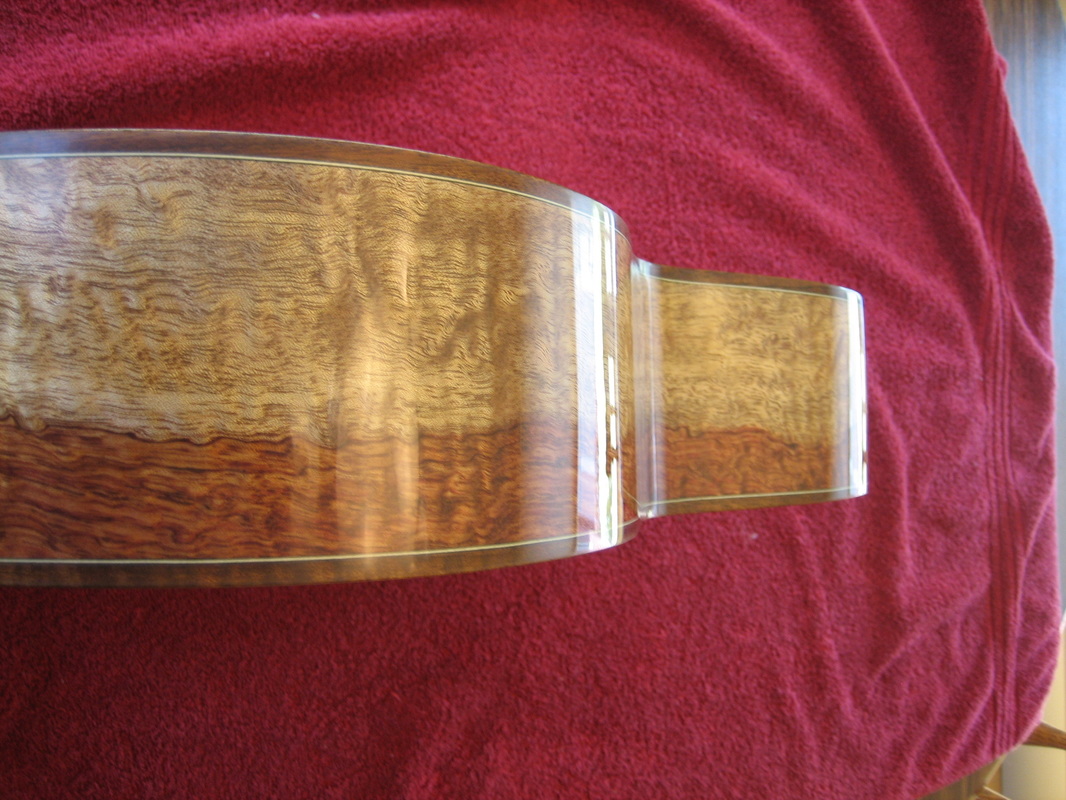
Dave wants a Parlor guitar; a guitar that is easy to travel with. We will be using the basic body style of the "VooDoo" guitar. Back and sides will be beautifully figured Bubinga and the top will be Carpathian Spruce.
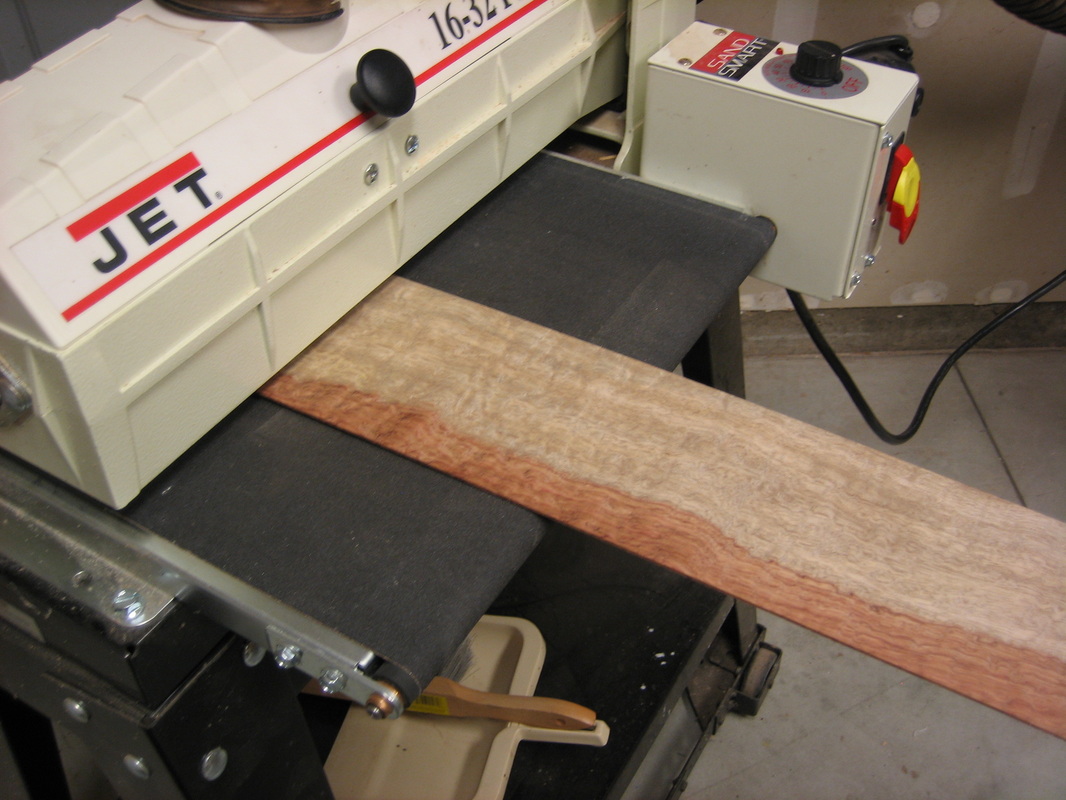
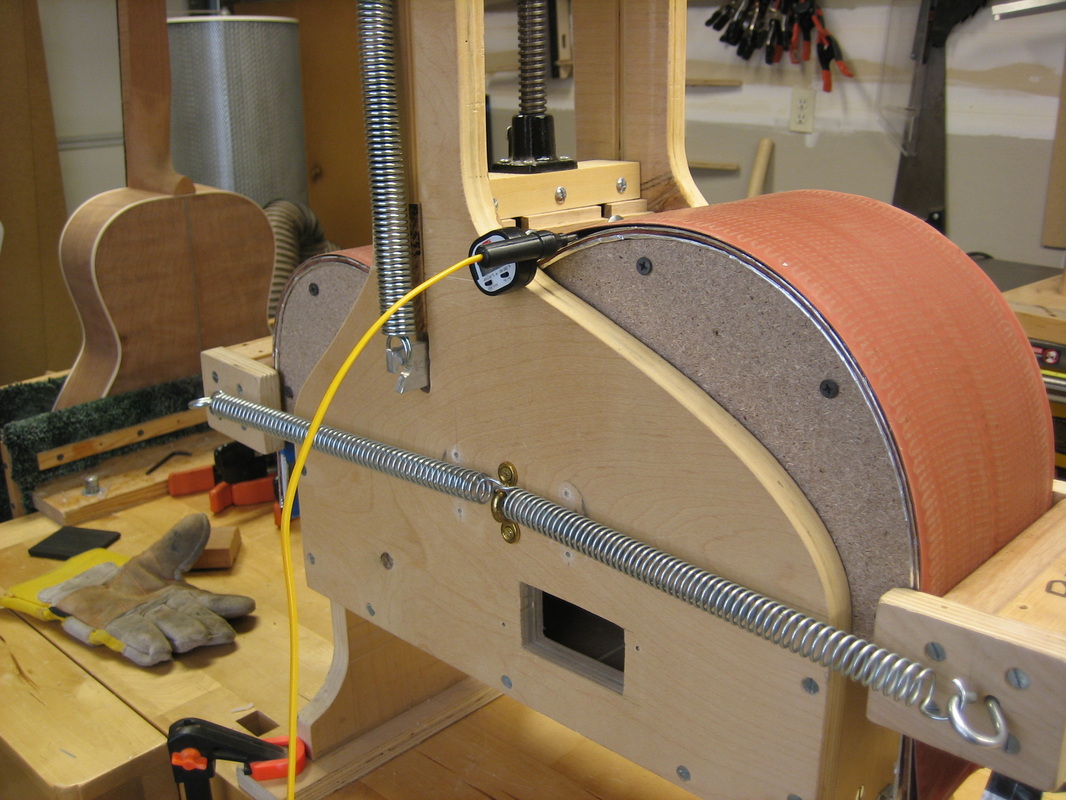
Starting with dimensioning the sides and thinning them to 0.080"
The process of bending one side:
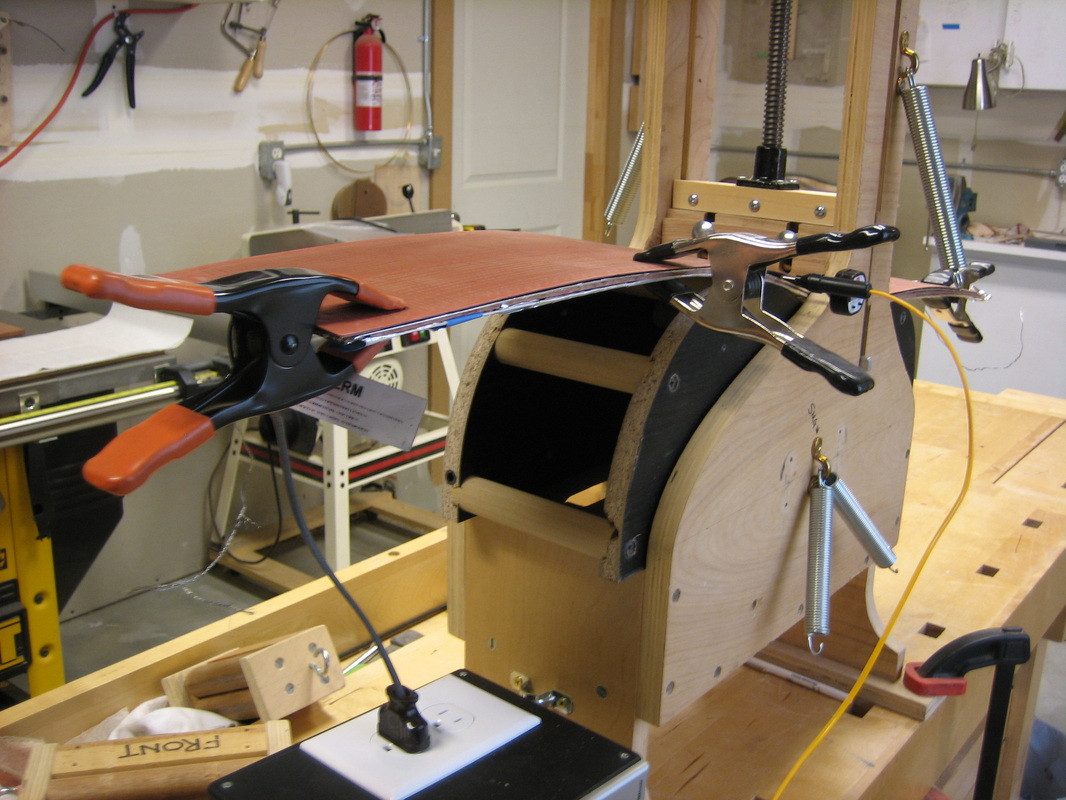
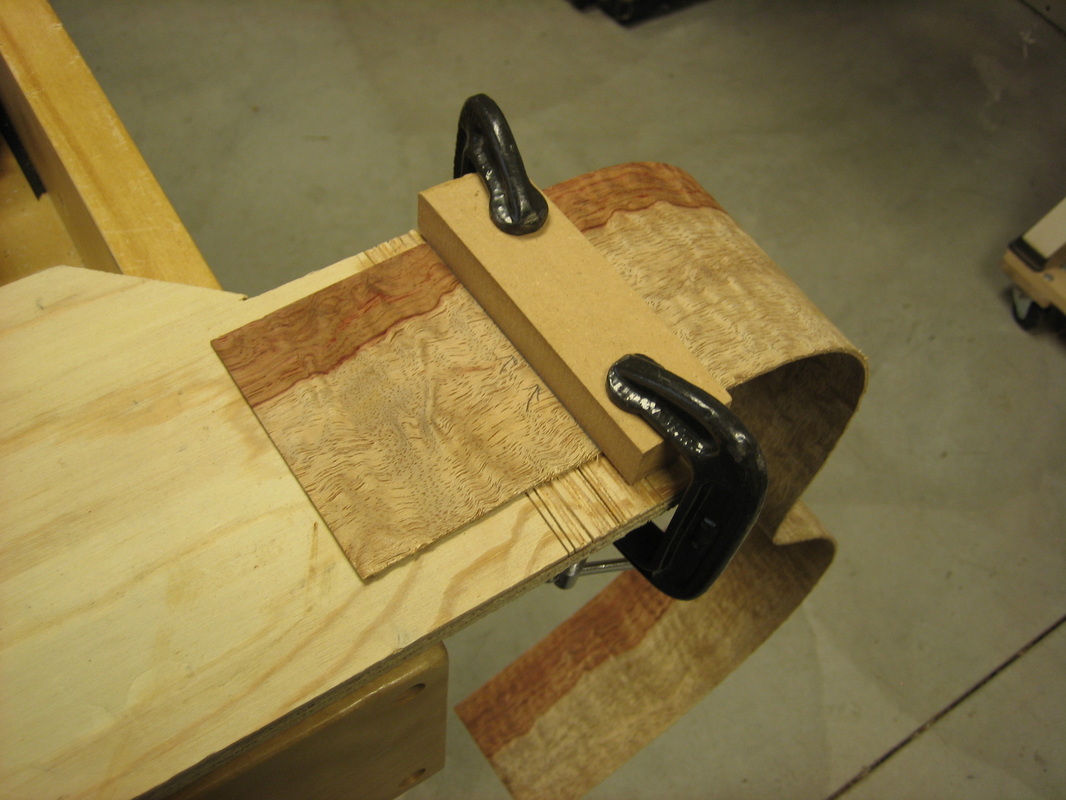
Trimming the side end and installing side in building form
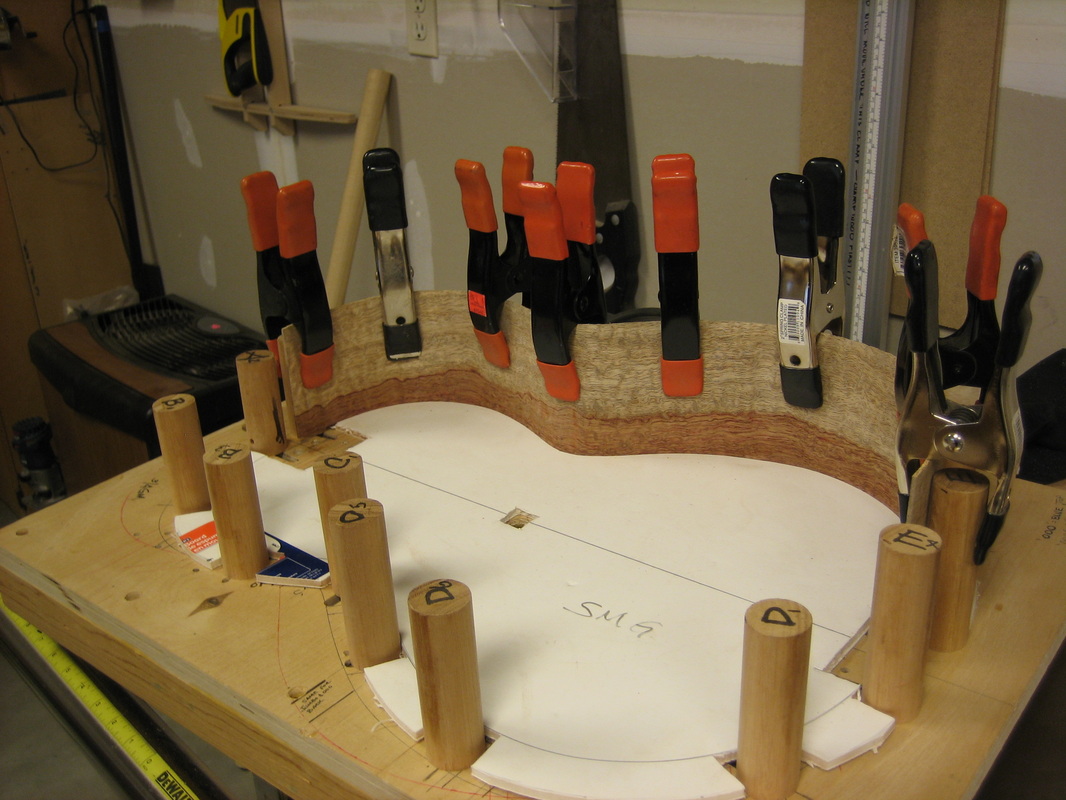
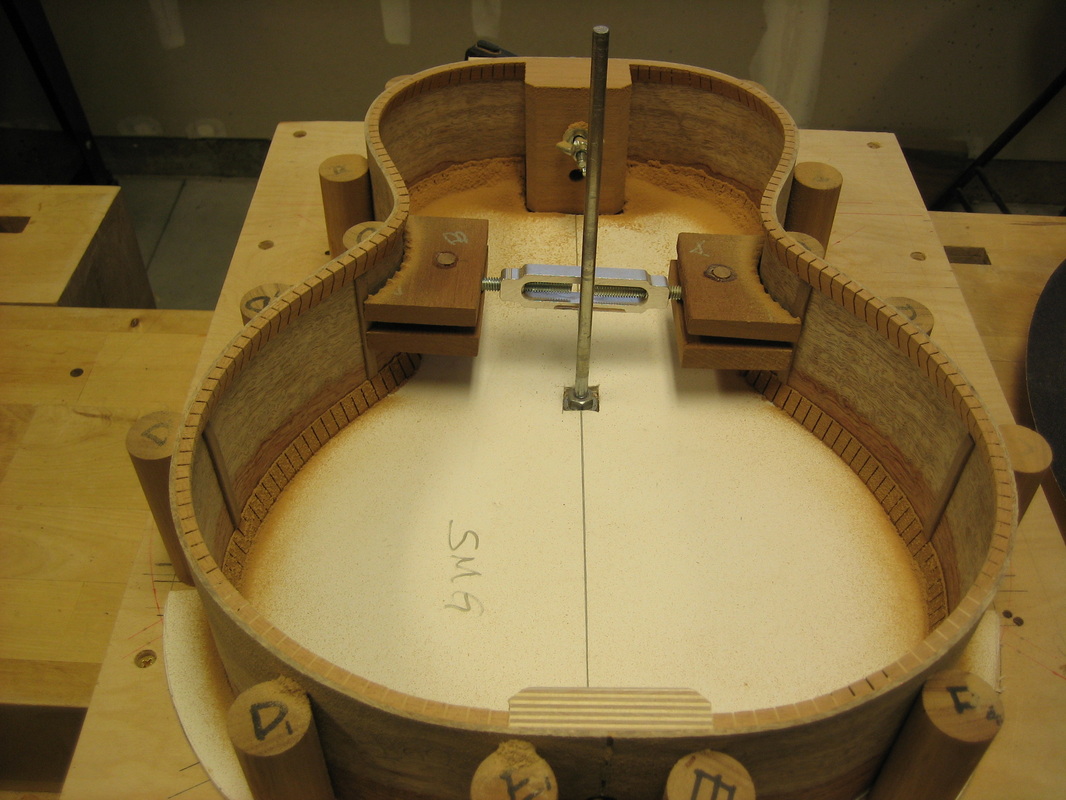
Both sides in the form and Tail & Heal blocks glued
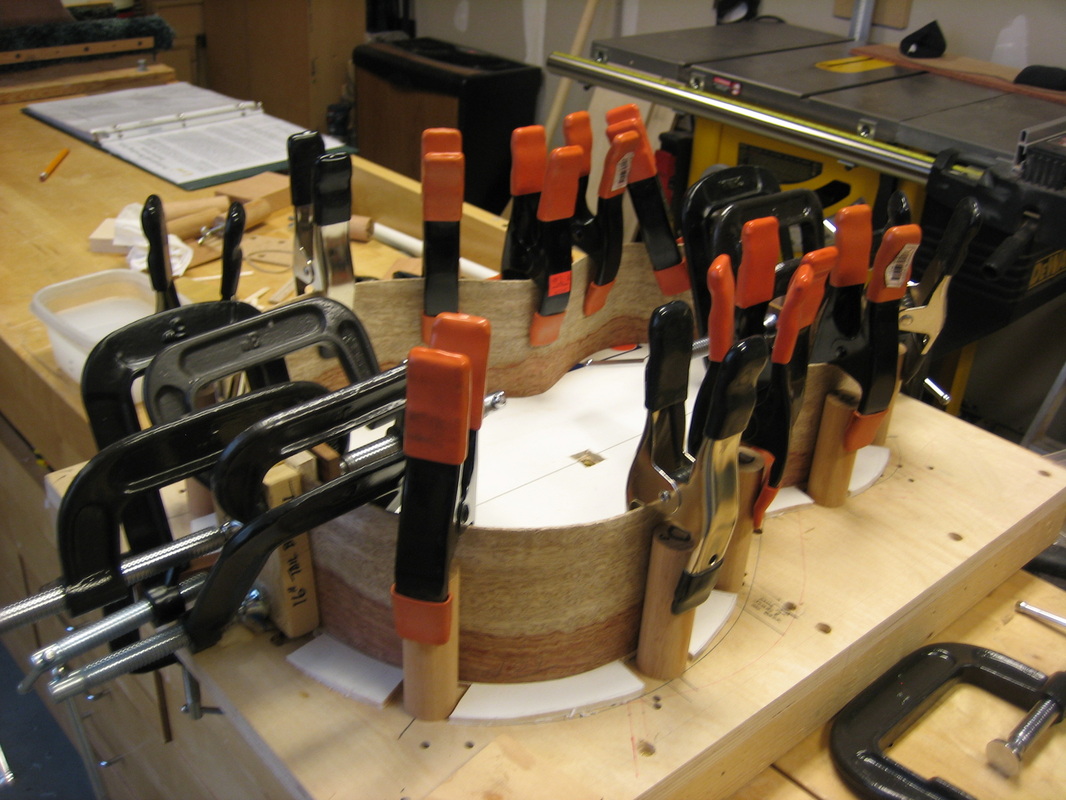
Kerfed lining and side reinforcement & dome sanded into kerfed lining & sides
Back joined
Back braced and glued to sides
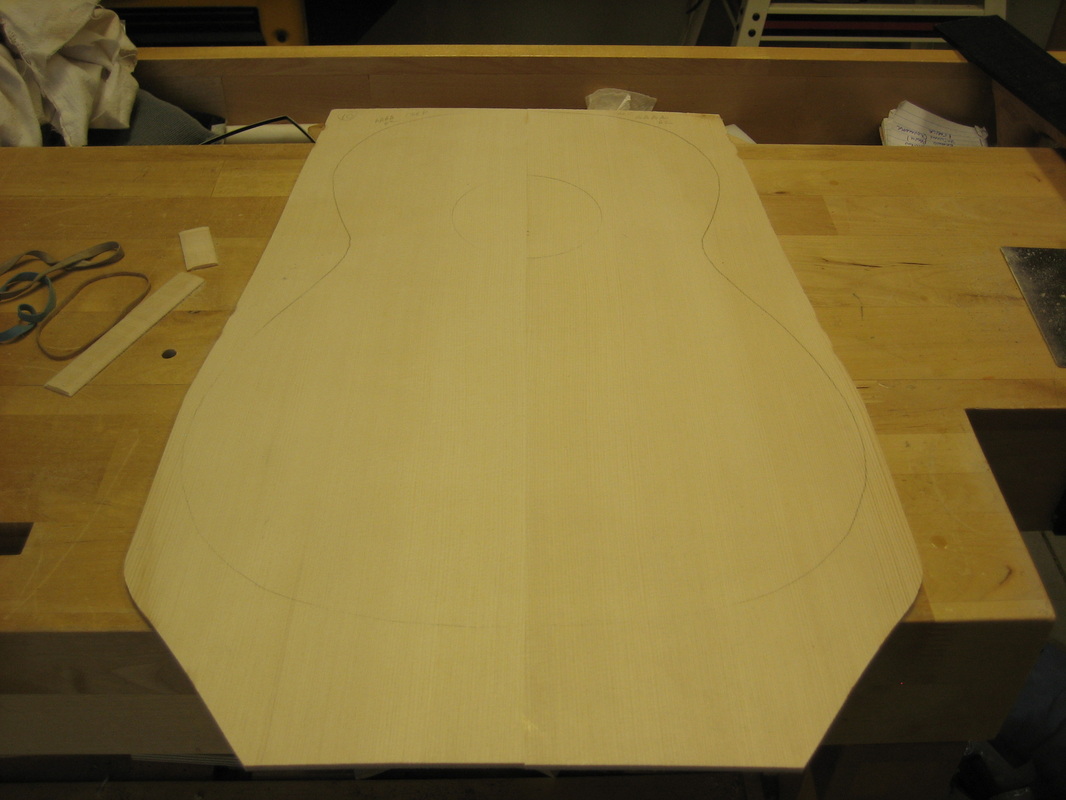
We are using a beautiful piece of Carpathian Spruce for the sound board. The book matched pieces are joined in the picture below:
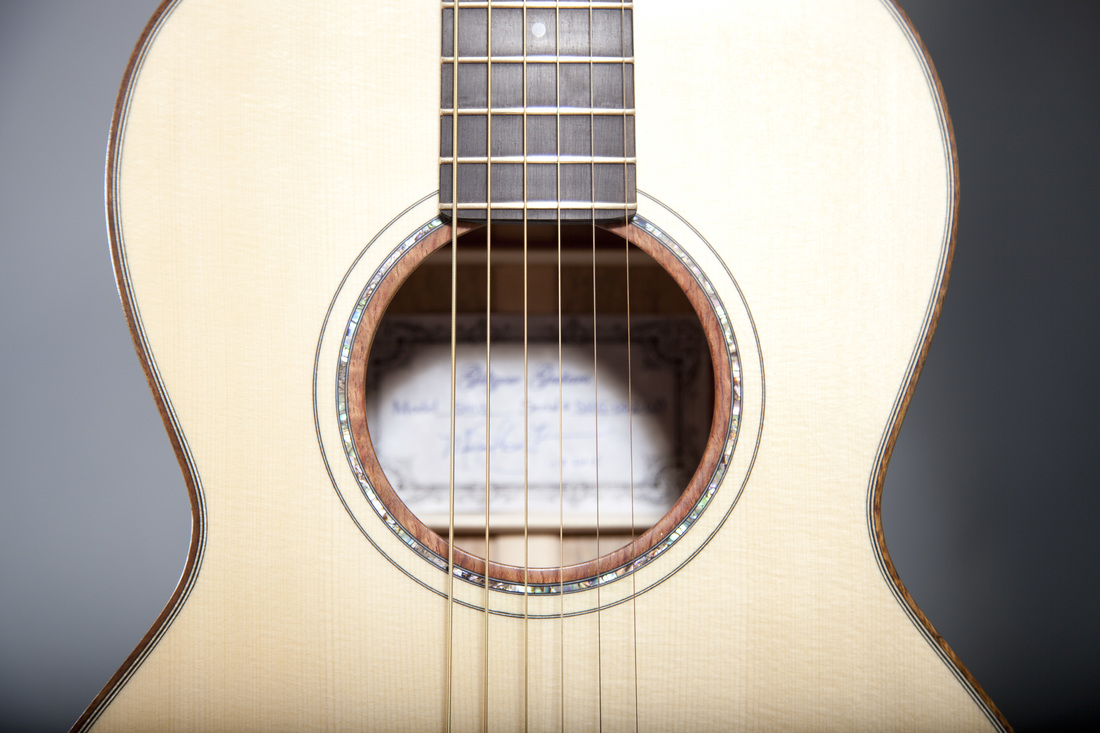
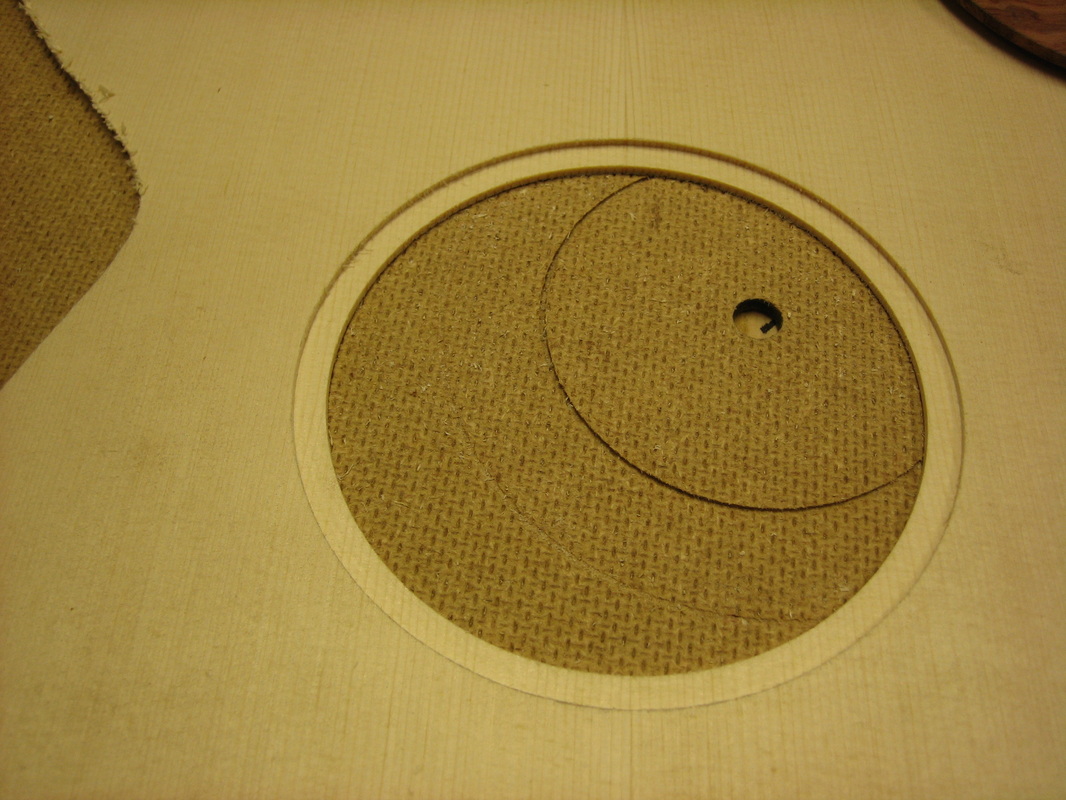
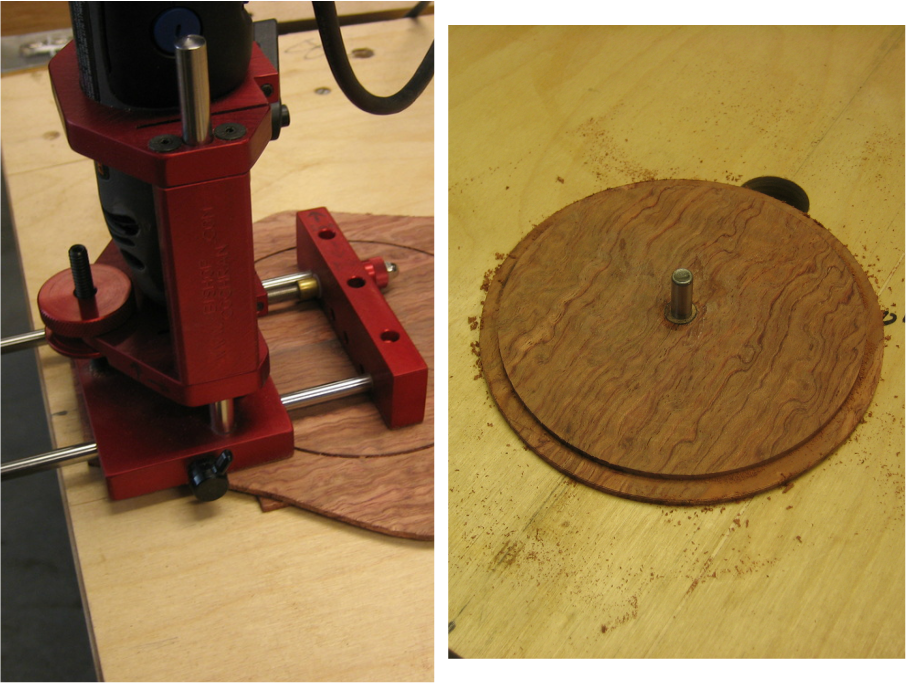
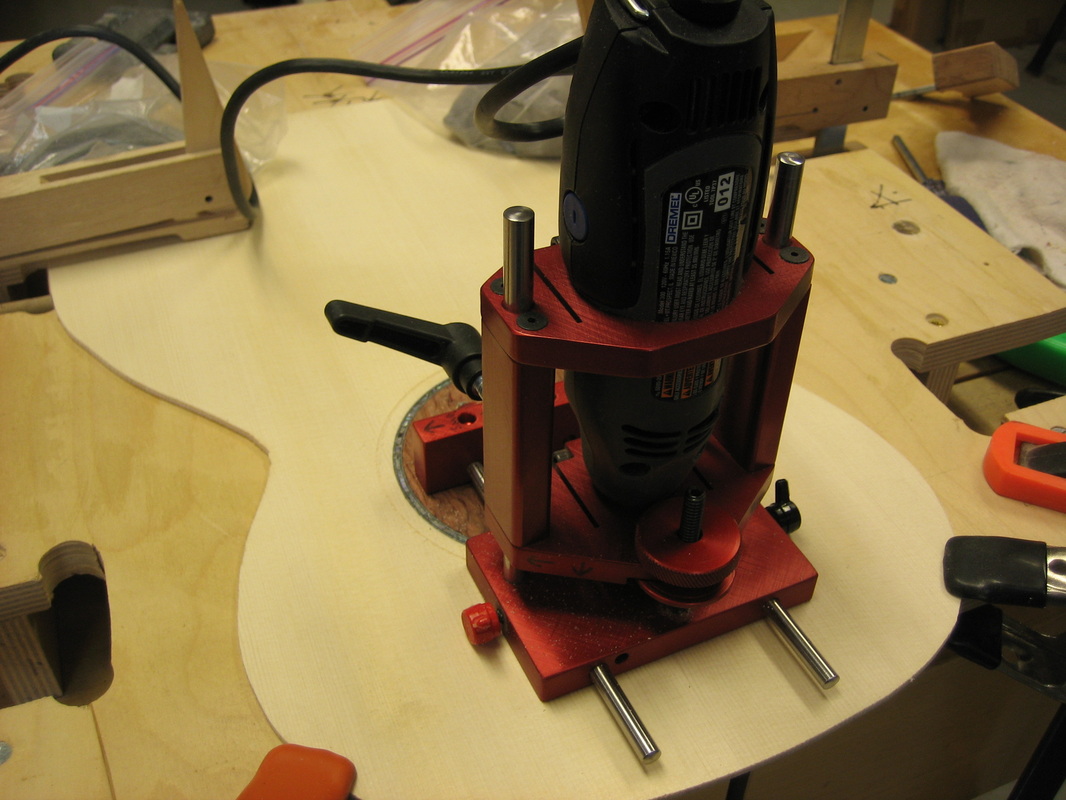
Sound hole binding ring cut in picture below::
Cutting binding from scrap back pieces:
Leveling the binding plug:

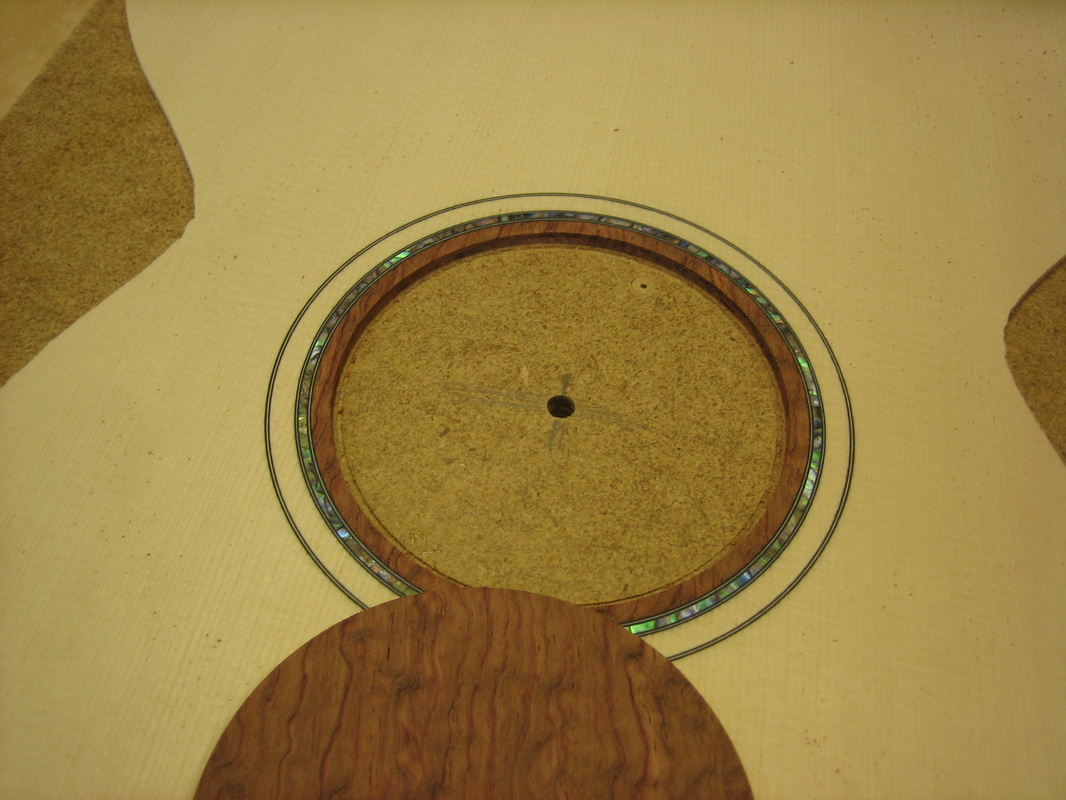
Routing outside ring after installation of purfling & abalone ring
Finished rosette:
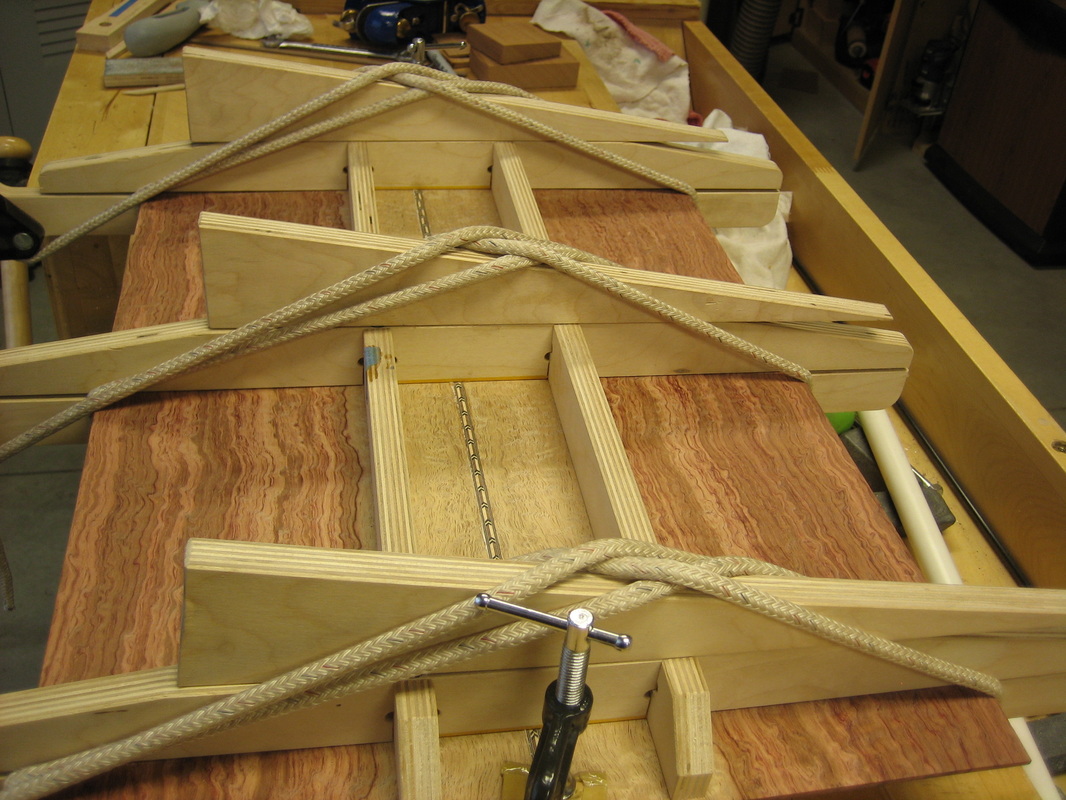
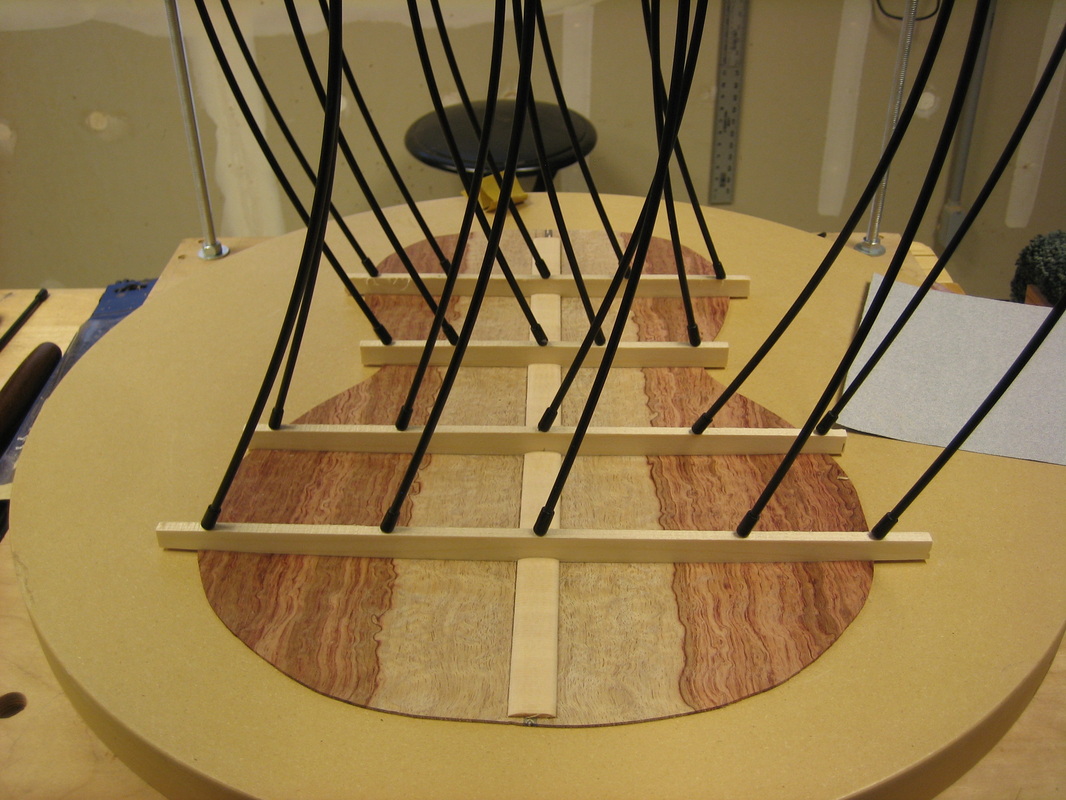
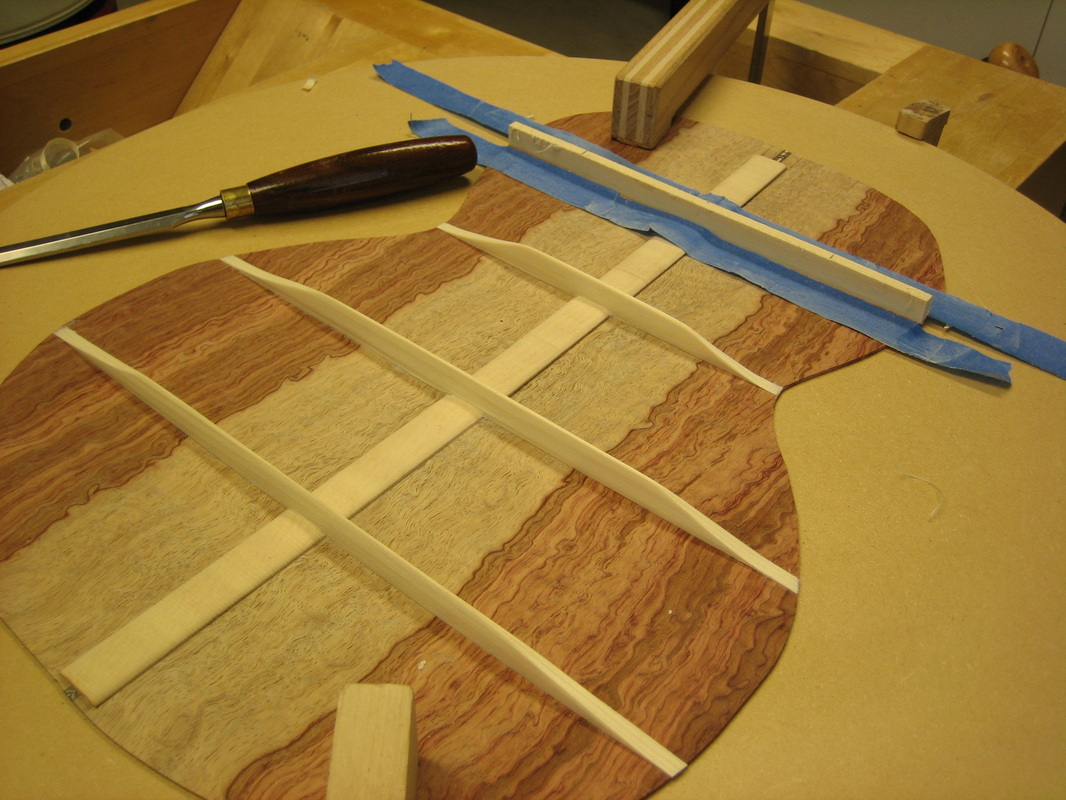
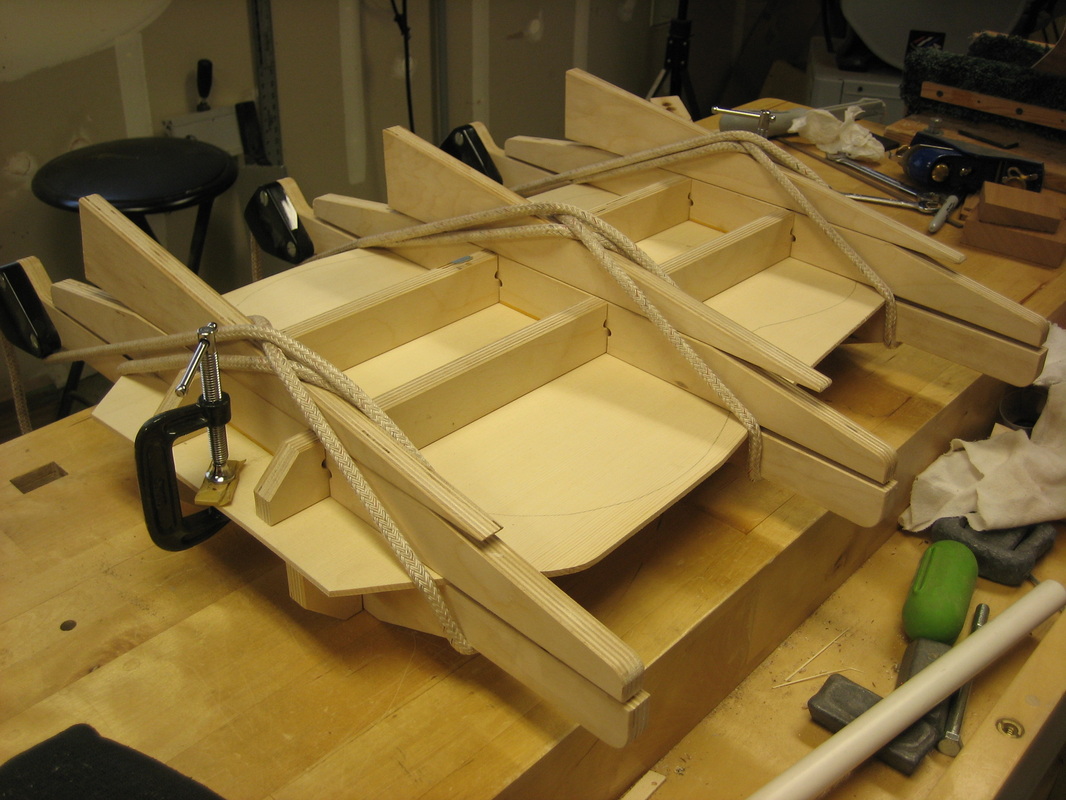
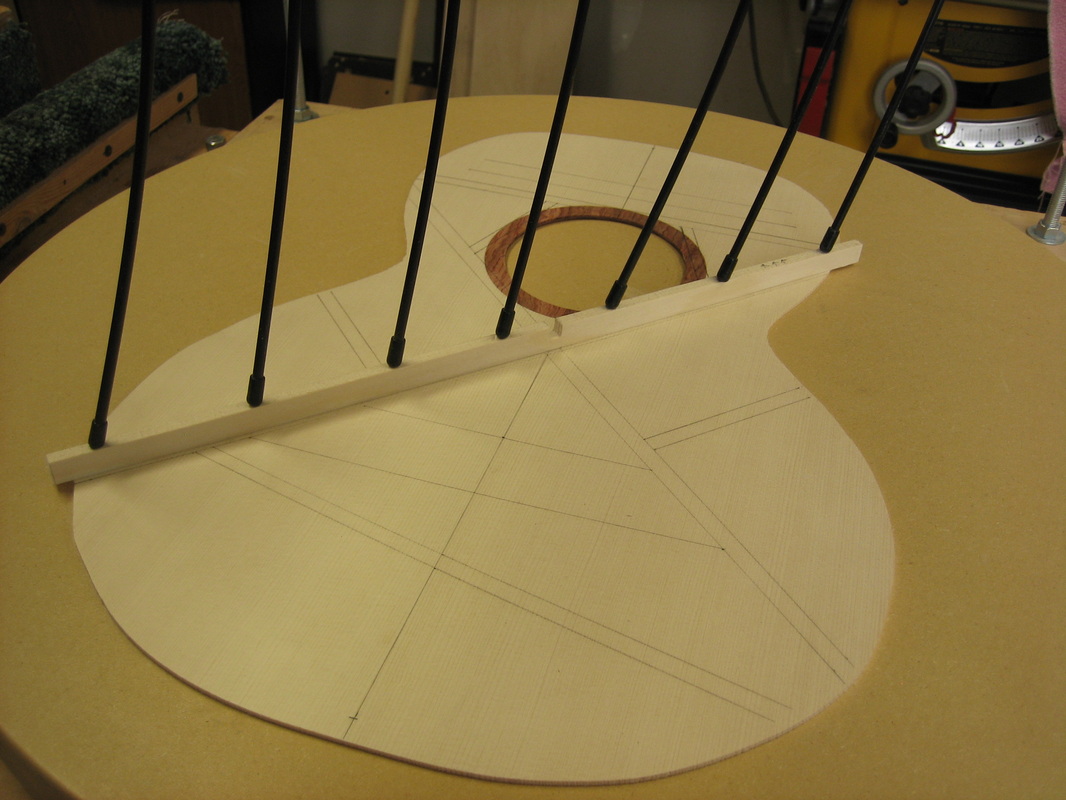
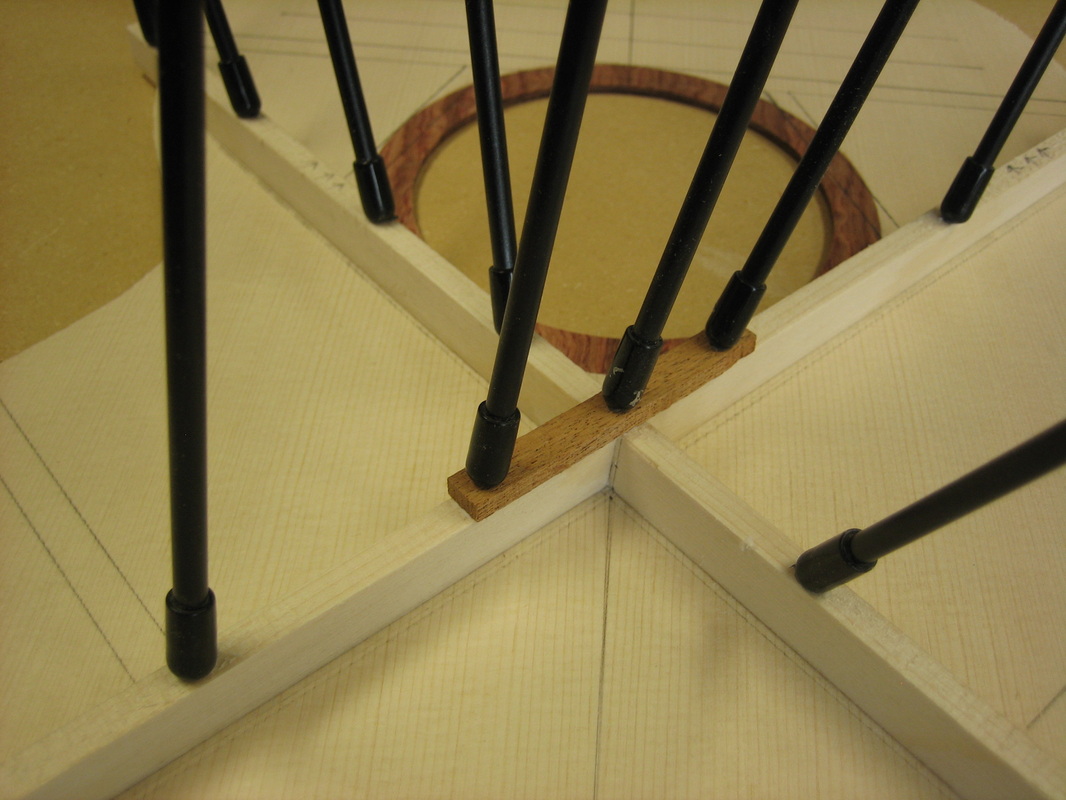
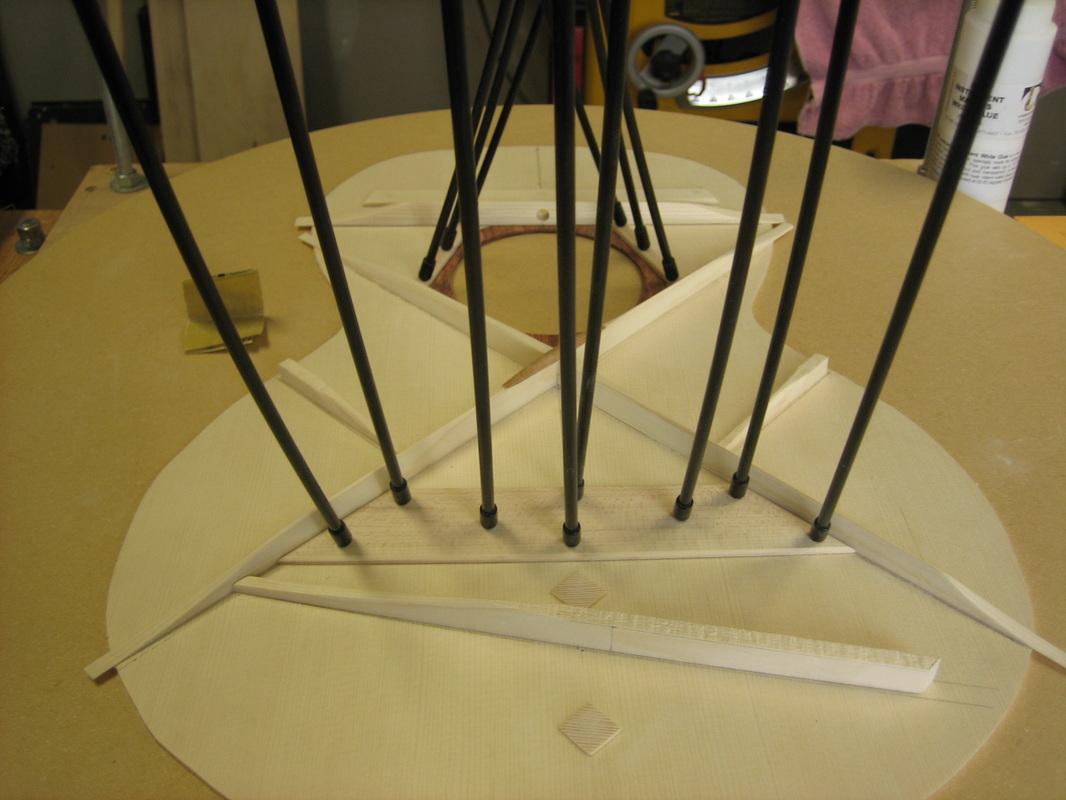
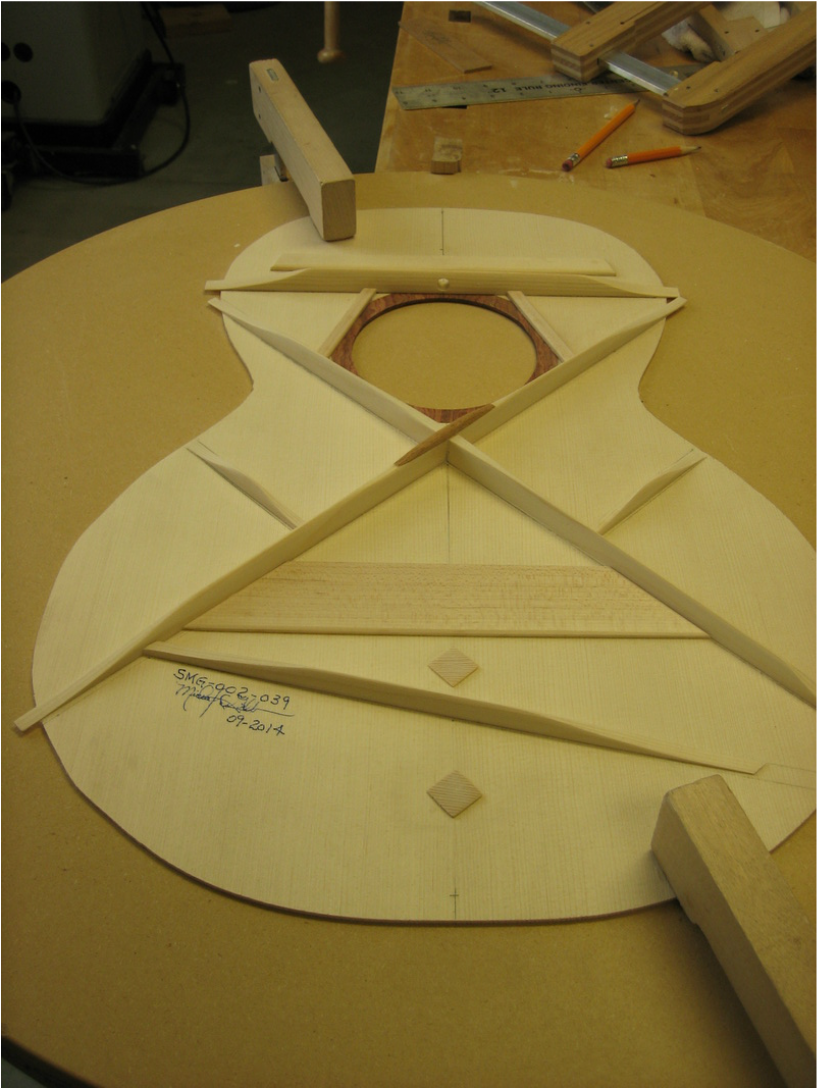
Bracing the sound board:
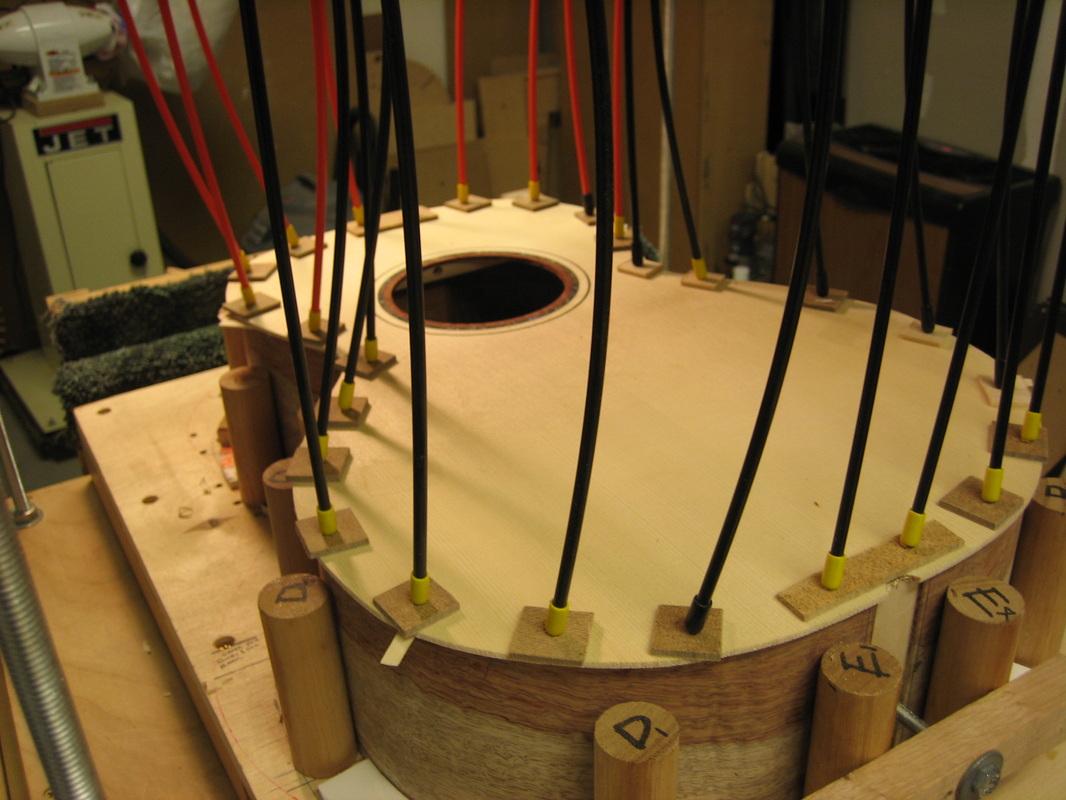
Sound board glued to sides:
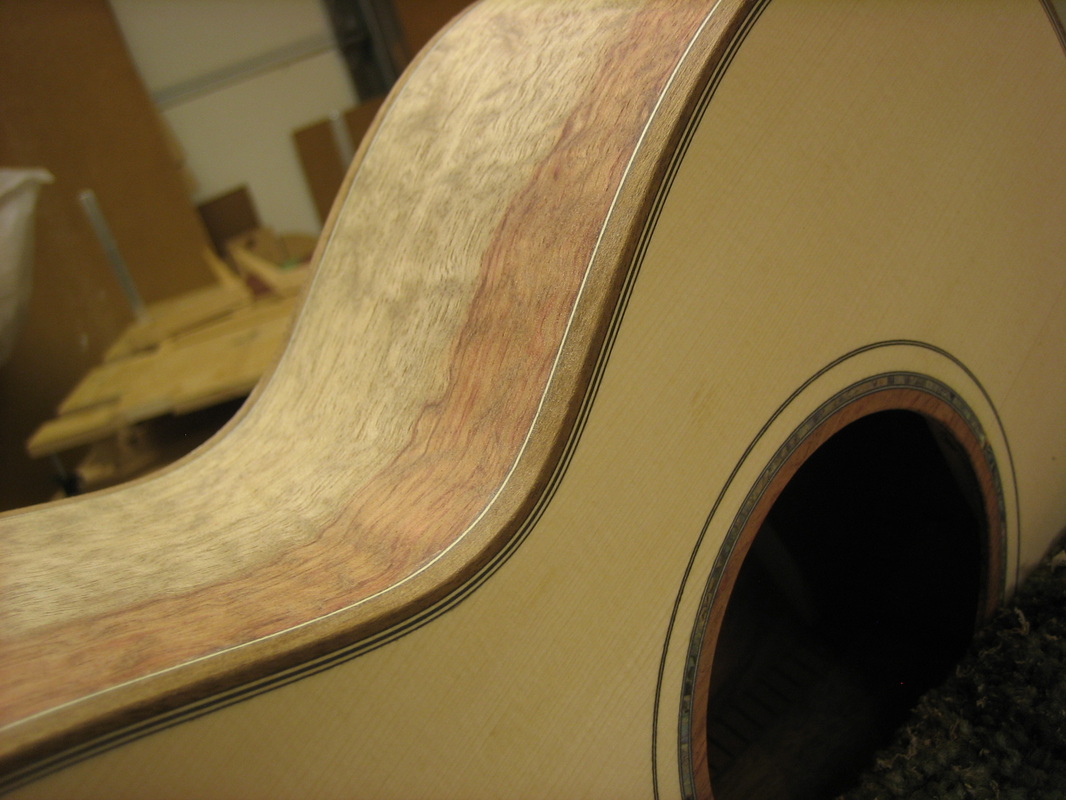
Installing purfling before Shedua bindings

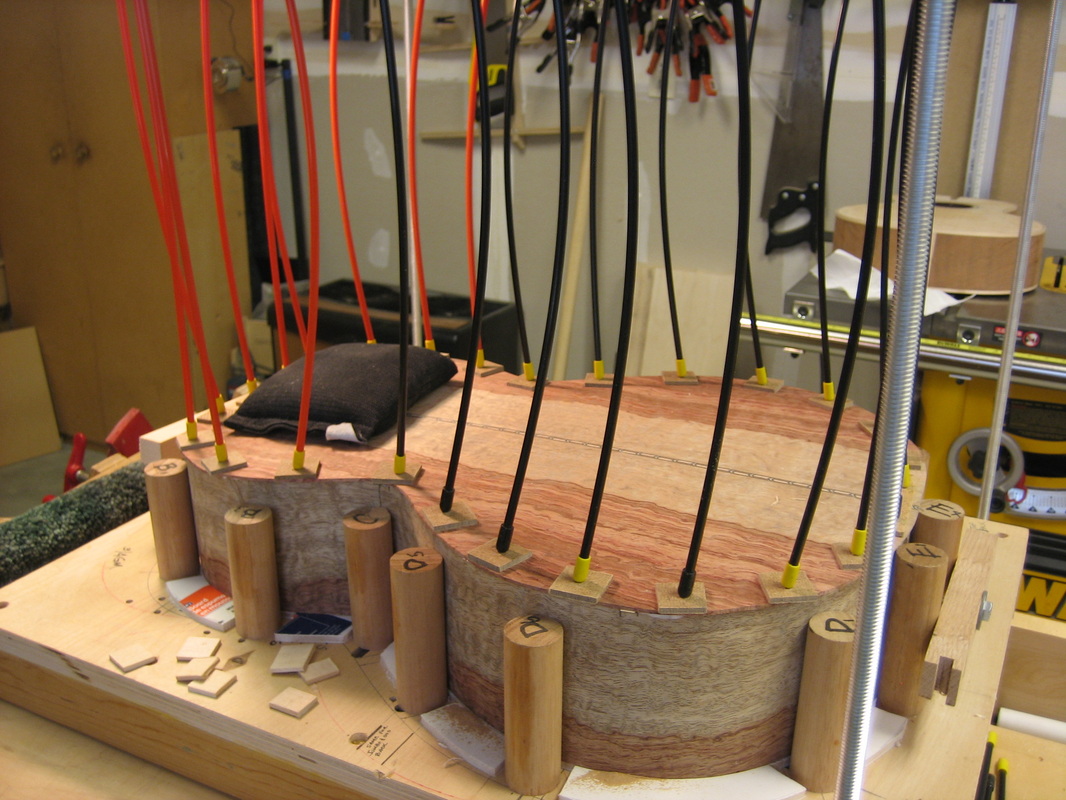
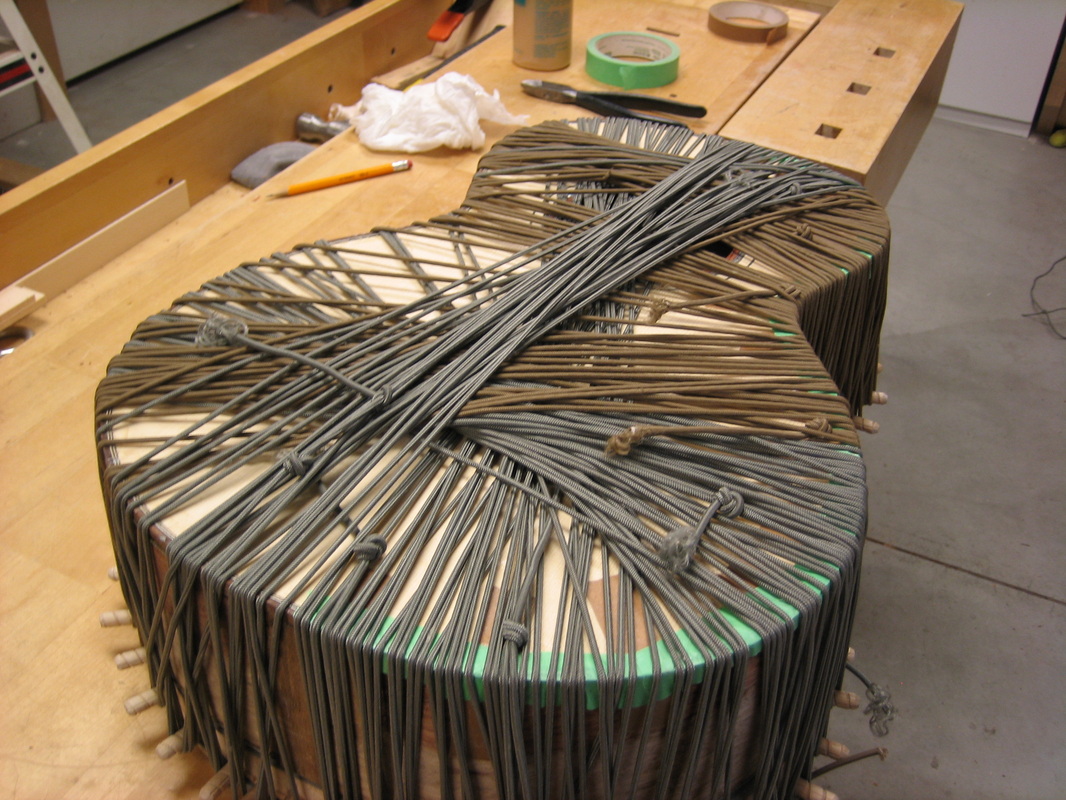
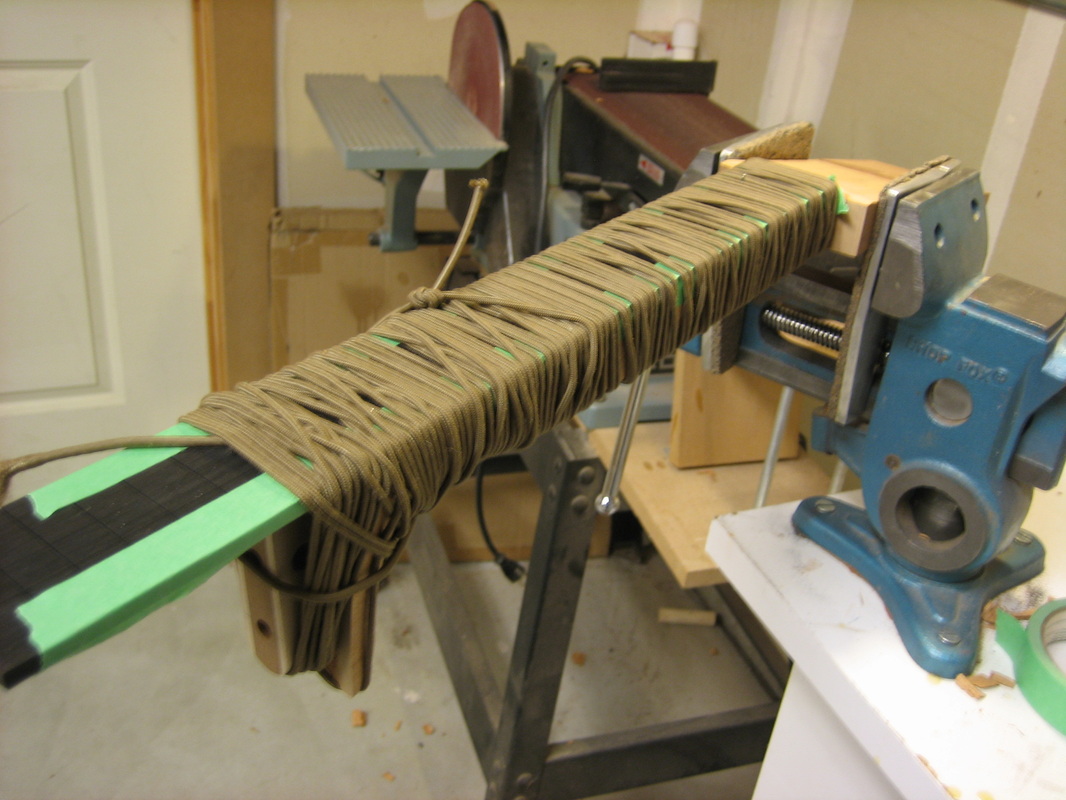
Binding the guitar using shock cord for clamping pressure
Bindings and tail piece after scraping and sanding

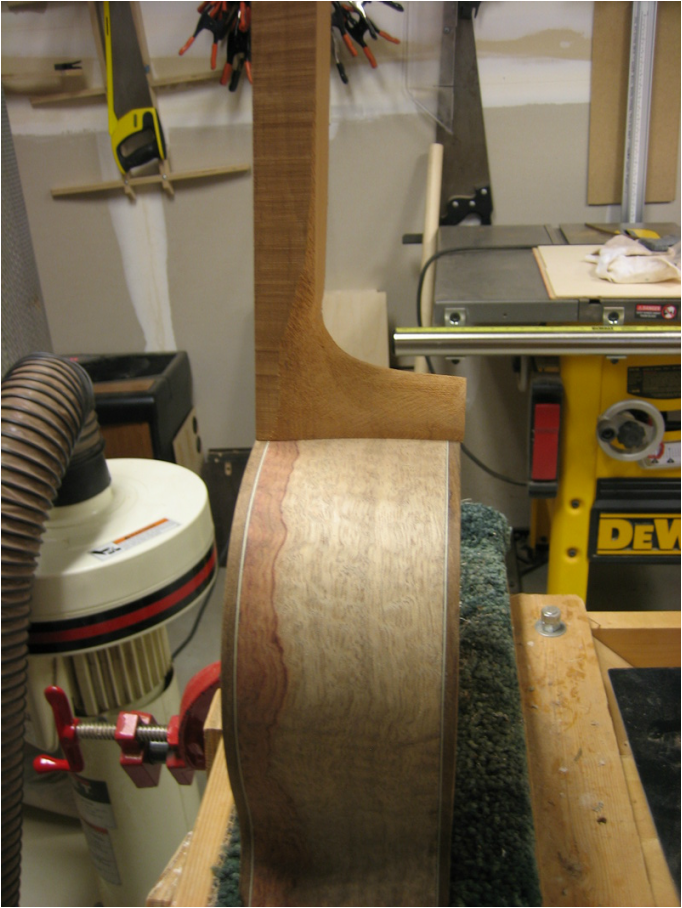
Working on the neck
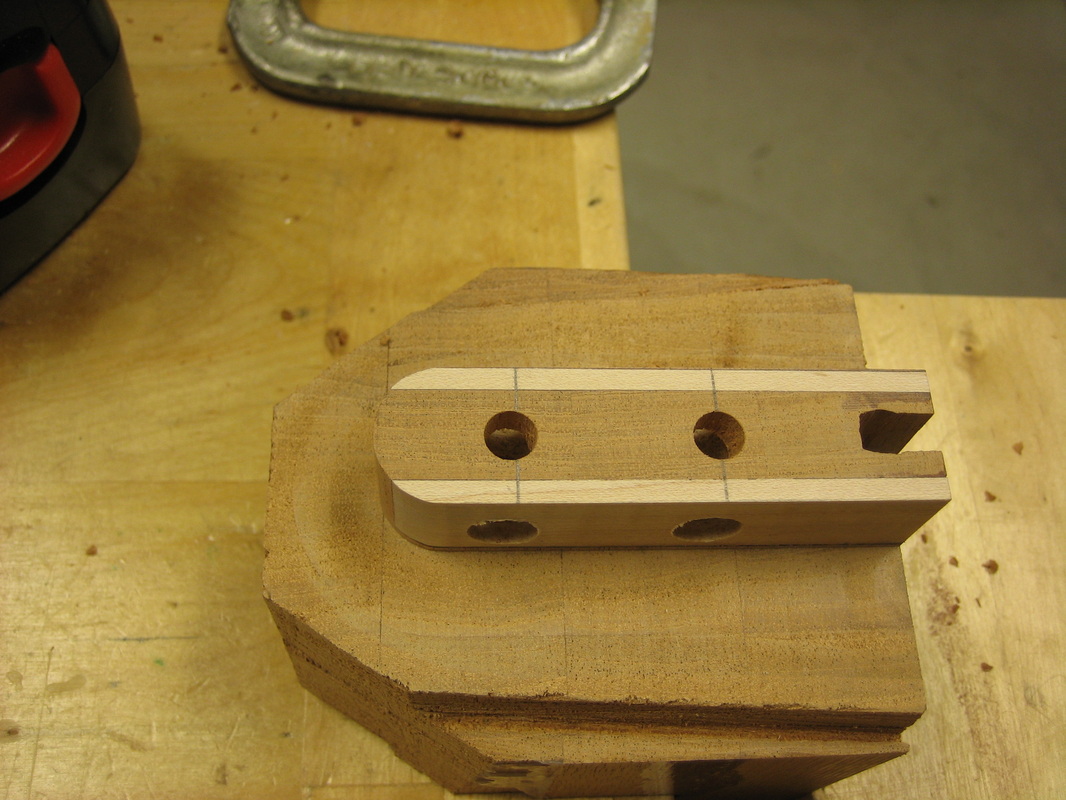
Cutting the neck mortise
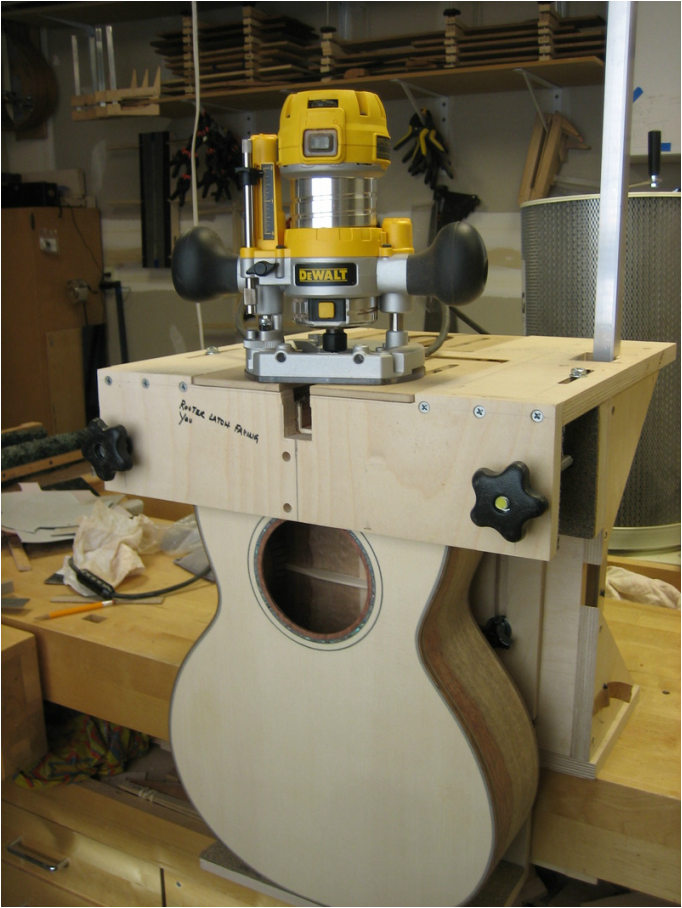
Truss rod area routed from top & heel block
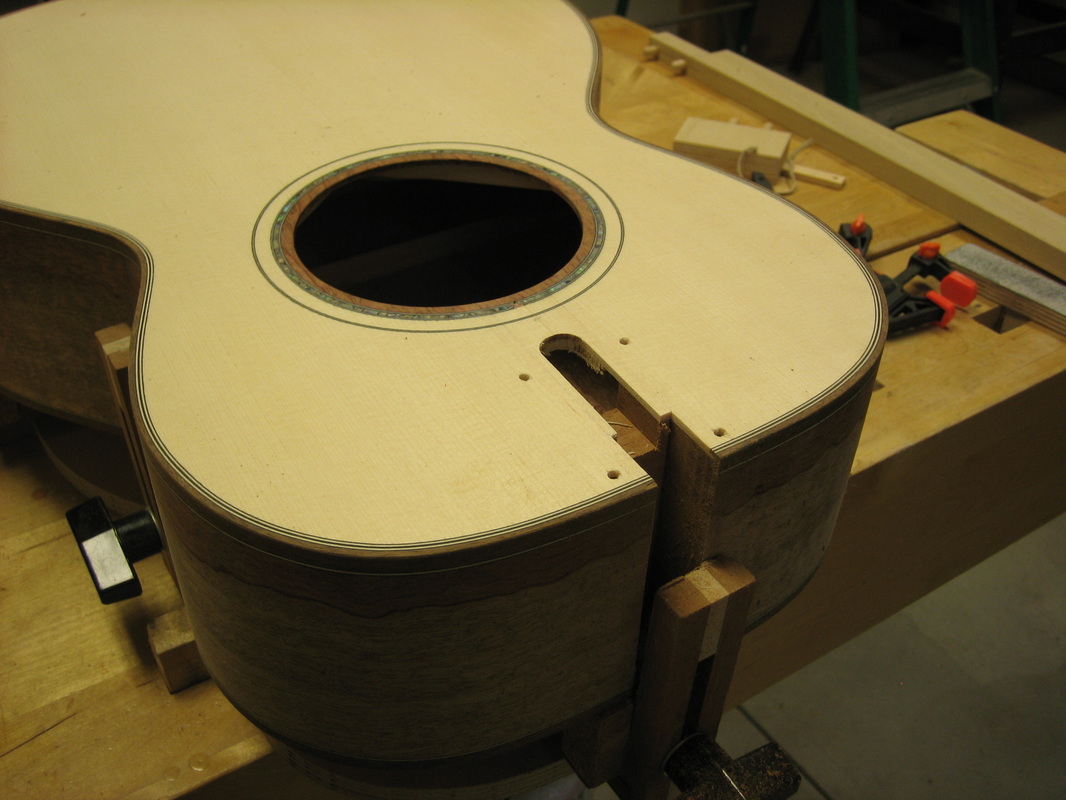
Neck tenon routed and drilled to accept barrel nuts
Initial neck heel fit
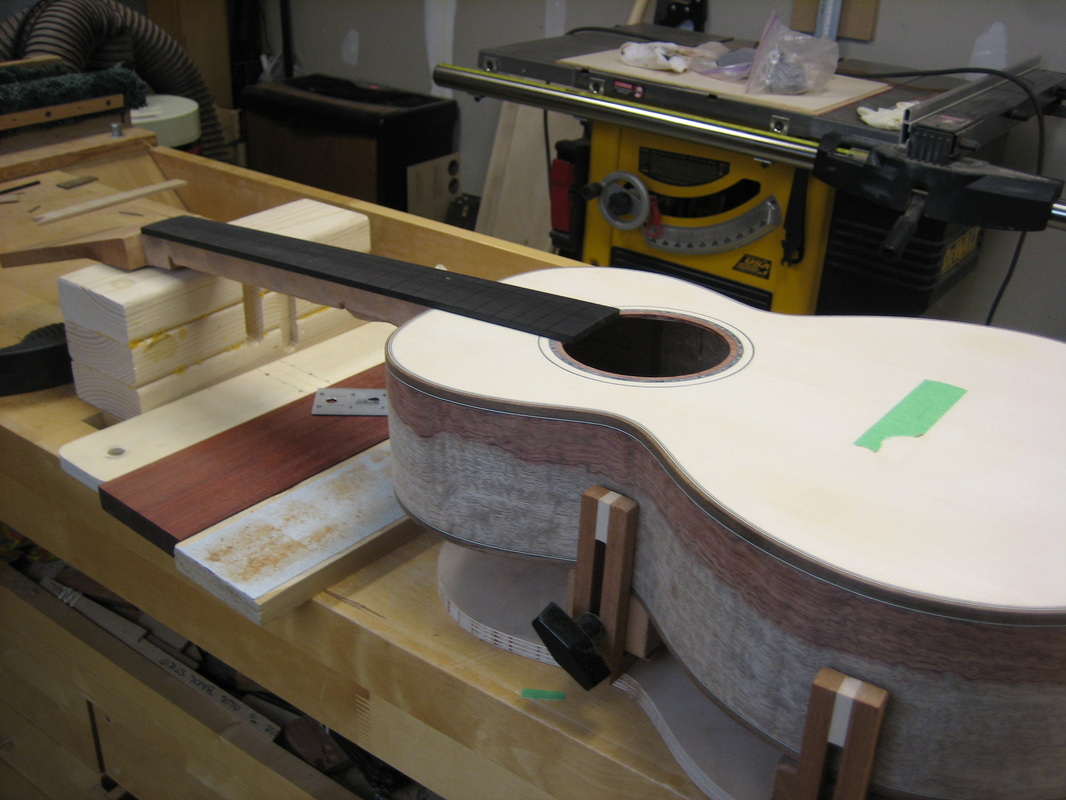
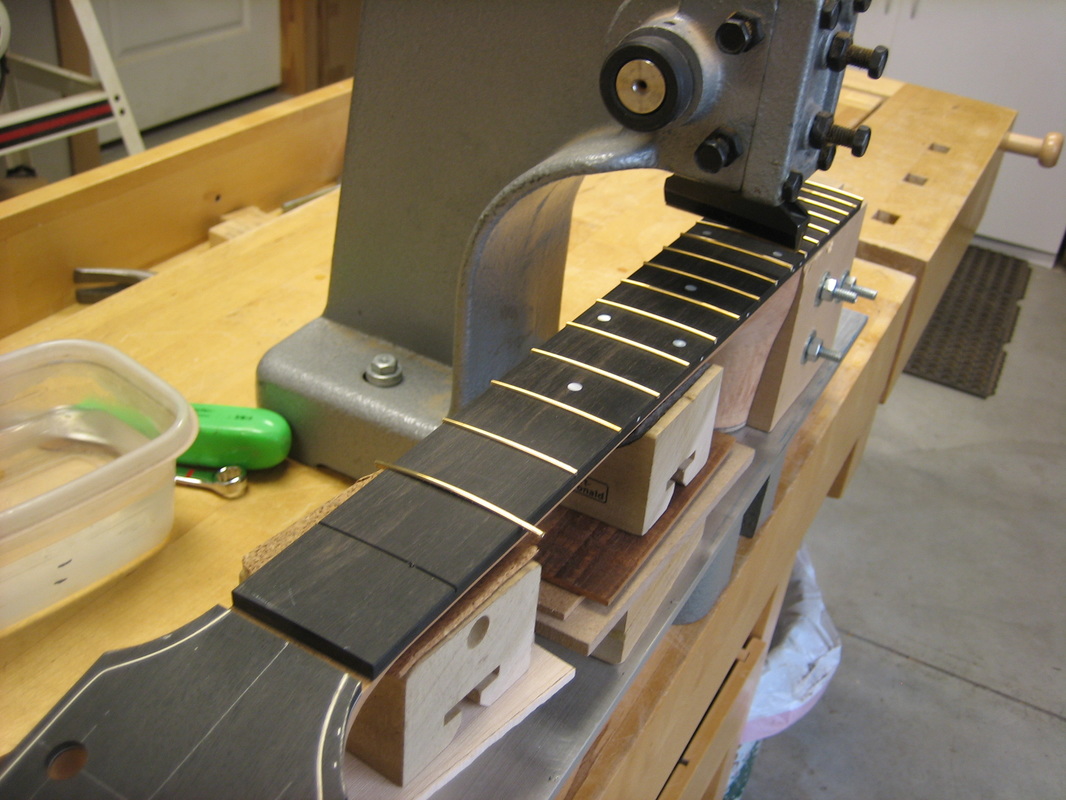
Fret board glued
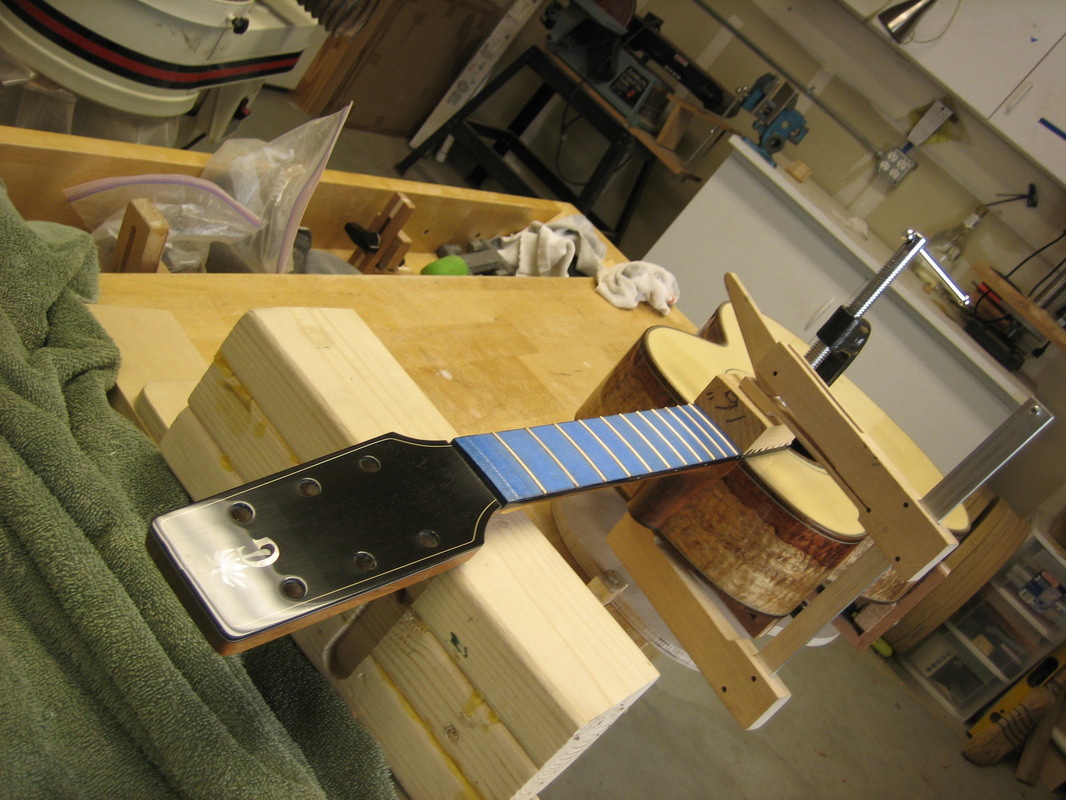
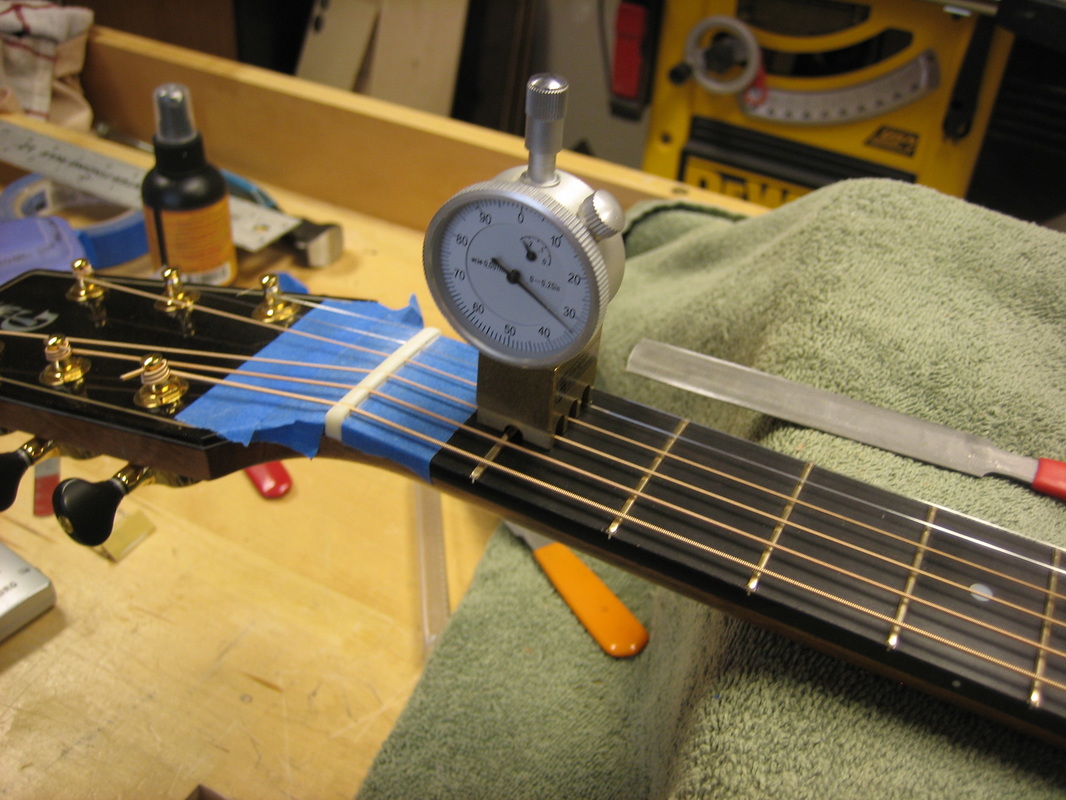
Initial fret board and neck alignment. Neck is aligned in three planes to get the proper neck set. This takes some time, shaving material from one side or the other of the neck heel; until the neck is in line with the body and the correct neck angle is achieved.
Cutting inlay area for head plate
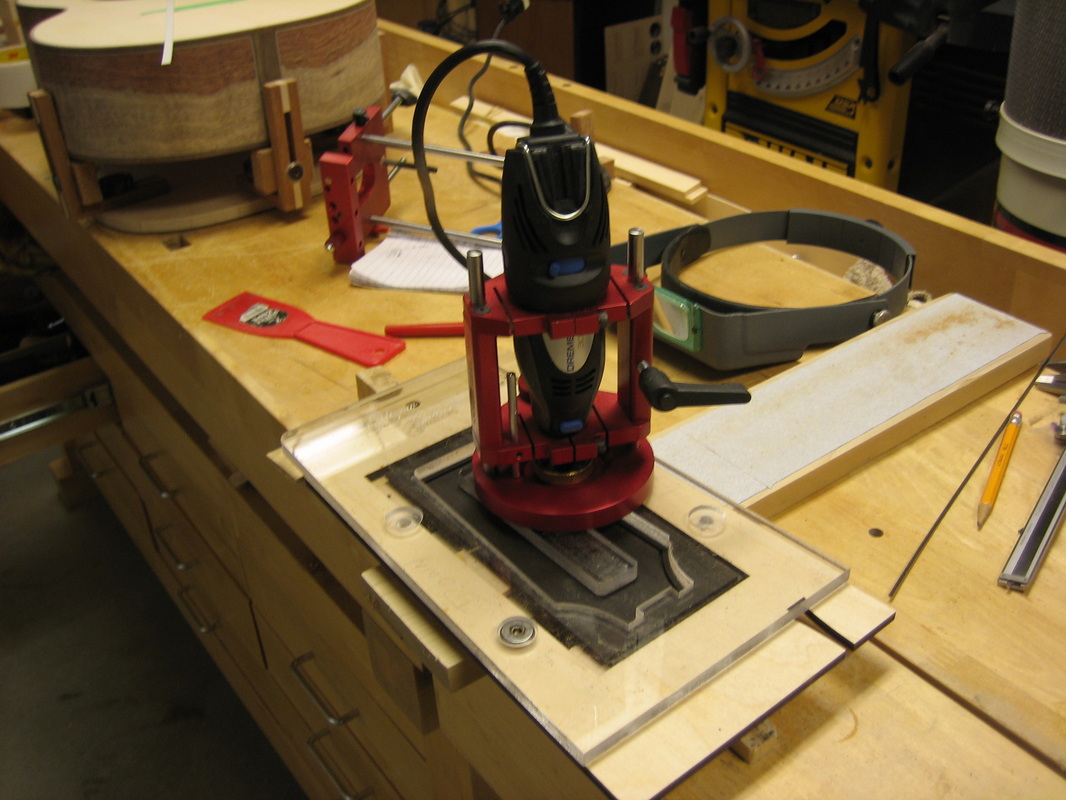
Installing frets
Filling wood pores with epoxy
After pore filling the sound box is sanded and prepared for finish. Finish is sprayed and then allowed to cure for 21 to 30 days. In the picture below the finish has been sanded and buffed:
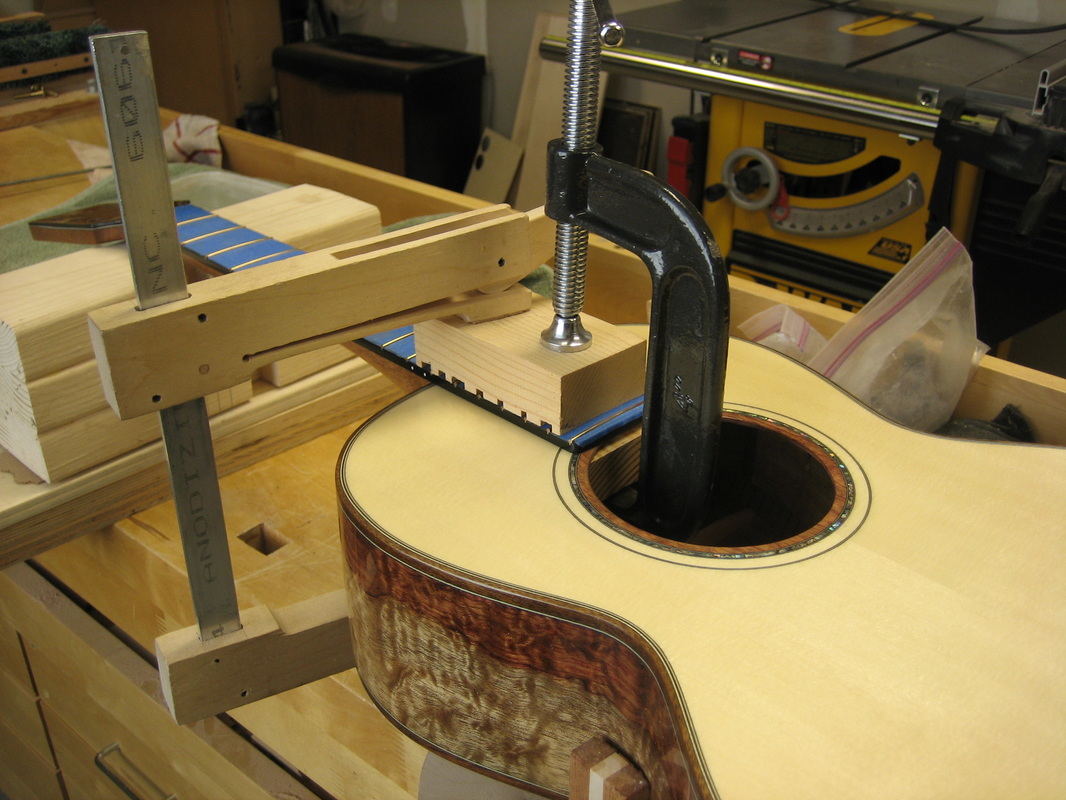
The neck is attached to the body:
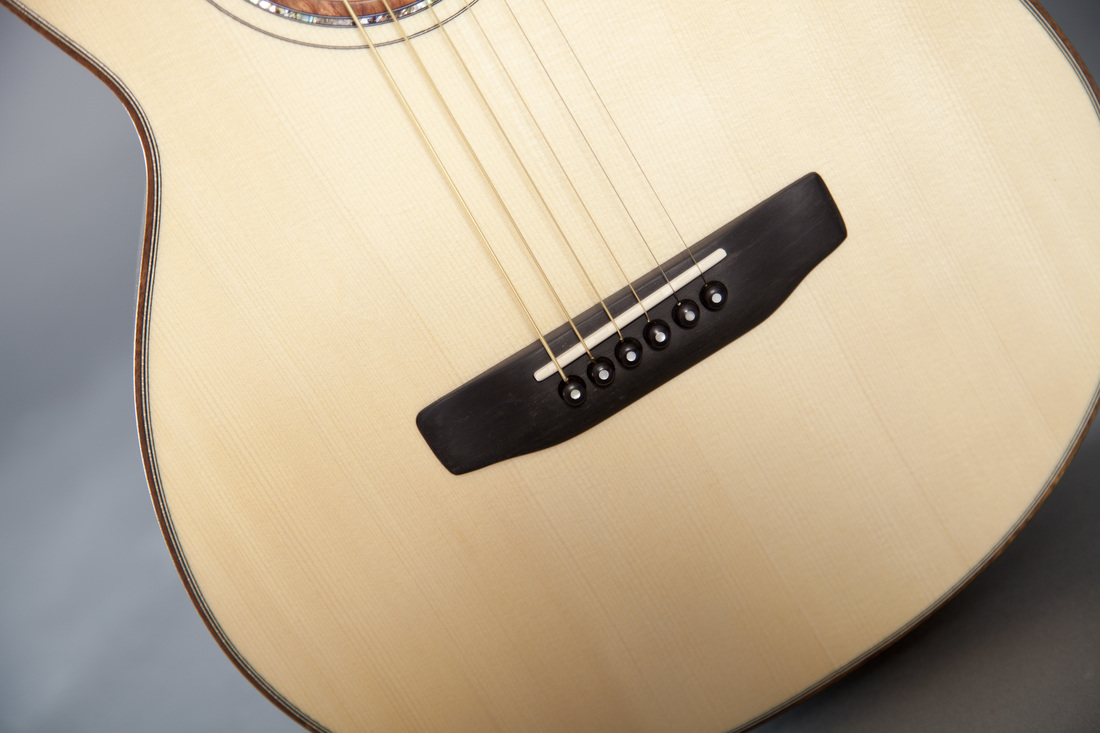
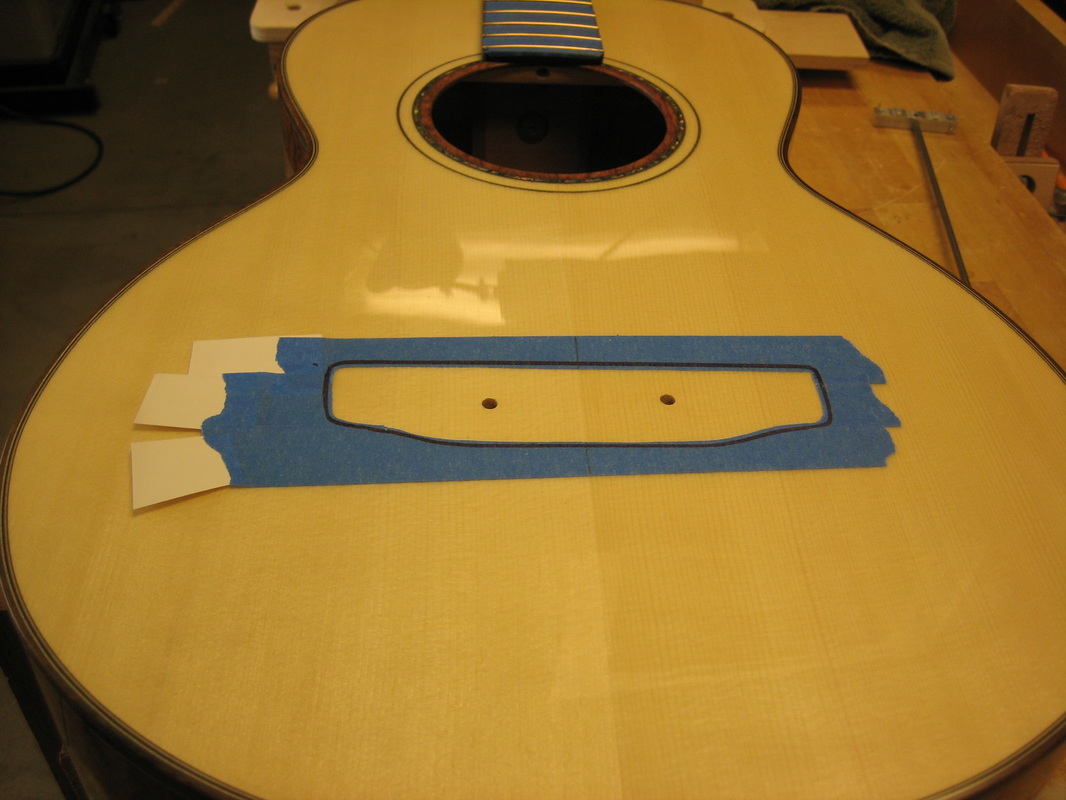
Located the bridge and scraped finish from the top
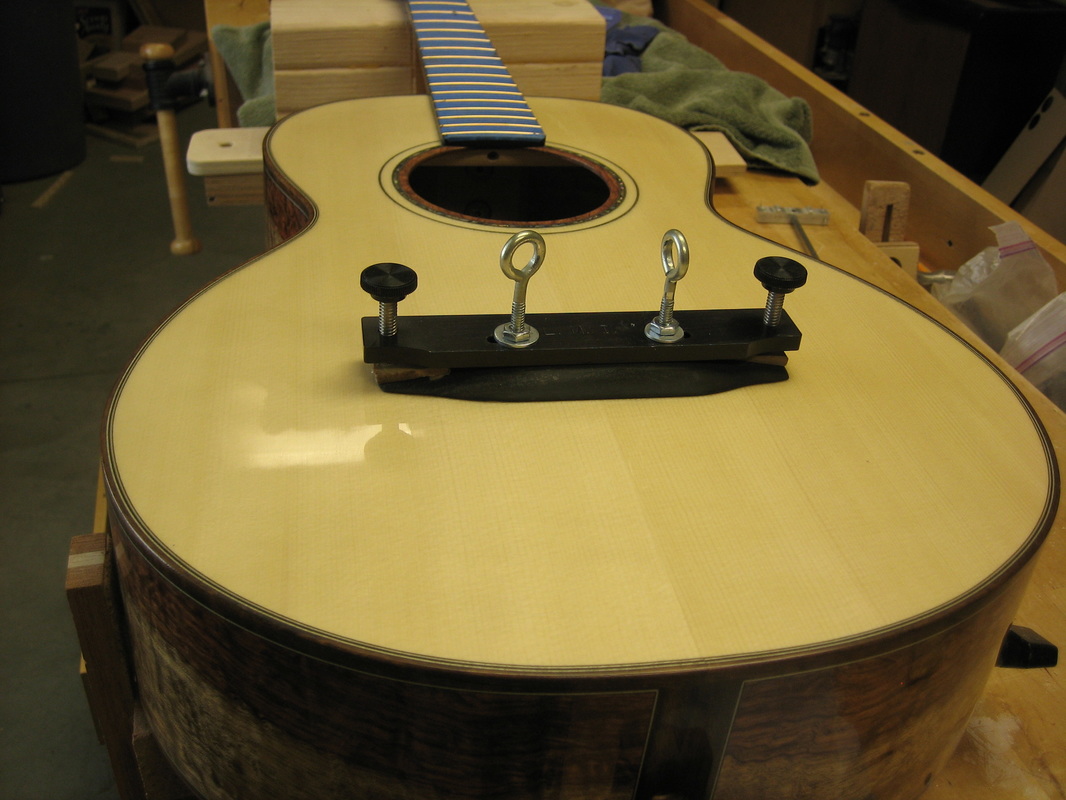
Glue Bridge
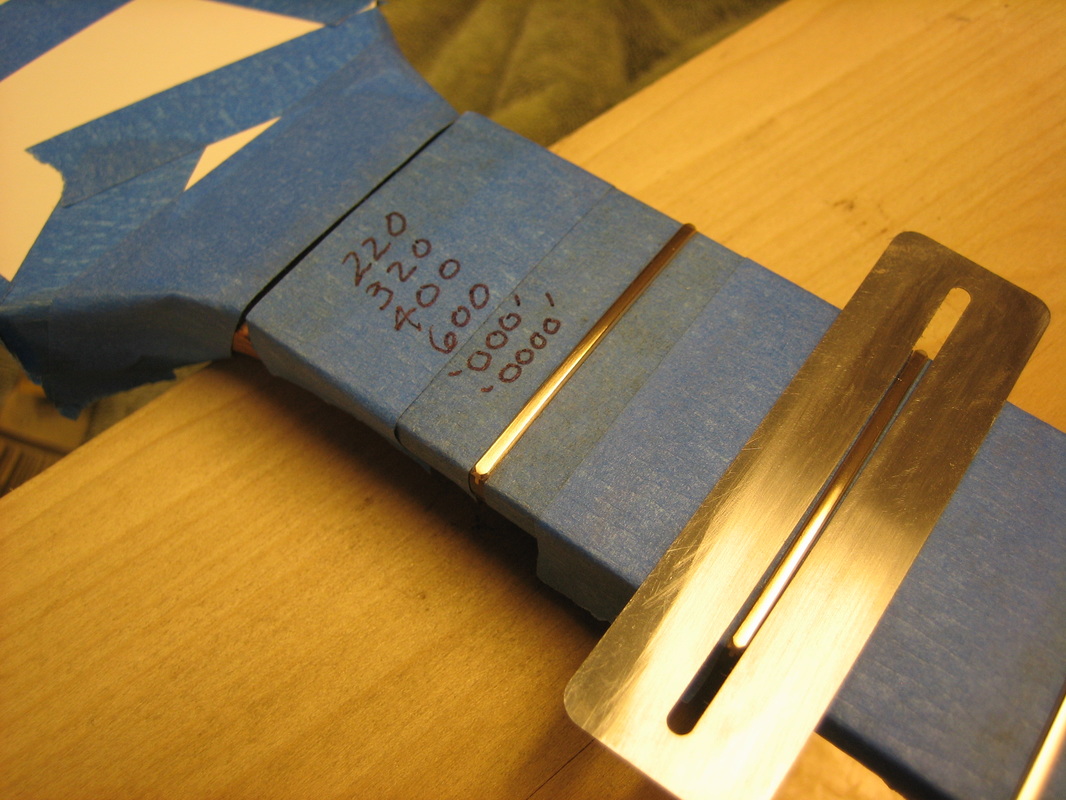
Level and polish frets
Install Gotoh 510 tuning machines, strings and set action at 12th fret & nut
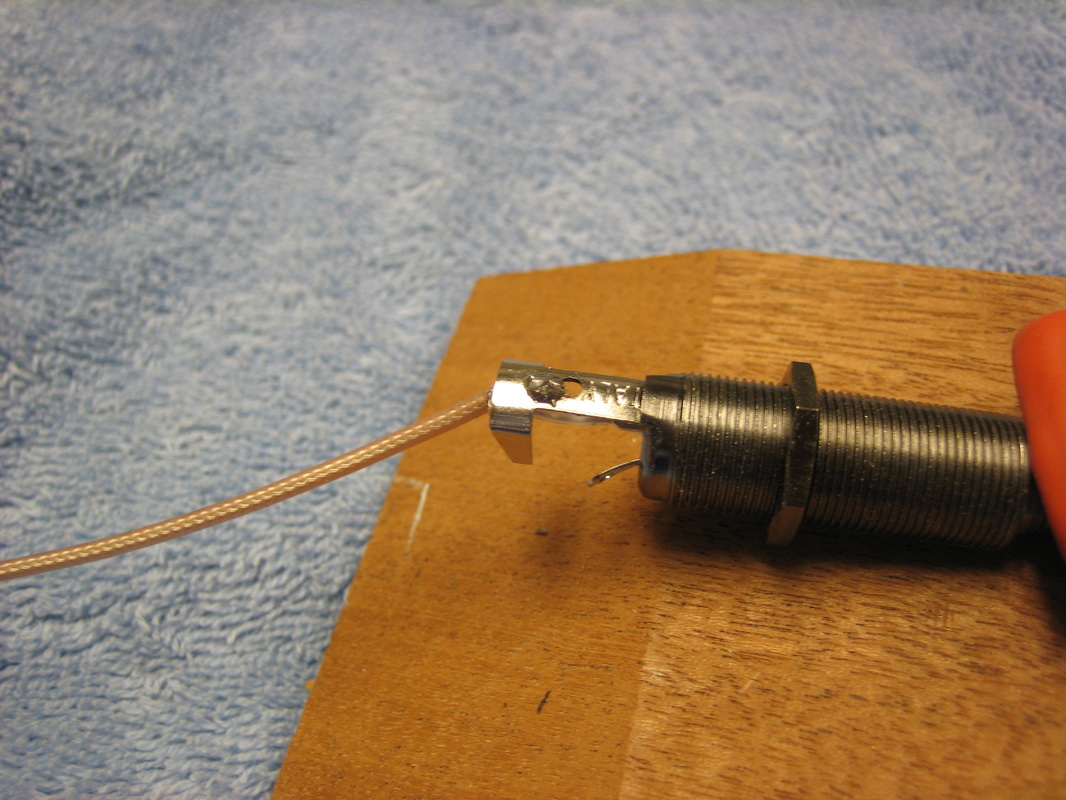
Solder LB-6 pickup
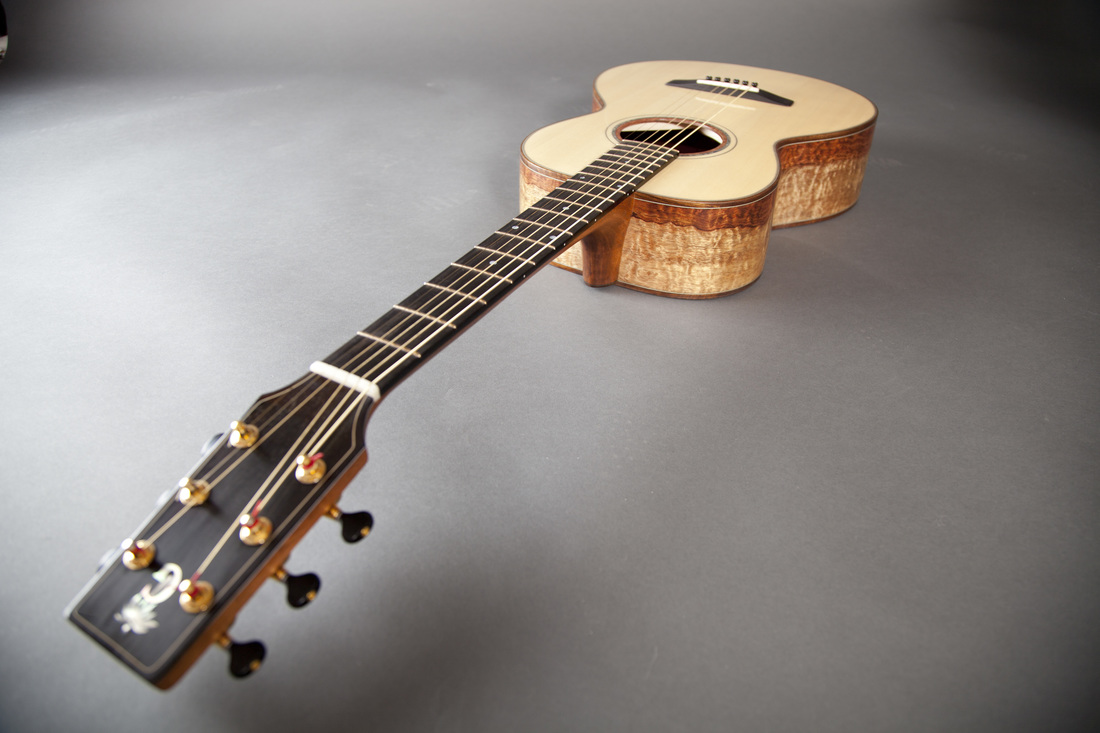
Dave's guitar is finished. I will have pictures in a few days ...........................
Finished pictures by Jeanne Giltzow