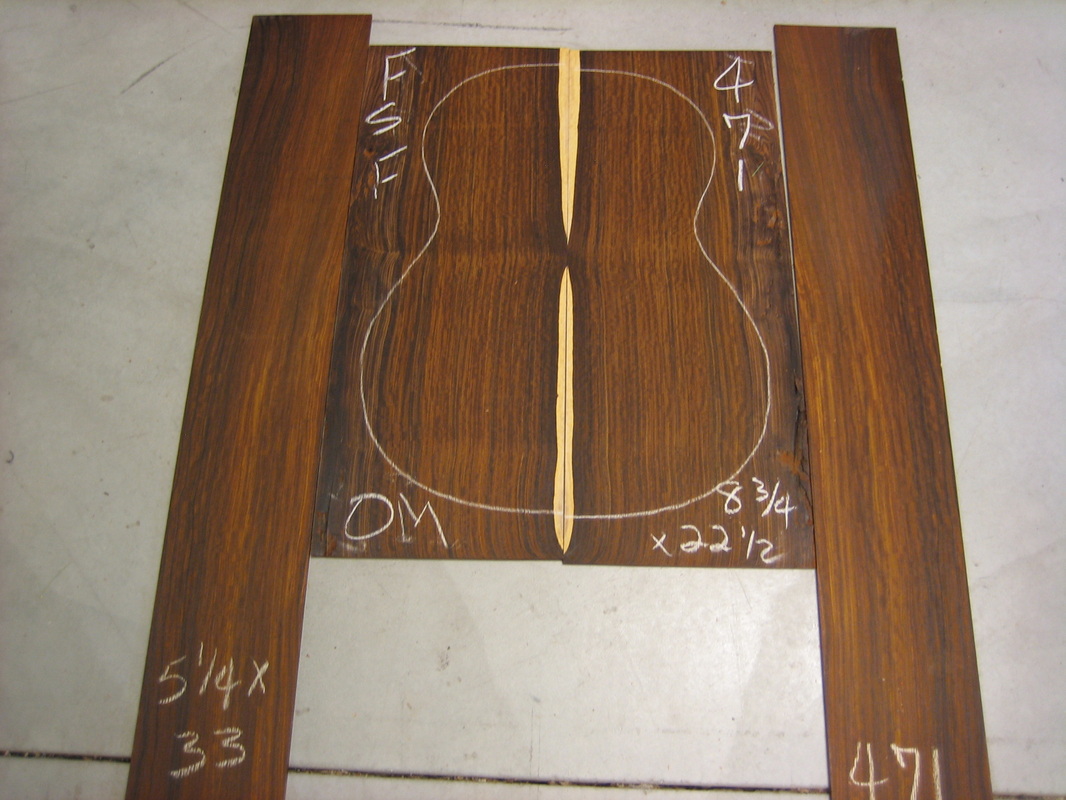
I am building a GL-00 For Ron V in Seattle. This size guitar has become one of my favorites. Built along the lines of a Gibson L-00 but with some size and brace modifications, as well as other changes to the Gibson specs. I will be using a beautiful set of Cocobolo and a Port Orford Cedar top. Bindings will be Bloodwood. Fret board and bridge will be ebony. Neck of Honduran Mahogany. This one has a lot of special inlays and will be fun to build. I am anxious to get this one going. I have not built with Cocobolo or Port Orford Cedar, so am looking forward to hearing this one.
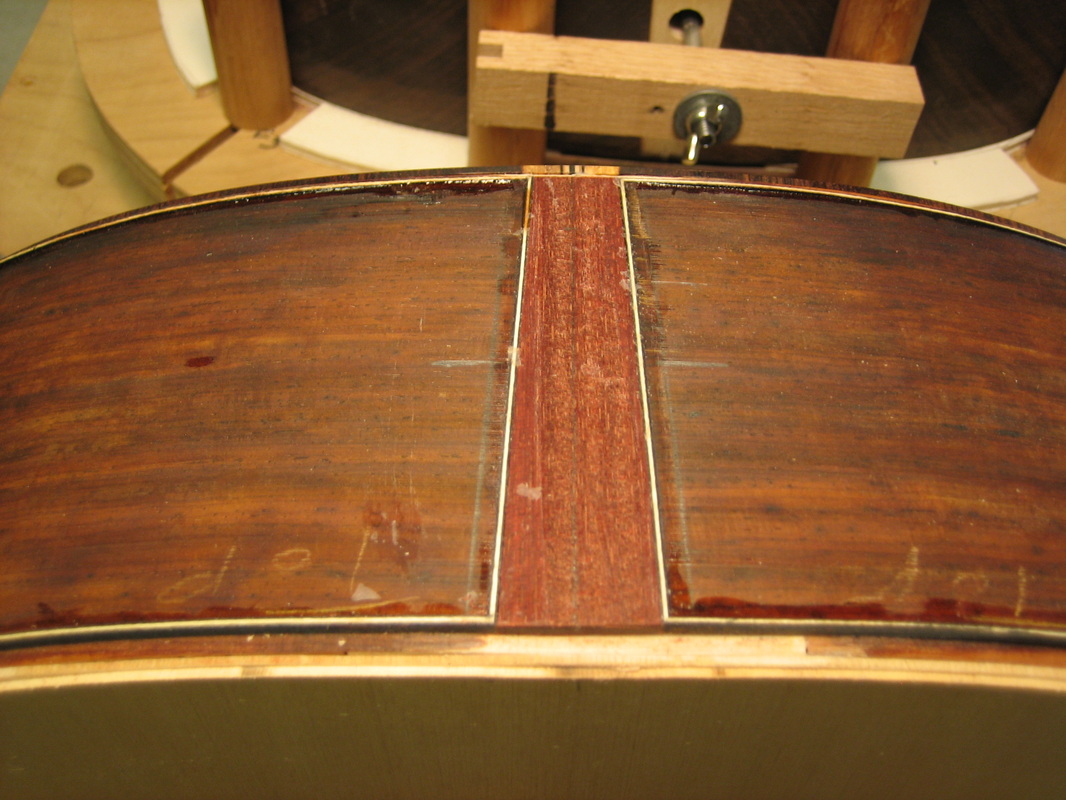
Joining the back
Book matched sides have been thinned and ready for bending

First side in the mold

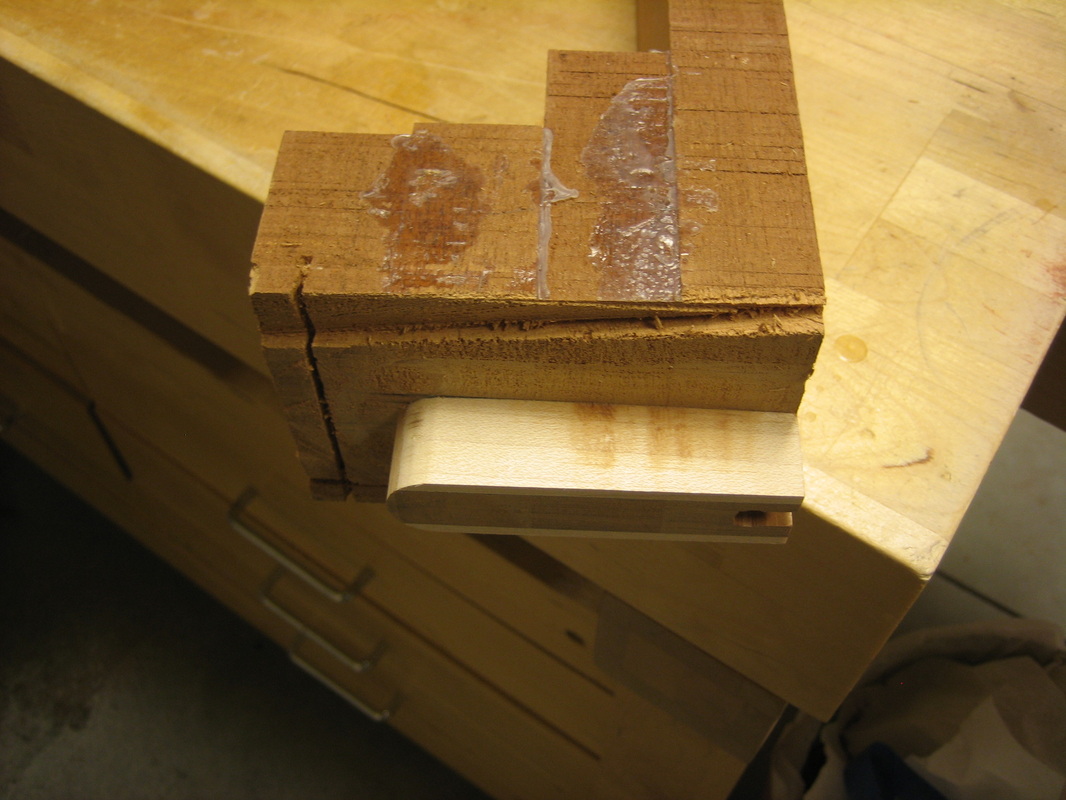
Tail block assembly
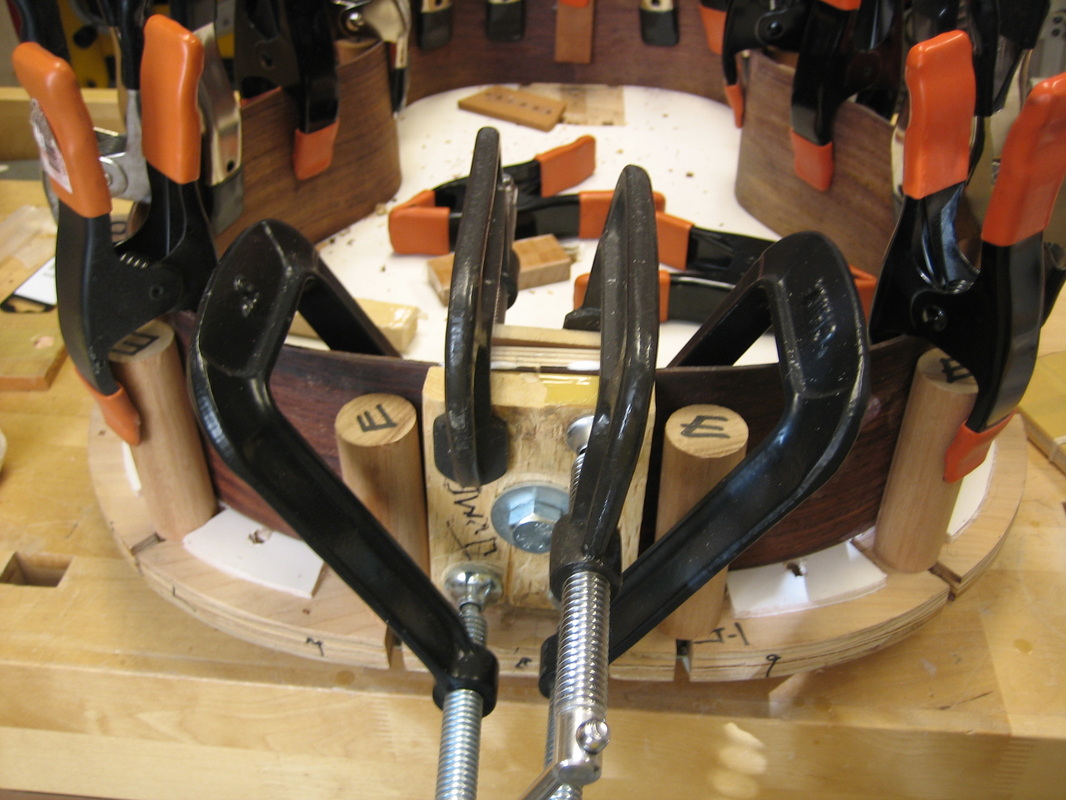
Installing linings
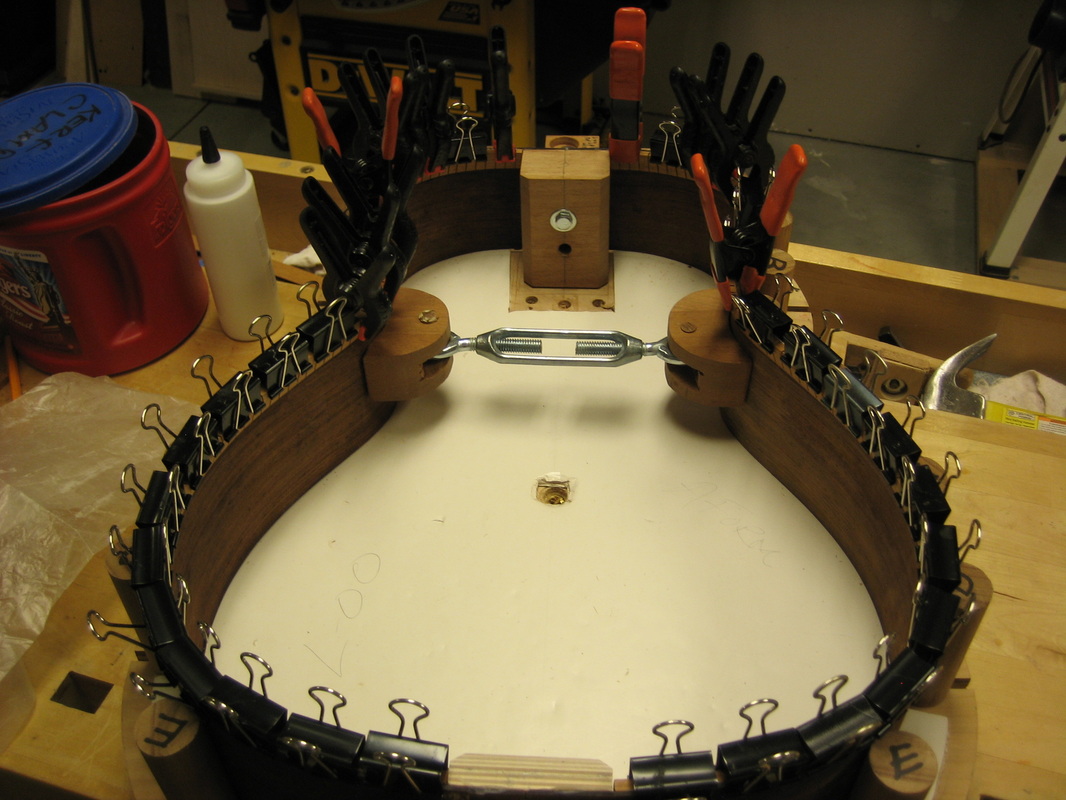
Side reinforcement and crack stop pieces
The side top & back has been sanded to accept a 15' back and a 30' top radius. Next step will be to start construction of the back ..............................
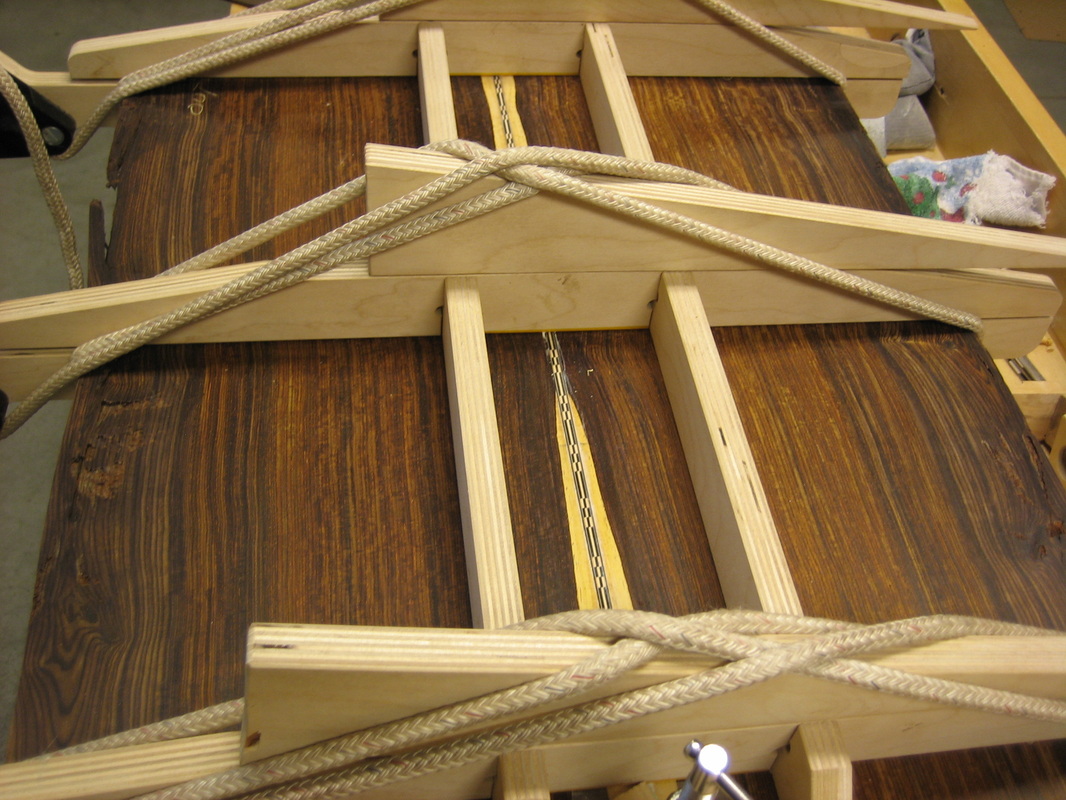
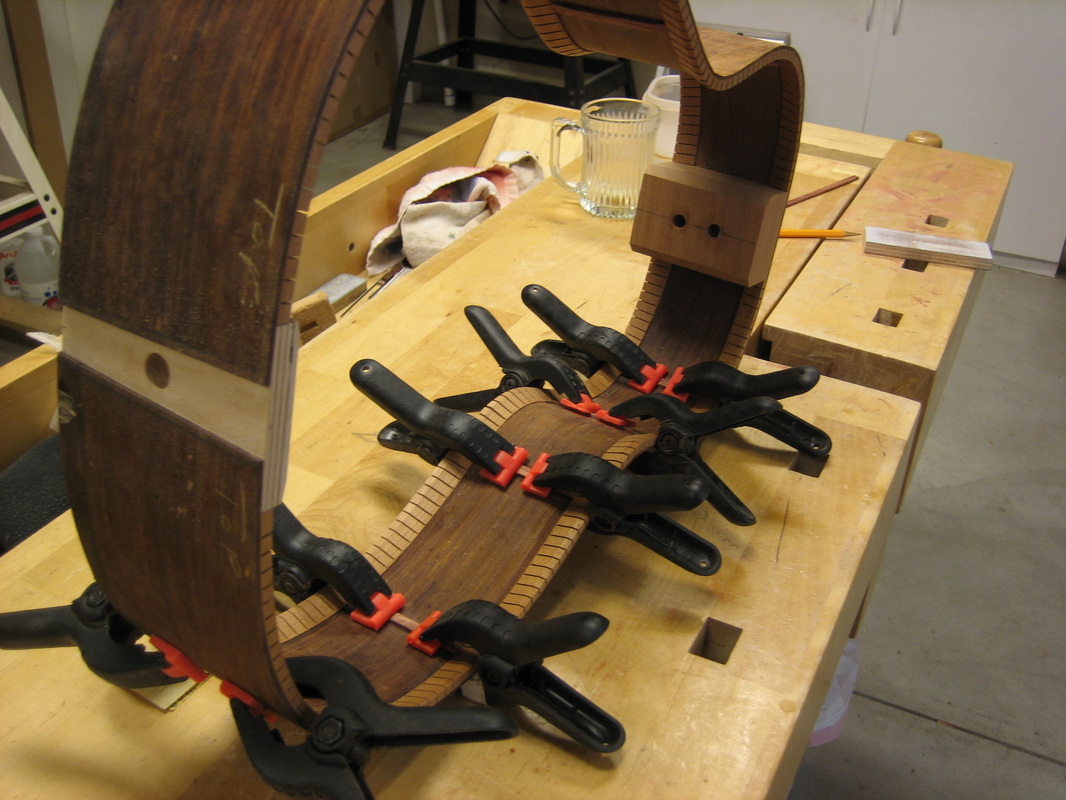
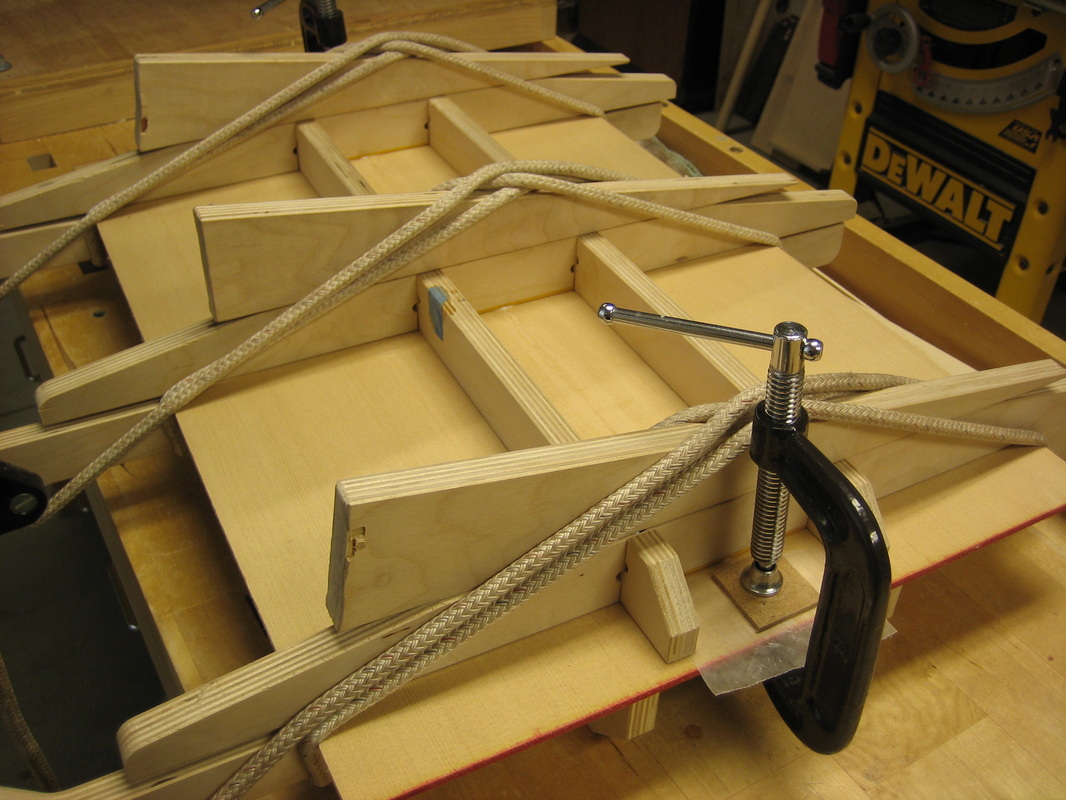
The back has been joined and a back reinforcement strip glued. Braces are being glued in the following picture
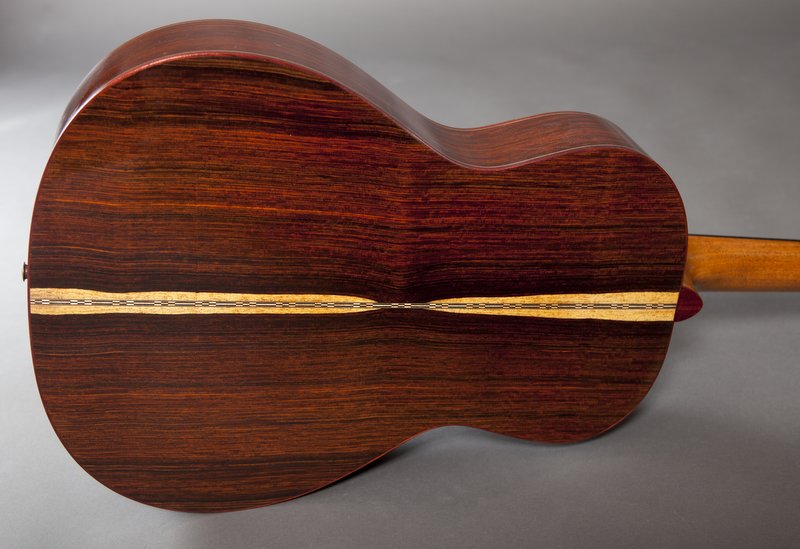
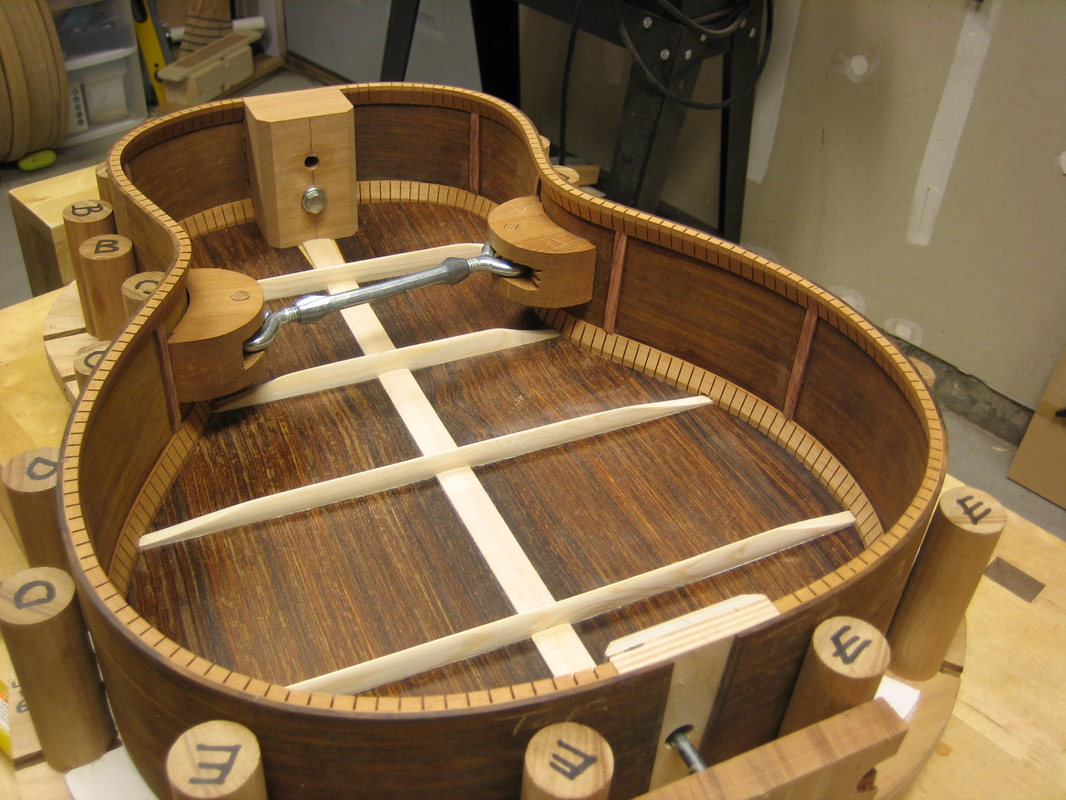
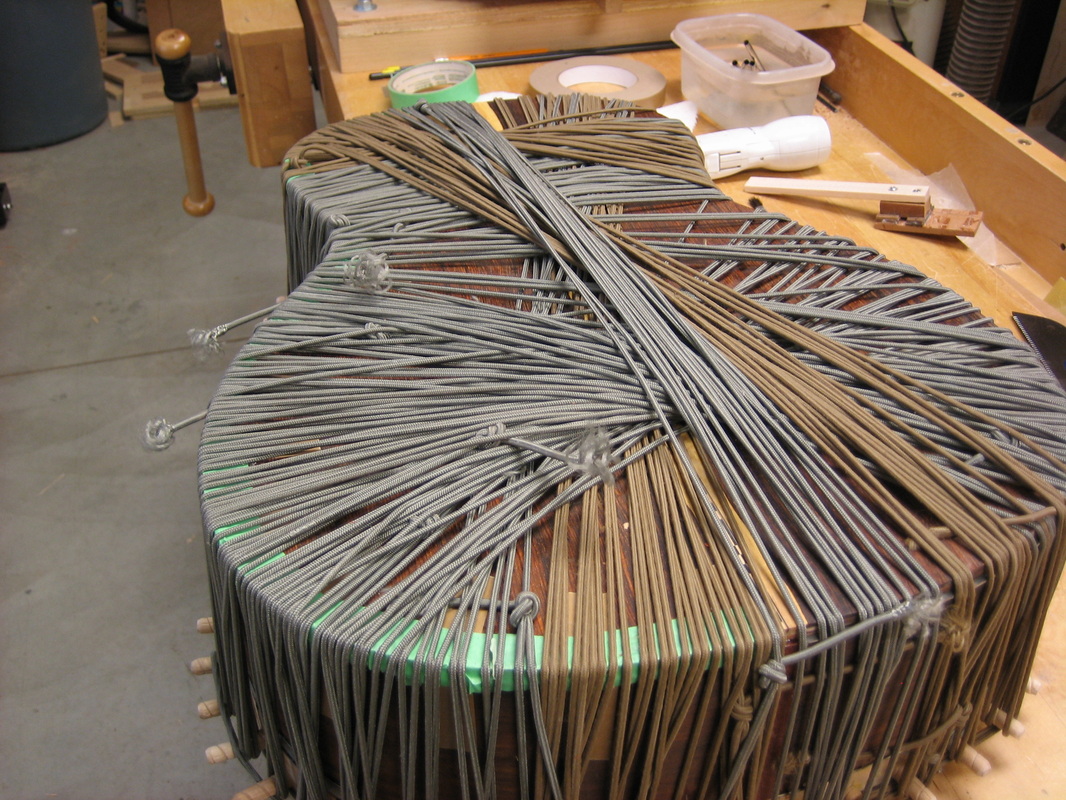
The back has been braced and the braces have been carved. Back mated to sides
Sound box ready for top
Sound board joining
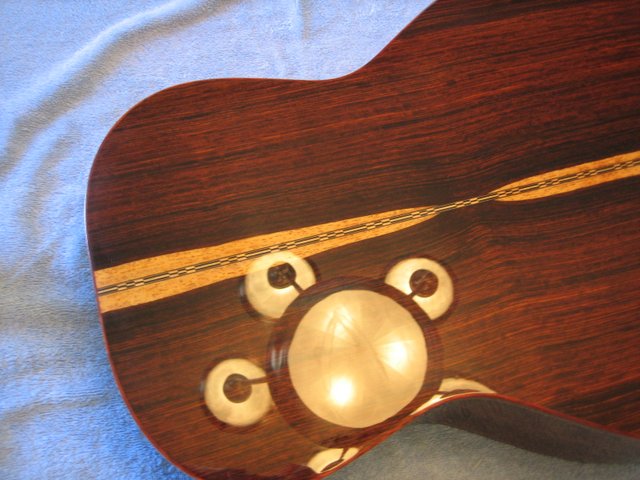
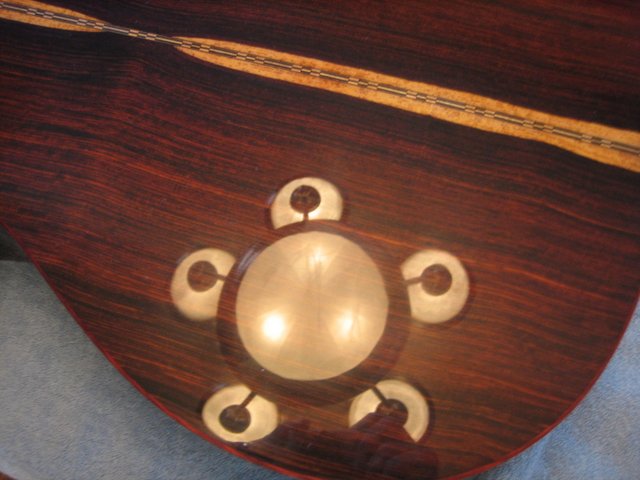
Installing the sound hole rosette:
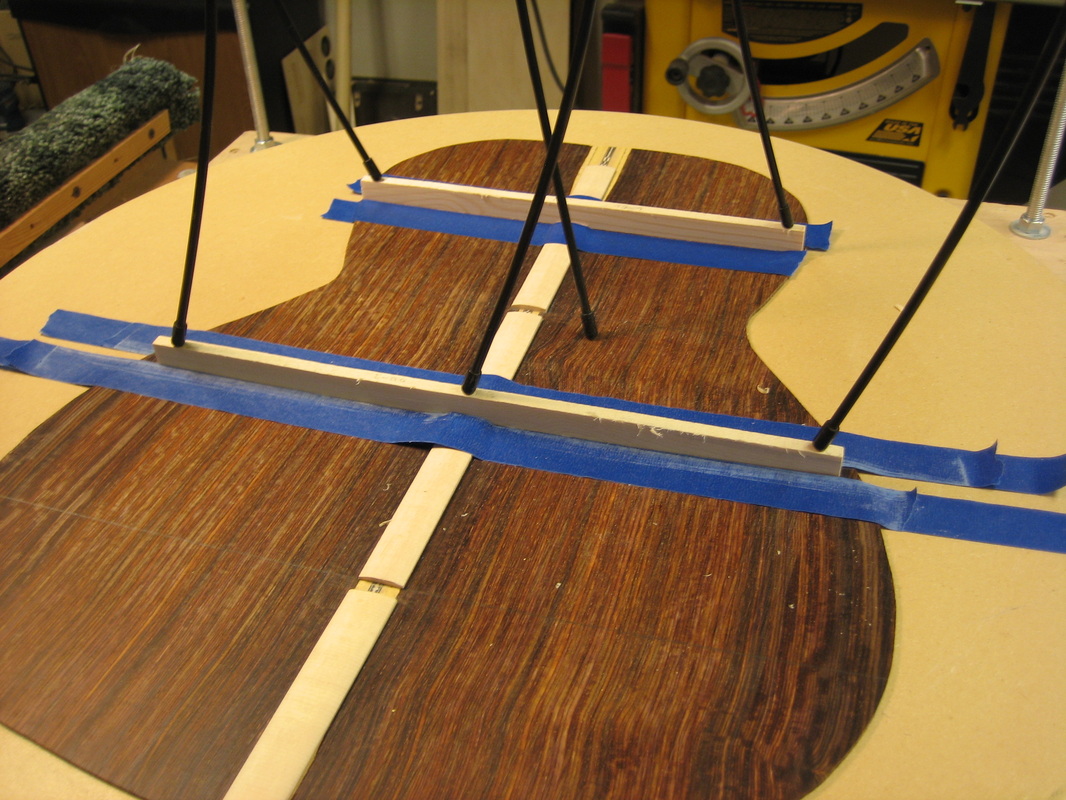
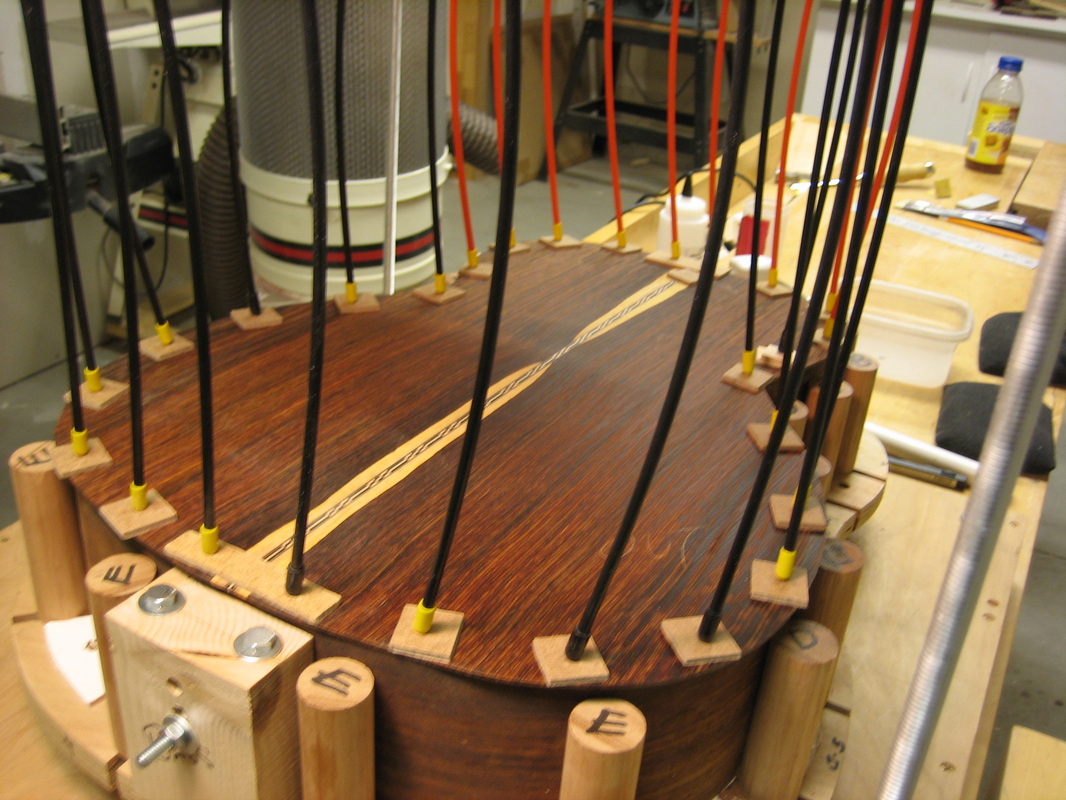
Bracing the top:
Top is braced and ready for installation
Cutting the side slots for brace ends - sorry pic is a little fuzzy

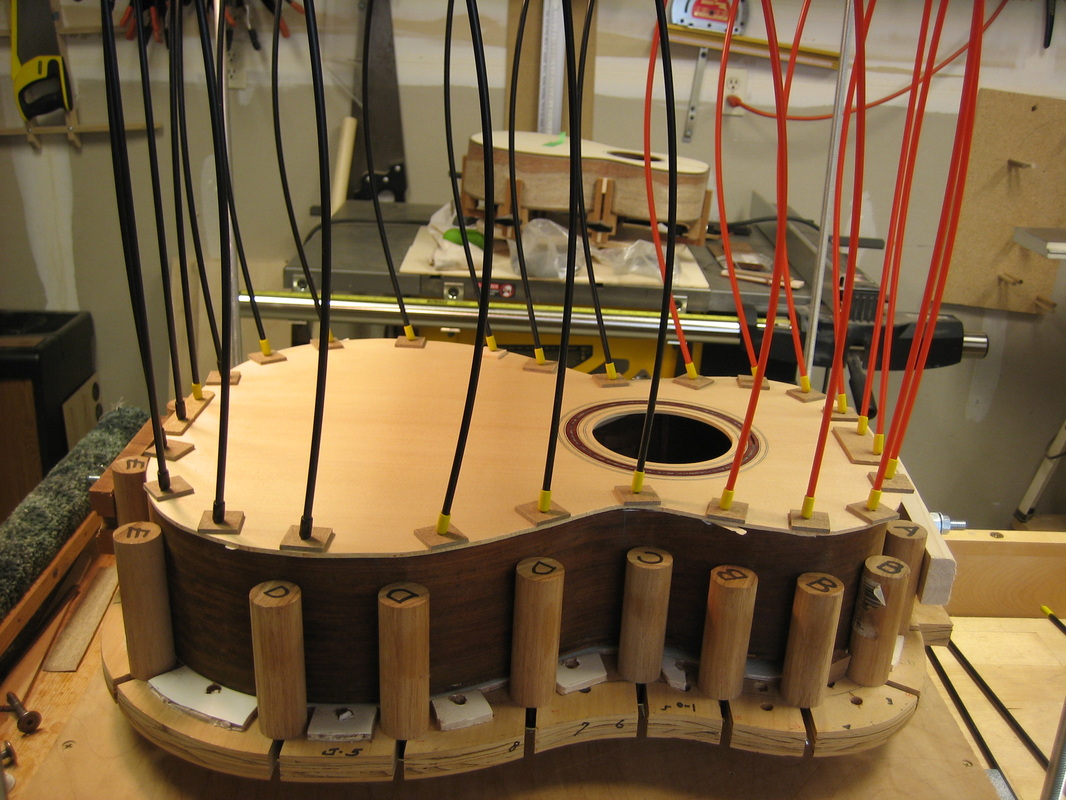
Gluing sound board
Binding channels have been cut. b/w/b purfling has been glued to channels and tail graft and tail graft has been glued and trimmed for bindings
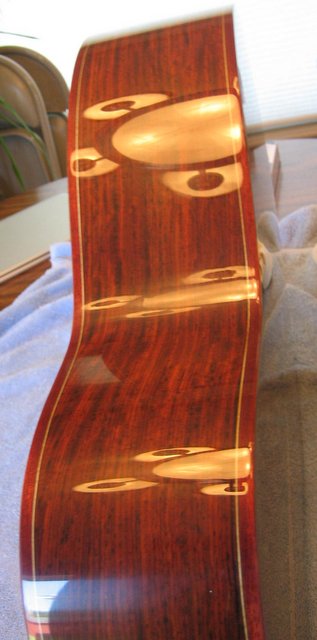
Four bindings are shaped and glued one at a time
Bindings scraped and sanded
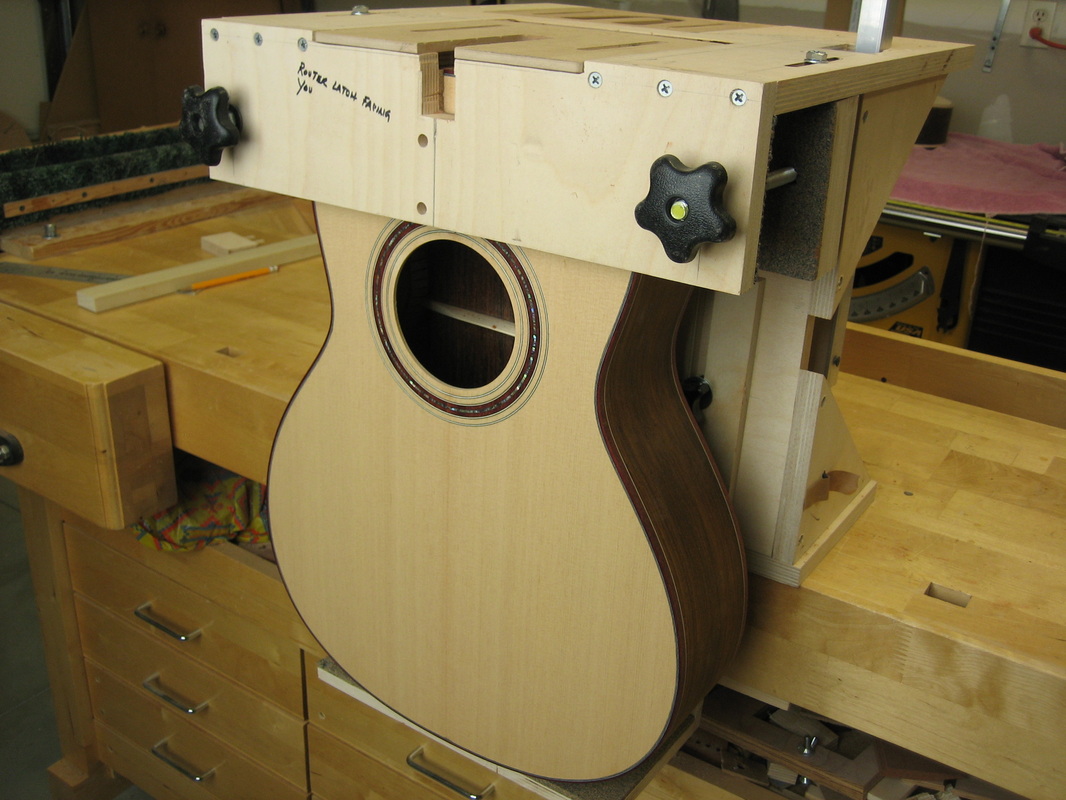
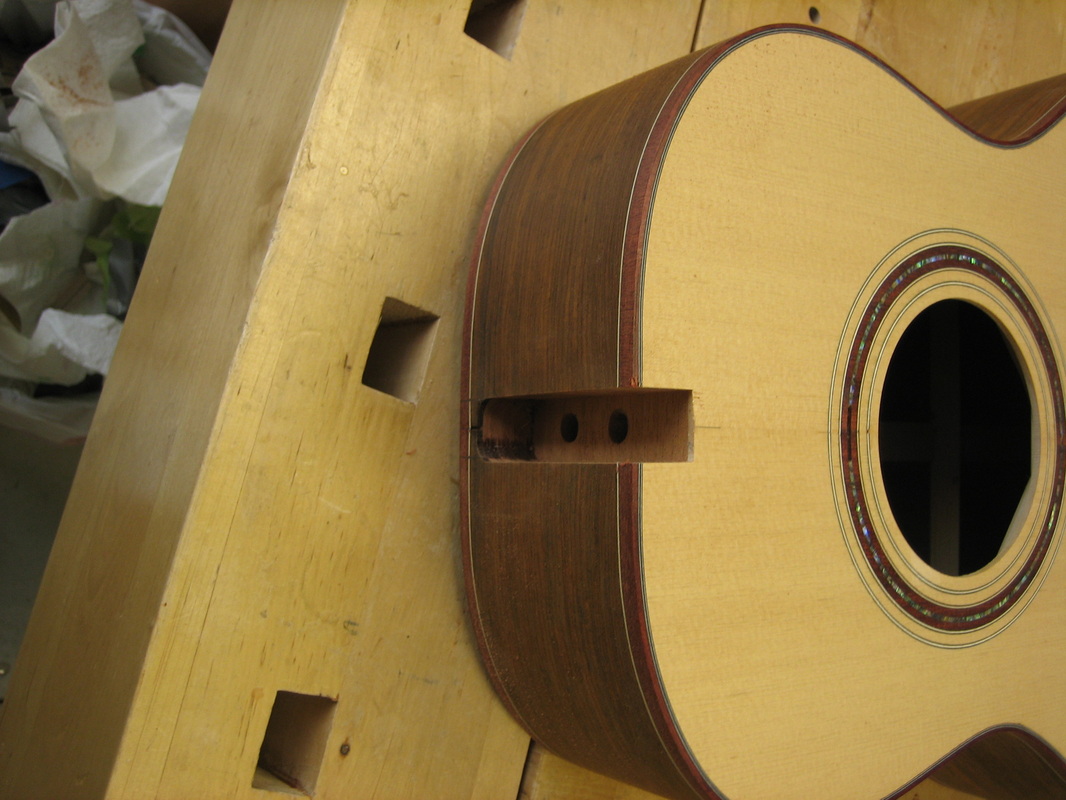
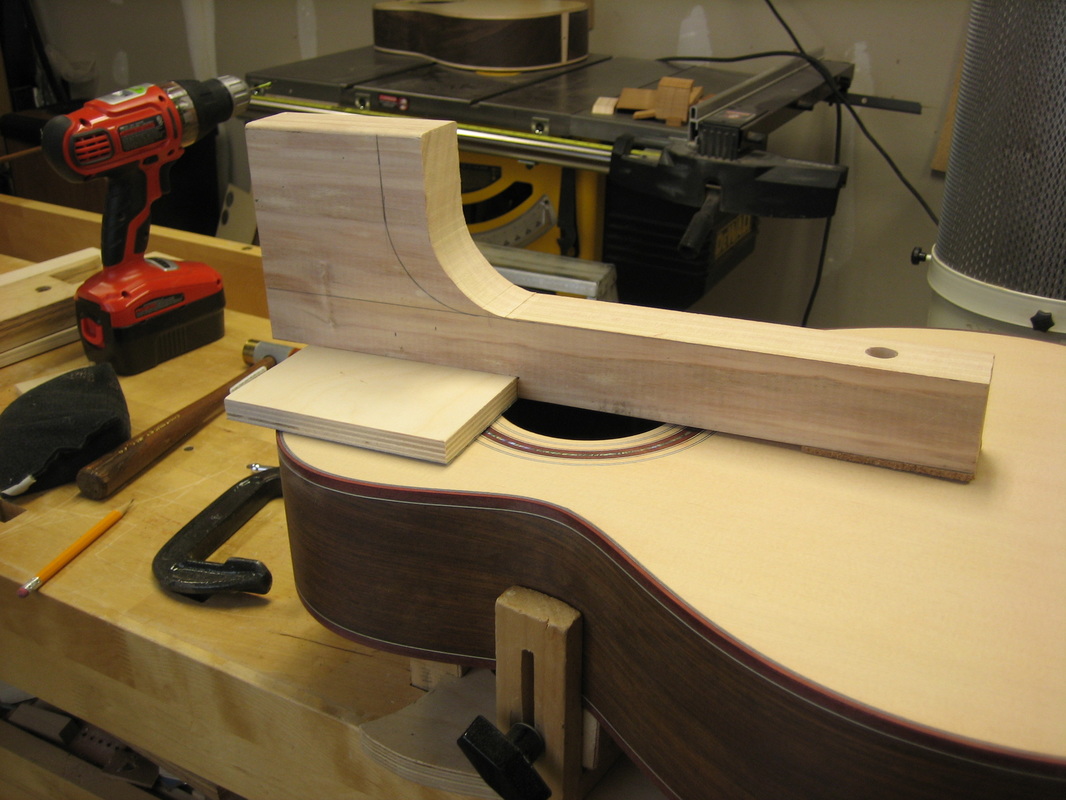
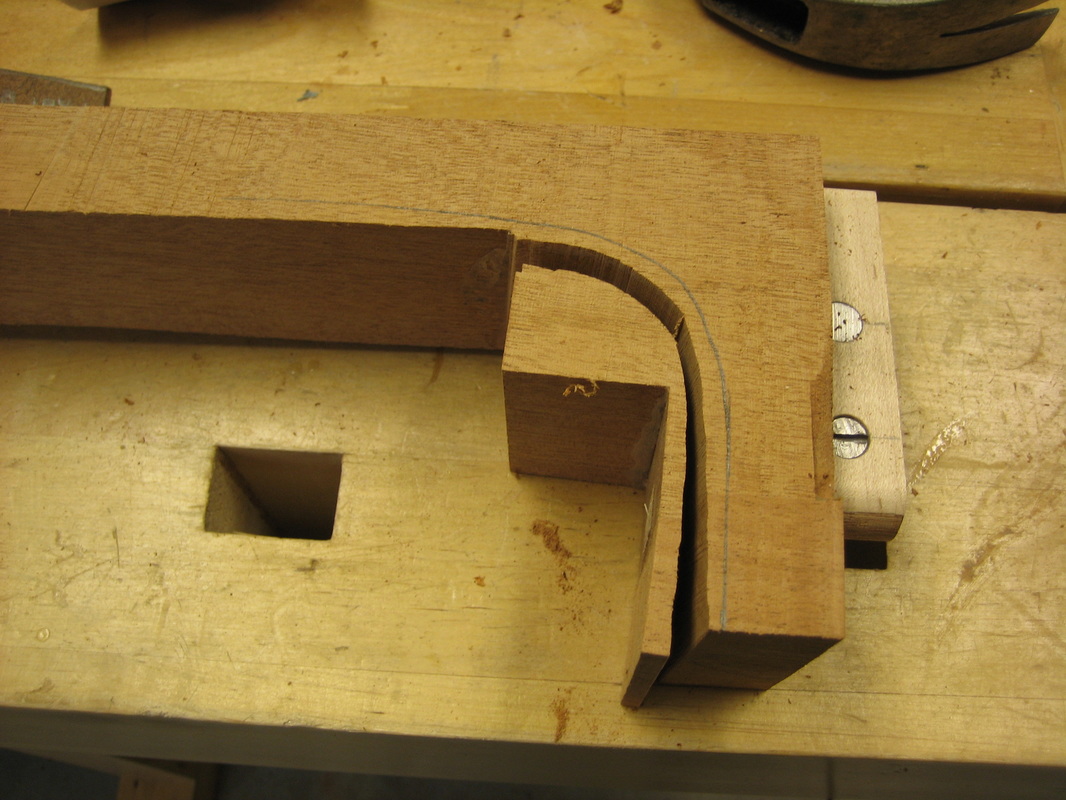
Cutting the Mortise & Tenon on the neck and body
Flattening the upper bout under the fret board:
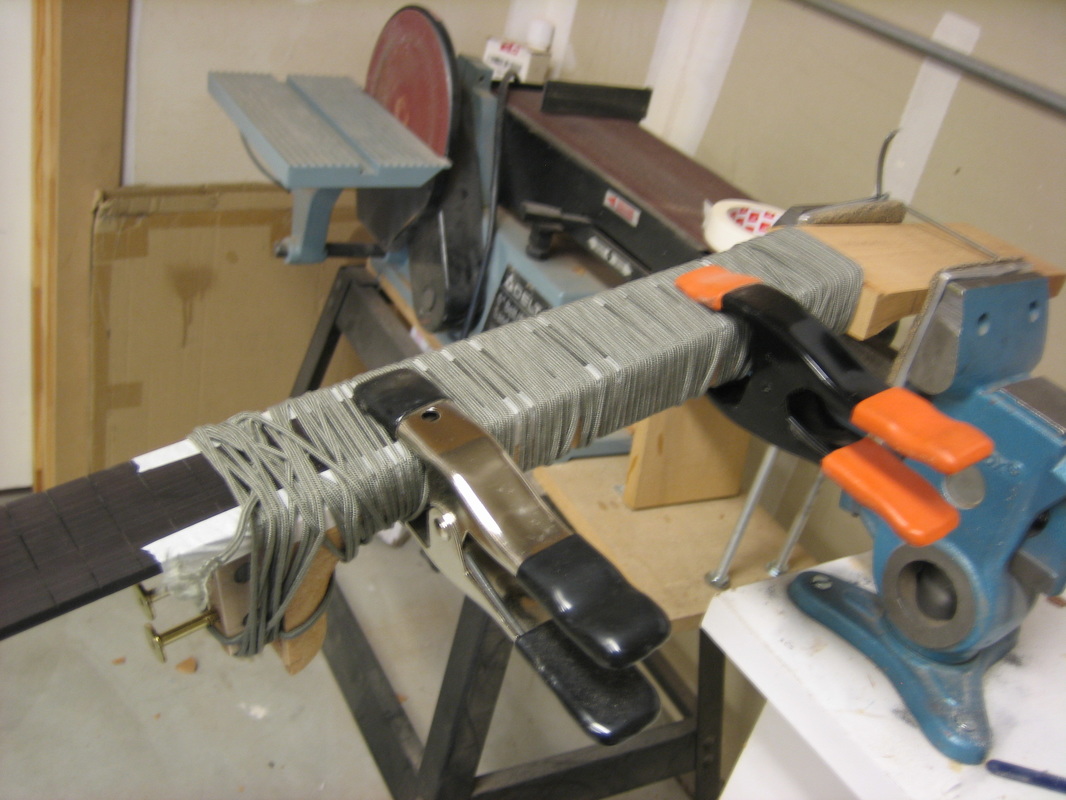
Working on neck and fret board:
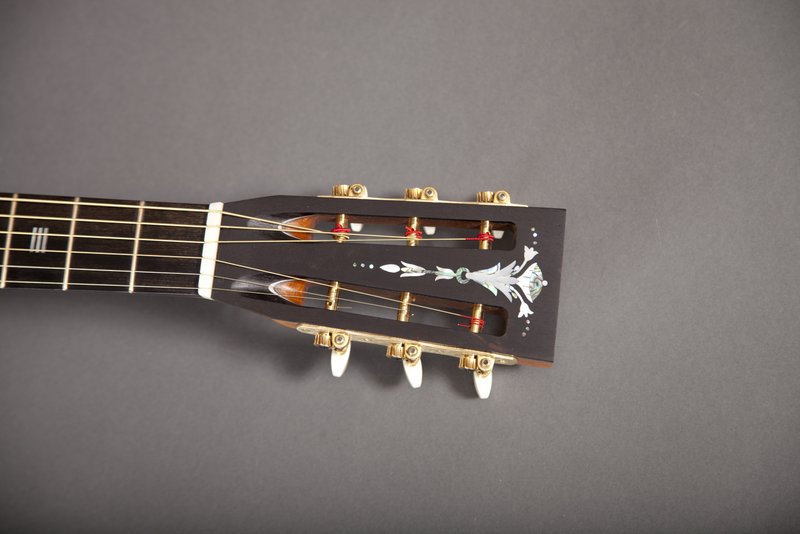
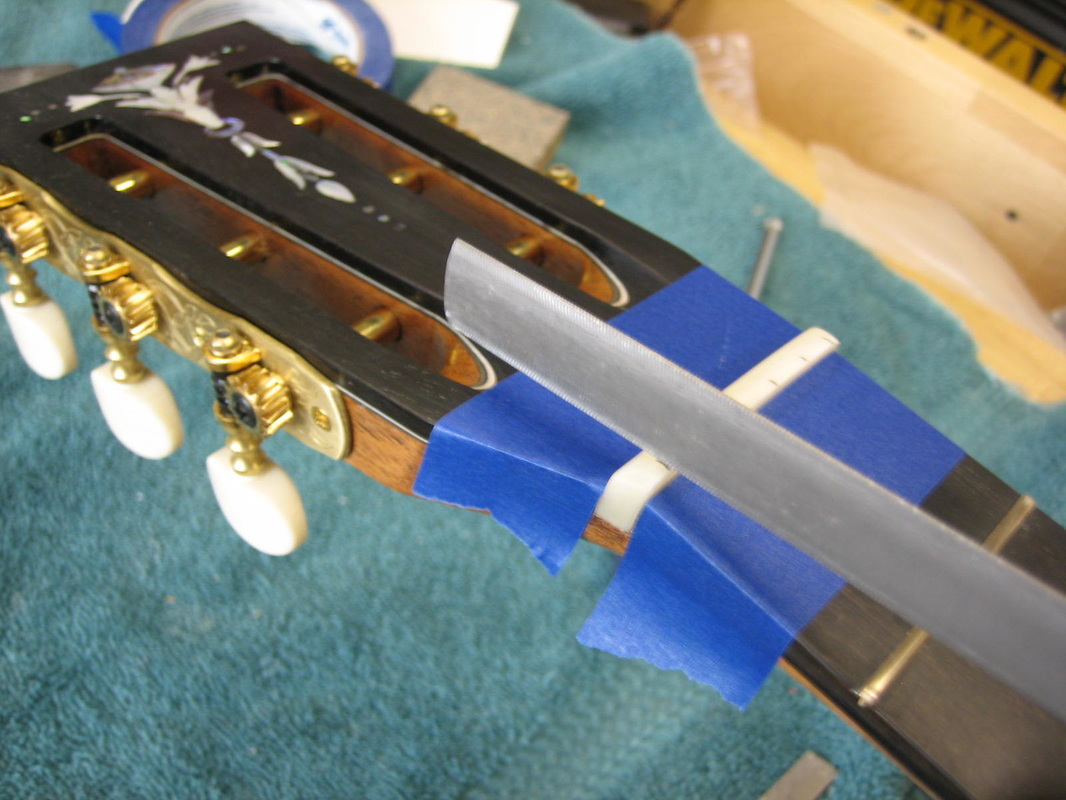
Slot head peg head:
Peg head Torch inlay: I drew the peg head shape on a piece of cardboard and glued each piece where I wanted it (28 pieces). Then copied that and glued the copy to the peghead.

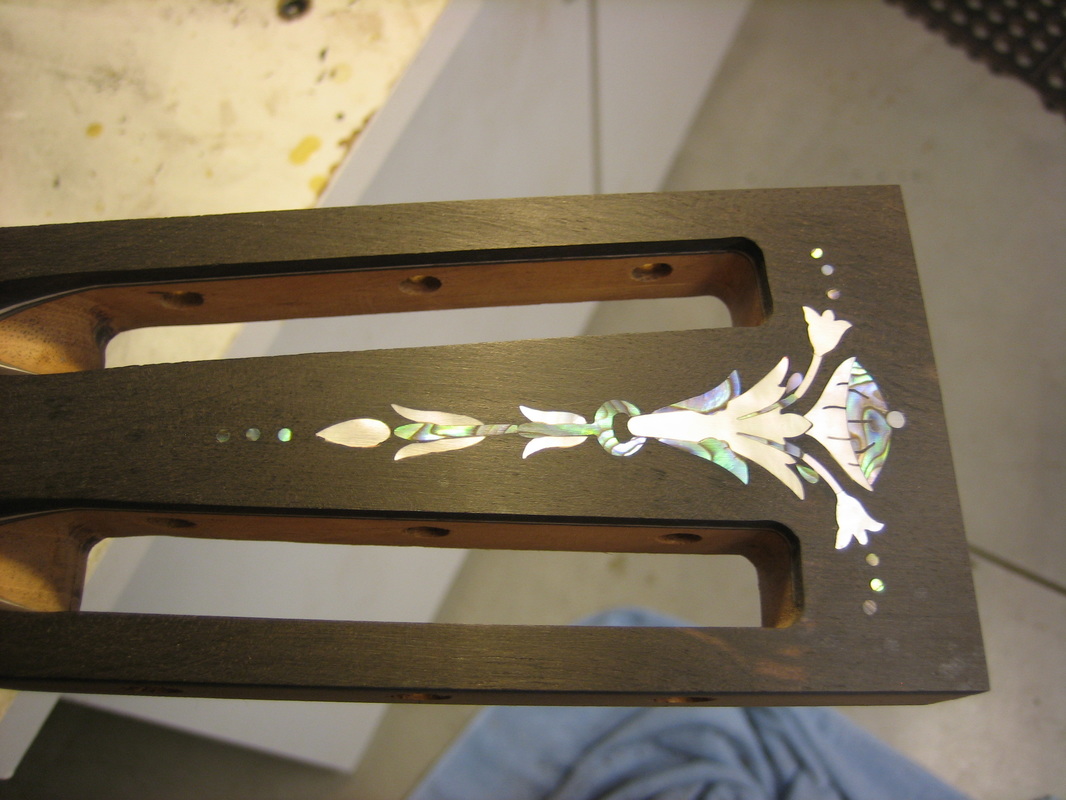
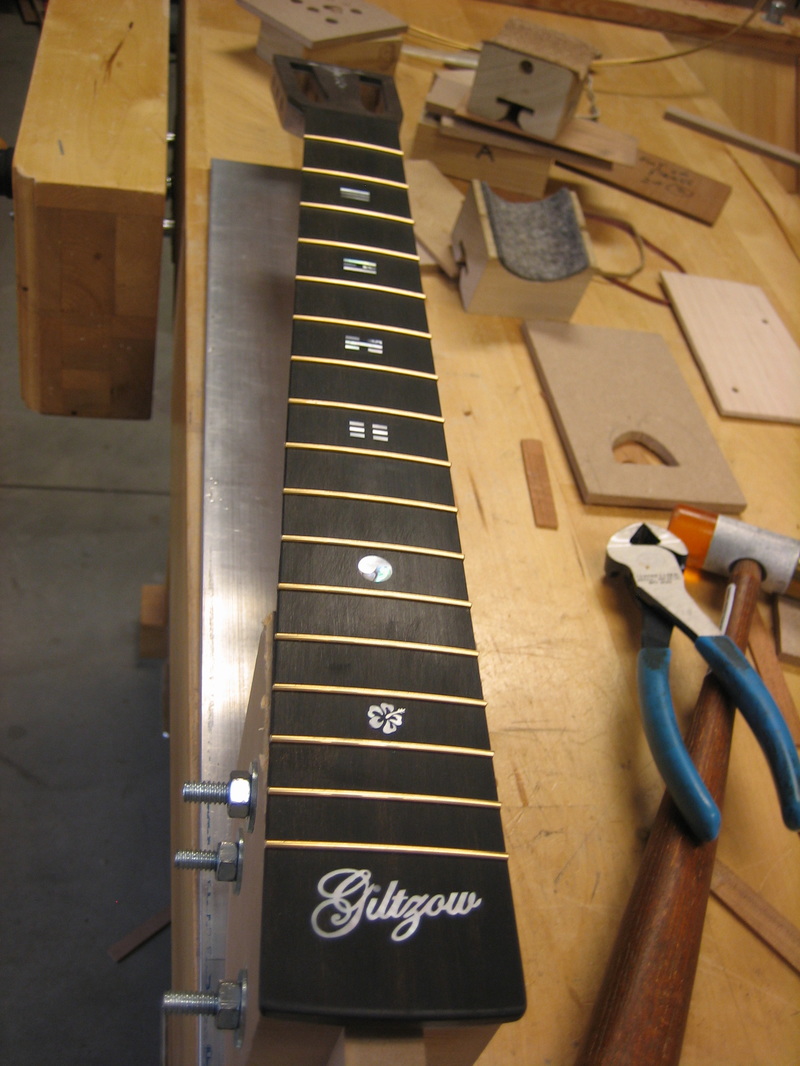
Inlayed and rough sanded
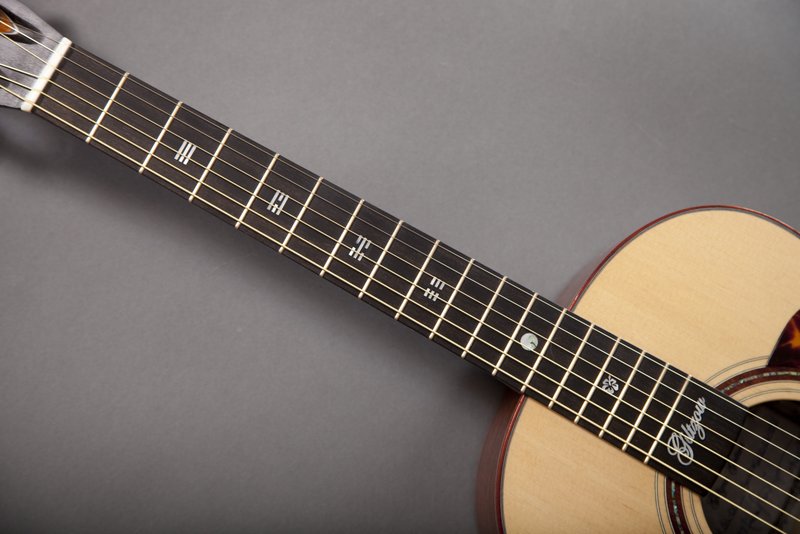
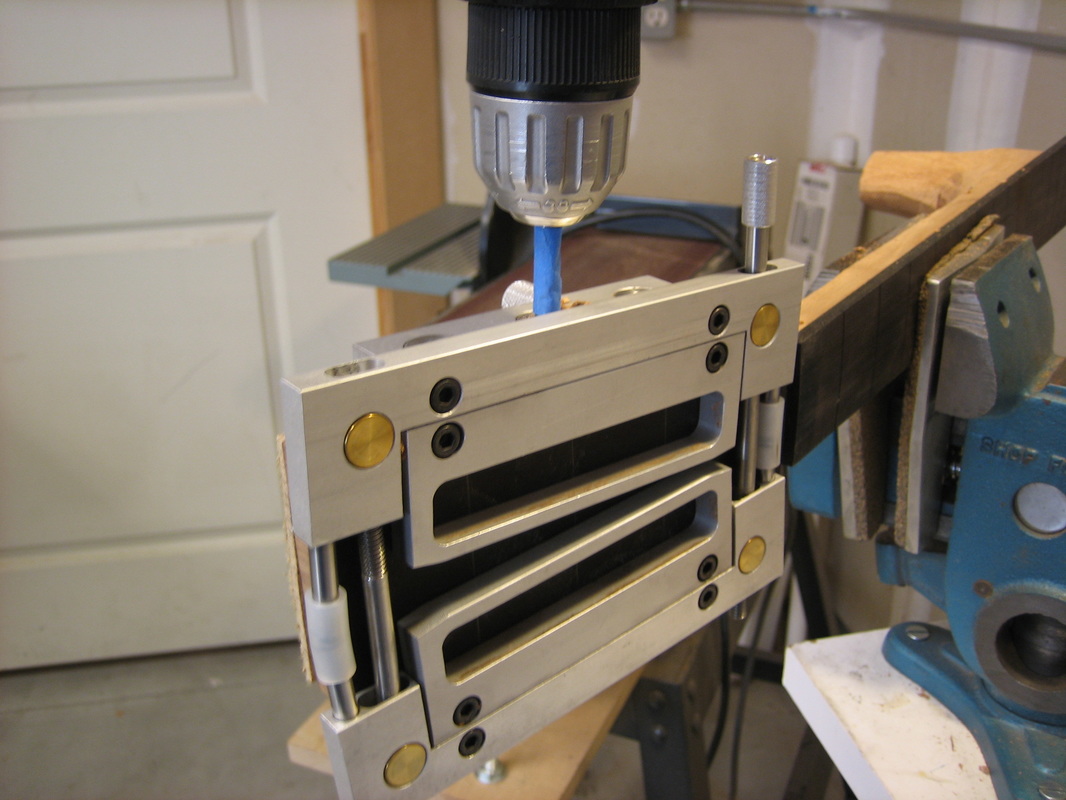
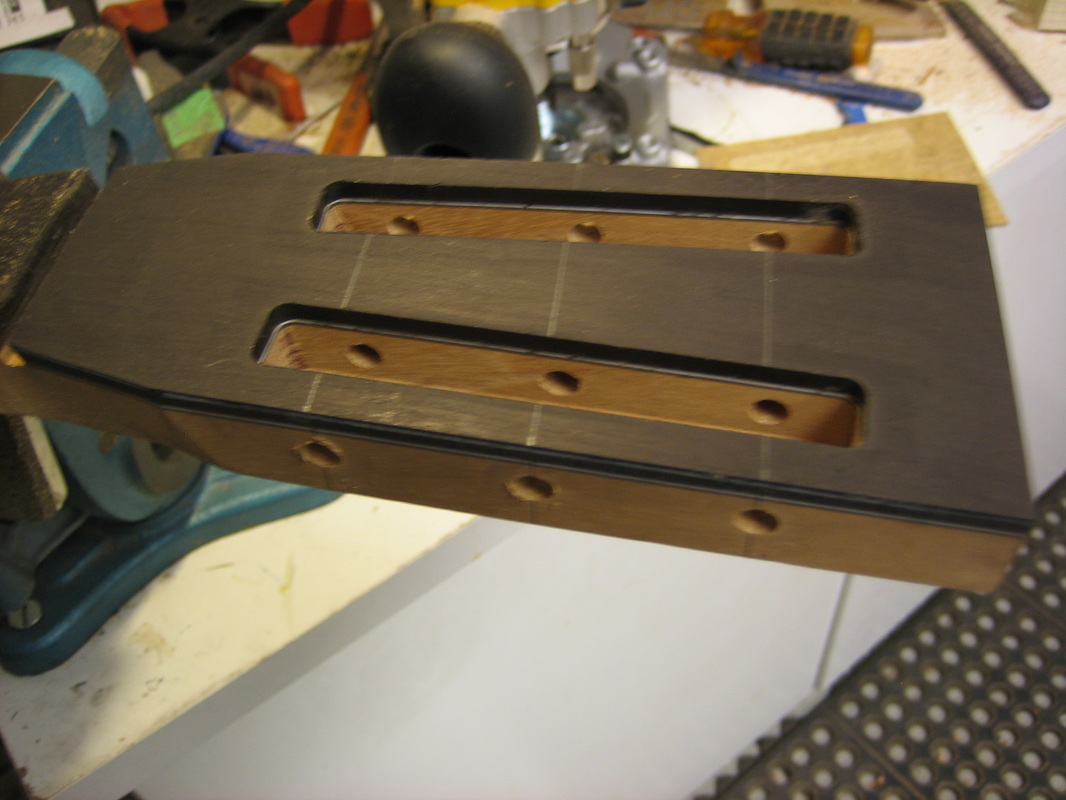
The inlays on the fret board include the 4 symbols on the Korean flag. These are to be done in white Mother-of-Pearl. They are simple lines and so they should be fairly simple to route and inlay. NOT! Cutting slots for parallel lines and keeping everything in register turned out to be much harder than I had expected. Each symbol is 1/2" long which meant I would be working with realatively small pieces. After several unsuccessful attemps I decided to build each symbol into a small chip, super glueing the small pieces together, and then installing it in a routed rectangle. Some of the process below:
After almost 23 hours of inlay I am taking a few days off - mdg
I have finished spraying the Body of the guitar with KTM SV and will put it away for 3 to 4 weeks to cure. In the meantime I am working on the neck, bridge, frets & pickguard:
Tru oil neck

The finish has cured and I have started to sand and buff
600, 800, 1000, 1200, 2000 grit and 2 buffing compounds and almost there:
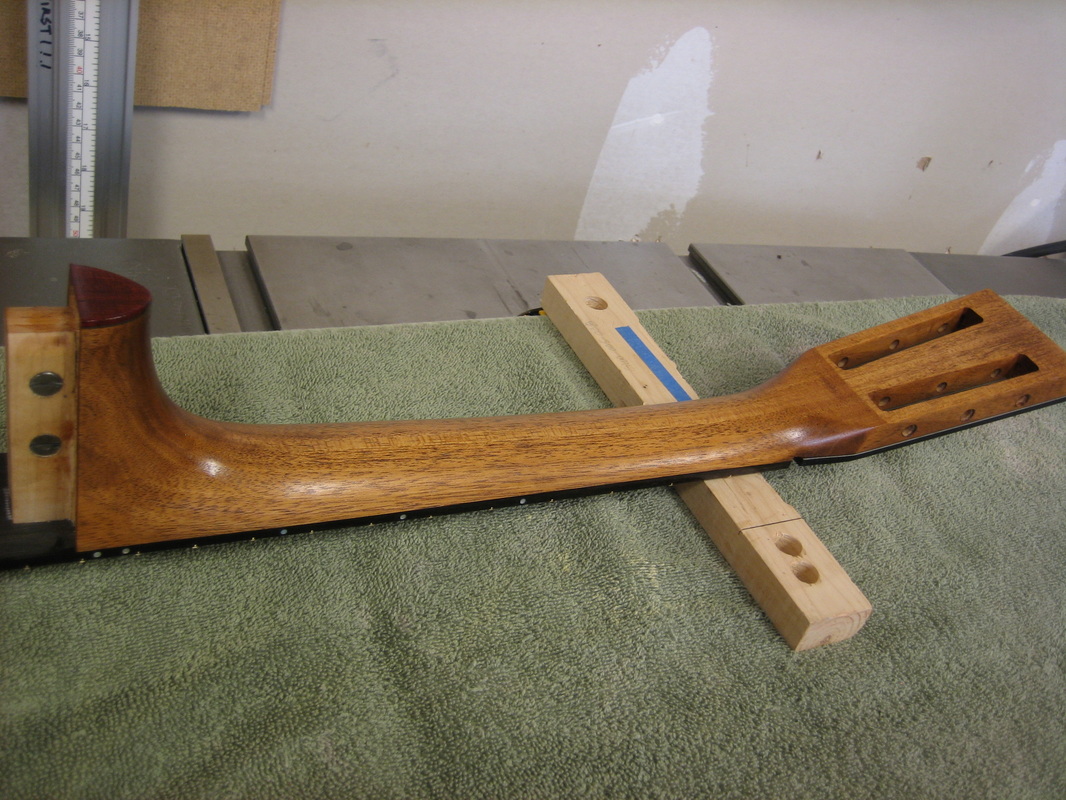
Installing the neck:

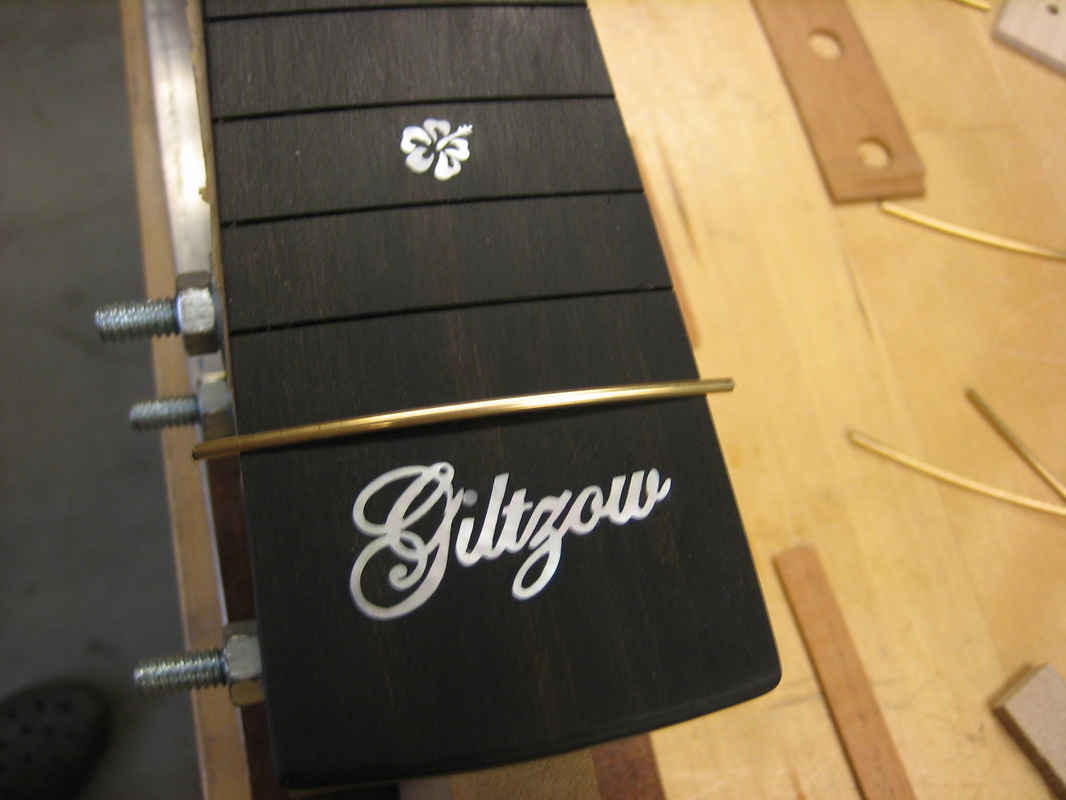
Setting nut string intervals and cutting string slots:
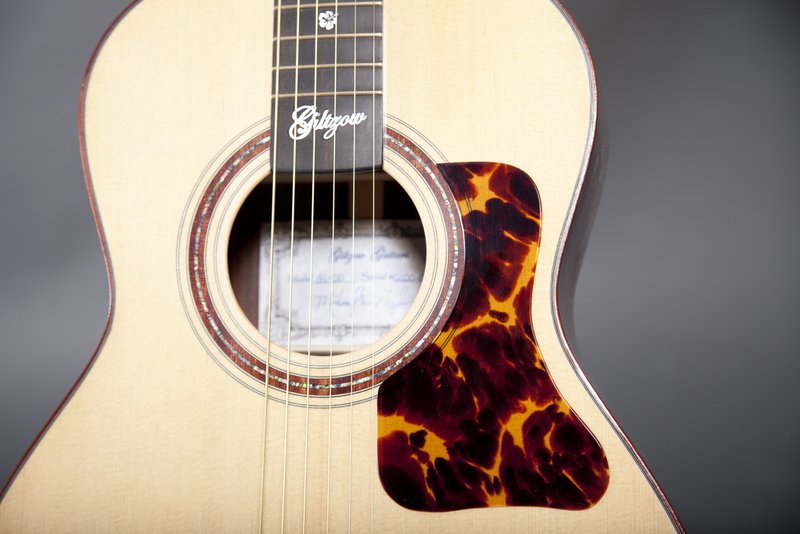
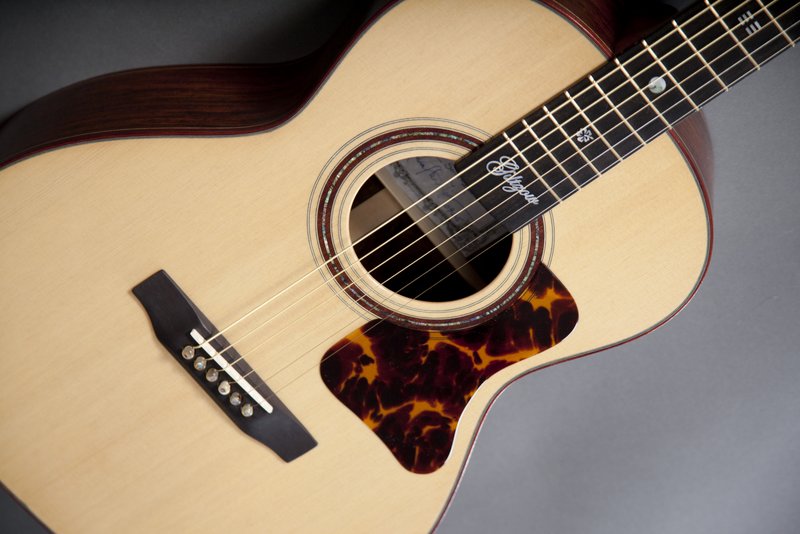
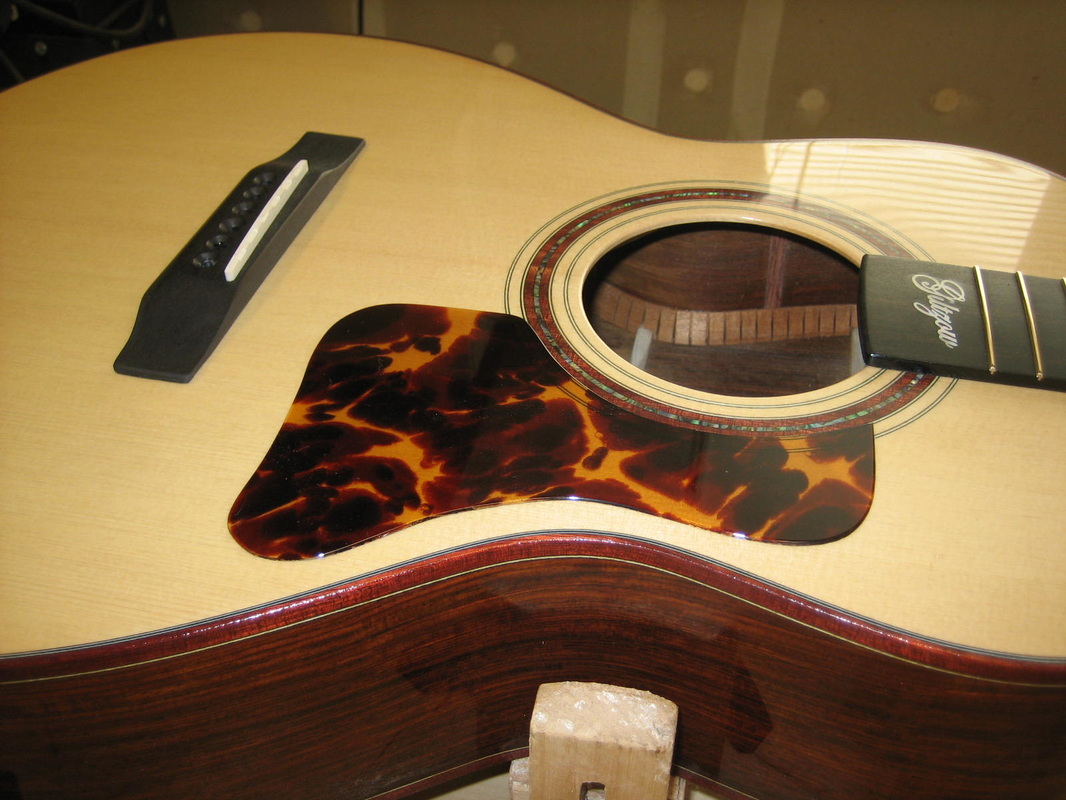
I have cut the pick guard from 'Tor-tis' synthetic material and installed it on the guitar:
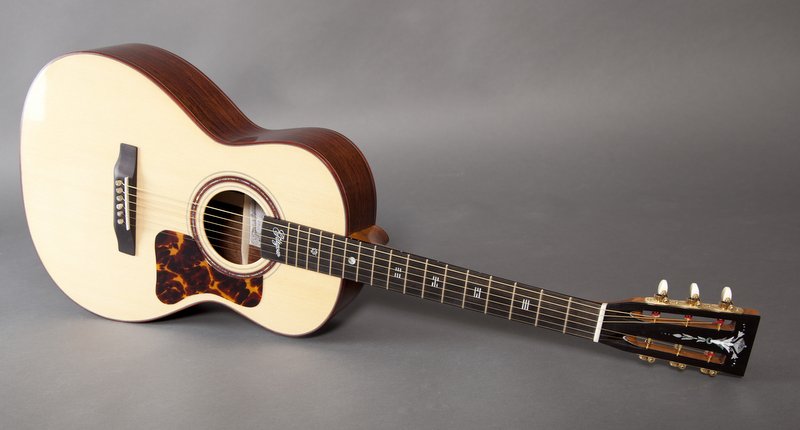
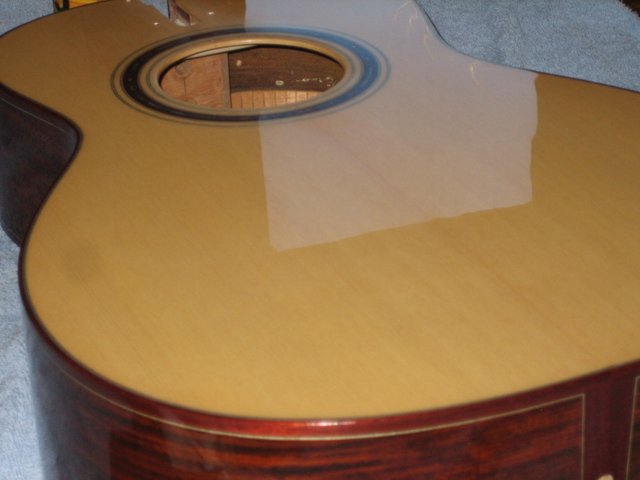
The guitar is strung up and I have had the chance to play it for the past few days. Pictures of guitar below: