I am building a GL-00 guitar for Don F. Don makes ukuleles and Cigar Box guitars. He will also be helping me with this build. He has chosen Australian Blackwood from Tasmania for the sides, back and top of this guitar. Neck will be South American Mahogany. Bindings, back strip, fret board, bridge and head plate will be Ebony. We will be creating custom inlays for the fret board and head plate.
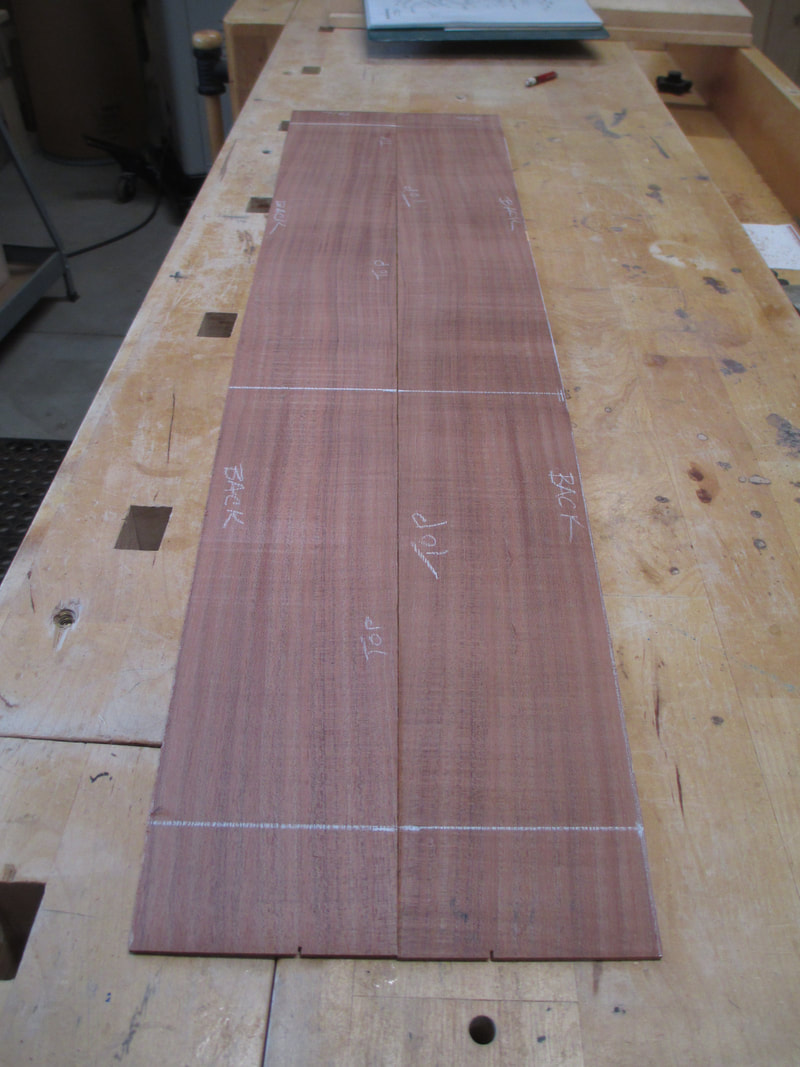
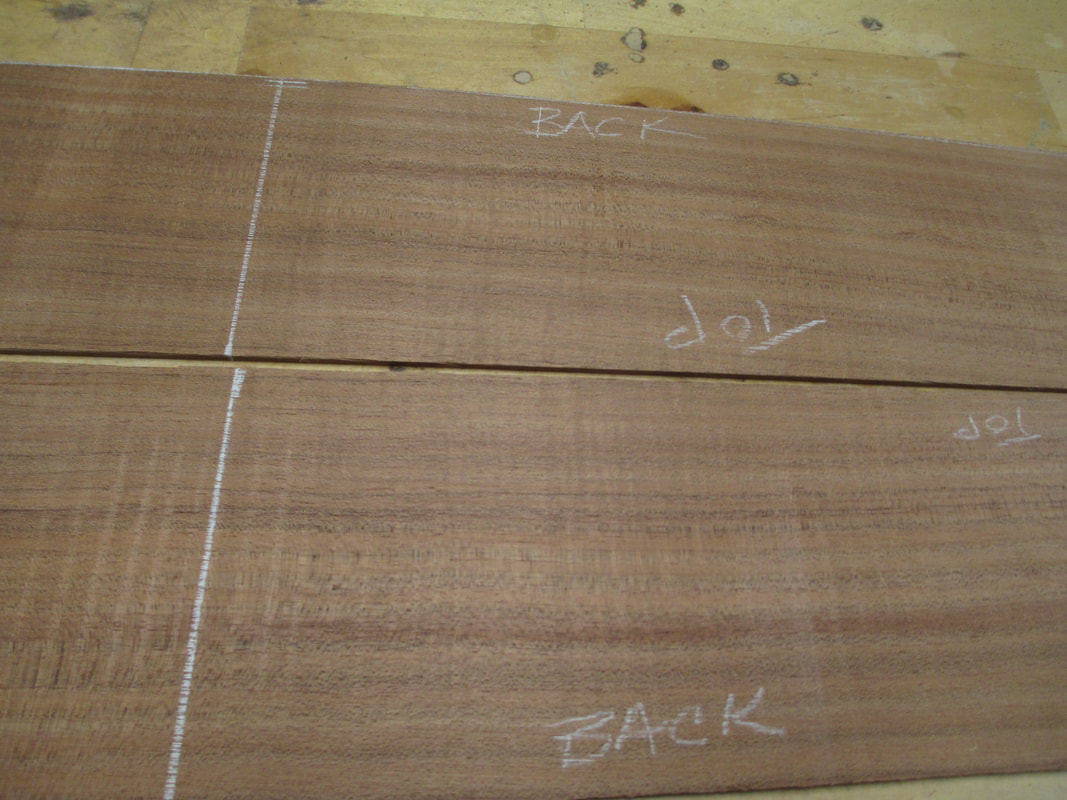
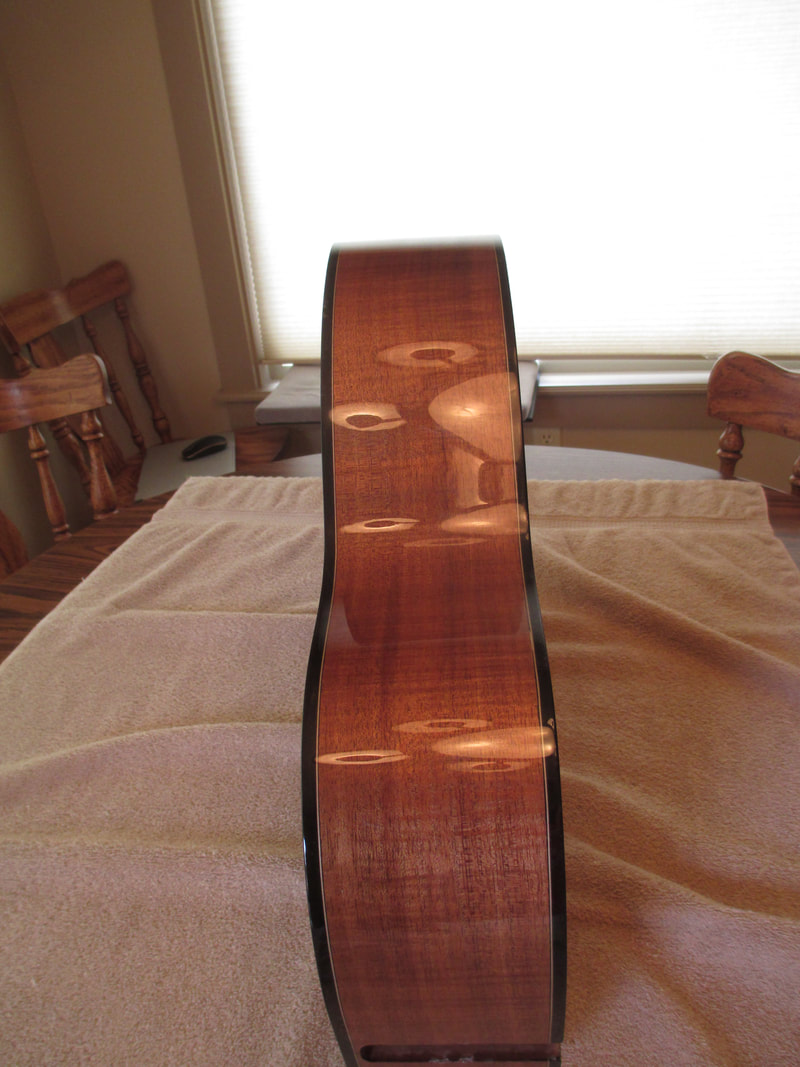
About 12 years ago I bought several sets and flitch matched boards of Australian Blackwood from a dealer in Tasmania. The sets have spectacular flame figure. In the picture below, I have cut the sides and marked them for bending:
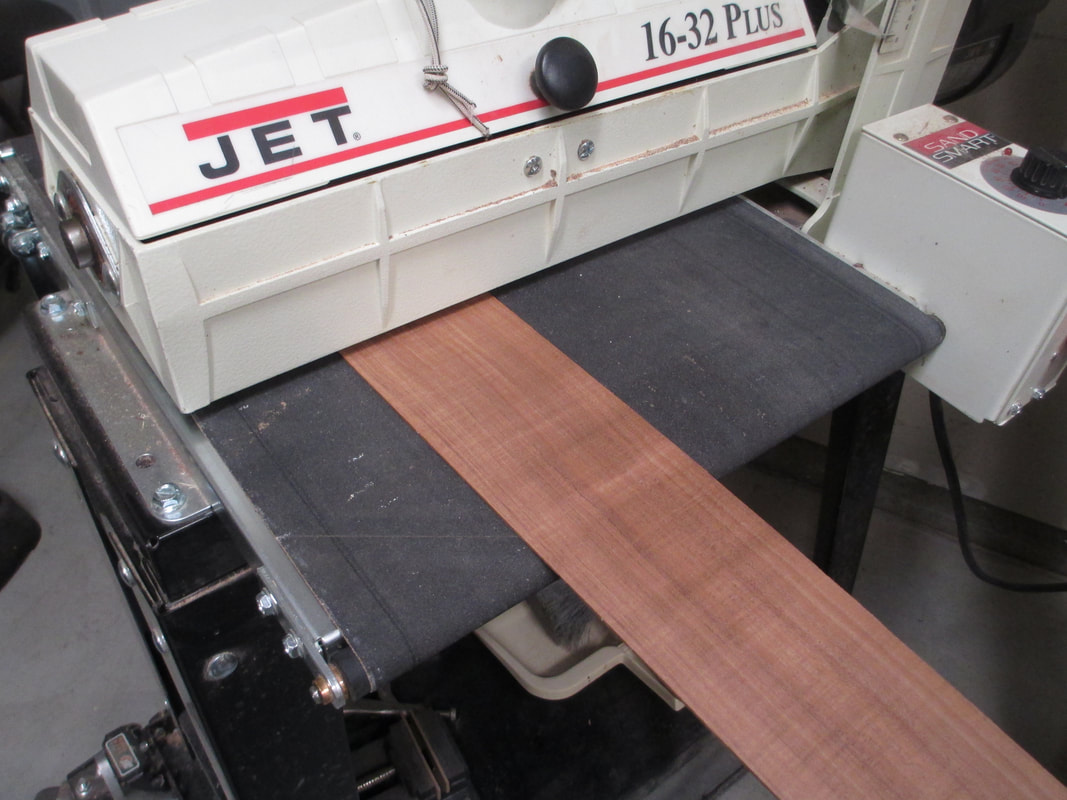
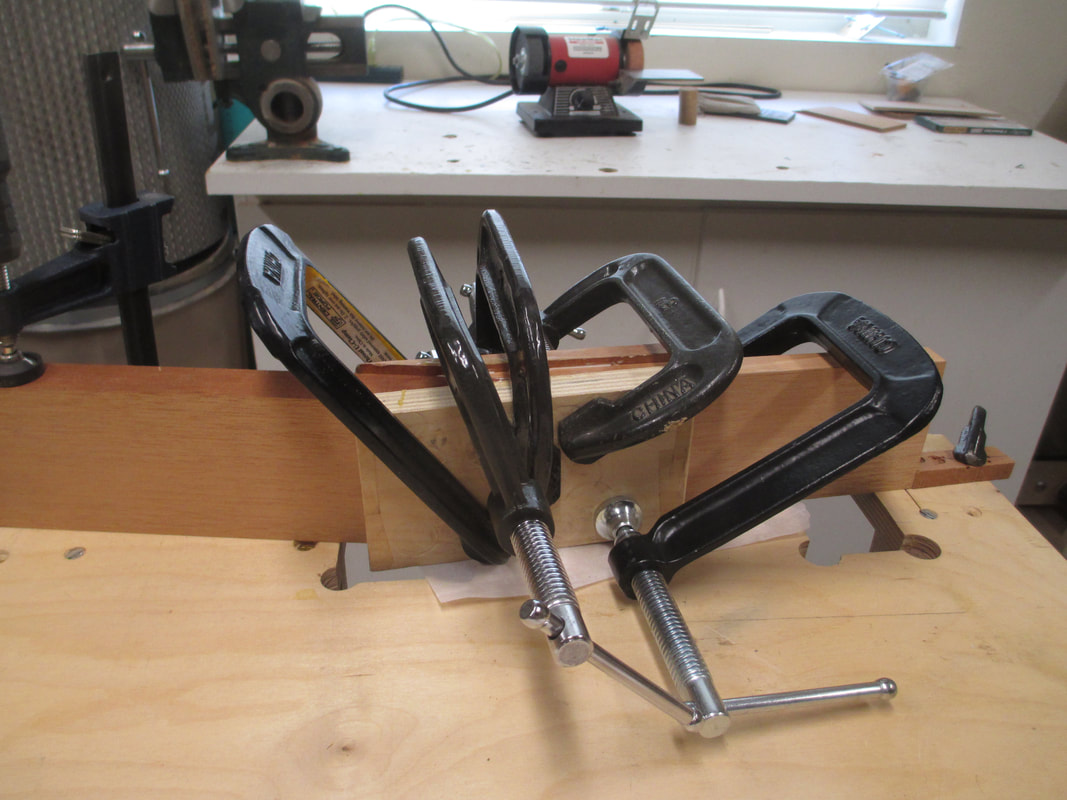
Thinning the sides to 0.085"
Bending with my Fox bender. Because this wood has so much figure it is necessary to treat the wood before bending. I spray the sides with 'Windex with ammonia D' and wait 24 hours before attempting the bend.
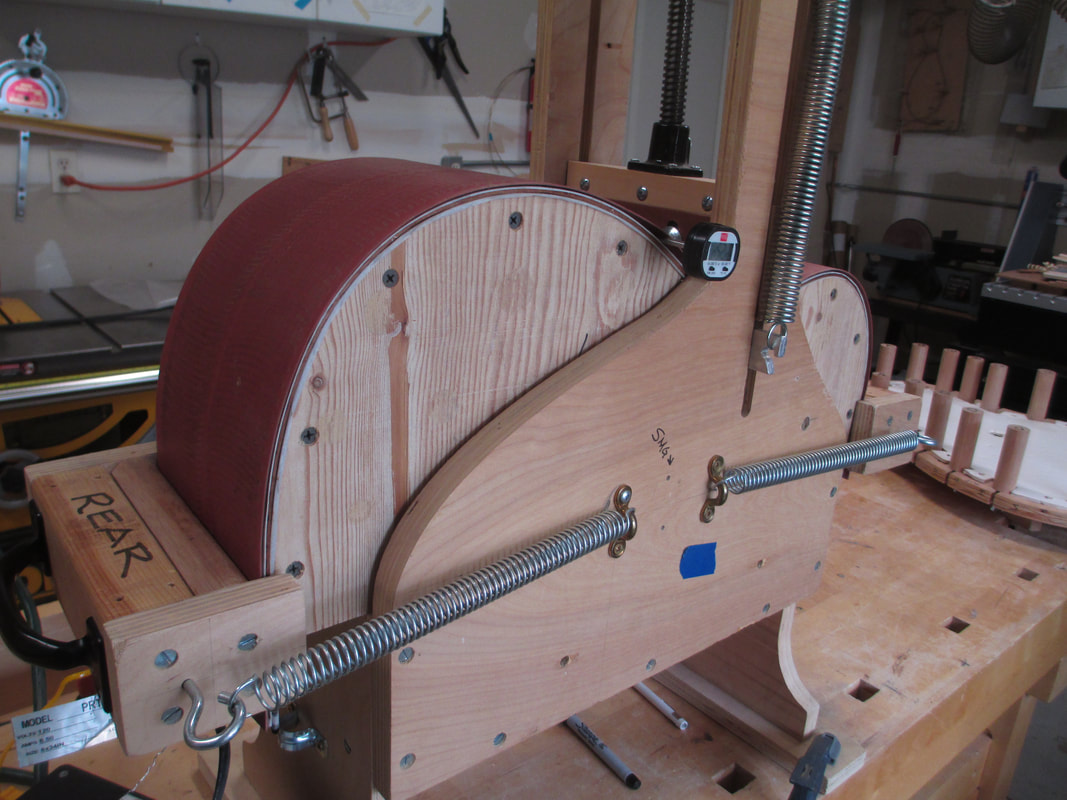
Bending went well. Both sides in the building form in the picture below:
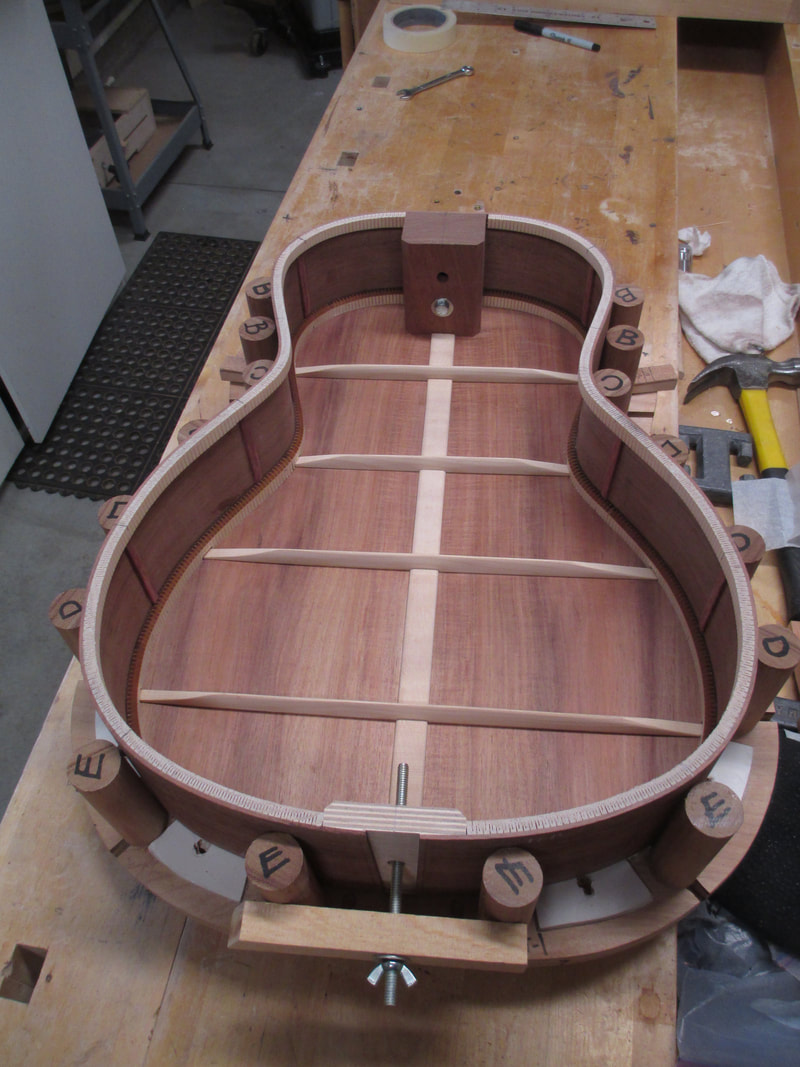
Heel block and tail block installed
Installing kerfed lining. top and back will later be glued to the lining
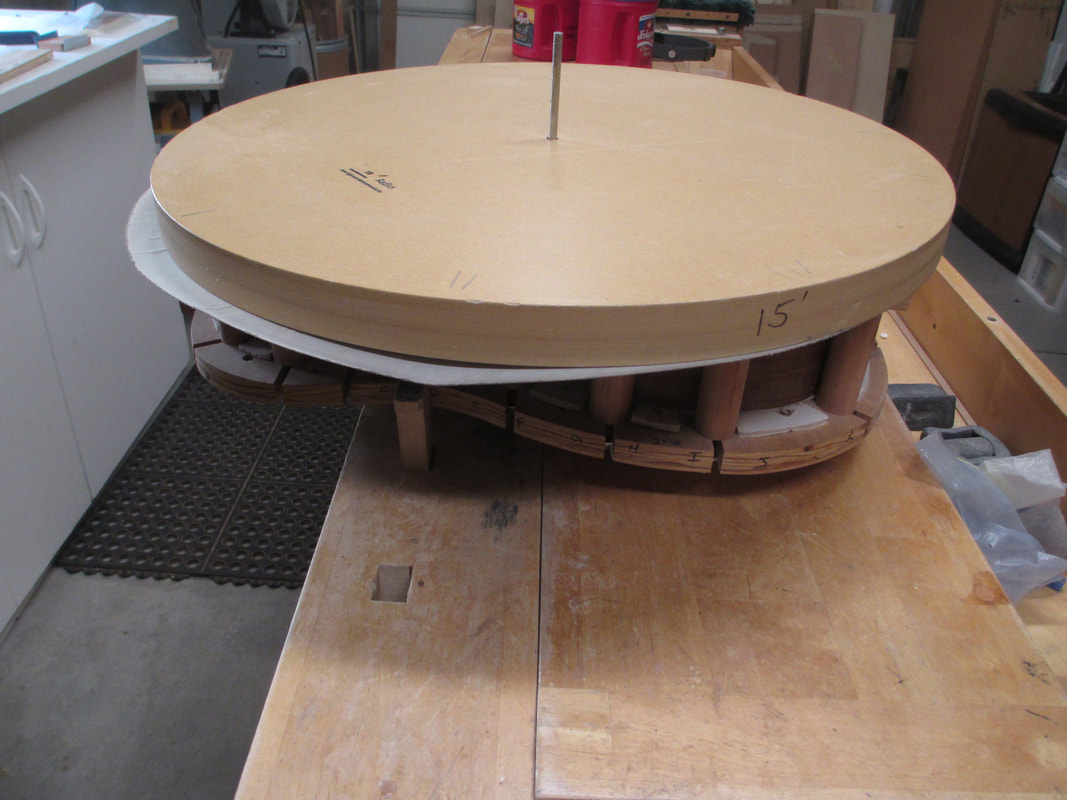
Sanding 30' radius on back sides and kerfing
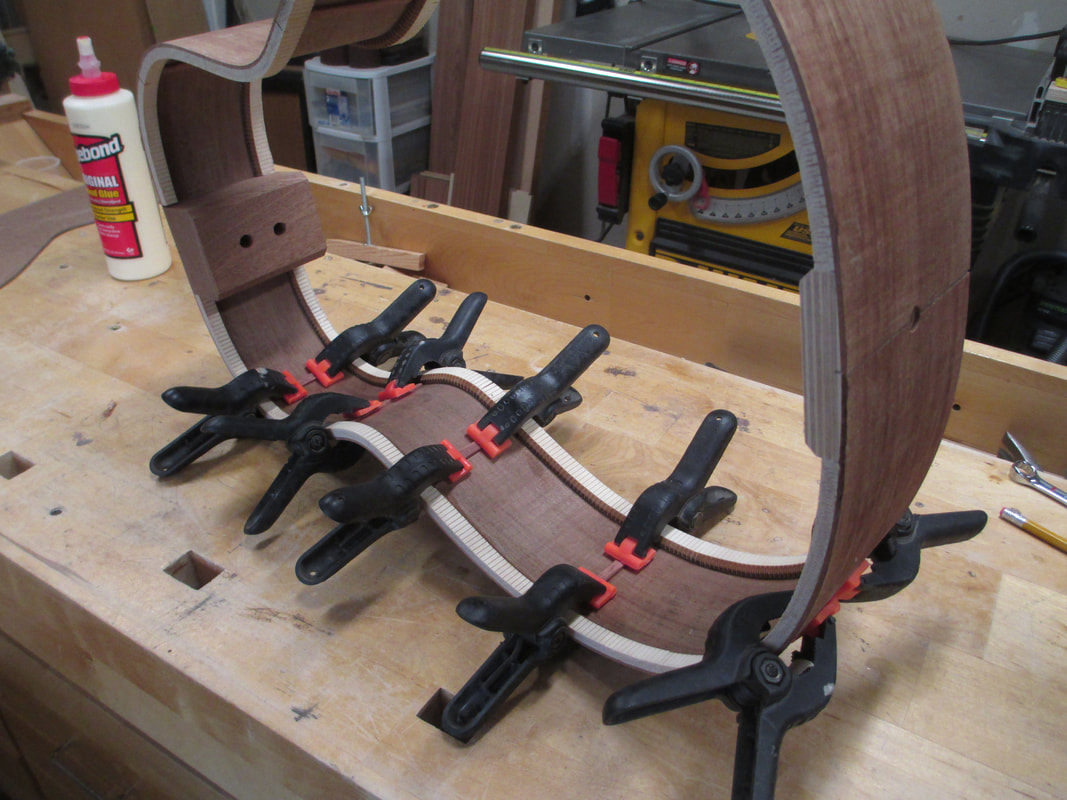
Gluing side reinforcement
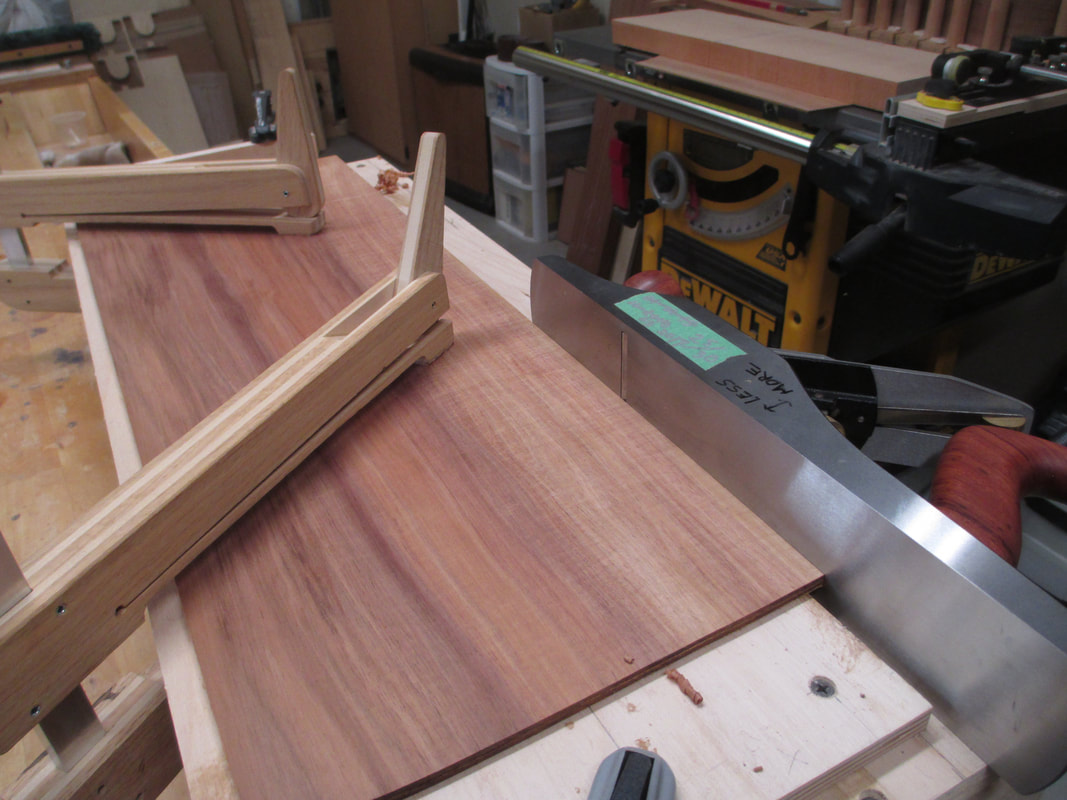
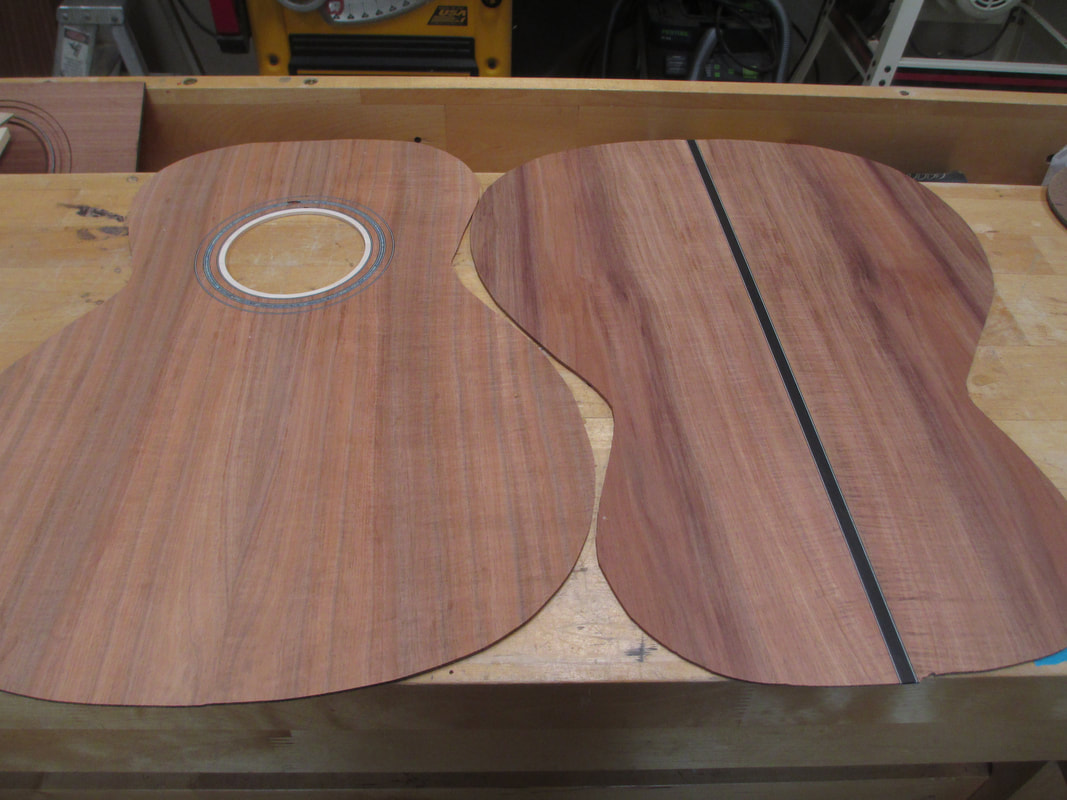
Joining the sound board book matched pieces
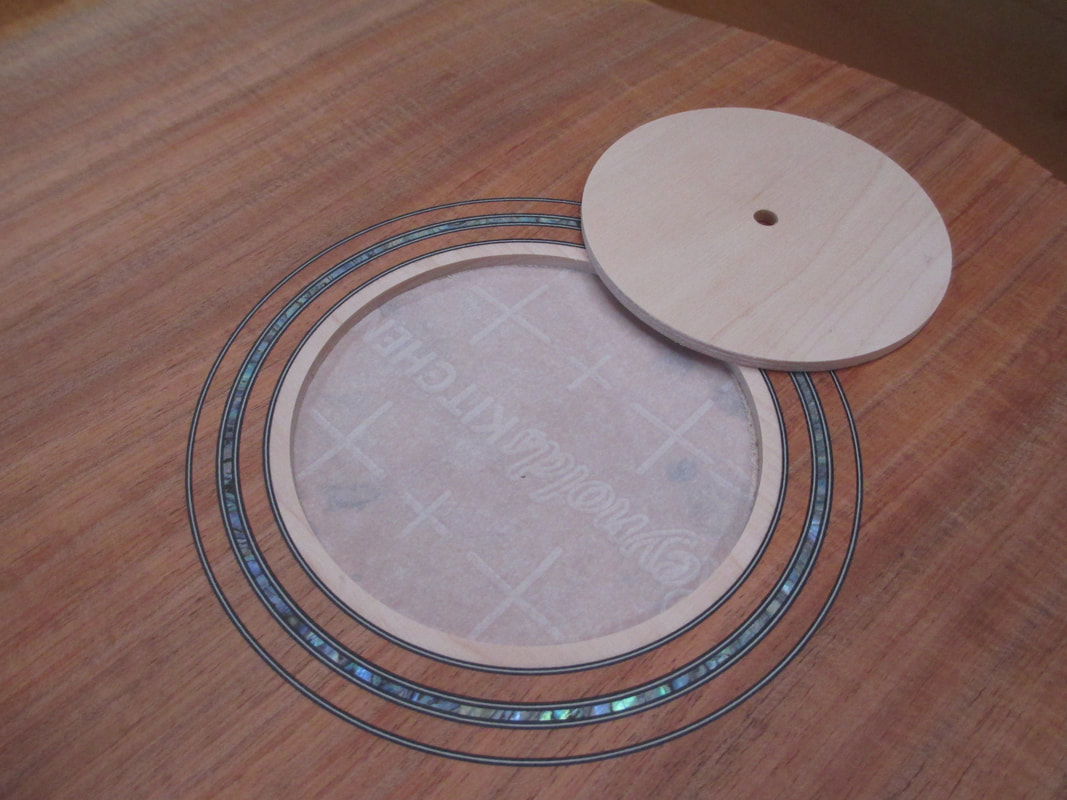
The piece below (I call it the 'Hat') will be mated with the sound hole area of the top.

'Hat' (Maple) mated with the sound board
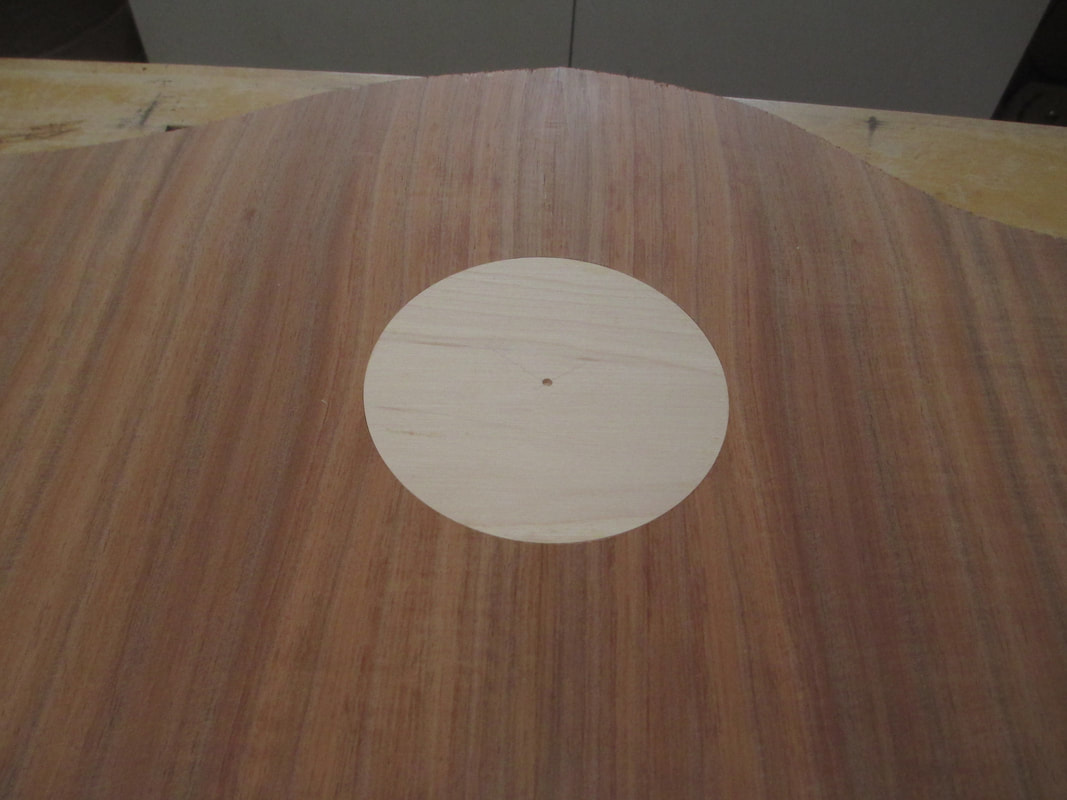
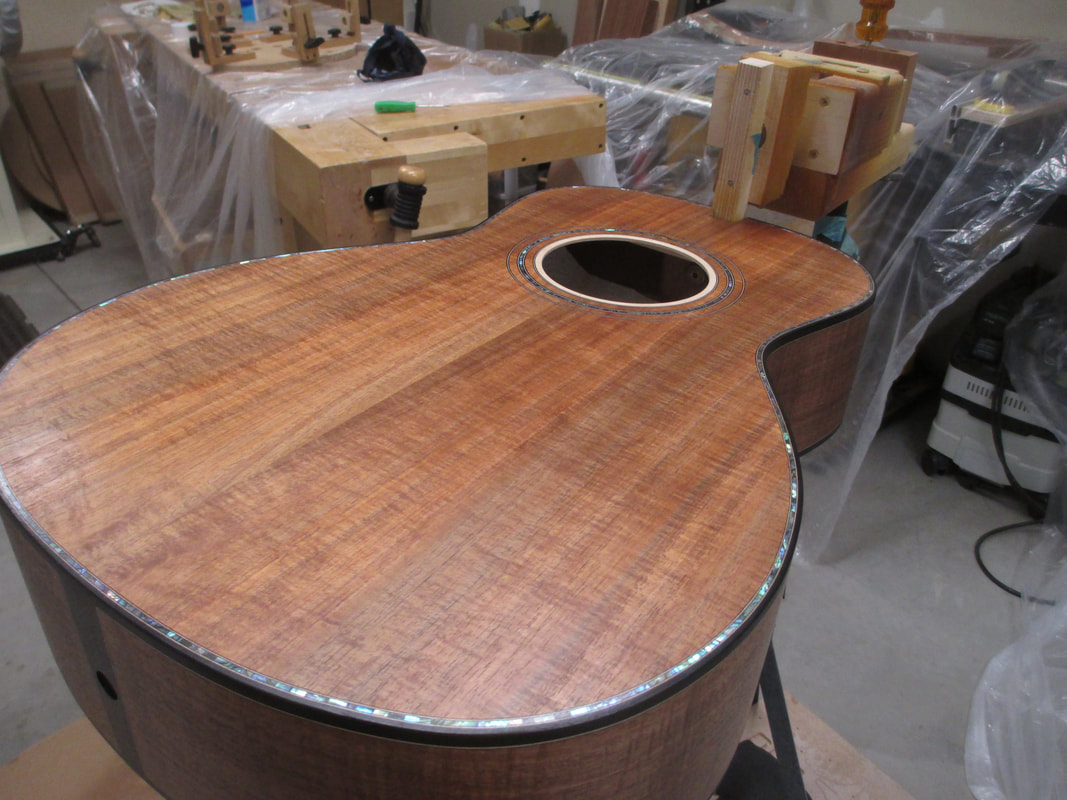
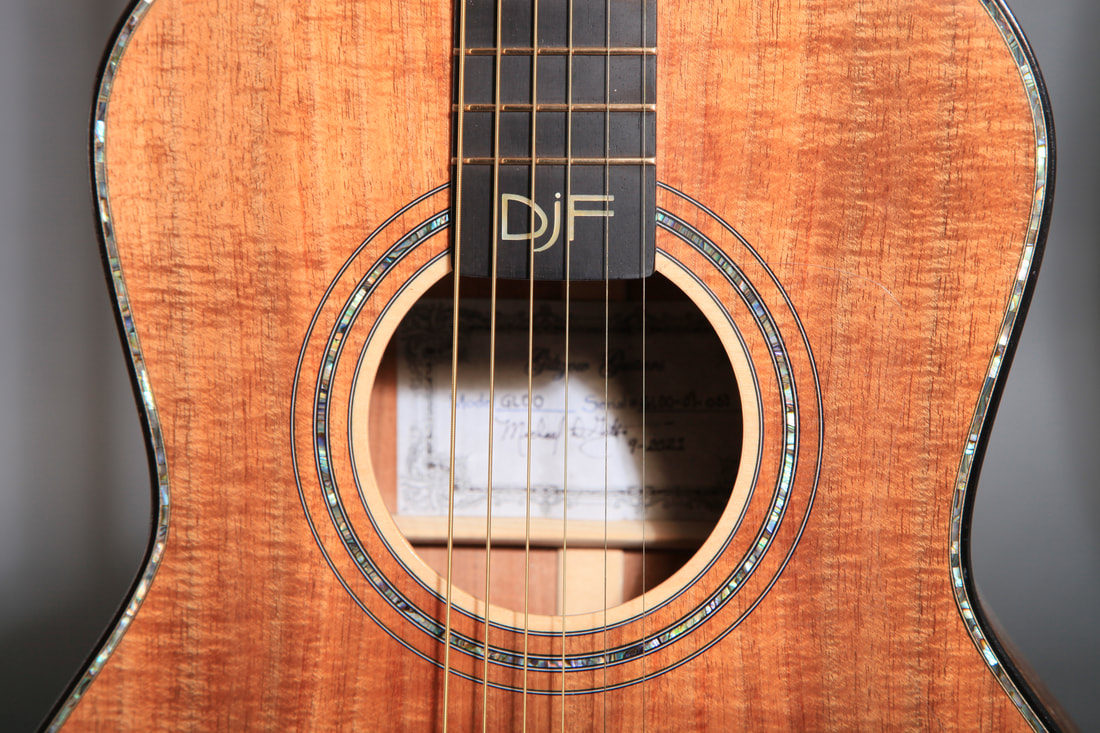
Sound hole cut and rosette with abalone ring, inlaid. The 'Hat' gives us a nice 'bound' look to the sound hole and provides extra strength
Using a smoothing plane to get the back pieces to mate
Back and sound board ready to be braced
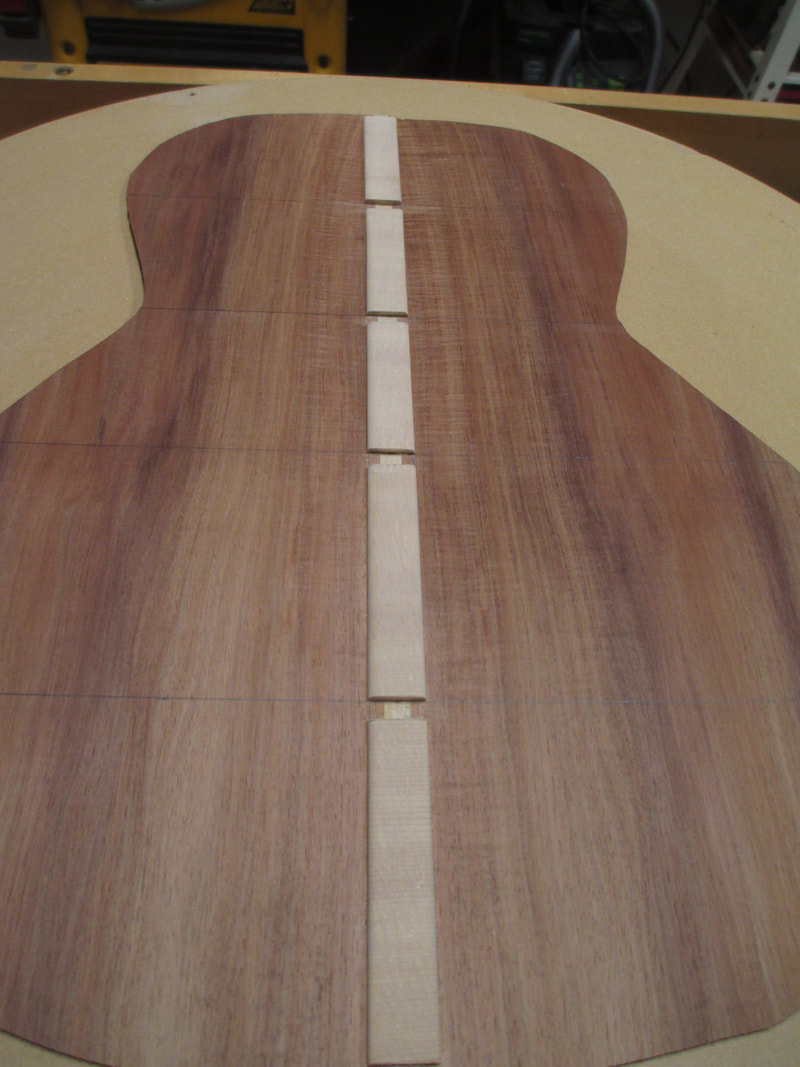
Back center reinforcing strip with cut outs for back braces
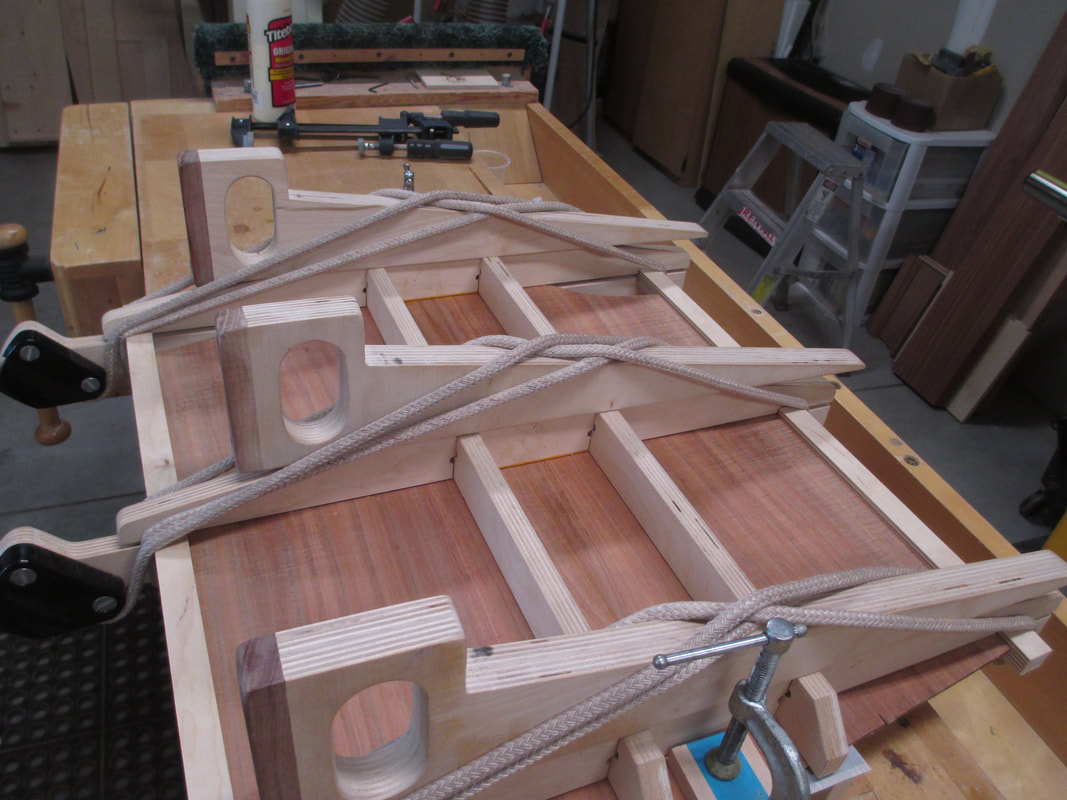
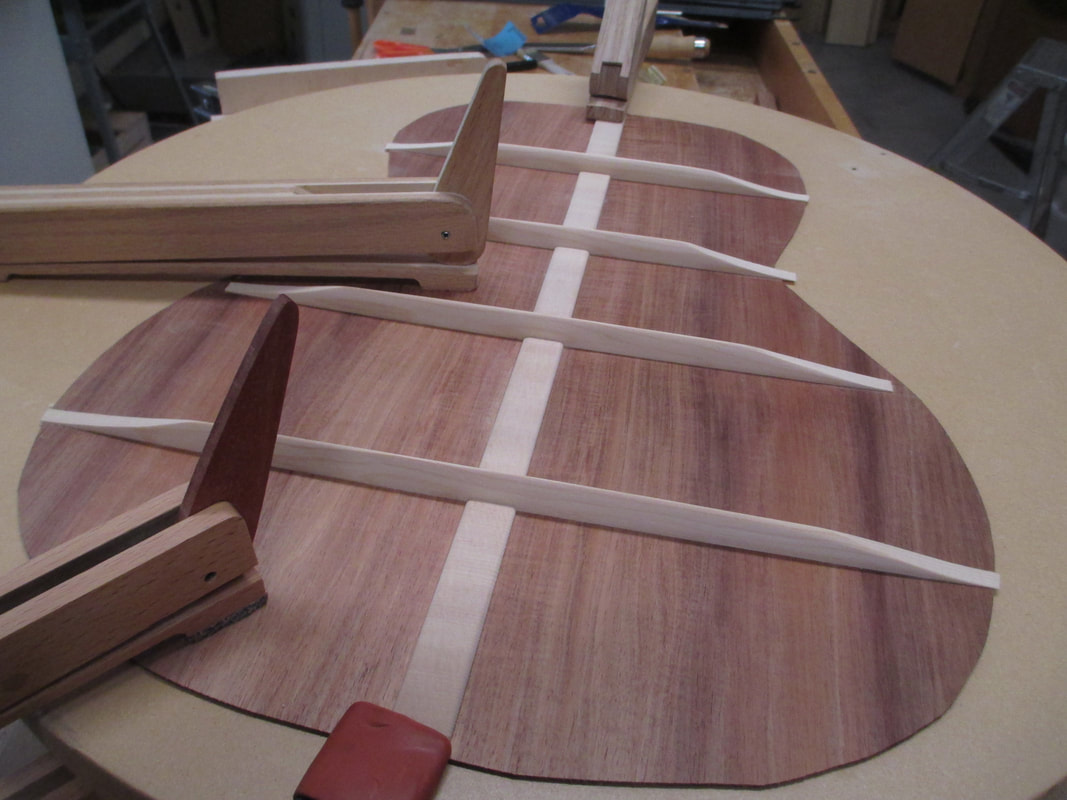
Back braces contoured to 25' radius and glued to back
Back braces carved and sanded
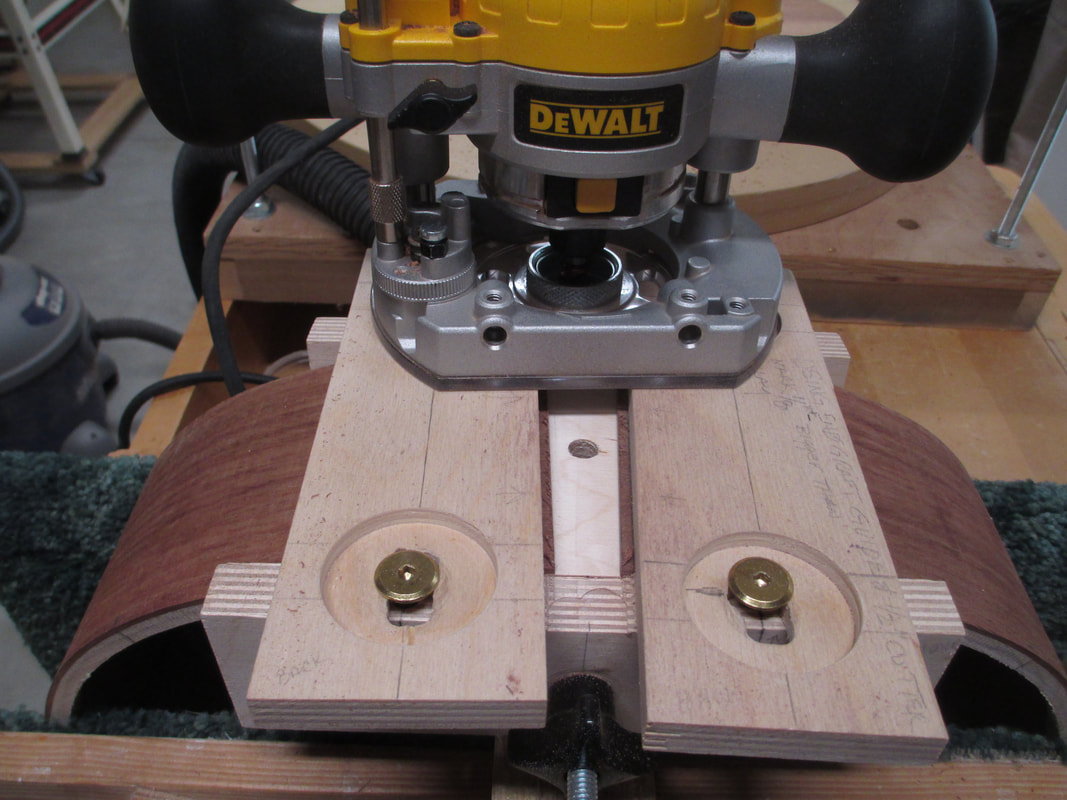
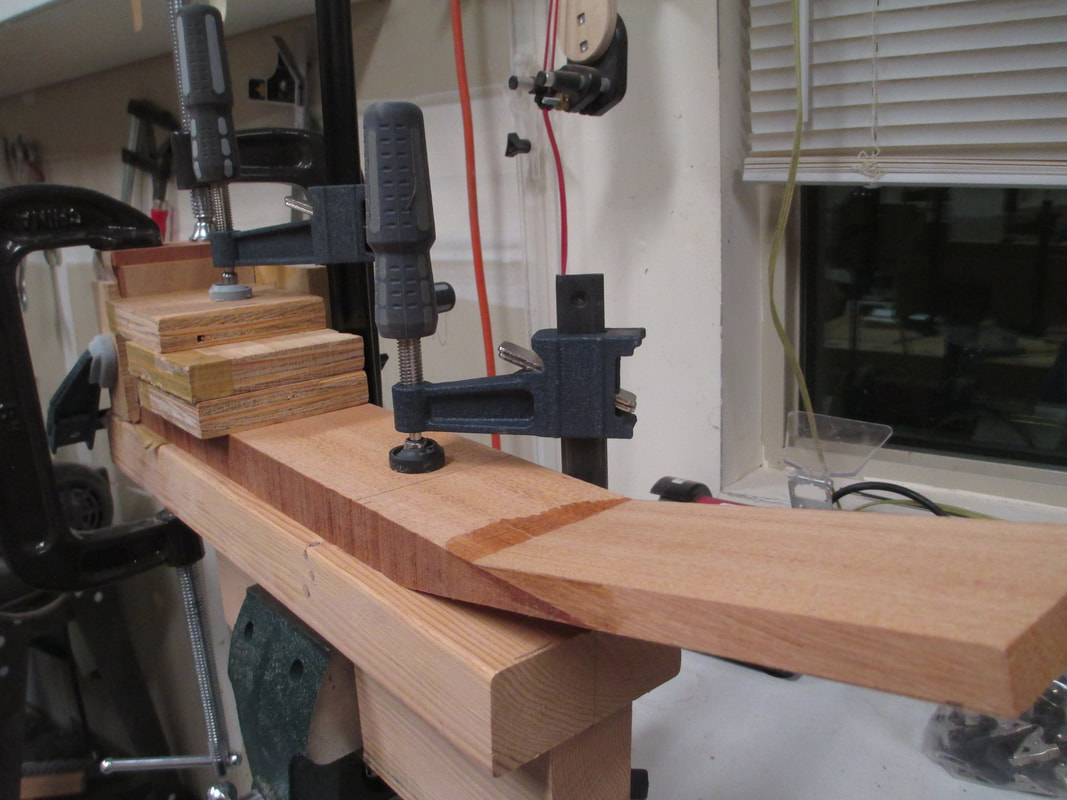
Routing cavity for tail graft
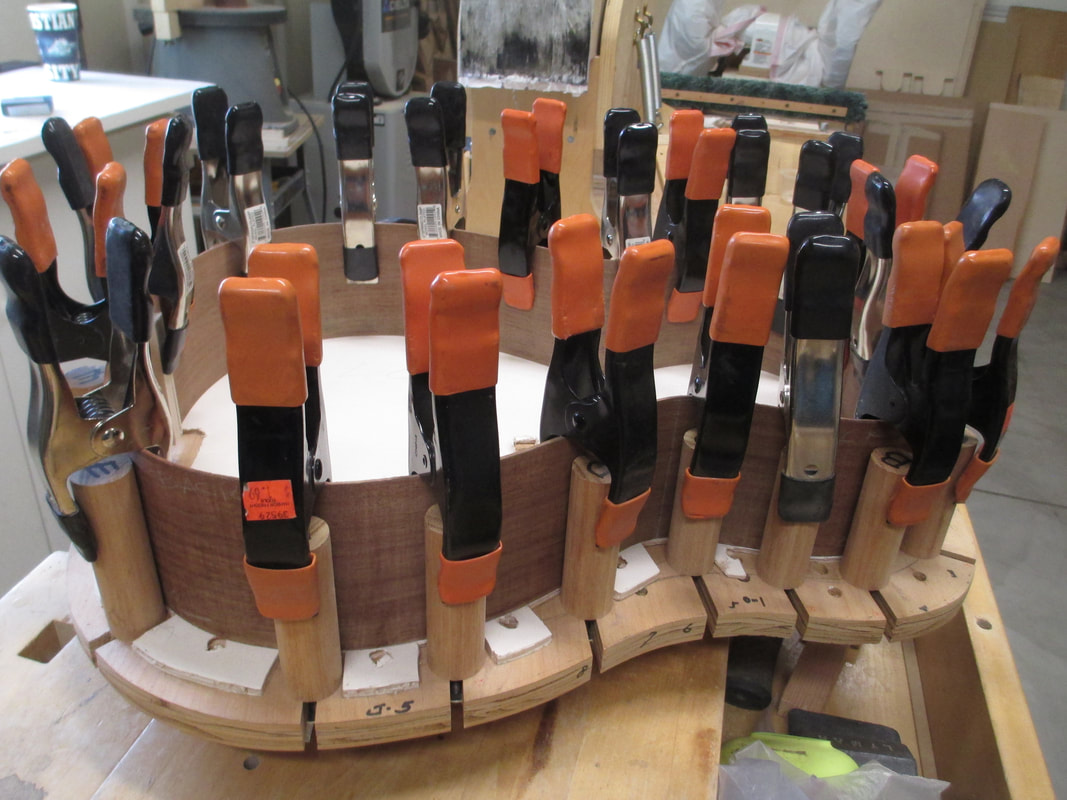
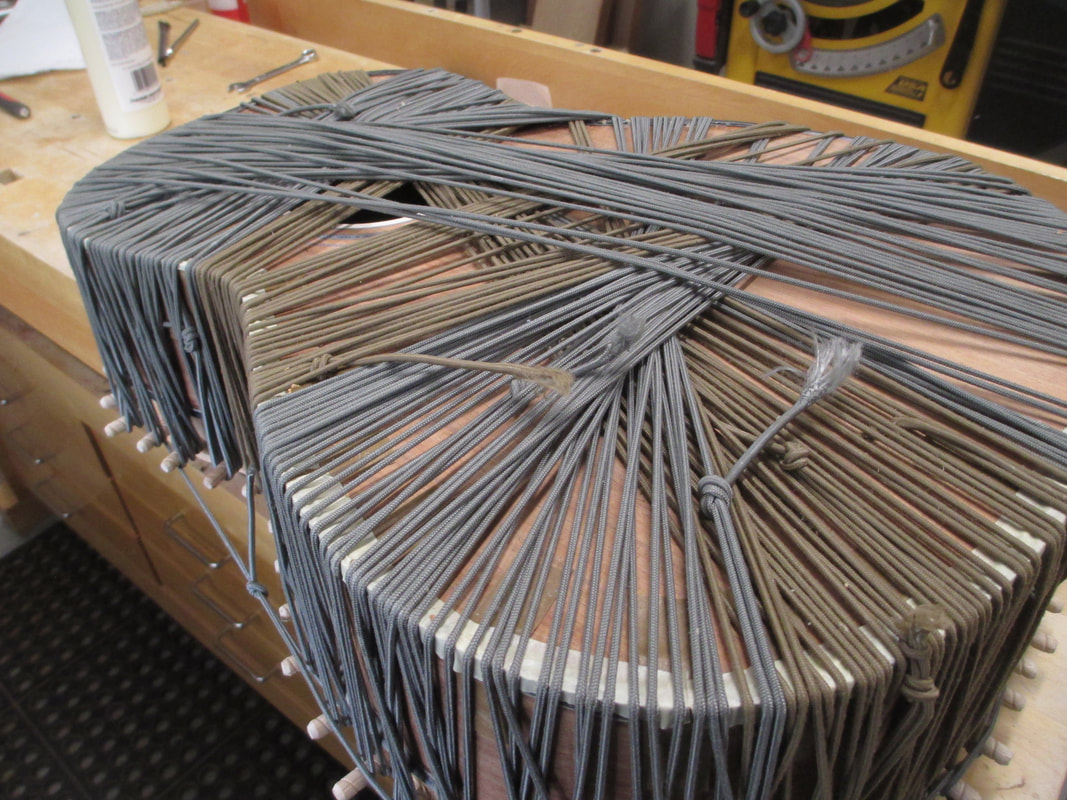
Gluing back to sides
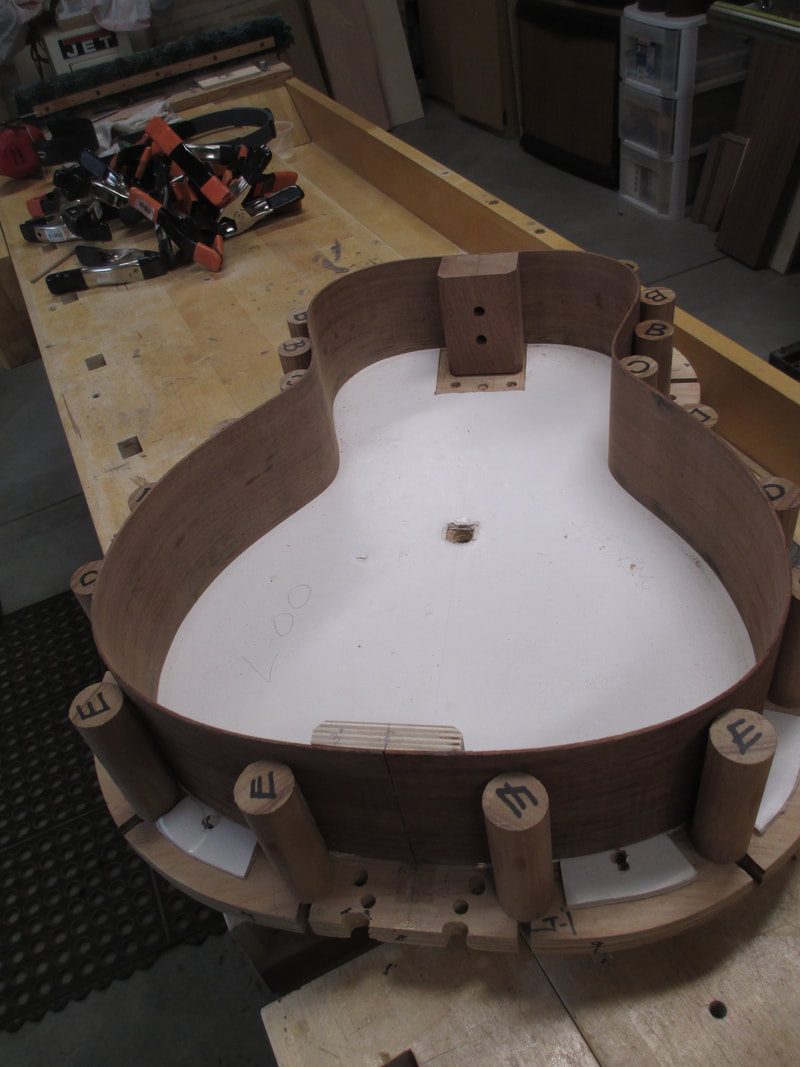
Back installed and trimmed
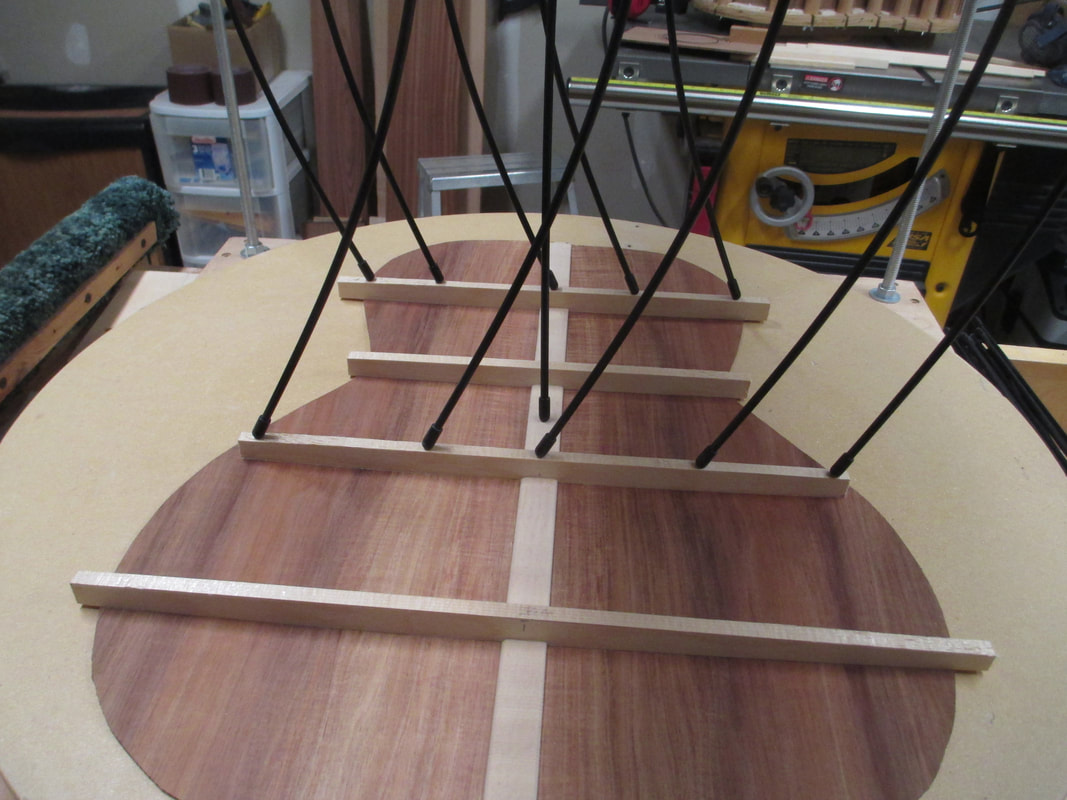
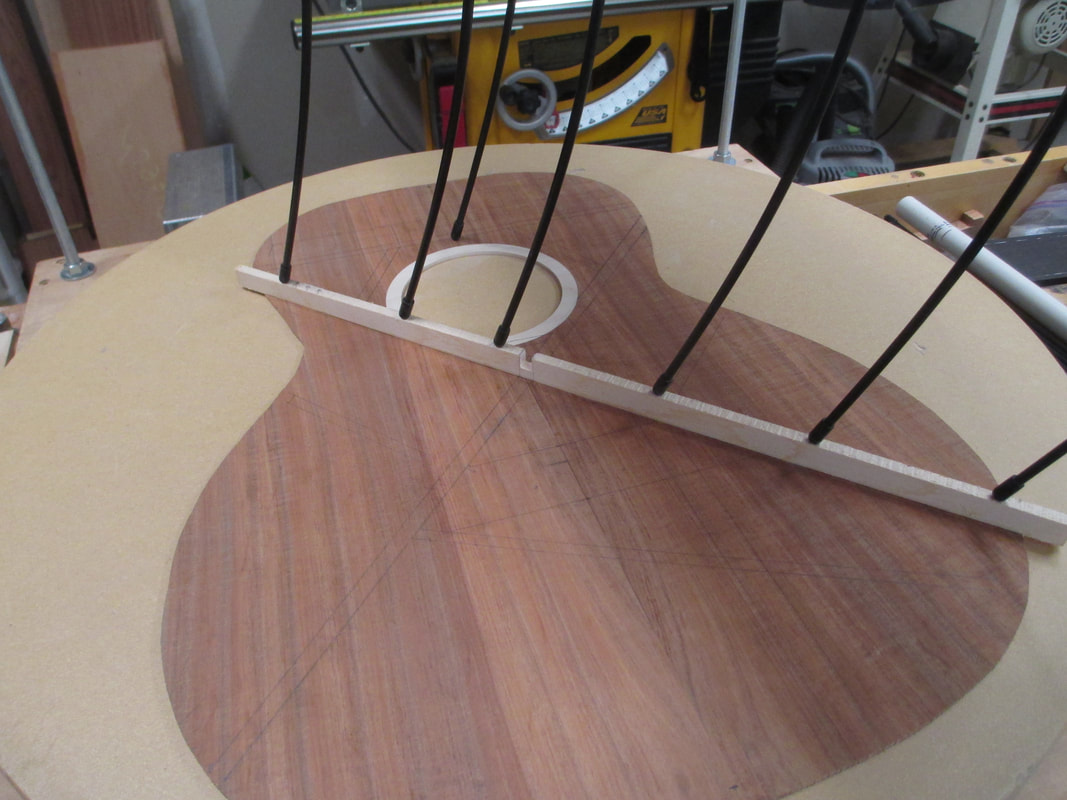
Sound board Marked for braces
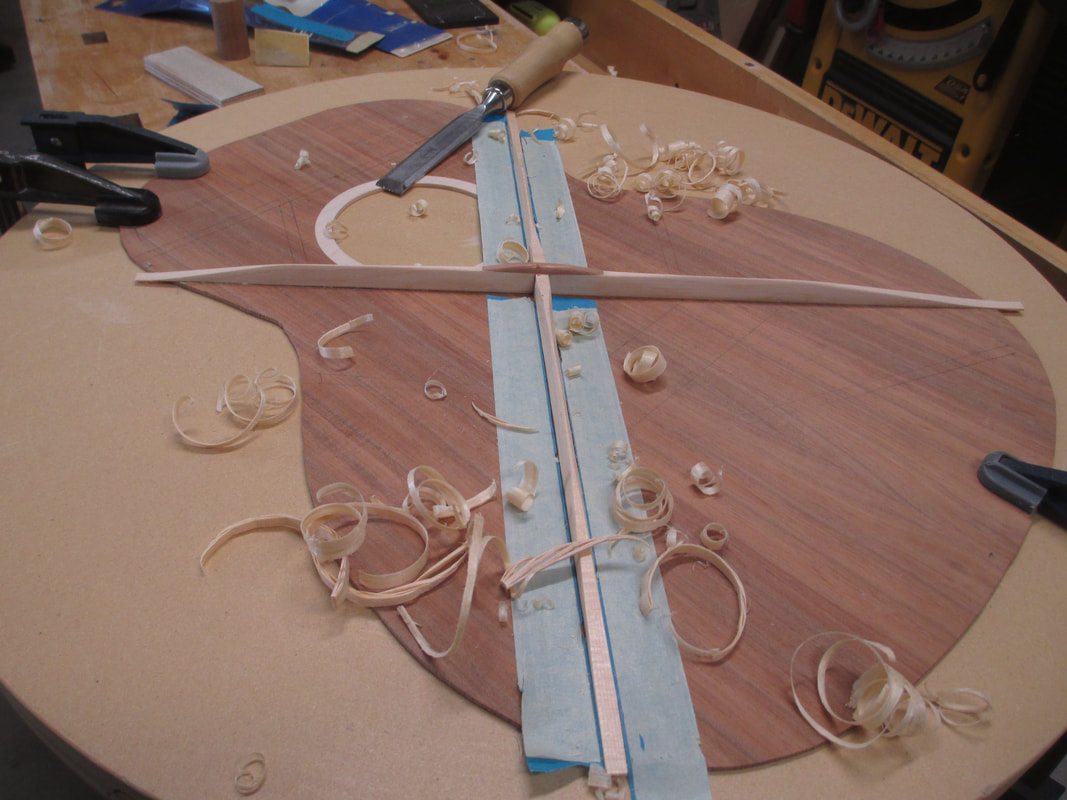
X braces glued and being carved
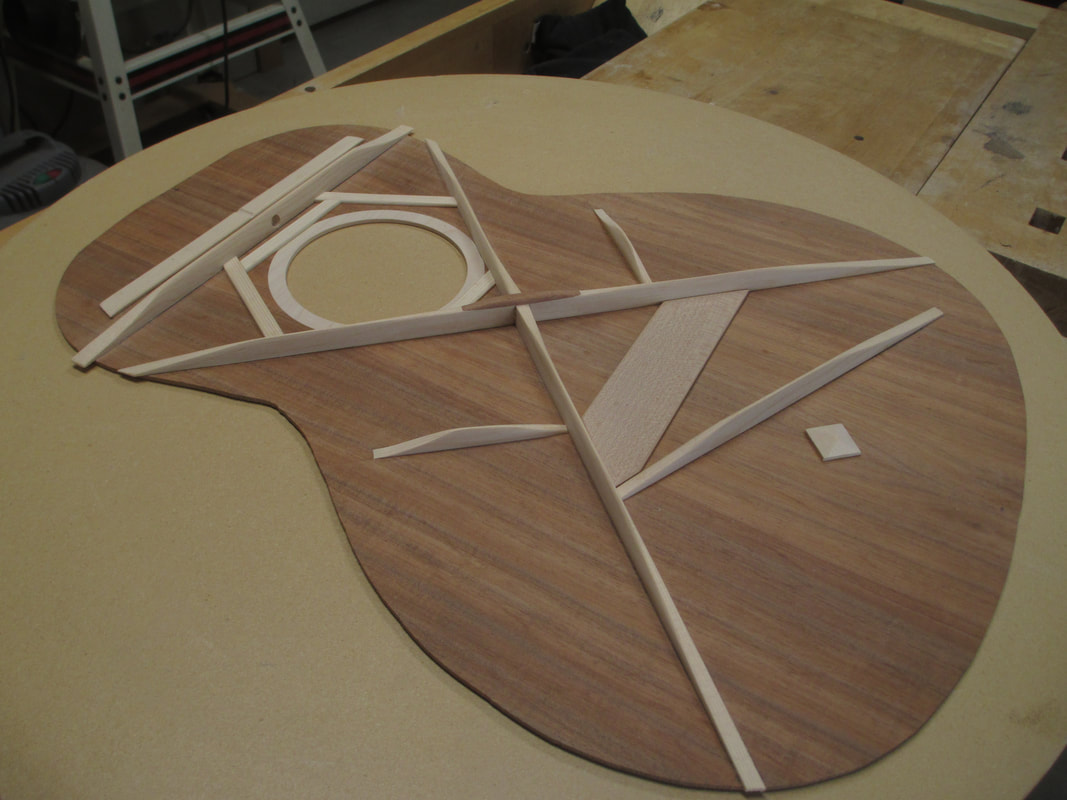
Sound board braced
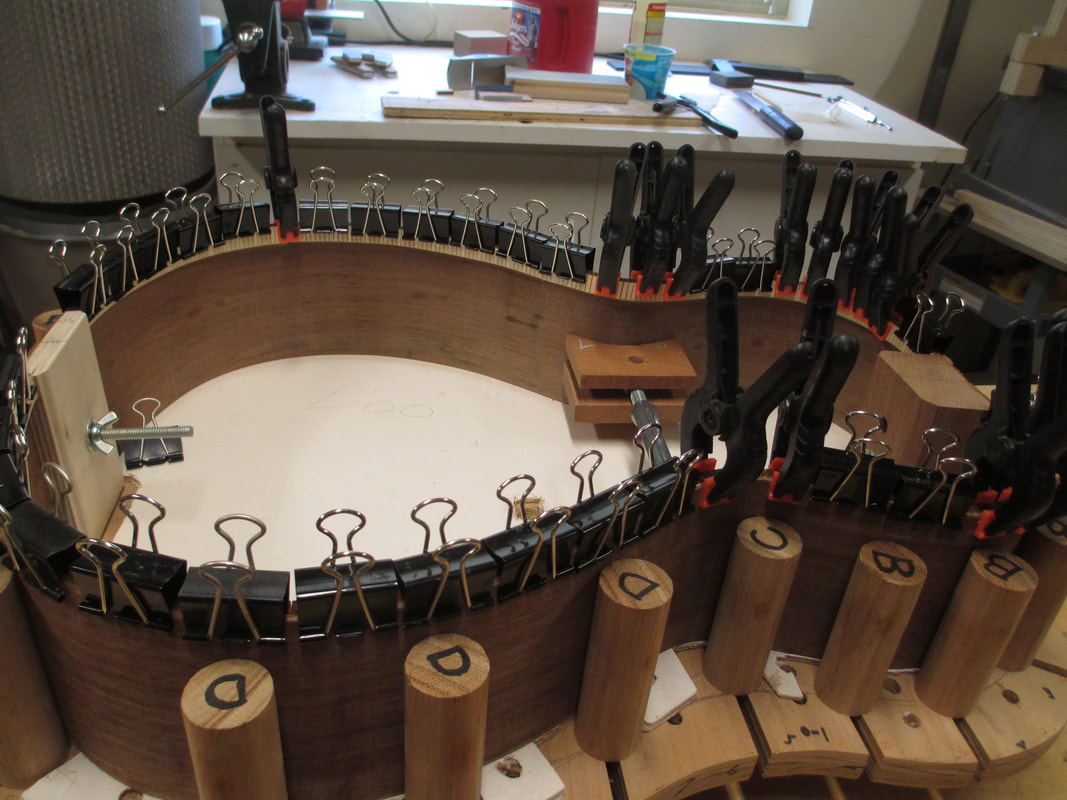
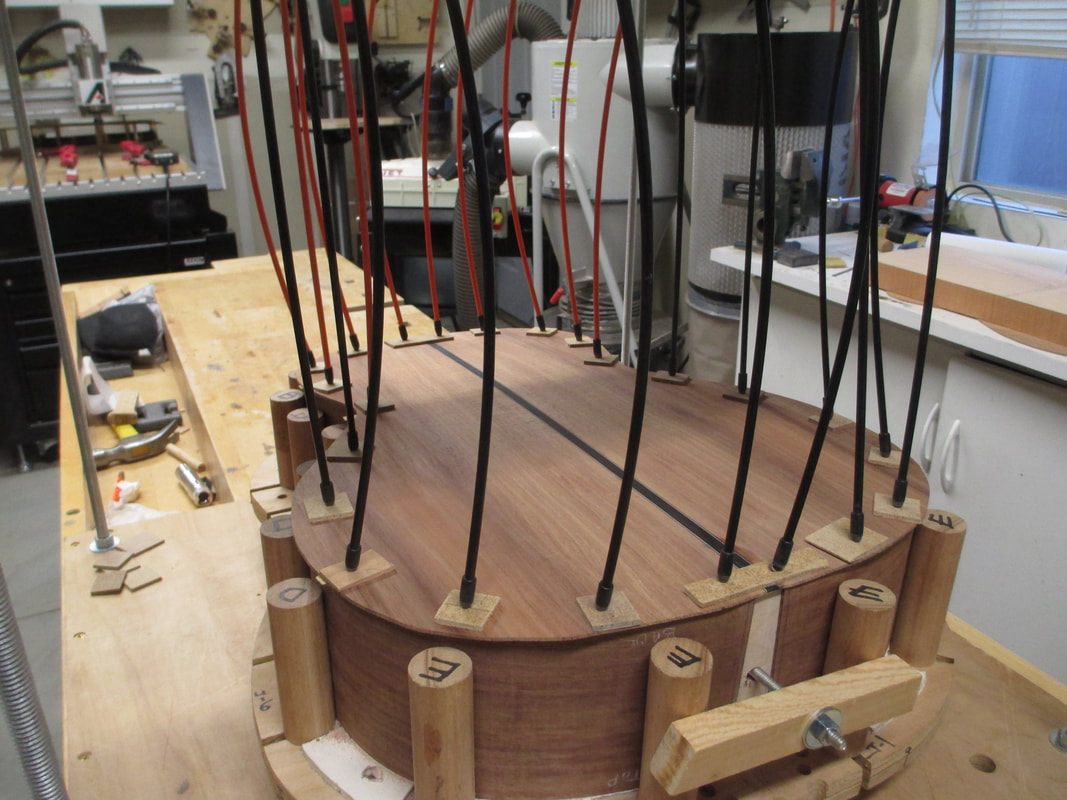
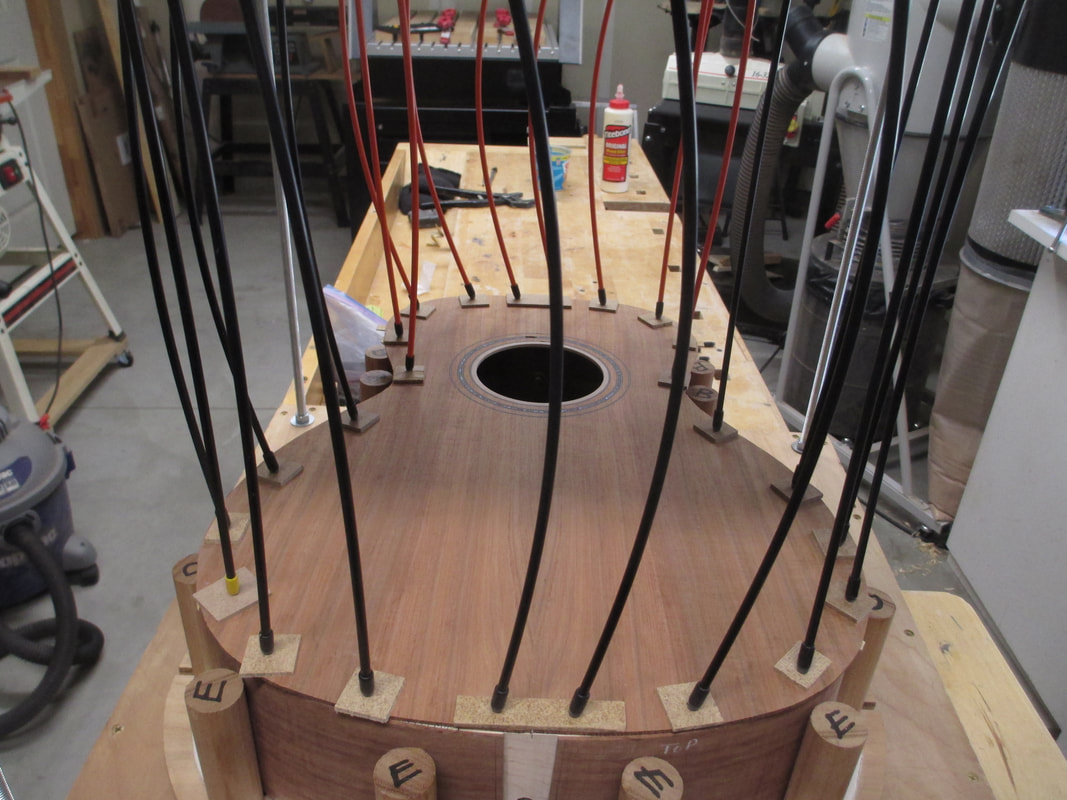
Sound Board mated with sides & back
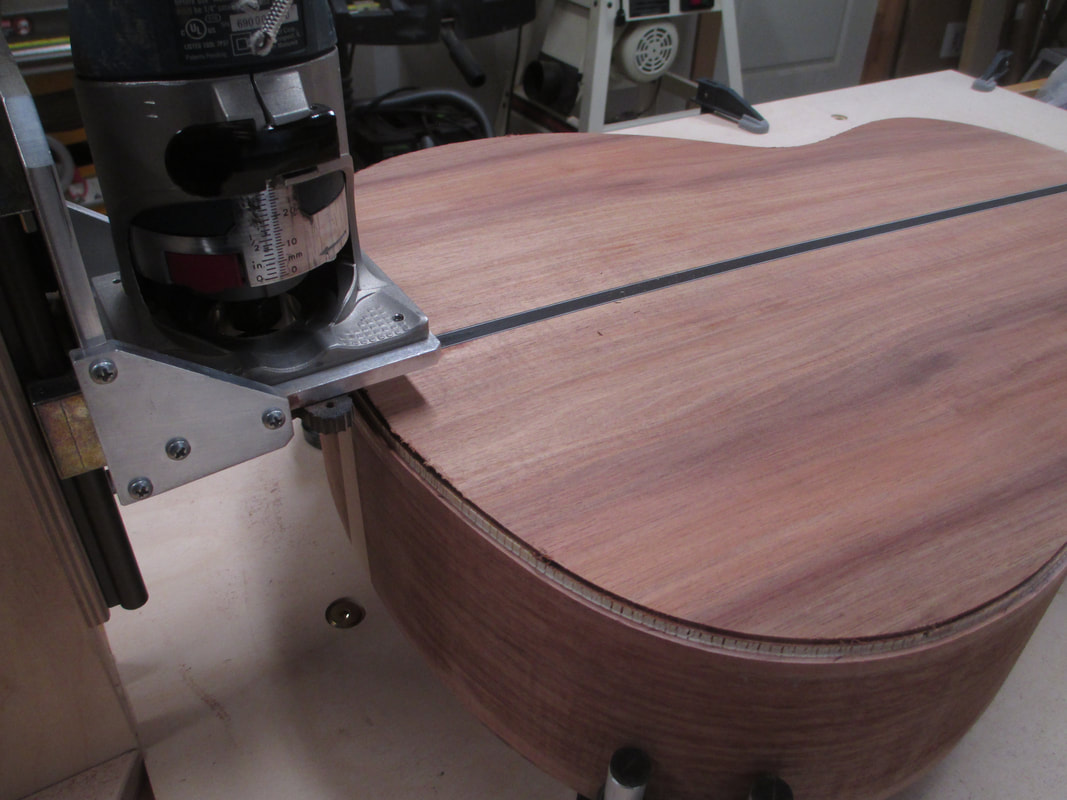
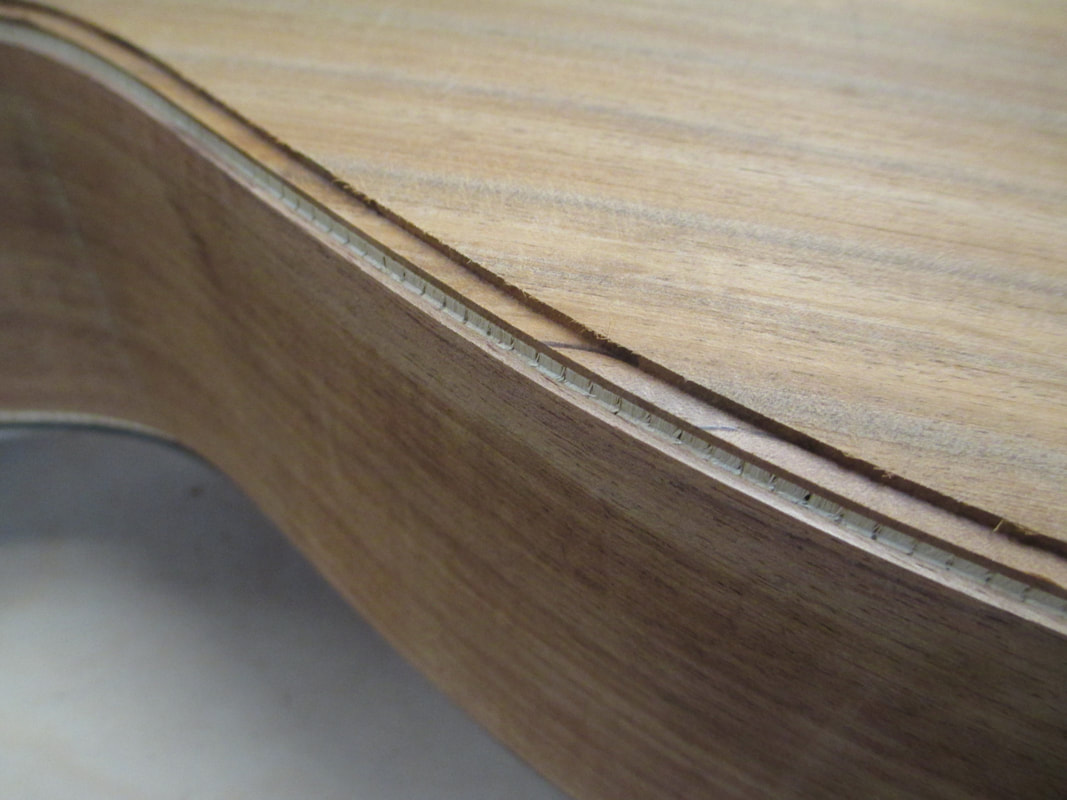
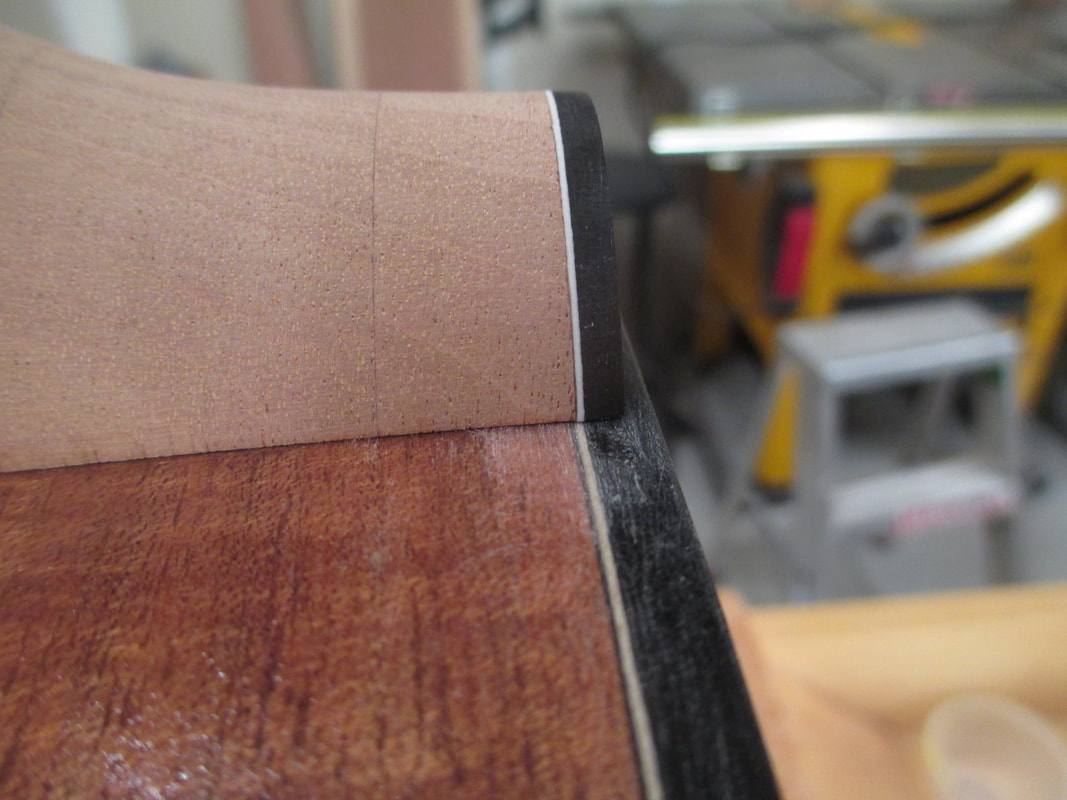
Cutting binding channels back side
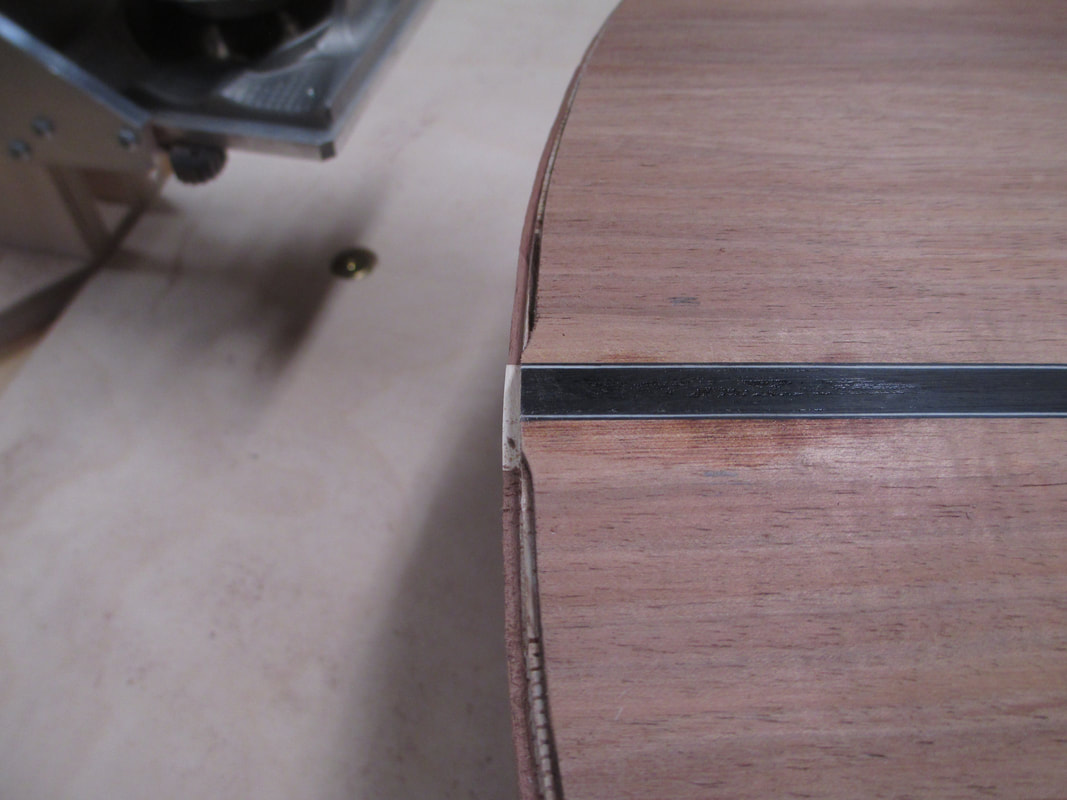
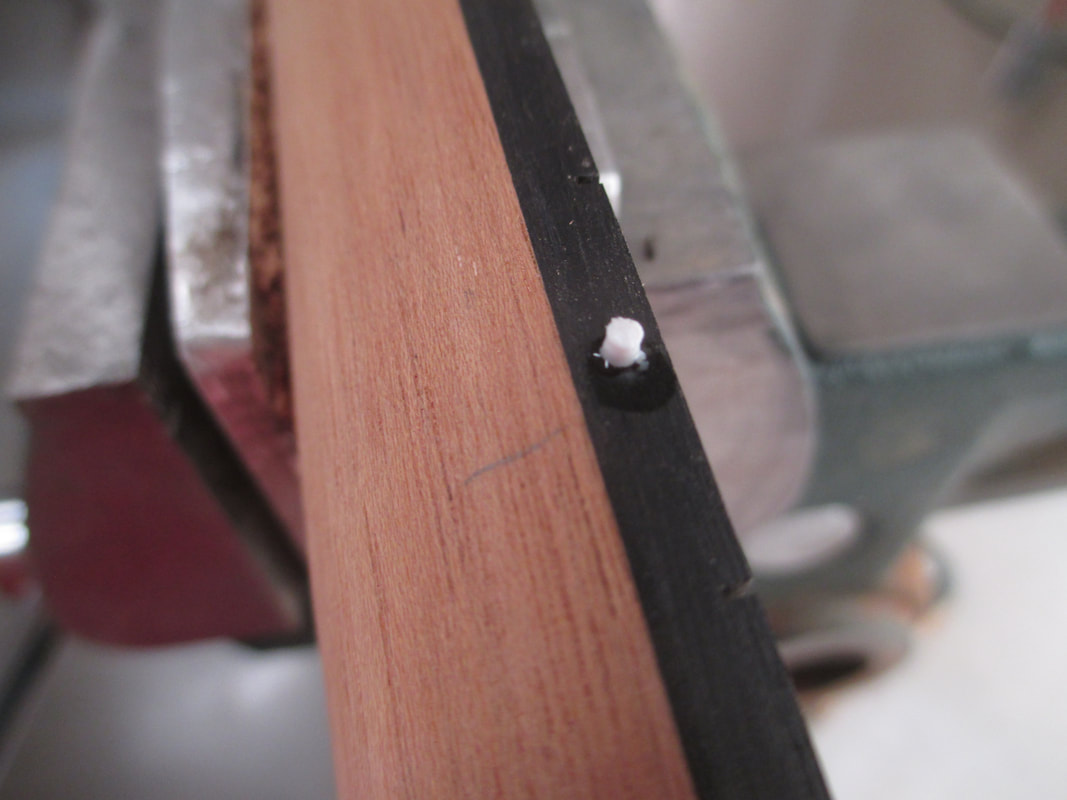
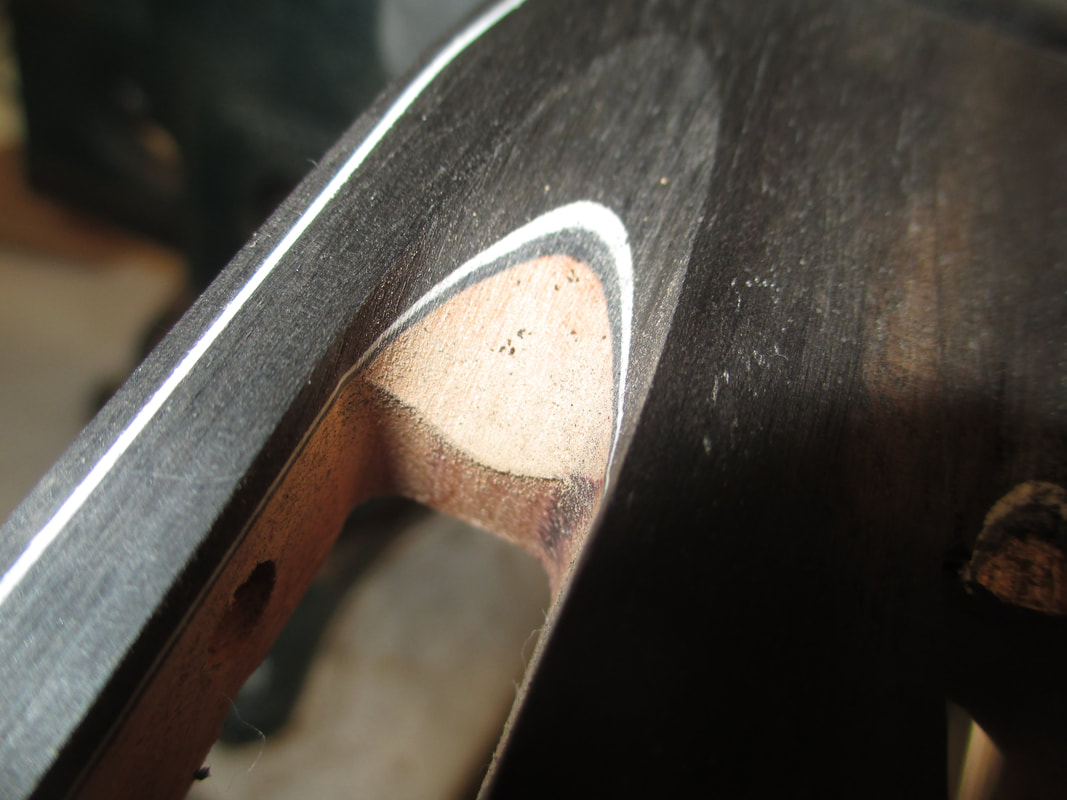
Binding channel on back is stopped short of Ebony center strip and finished by hand with a chisel. This is because a black/white/black purfling will be placed inside the binding and must meet up with a black/white/black purfling on the back center strip at a 45 degree angle.
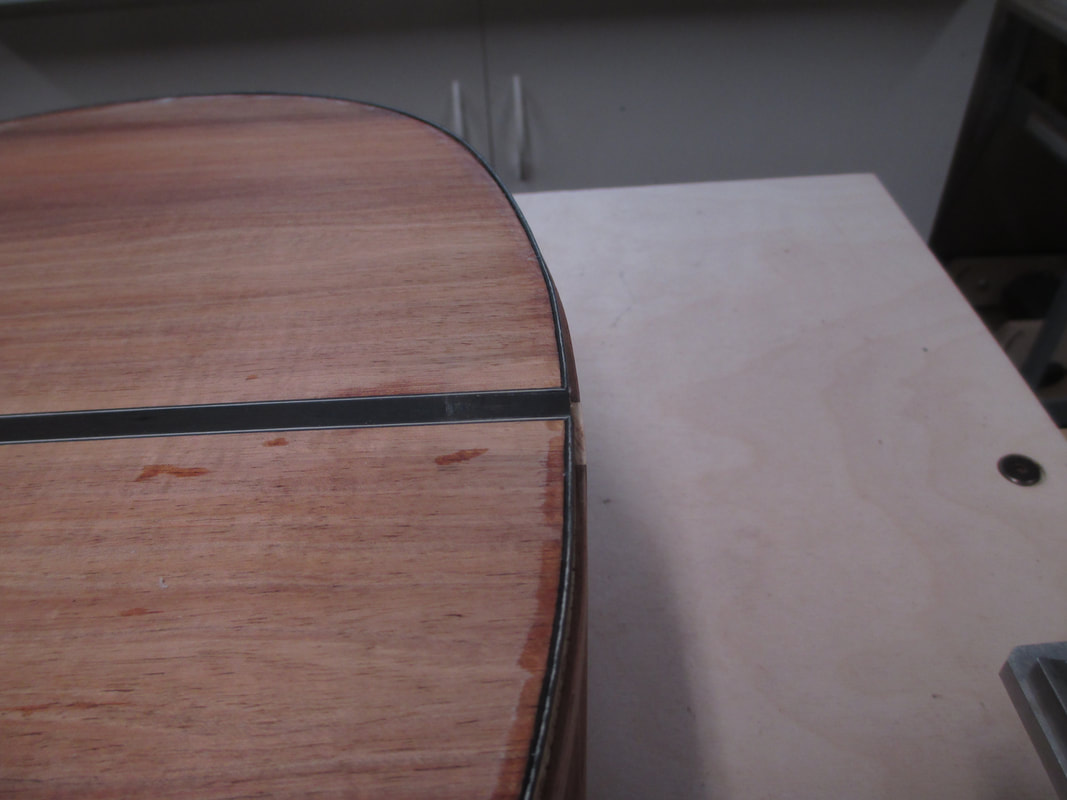
Black/white/black purfling strip mated to back strip at 45 degrees
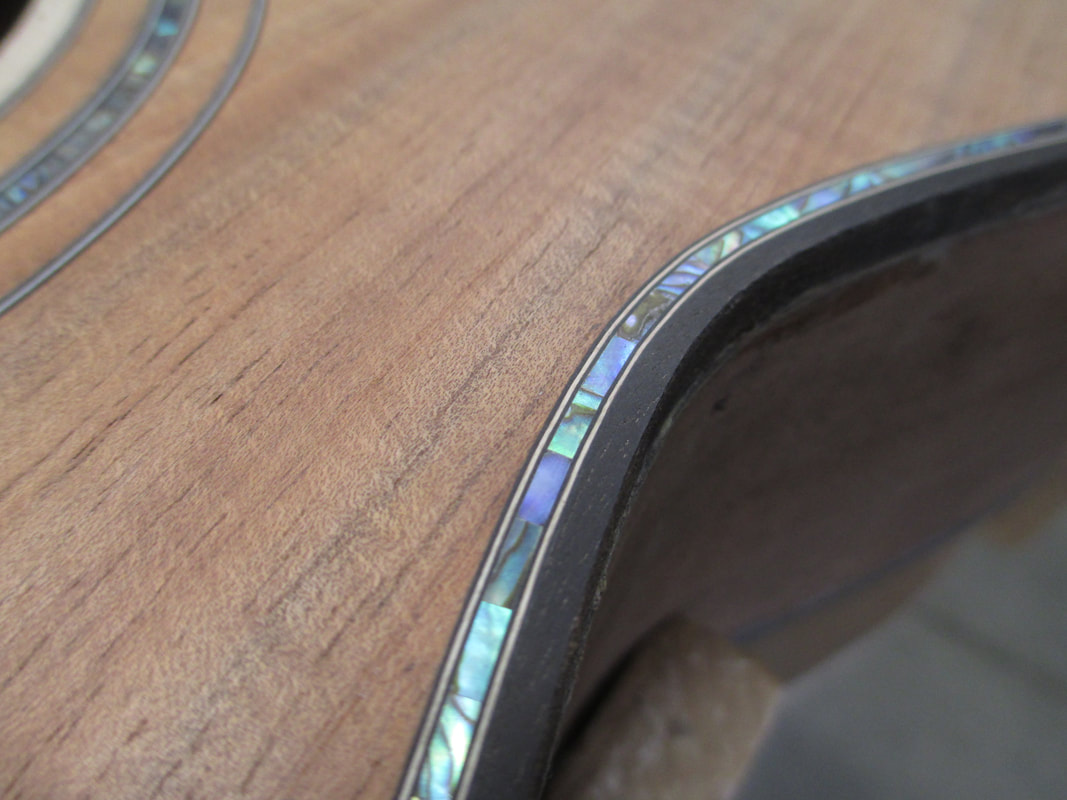
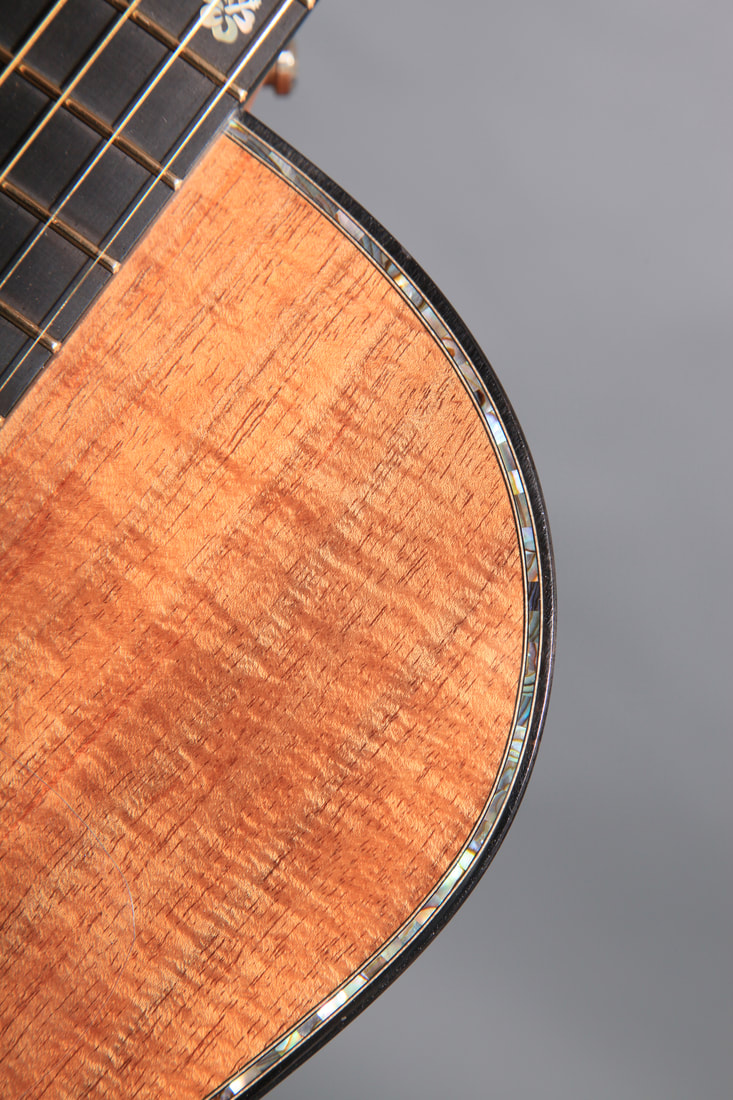
Top binding channels cut with an inside ledge for decorative abalone around the top
One side of top with Ebony binding, b/w/b purfling, abalone strip and a second b/w/b purfling glued
Top binding
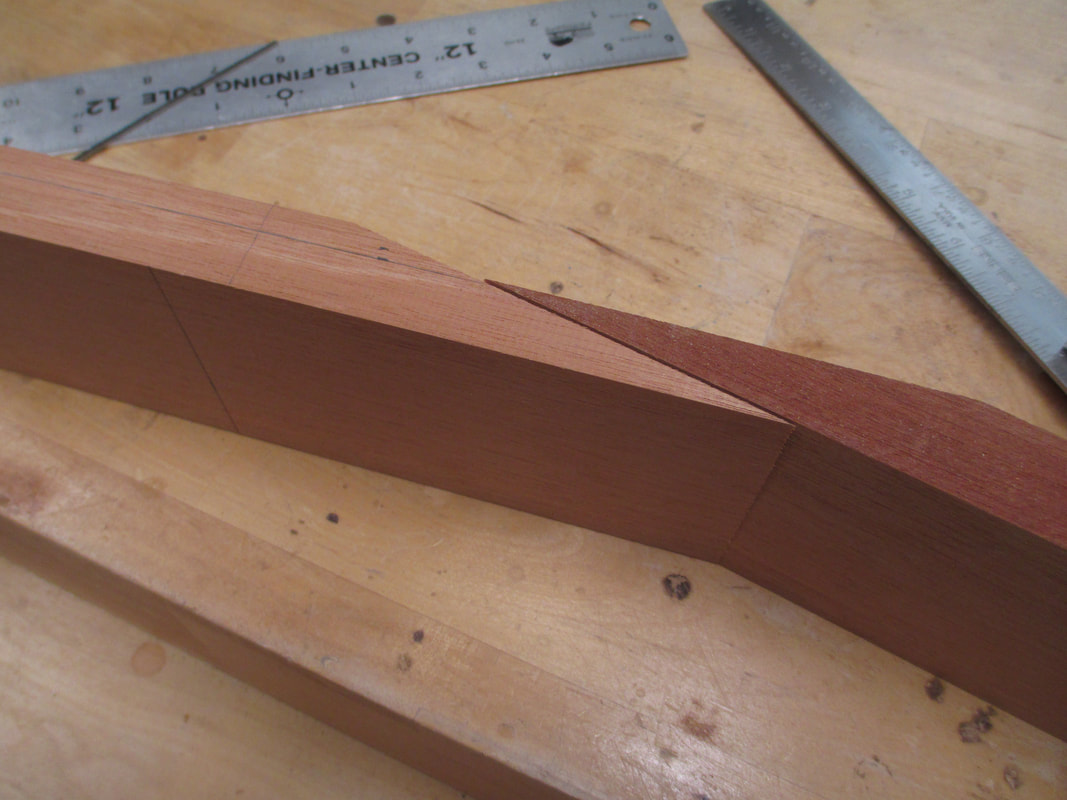
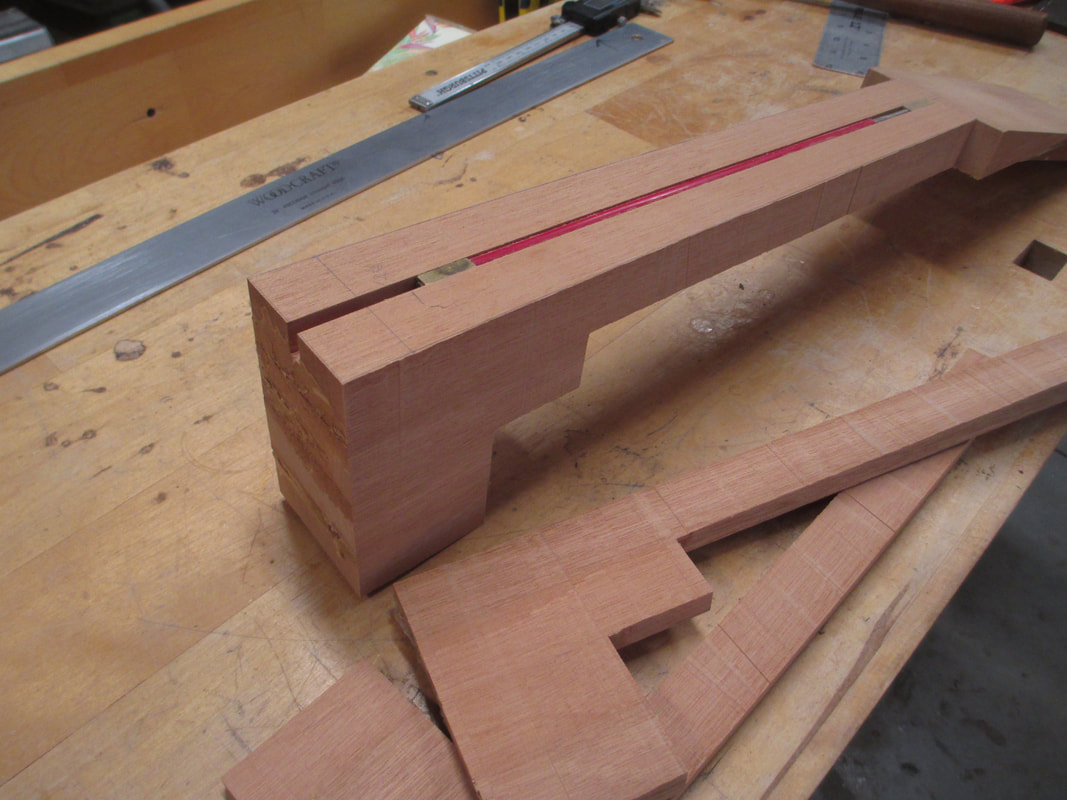
Mahogany neck cut on a 12 degree angle for the neck splice
Peg head splice glued
Stacked heel glued to neck
Neck truss rod channel cut. Neck is ready for shaping
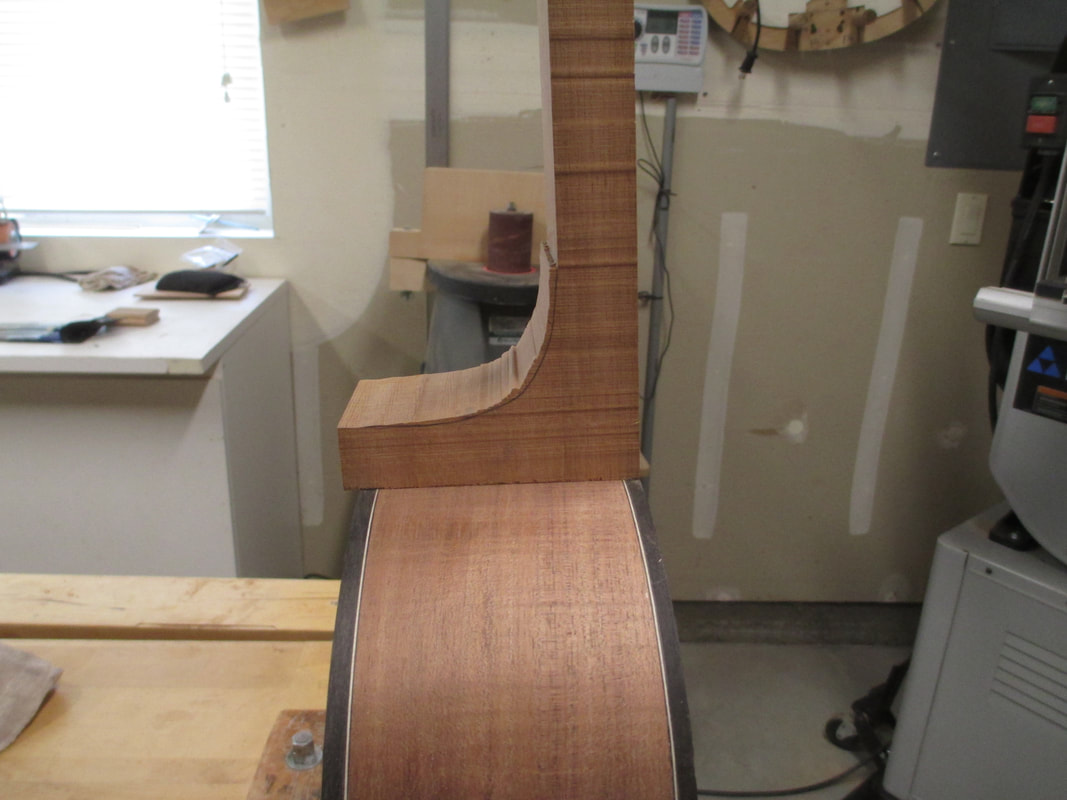
Initial neck fitting to body
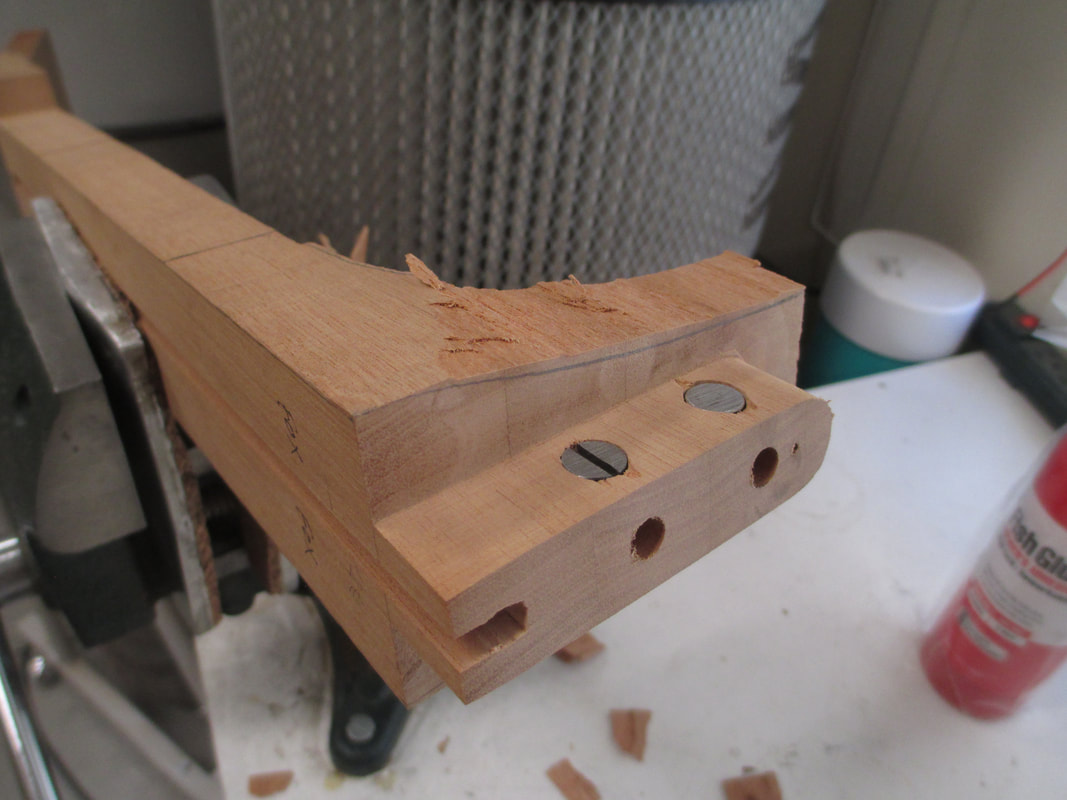
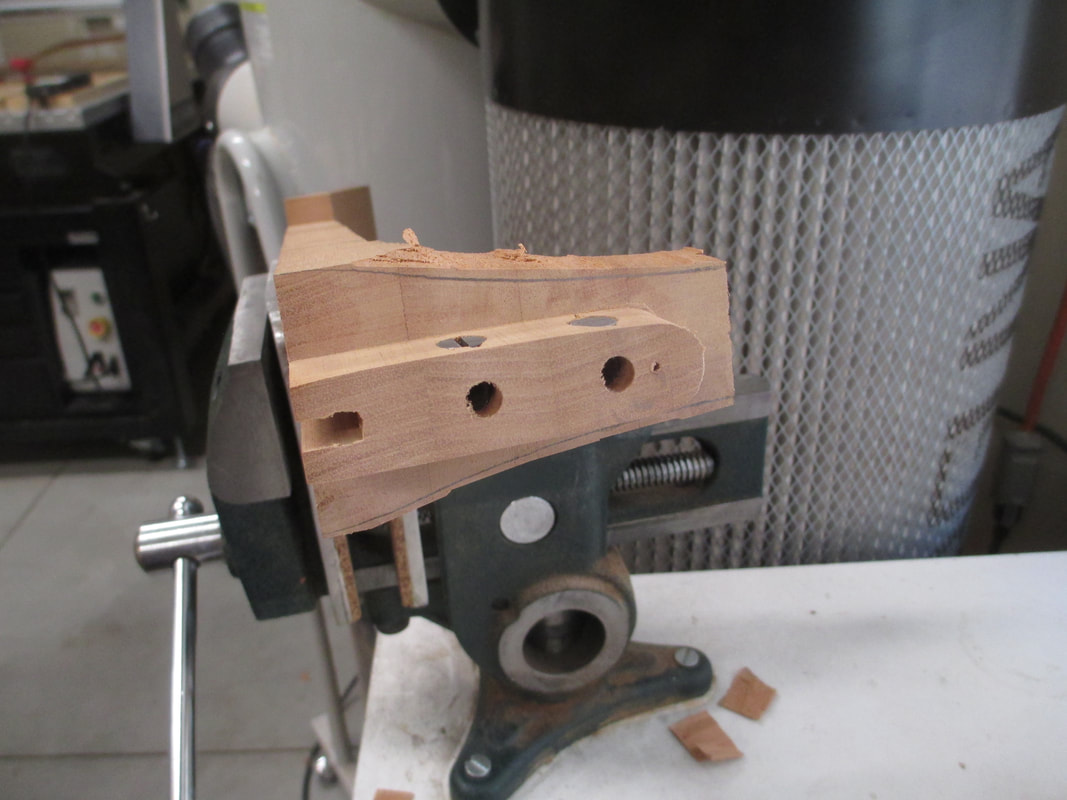
Rough shaping heel end of neck
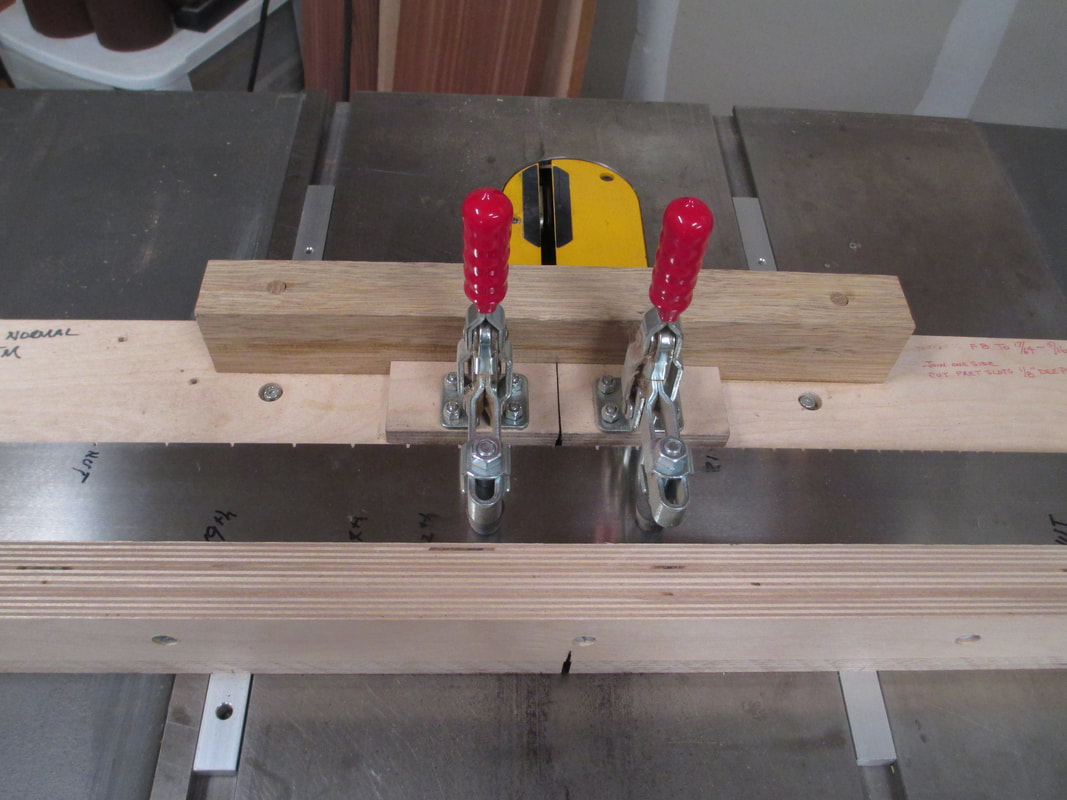
Cutting fret slots in fret board
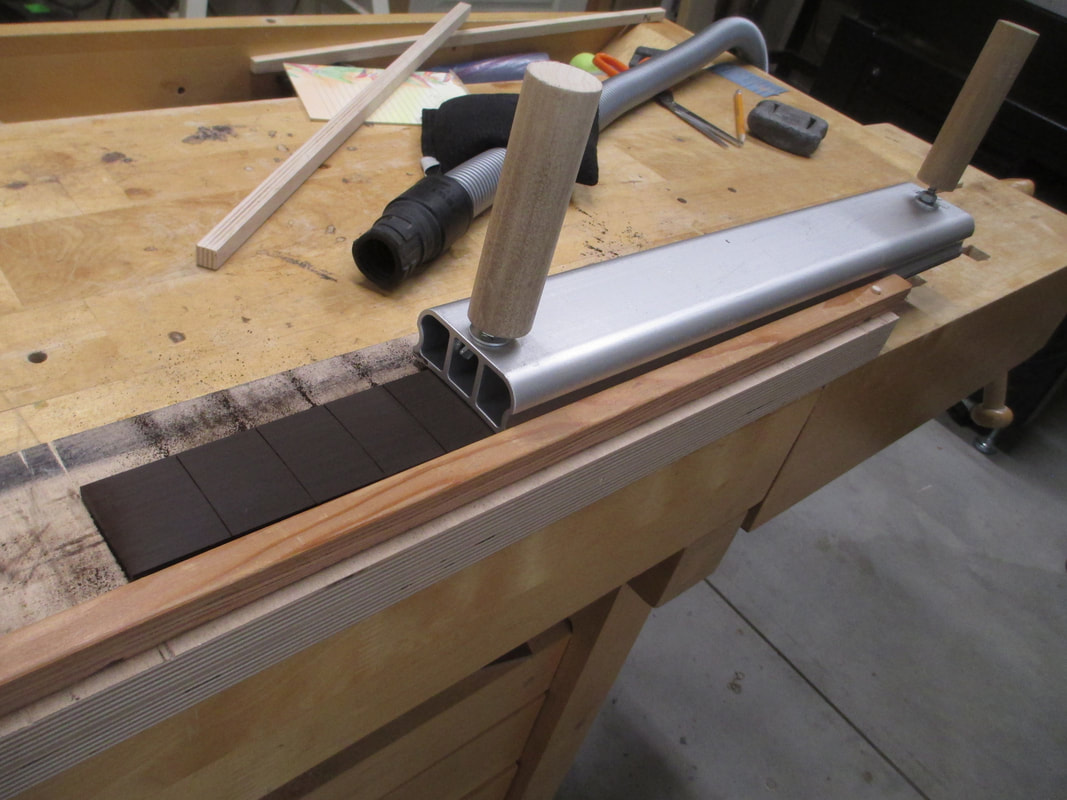
Sanding 16" fret board radius
Rough cutting neck heel
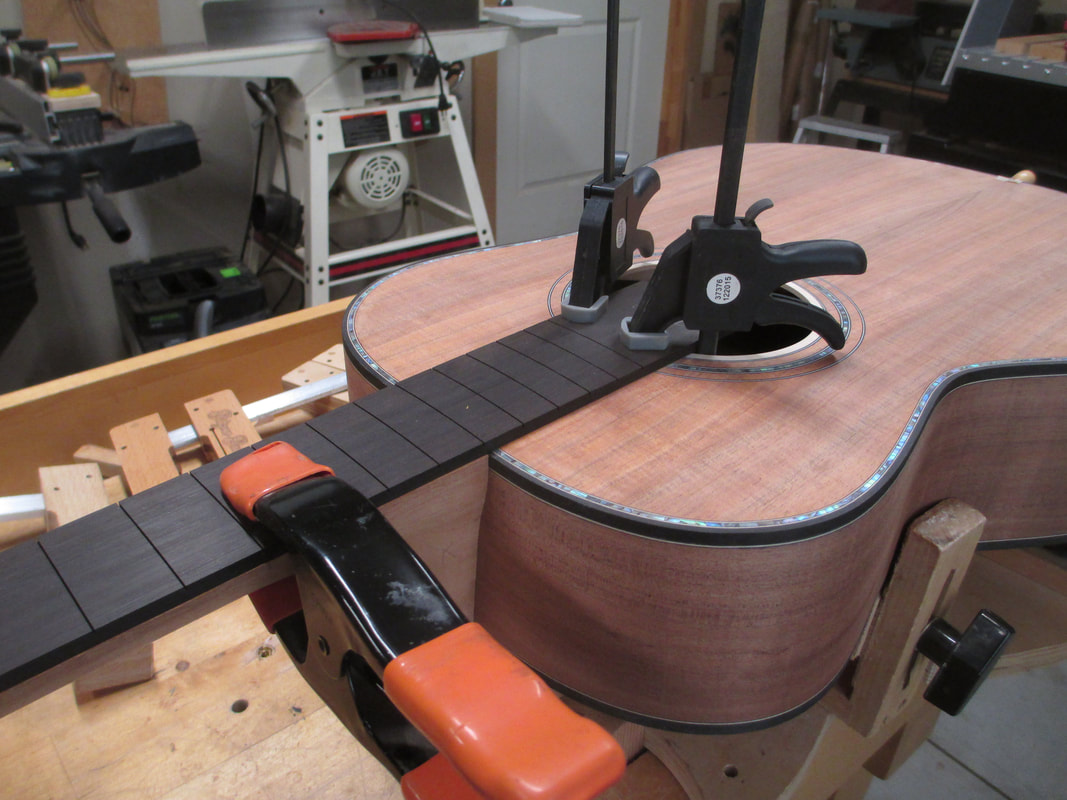
Initial fitting of fret board to neck & body
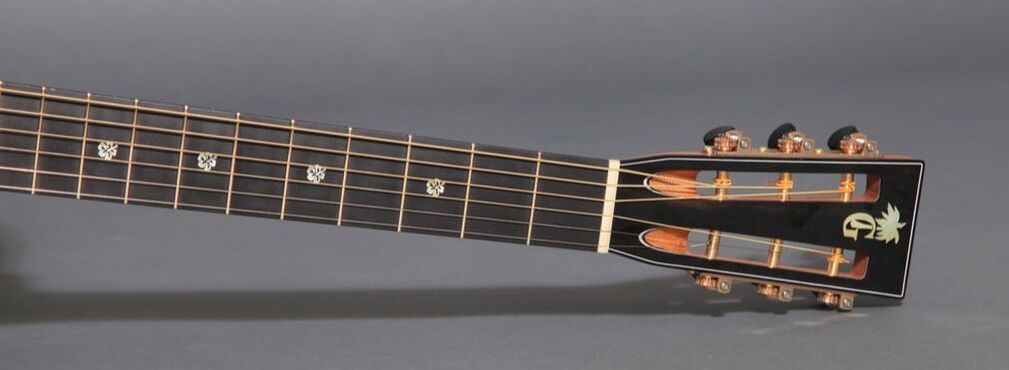
Fret board inlays
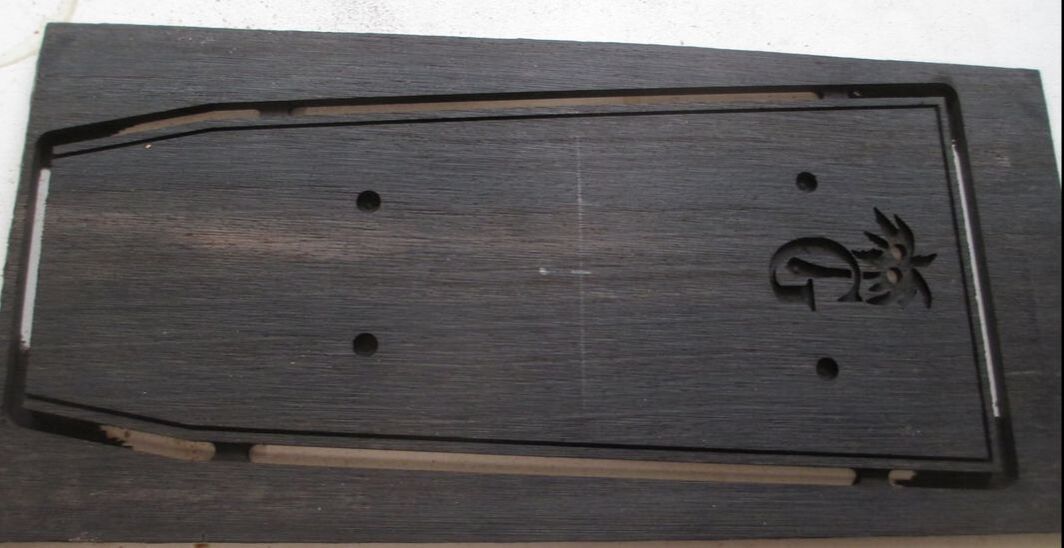
Head stock veneer cut with palm & G logo
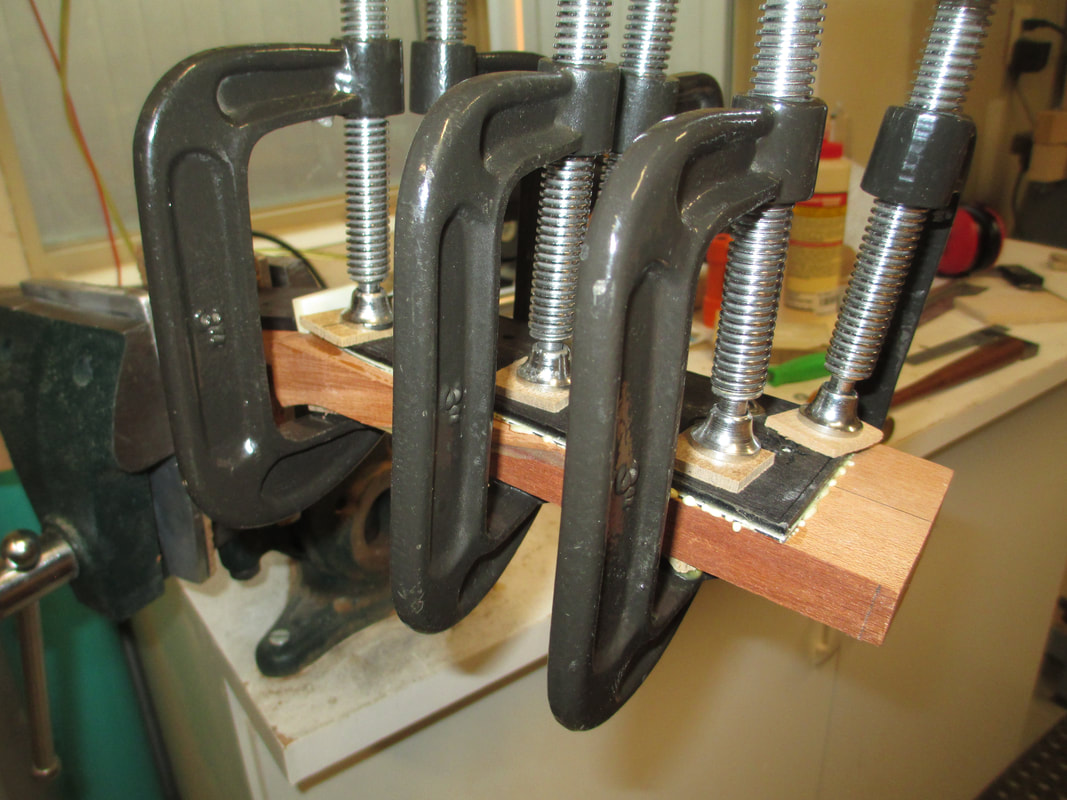
Veneer glued to neck
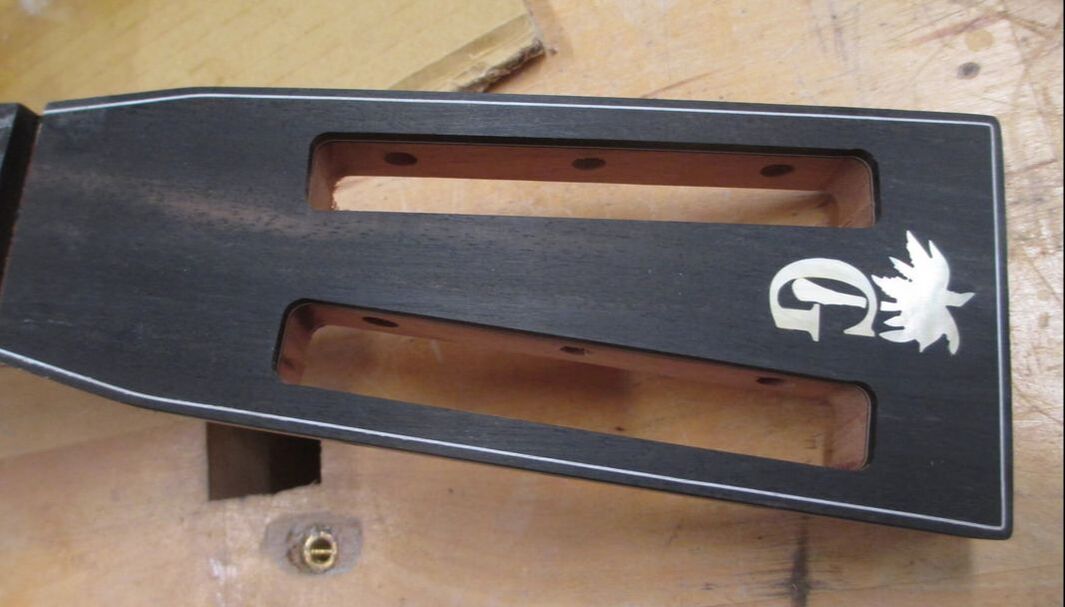
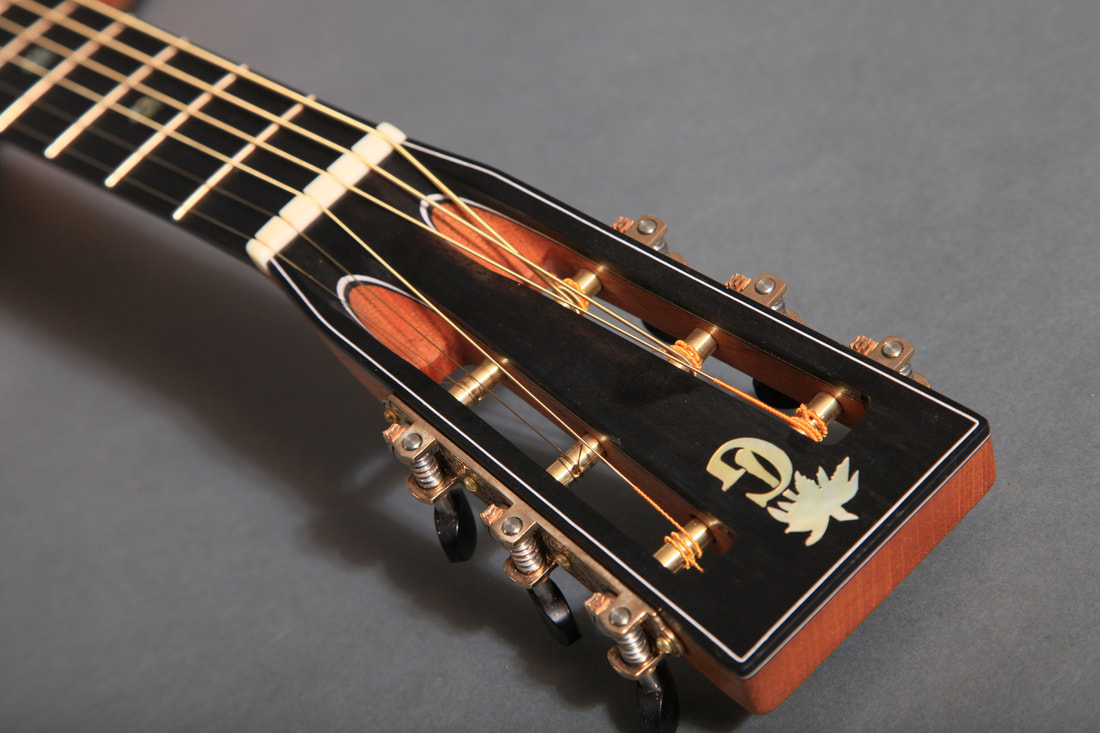
Slots cut, white purfling around head stock & gold MOP inlay
Lacquer finish sprayed

Installing side fret markers
Heel cap
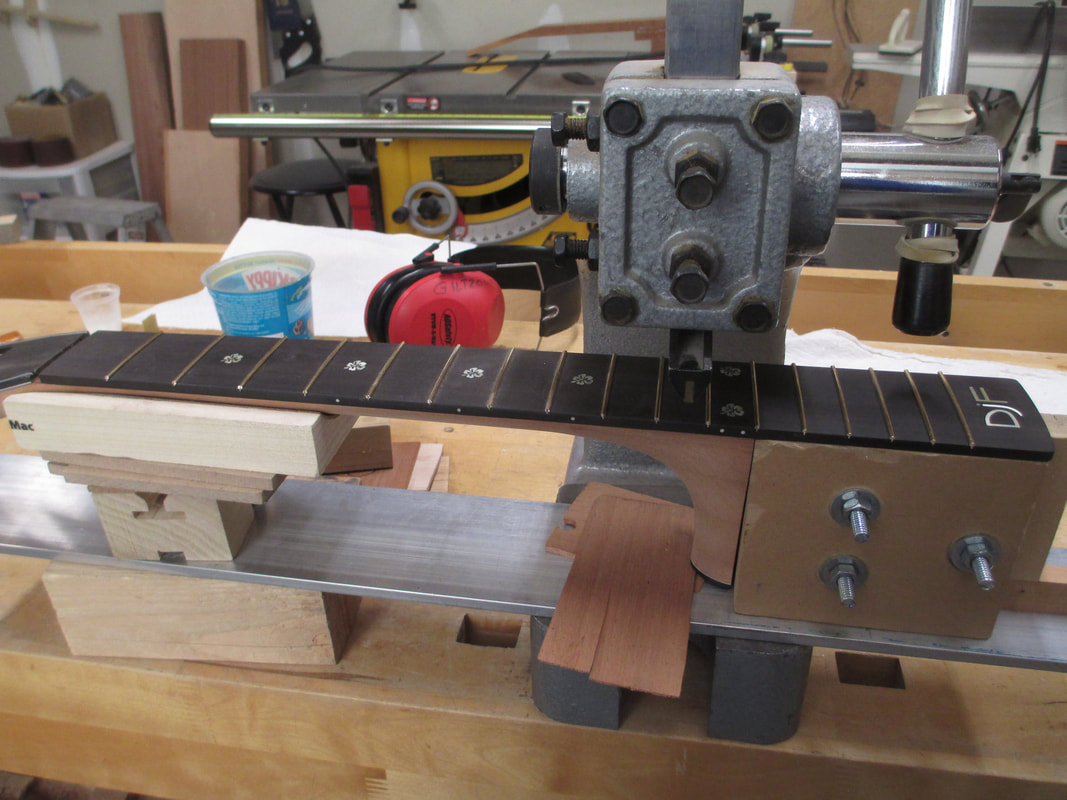
Installing frets
Working on slot head ramps
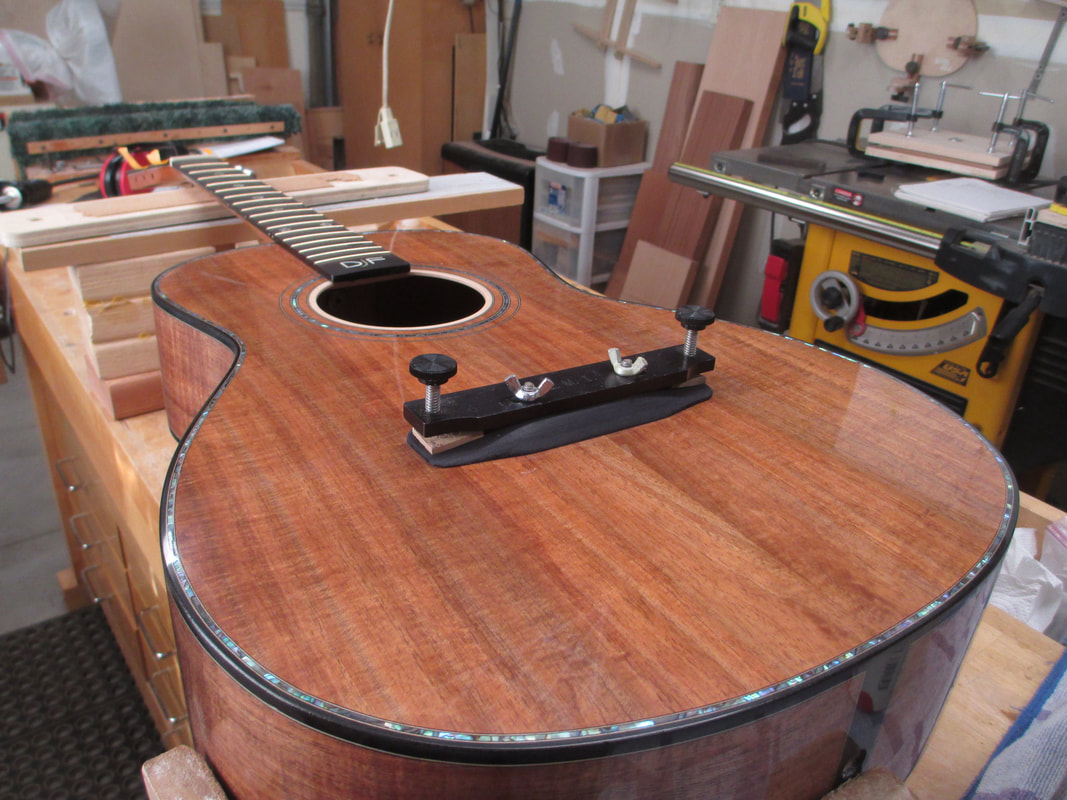
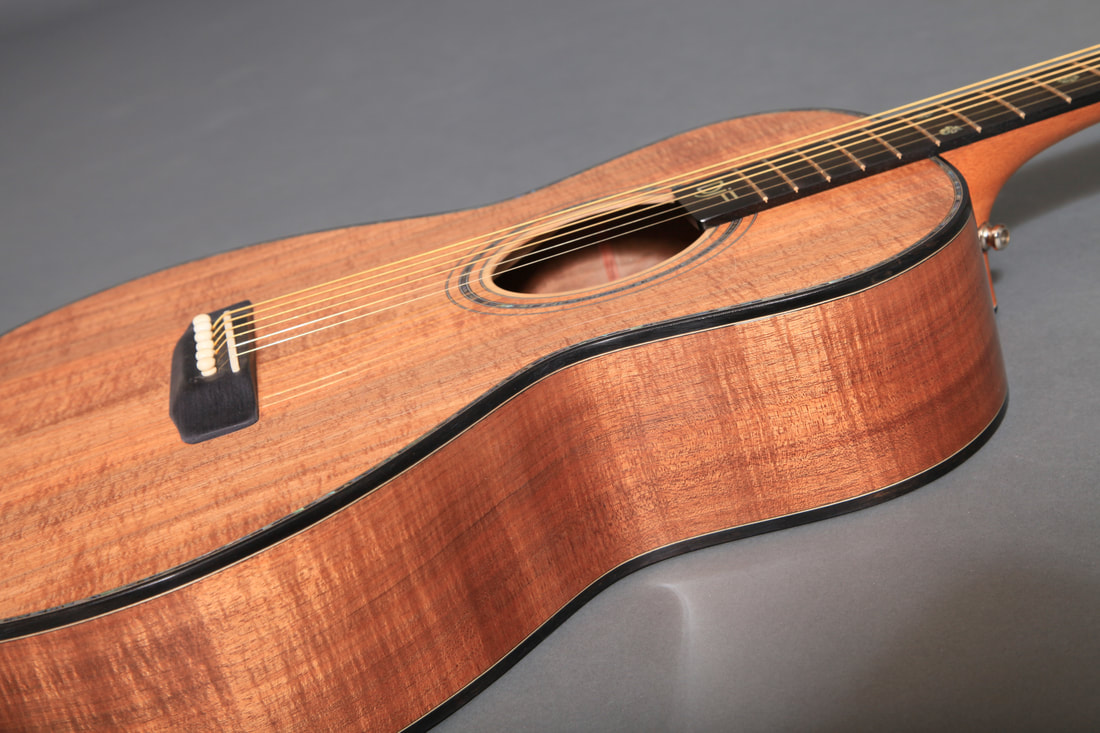
Body sanded and buffed
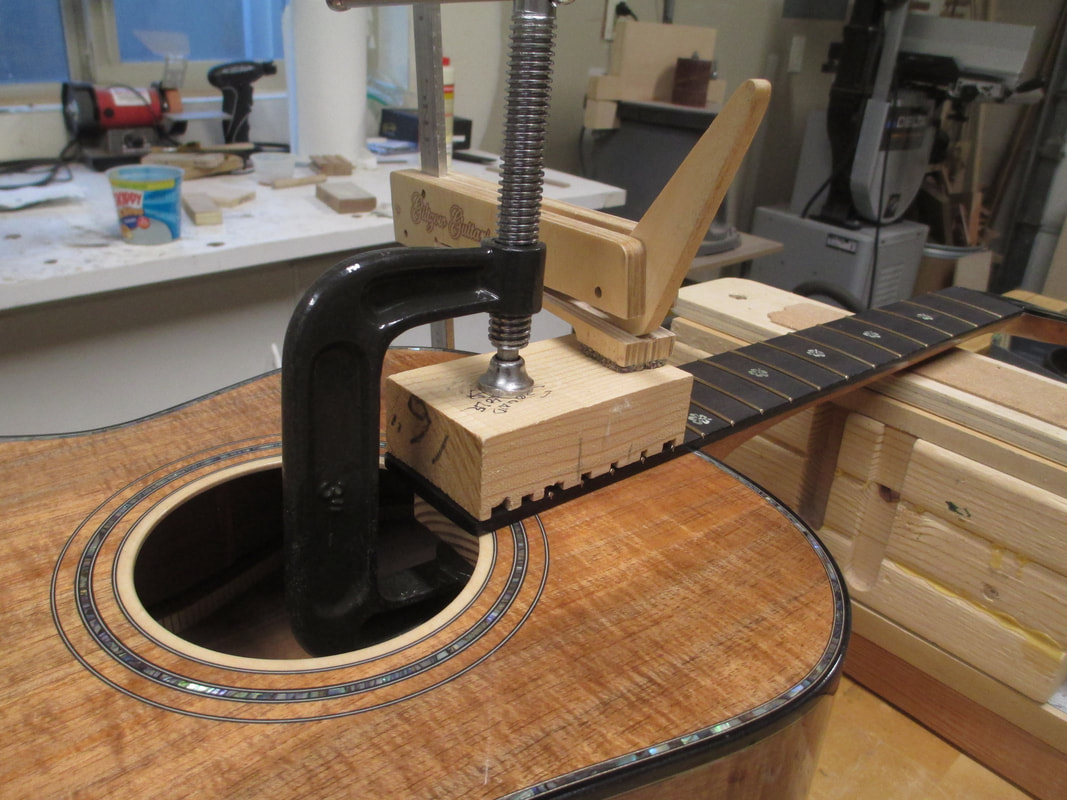
Attaching neck to body
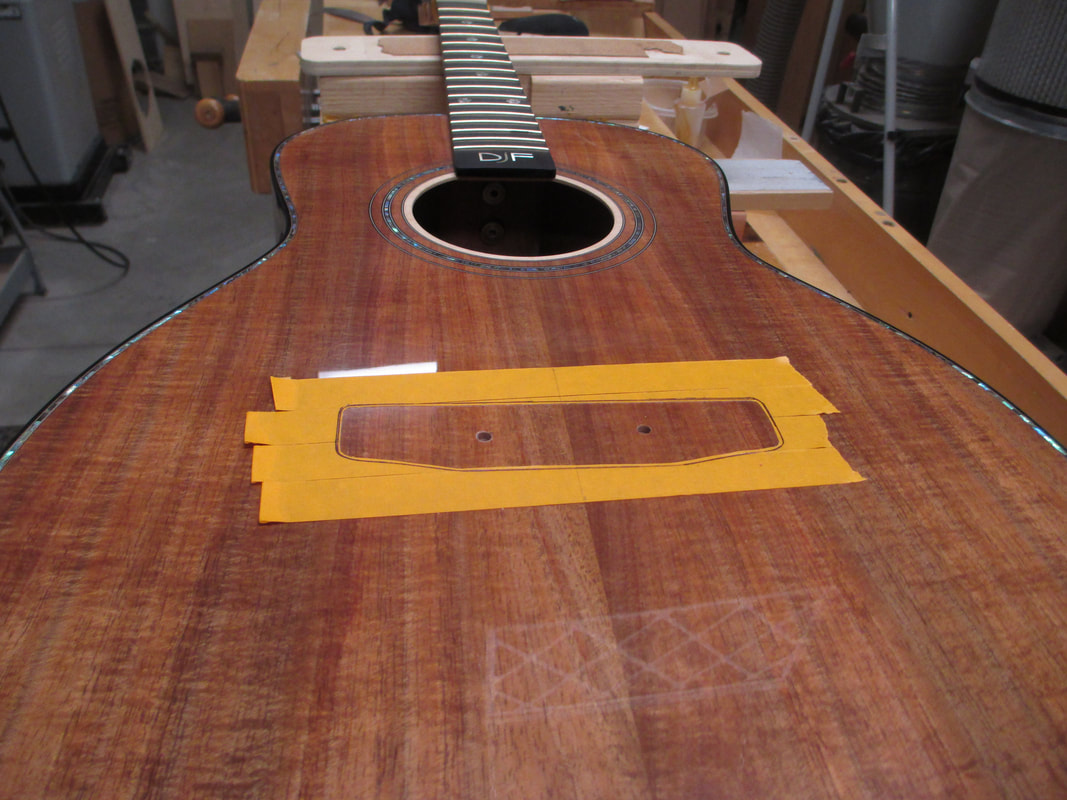
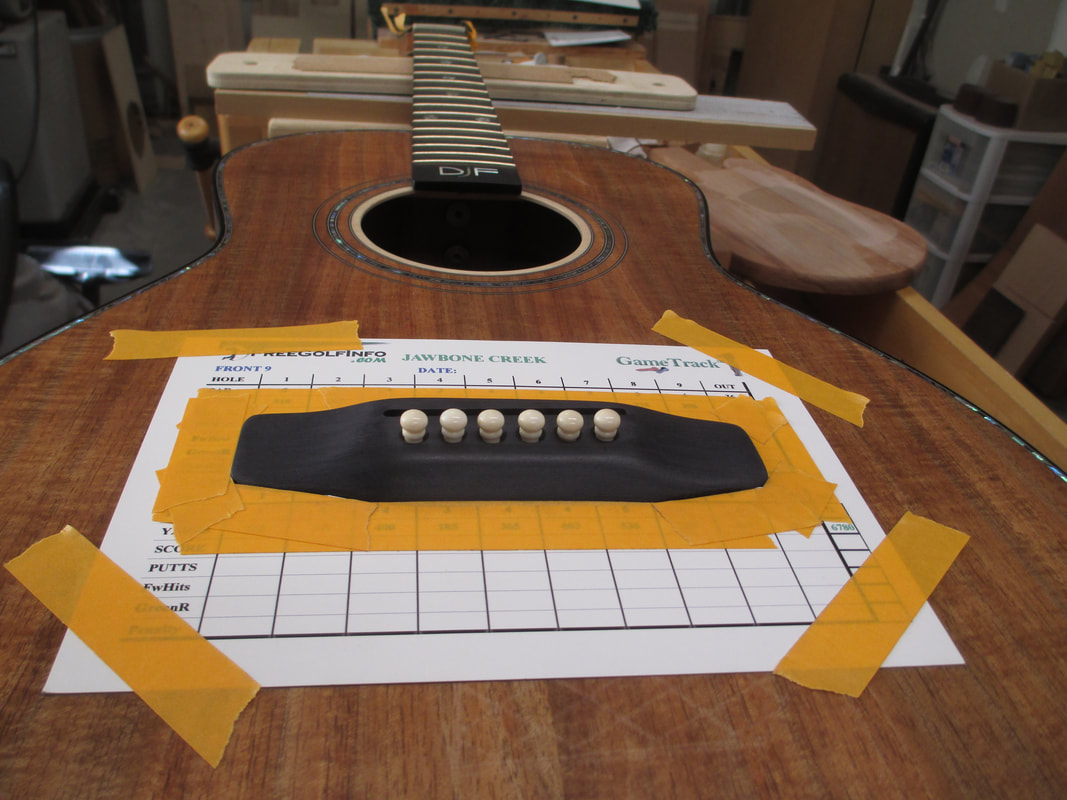
Locating bridge and scraping finish from bridge glue area
Gluing bridge
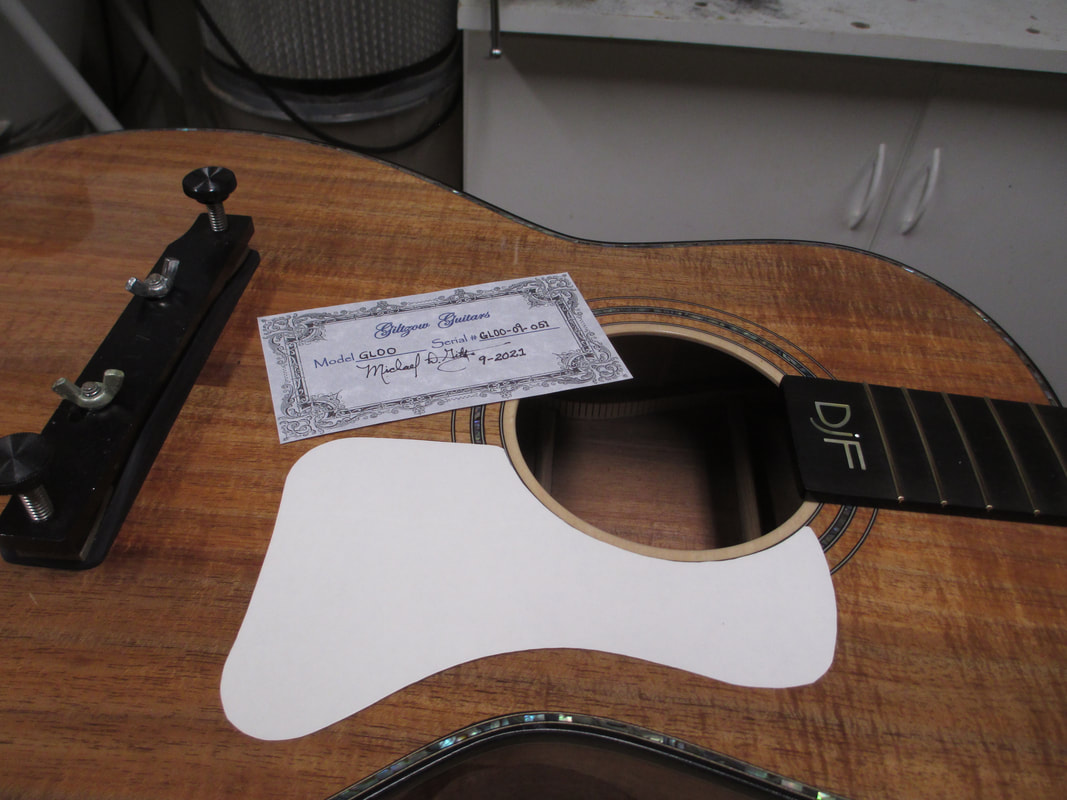
Preparing interior label and cutting a clear mylar pick guard

Fitting Camel bone bridge pins
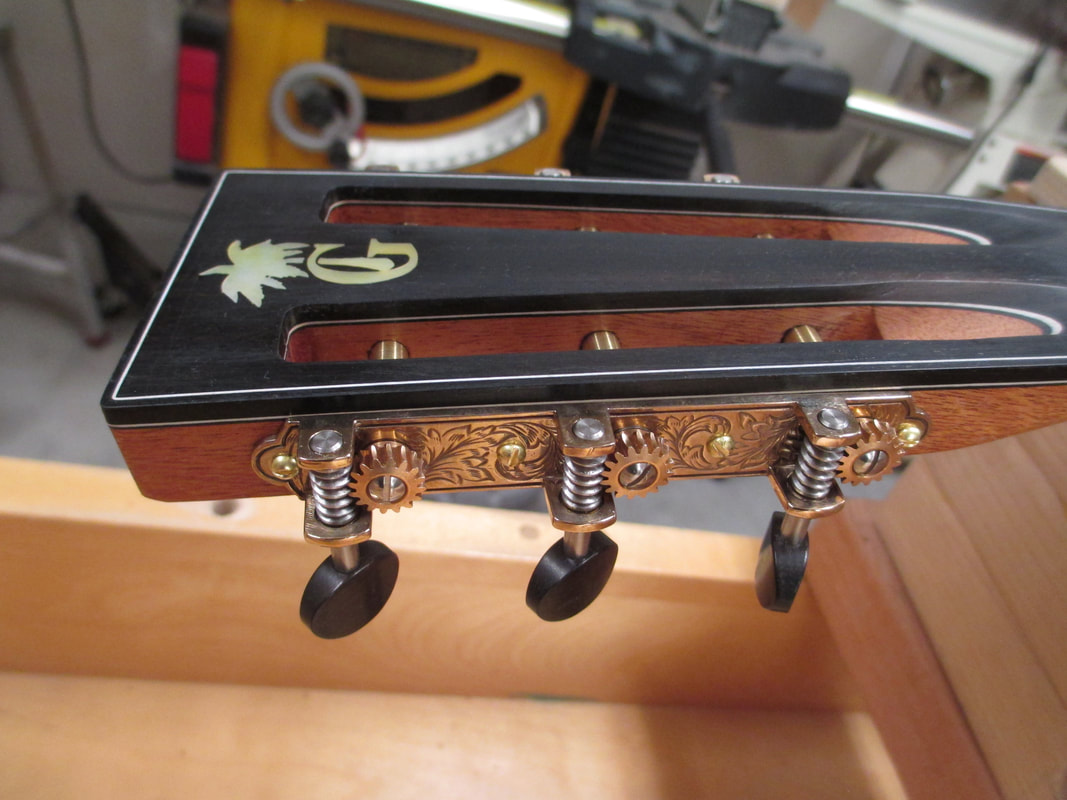
Installing Waverly slot head tuning machines
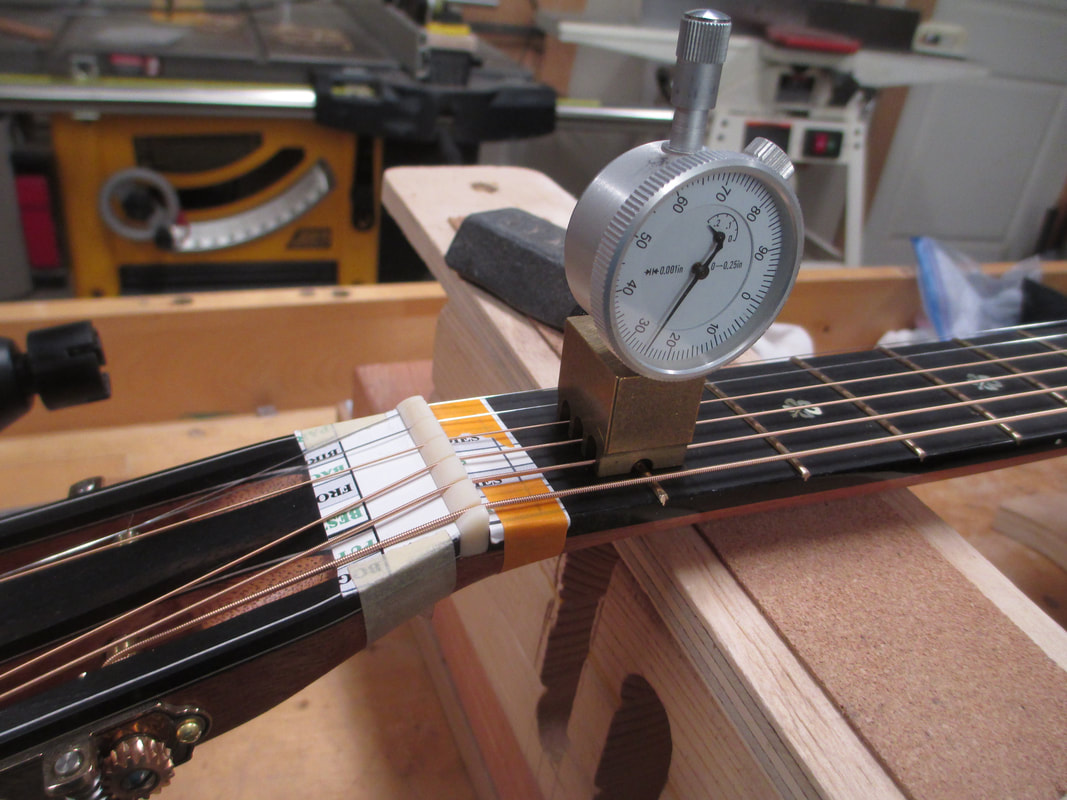
Setting action at the nut
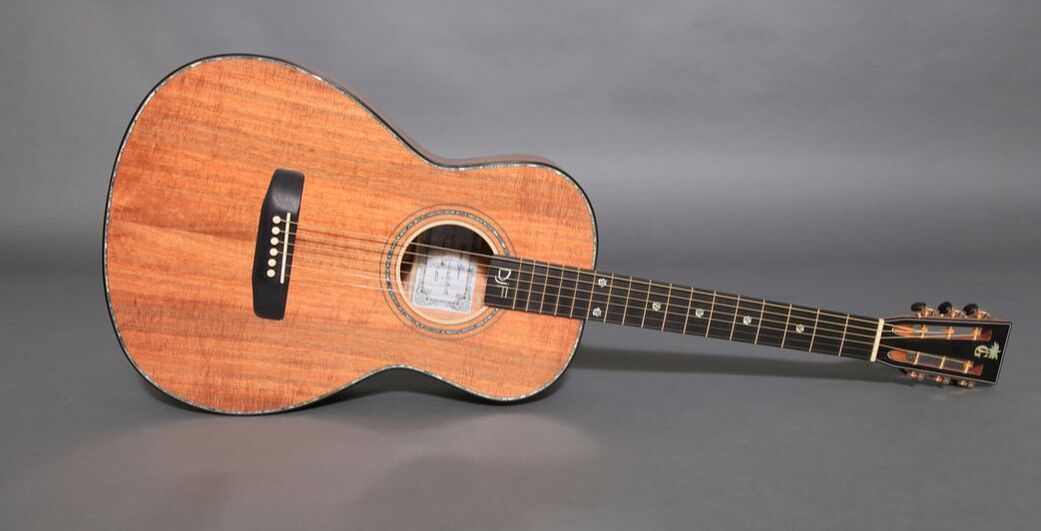
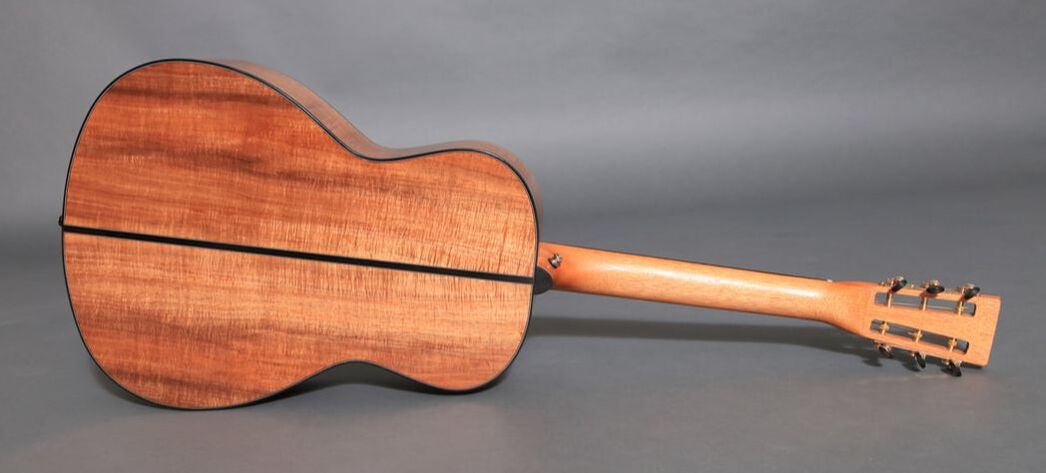
Finished guitar pictures by Jeanne Giltzow

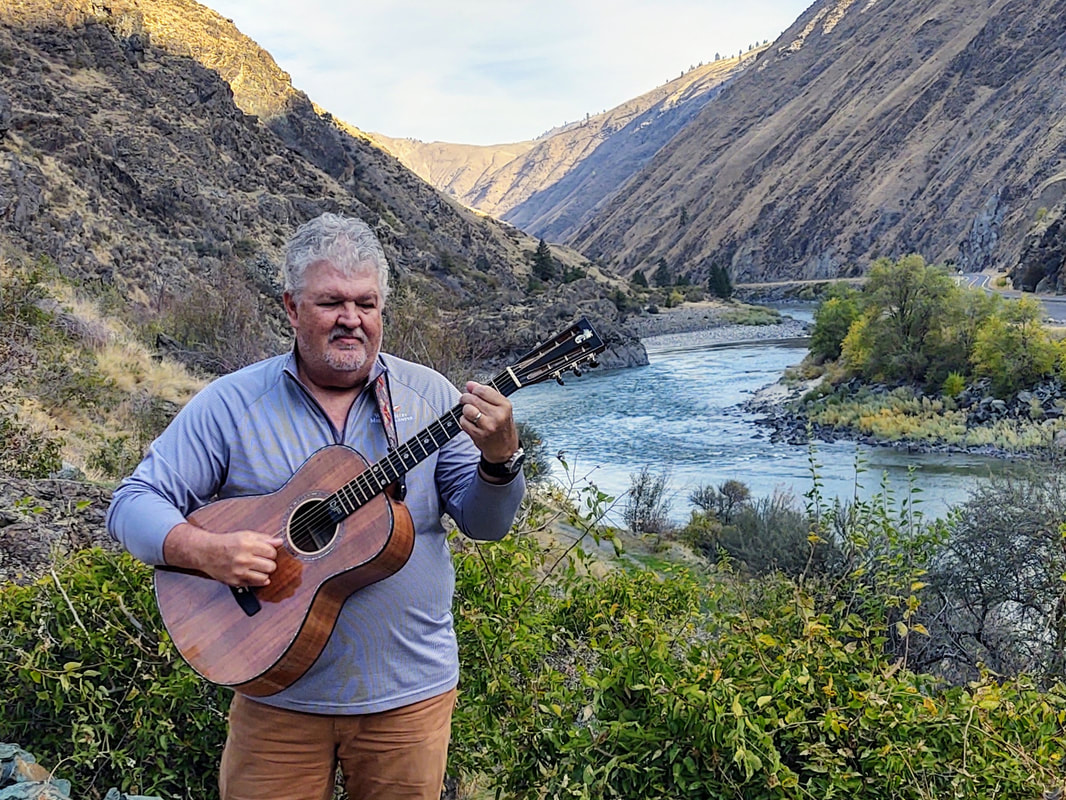
Don and guitar up on the Salmon river