Joe Cefalu at River City Guitars has asked me to build a new guitar for sale at his store. We have had conversations on size, wood choice, inlays, scale and many other aspects of this guitar build. I will post the progress, on this guitar as I build it, here on this web page. You are invited to view the progress and make comments or ask questions during the build. Please click the "Contact Form" in the header above to ask a question or make a comment. I will answer all your questions. This guitar is available and if purchased before the end of the build, I will make changes to satisfy the new owner. So let's get started:
This guitar will be my OM model. Very similar to a Martin OM but with a smaller upper bout and some difference in internal bracing. The Scale Length will be 25.4". Neck will be Honduran Mahogany with a scarf joint peg head. Many of the terms I use like "scarf joint" will be explained when we reach that point in the following build log. Fret board and bridge will be Gabon Ebony. Bindings will be Bloodwood.
Top back & side wood will be as follows:
About 6 years ago I had the remarkable opportunity to purchase some Australian Blackwood from Tasmania. I purchased enough wood for about ten guitars. This wood is high flame or highly figured. All the wood came from the same tree and actually from the same board. I have 10 sets of "flitch cut" Australian Blackwood. "Flitch cut" means all pieces of wood are cut consecutively from the same board. I am using this wood for top, back & sides. The top, back & sides are "bookmatched" sets. A "bookmatched set" is 2 pieces of wood cut from one piece and then laided open (like a book) with both pieces looking like the mirror image of each other.
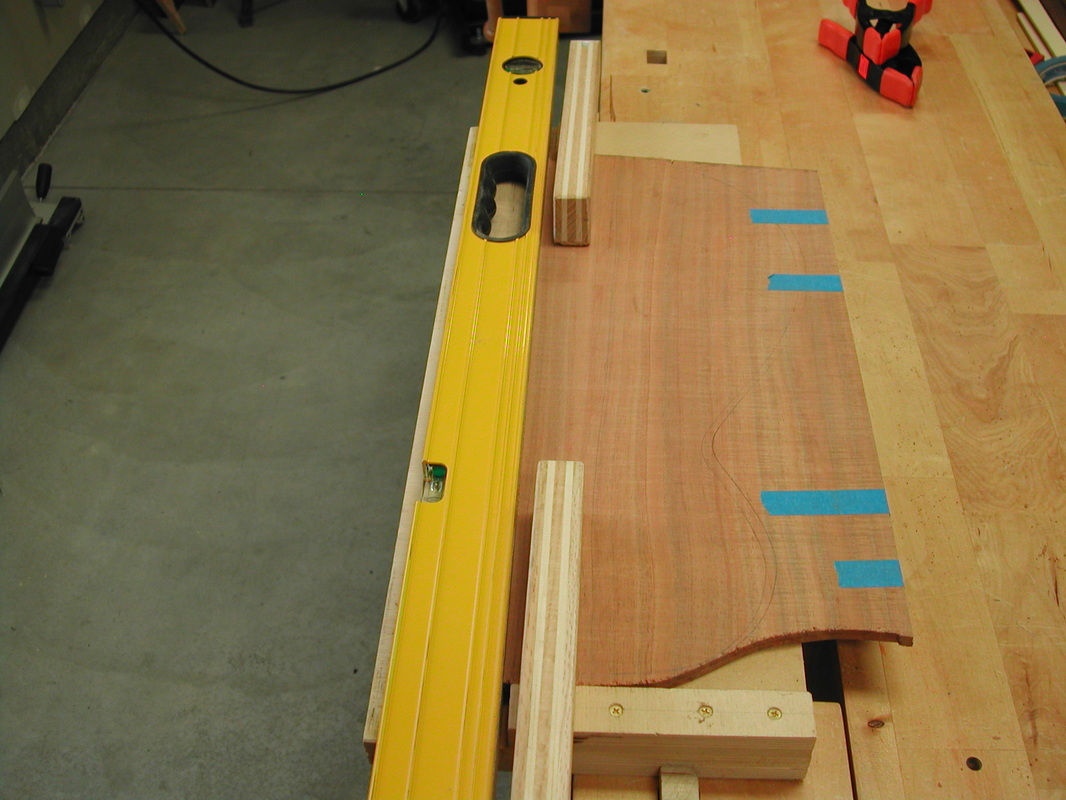
Below is a picture of the "Bookmatched" sides. You can see that they are a mirror image of each other and have been cut from the same board.
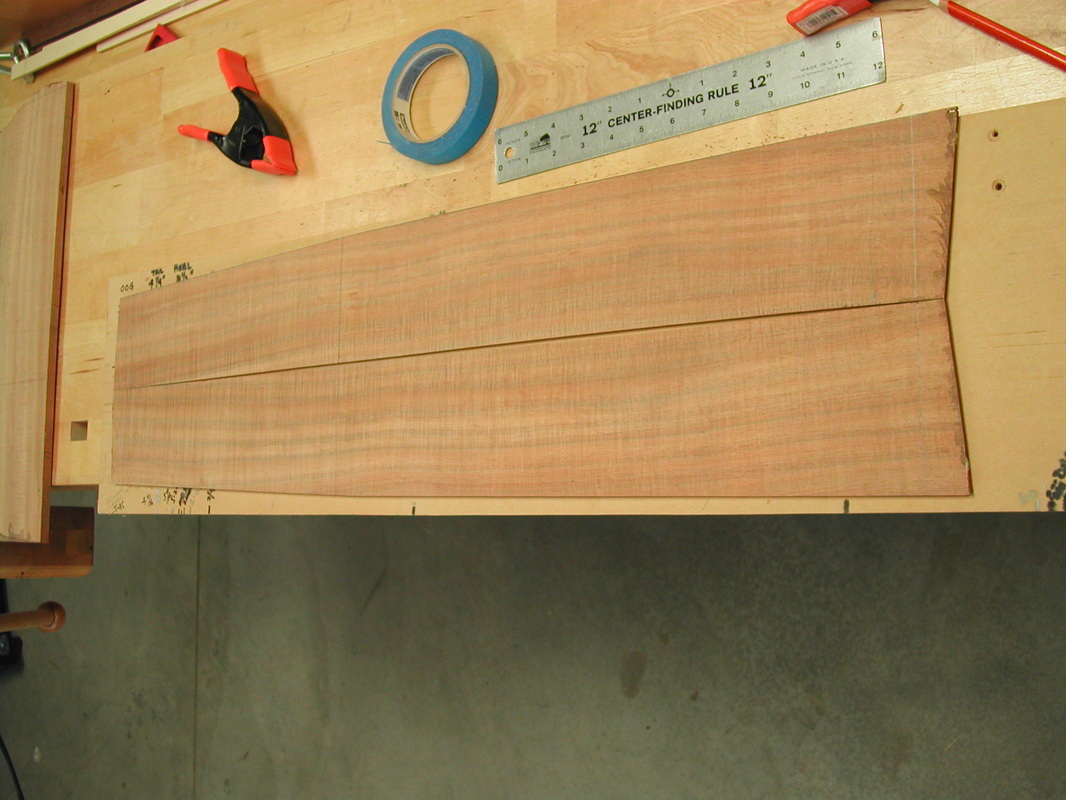
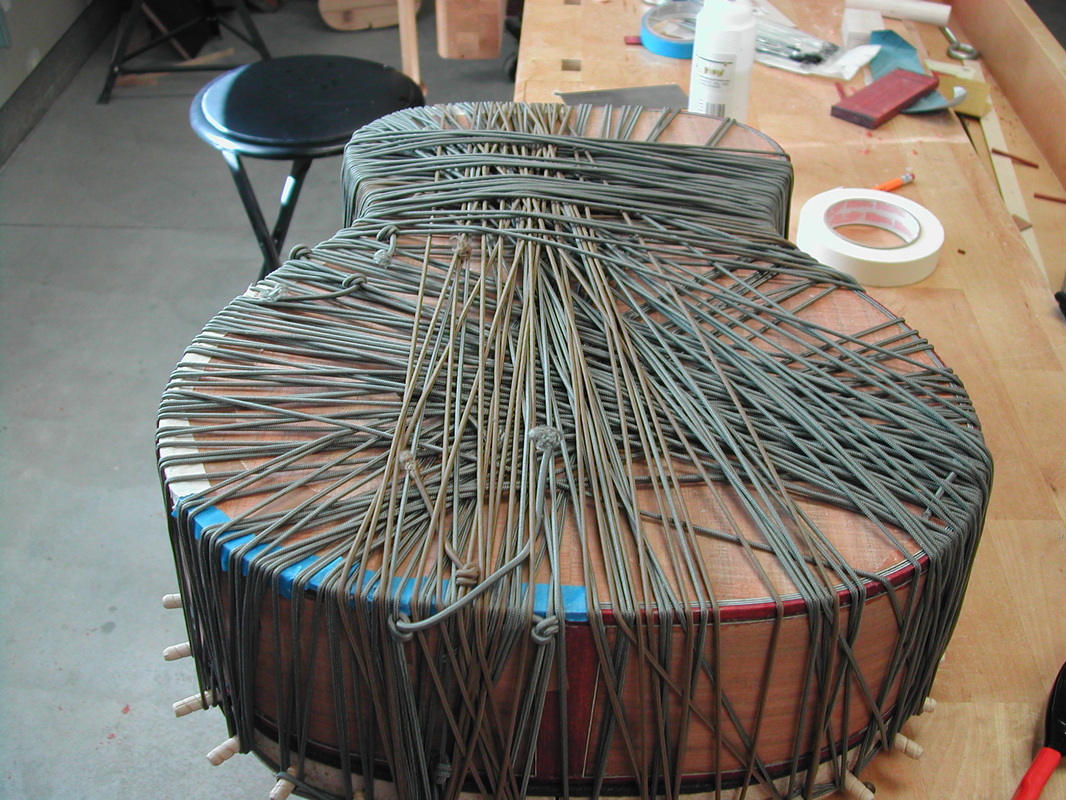
These two piece of A. Blackwood have been sanded to .080" thick in preparation for bending. I bend using a bending form and an industrial heat blanket. The blanket will allow me to bring the wood to just over 300 degrees F. This heat eases some of the bonding in the wood fibers and allow the wood to be bent against my form.
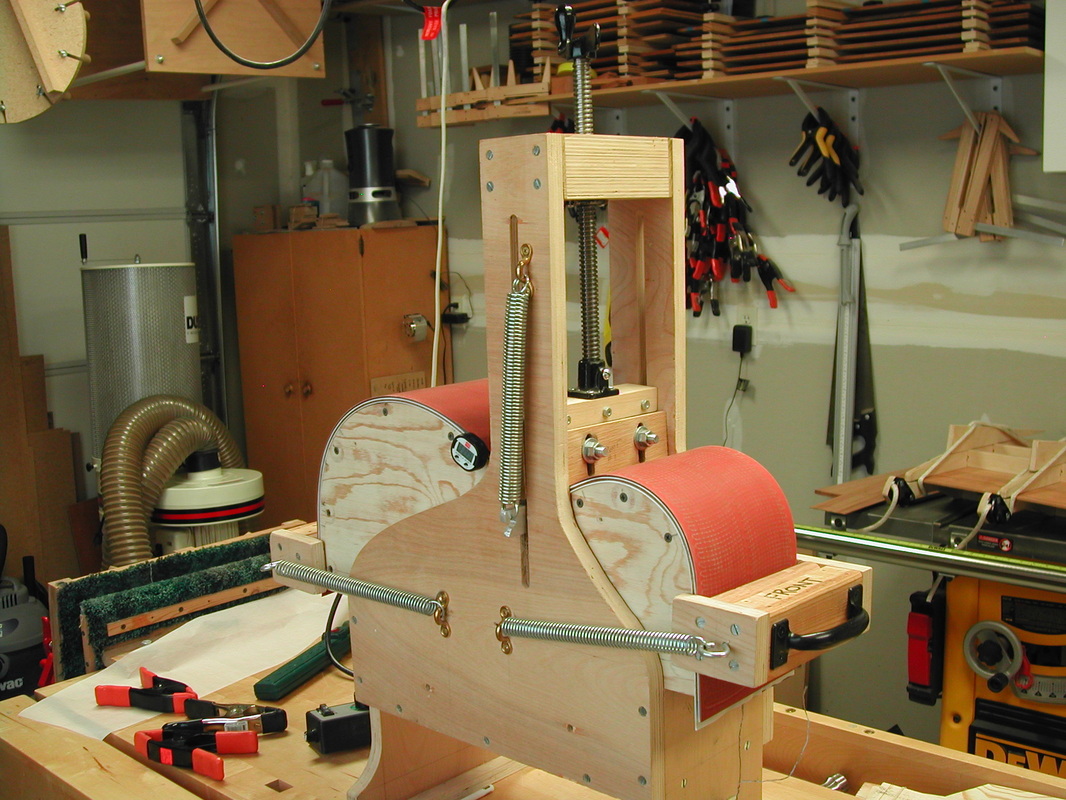
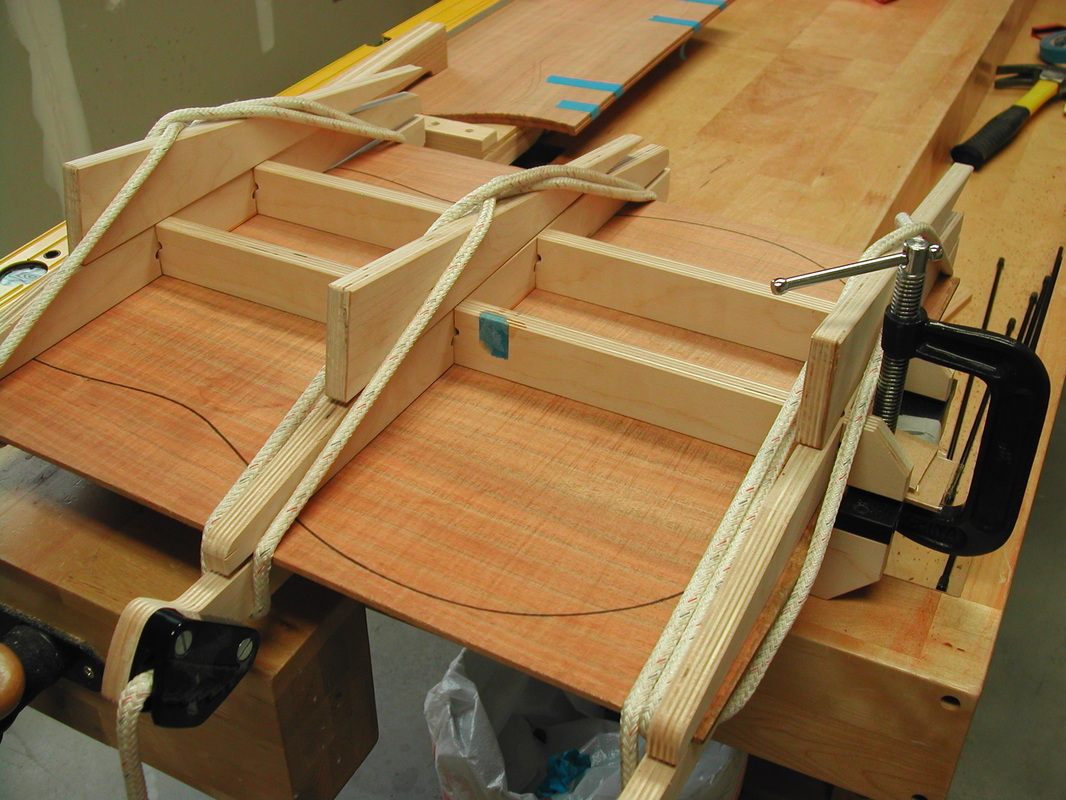
The sides are sandwiched between spring steel slats with the heat balnket (orange color) on top. A waist former and two spring forms are used to pull and push the wood to the proper shape. Heat is applied for 15 minutes and the the sides are allowed to cool. Then heat is applied for another 15 minutes and again allowed to cool. I let each side set for 24 hours and then take them out of the bending form and clamp them in the building form.
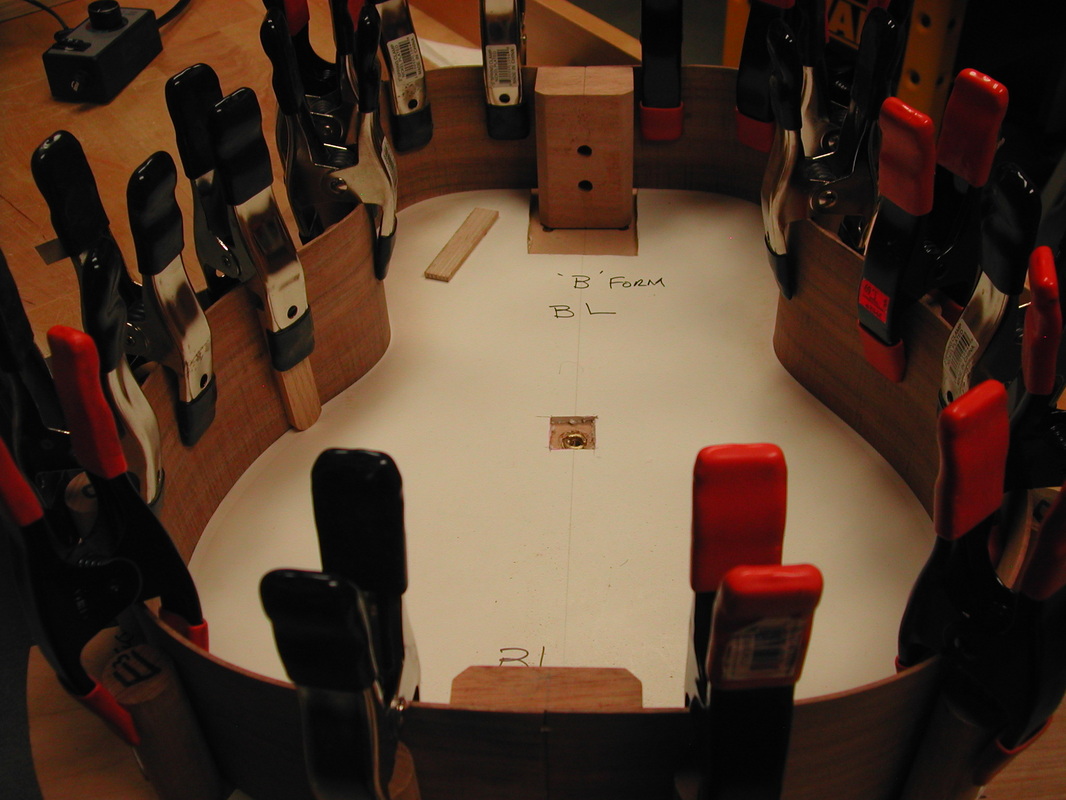
The first side is clamped into the building form below:
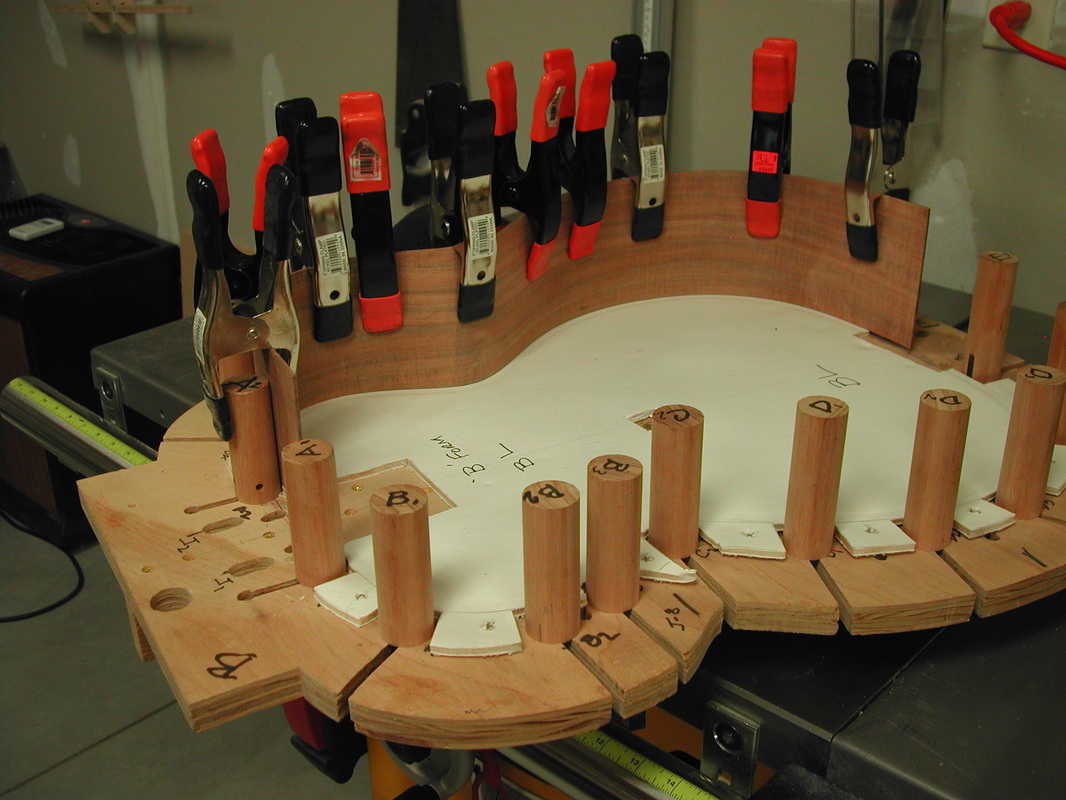
And the second side joins the first after bending and remaining in the form for 24 hours. Heel block and tail block have also been fitted in the picture below:
Our project is starting to look like a guitar. Before top & back can be installed, the sides (which are only 0.080") thick need to have more area to make a glue joint with the top & back. Mahogany kerfed linings are being glued in the pictures below:
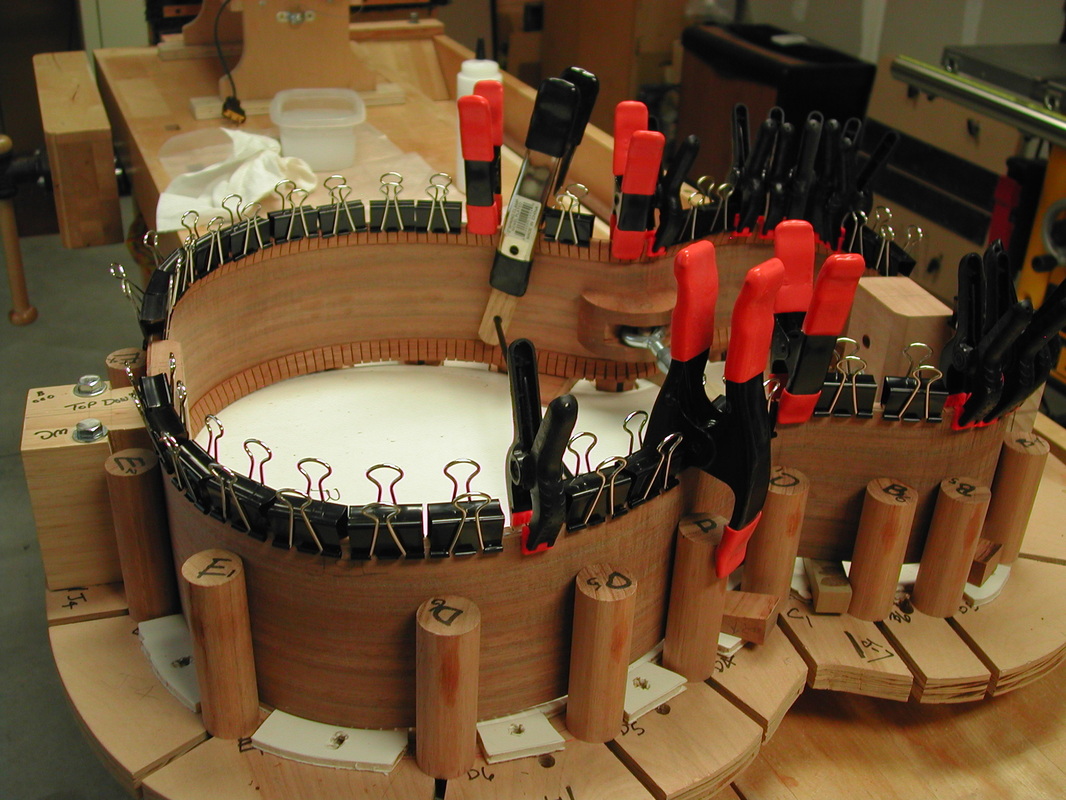
In the above picture, the kerfed linings have been installed and small strips of Mahogany are being glued to the sides. These strips will act as crack stops if the instrument is damaged. If damage results in a crack to the side, these strips will keep the crack from traveling the entire length of the side and make it easier for a guitar repair person to fix the problem.
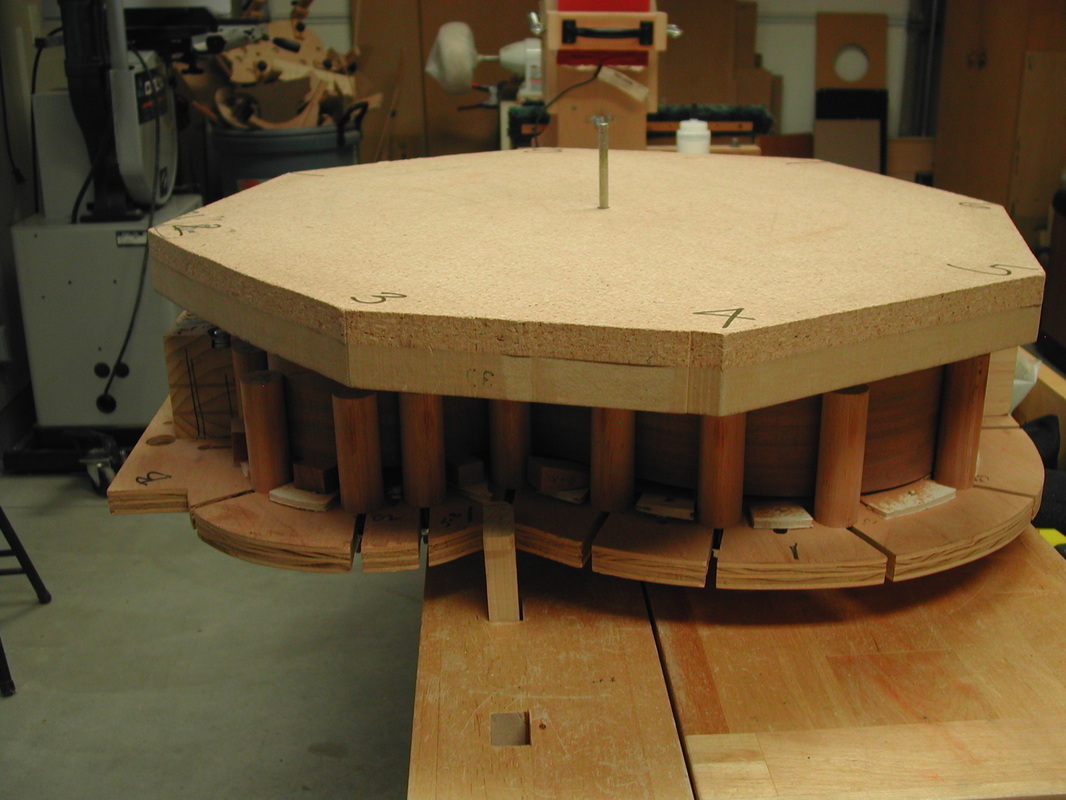
Although this instrument is termed a "flat top" guitar; it does not have a flat top or flat back. Both are domed. This makes the guitar stronger, which allows it to take more punishment and/or allows me to build it lighter. Both soundboard and back are built in concave work boards (pictures below). In the picture below I am sanding the mahogany kerfed linings to the radius of those work boards - This allows the sides and top or back to mate perfectly:
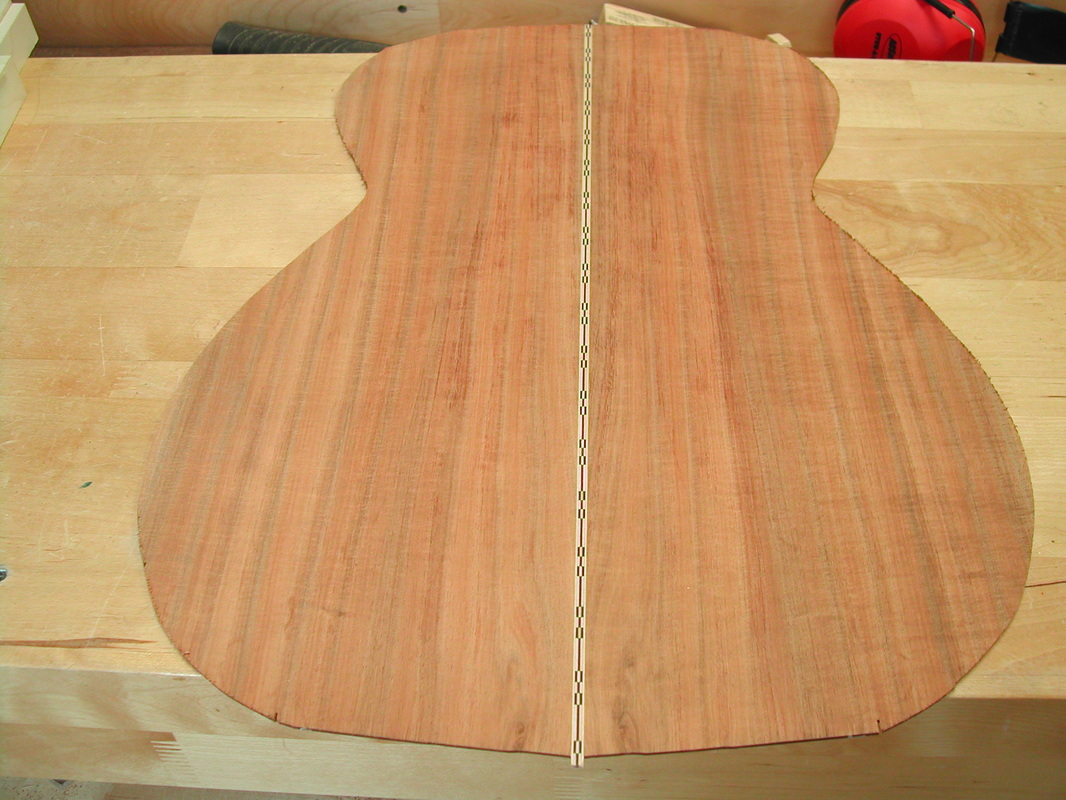
Now that the sides have the proper radius, I can build the top & back. Top & back for this guitar will both be A. Blackwood. Both the top & back are "bookmatched" sets joined at the middle. The picture below shows the back 2 pieces stacked together to plane & sand a true surface for the middle joint:
Then the 2 pieces of wood are joined (glued) using a jig that helps keep the two aligned and flat:
The back has a back strip glued in during the joining:
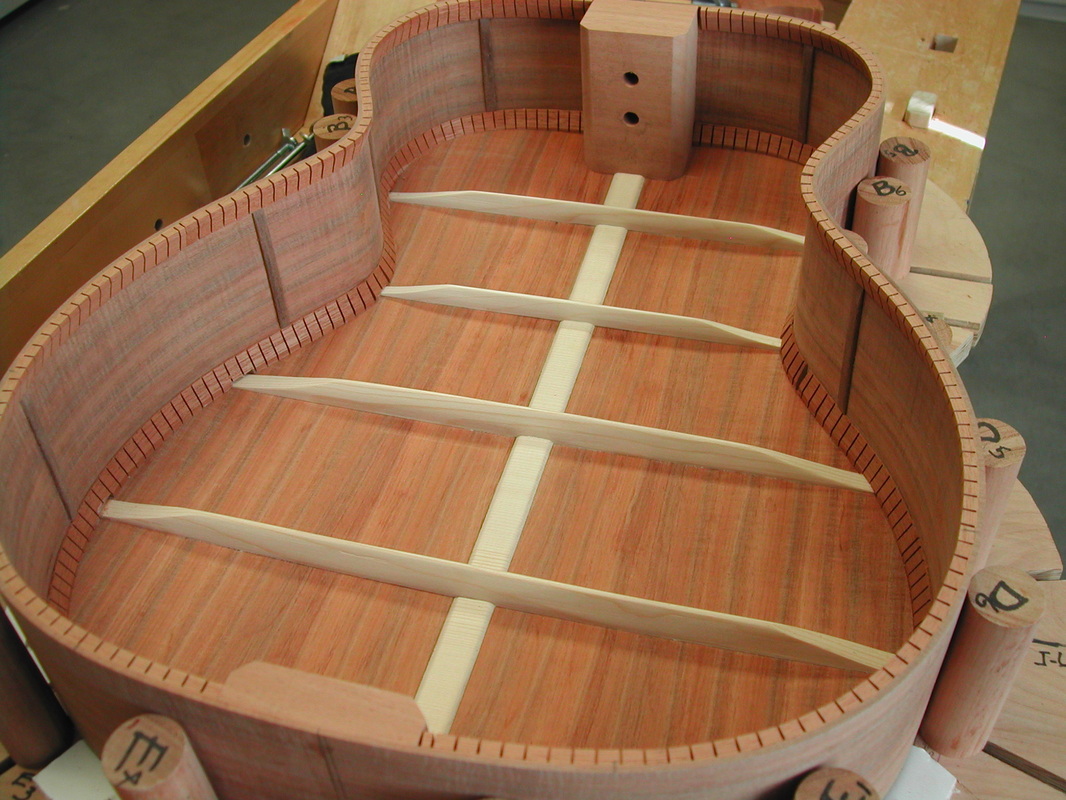
A reinforcing strip is glued on the back inside seam and cut out to accept the 4 back braces. The 4 back braces have been shaped to a 15' radius (which matches the radius of the work board) and are glued to the back. The radius on the braces gives the back the dome shape that was mentioned above. In the picture below I am using a "go-bar" deck. This is a glueing process that uses fiberglass kite rods to apply clamping pressure on the braces as they are glued to the back:
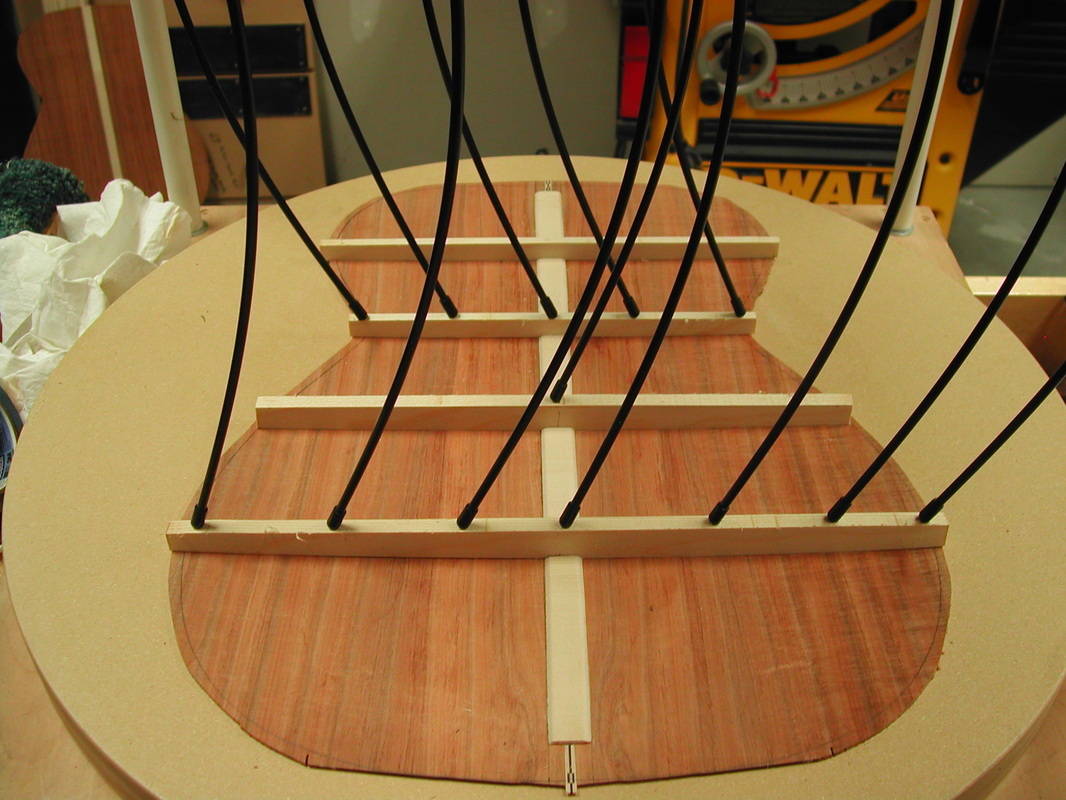
Each brace is carefully shaped to give the back sufficient support and the lightness that will insure a responsive instrument.
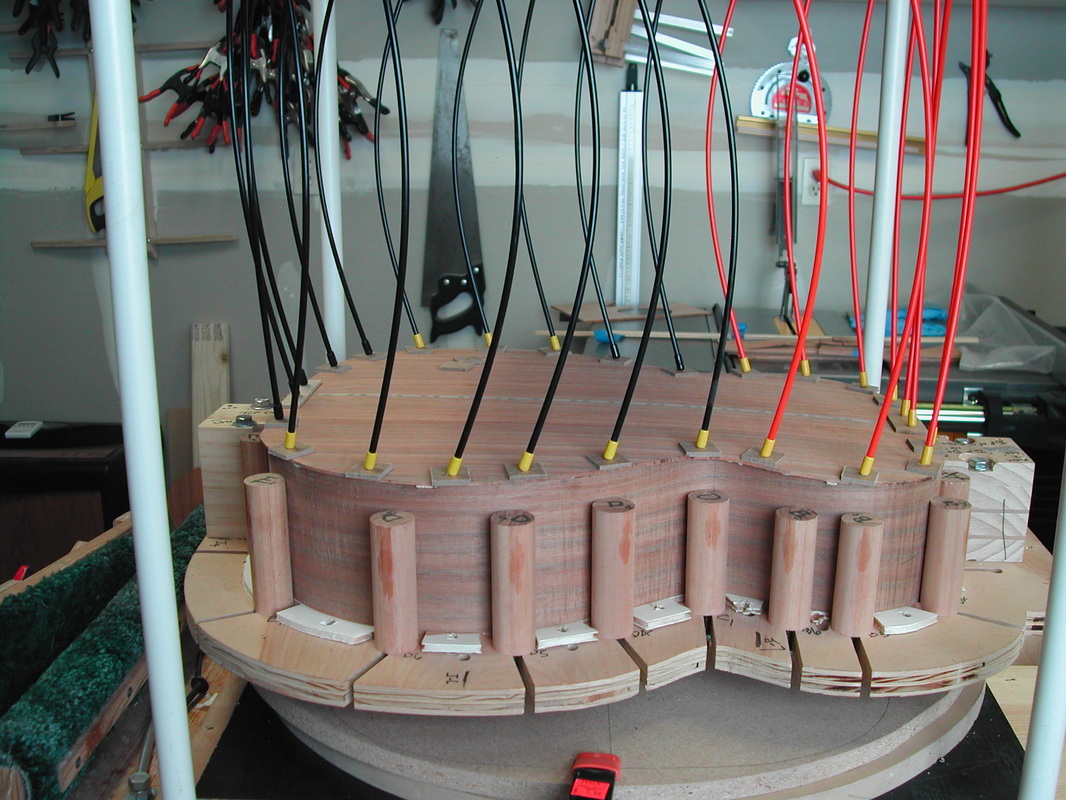
Notches are cut into the sides and kerfed lining for the braces and the back is glued to the sides; again using the Go-Bars to apply clamping pressure:
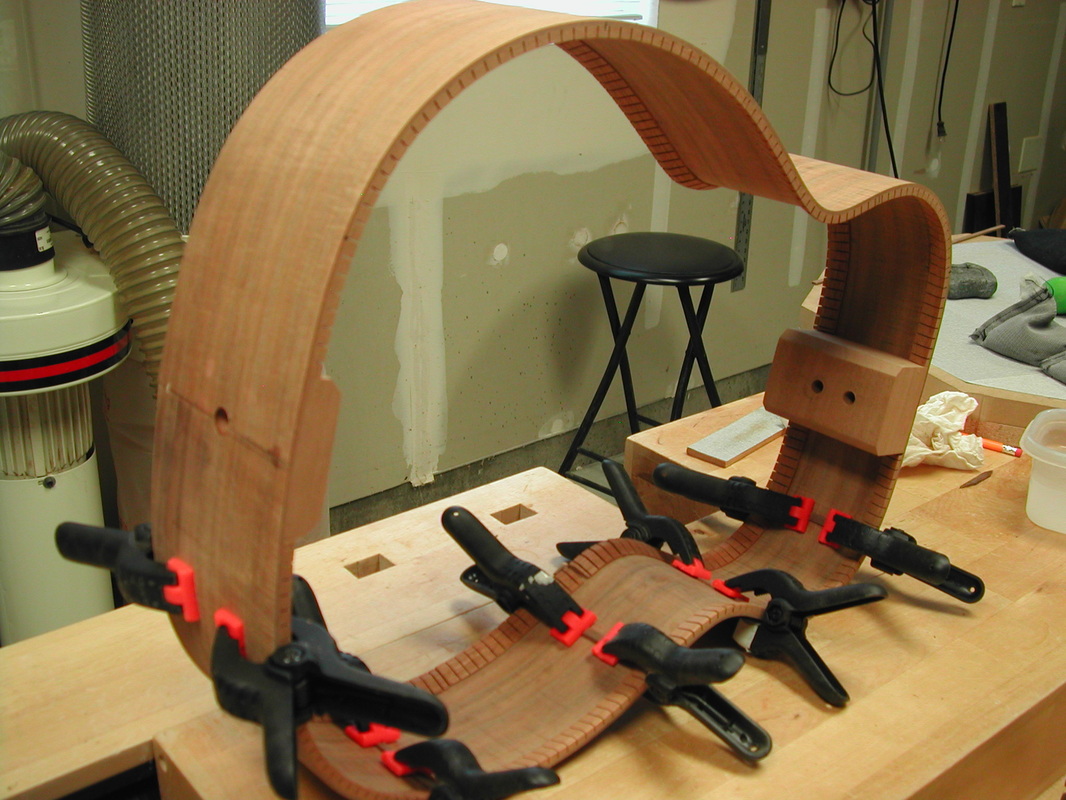
The back is on and trimmed to the sides:
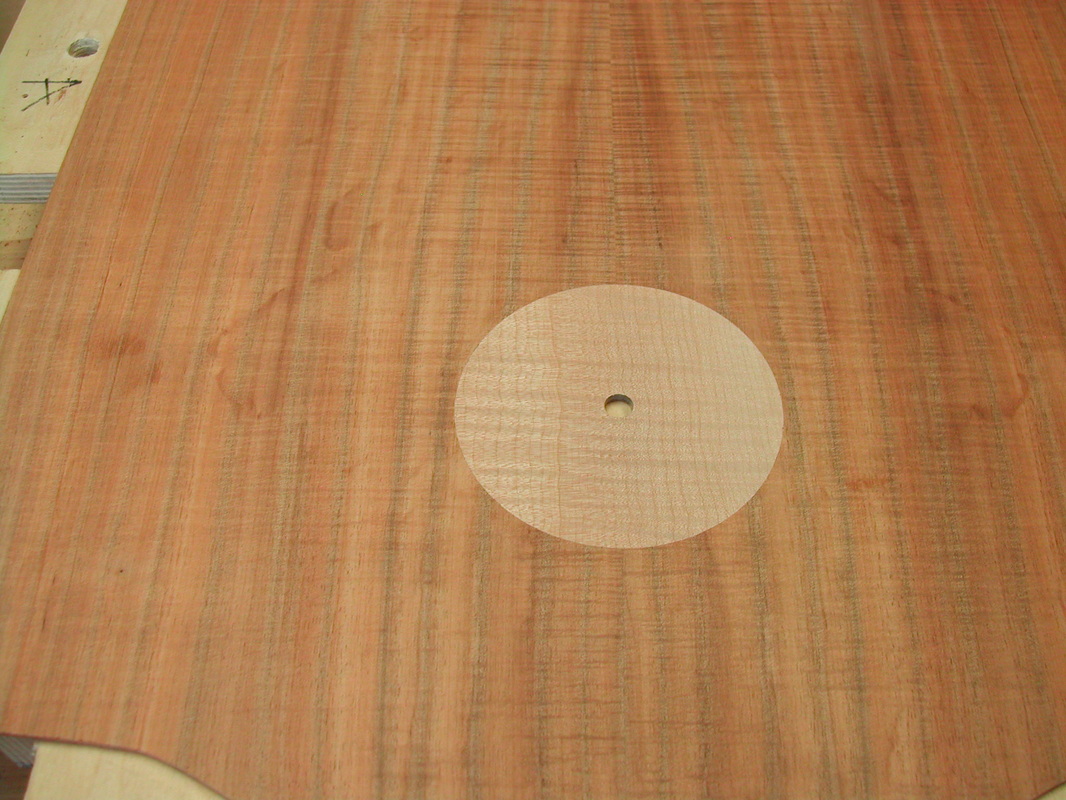
Now I'll start working on the soundboard (top). First task is to mark the bracing pattern on the inside of the soundboard and locate the soundhole so I can inlay the soundhole rosette. I am also inlaying a soundhole binding of Maple. In the picture below I have routed the maple inlay material:

The sound hole is cut out of the soundbaord and the inlay Maple is glued into the soundbaord:
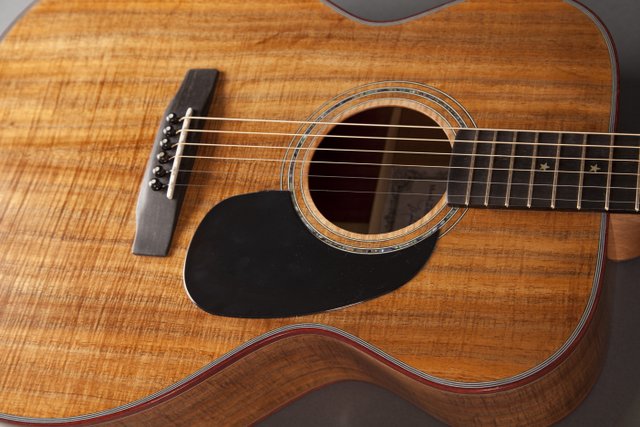
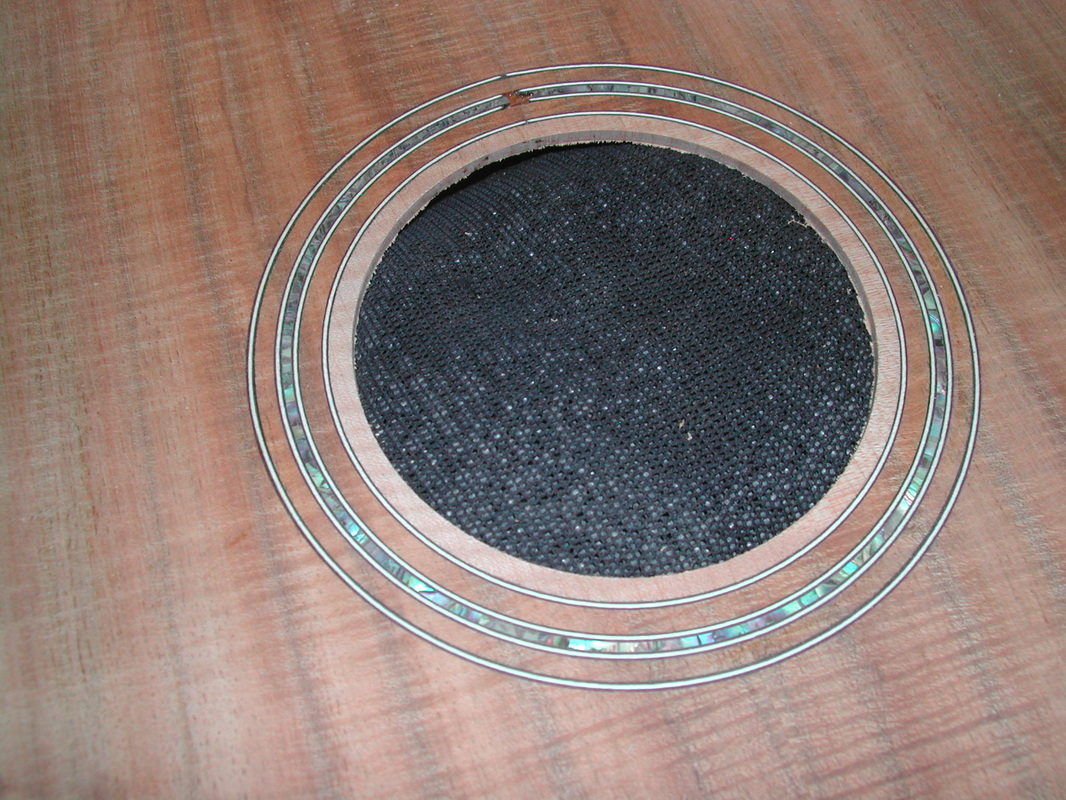
The sound hole rosette consists of 3 rings, with a center ring of blue pau abalone. The "bound" soundhole is a new touch for me. I'm pleased with the new look.
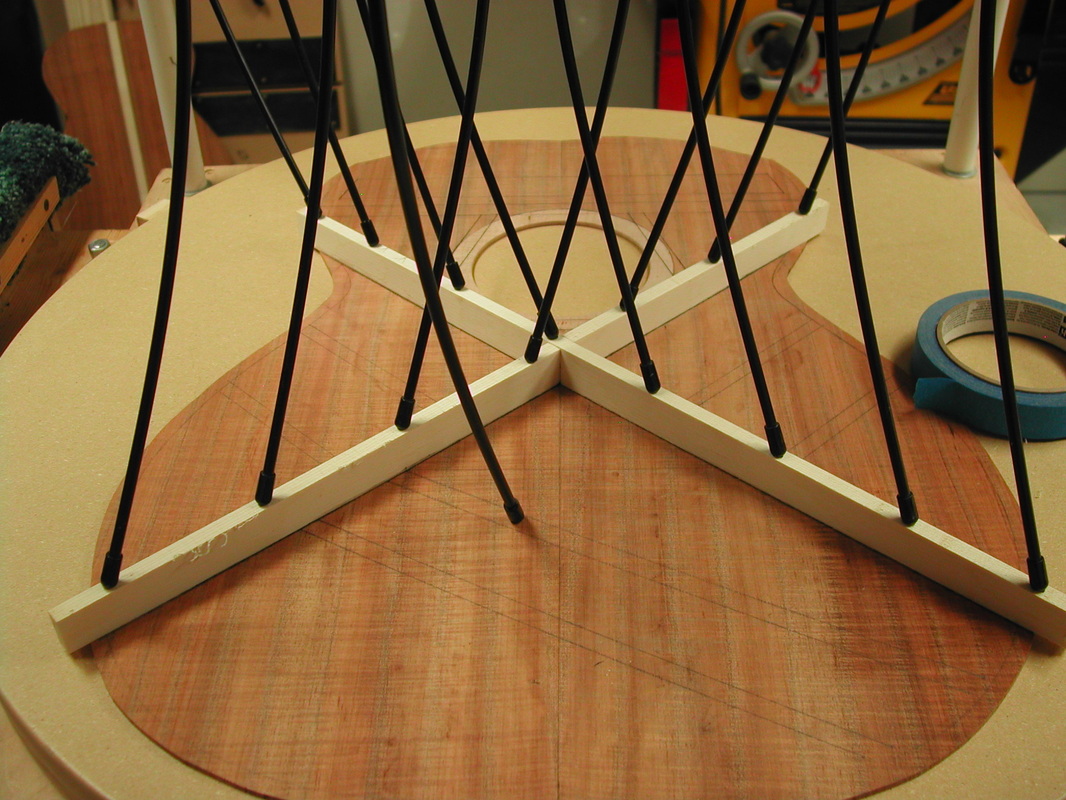
Now the bracing for the soundboard will be glued and shaped. This process is a balancing act between guitar reponsiveness and overall guitar strength. Build the top too lightly and the guitar may last only a few years before the string tension pulls it apart (implosion is probably the correct term). Build it too heavy and you get a top that does not move enough to produce the sound you are trying to get - it sounds dead. So there is a compromise between strength and responsiveness. Adequate structural integrity with a light responsive soundboard is my goal.
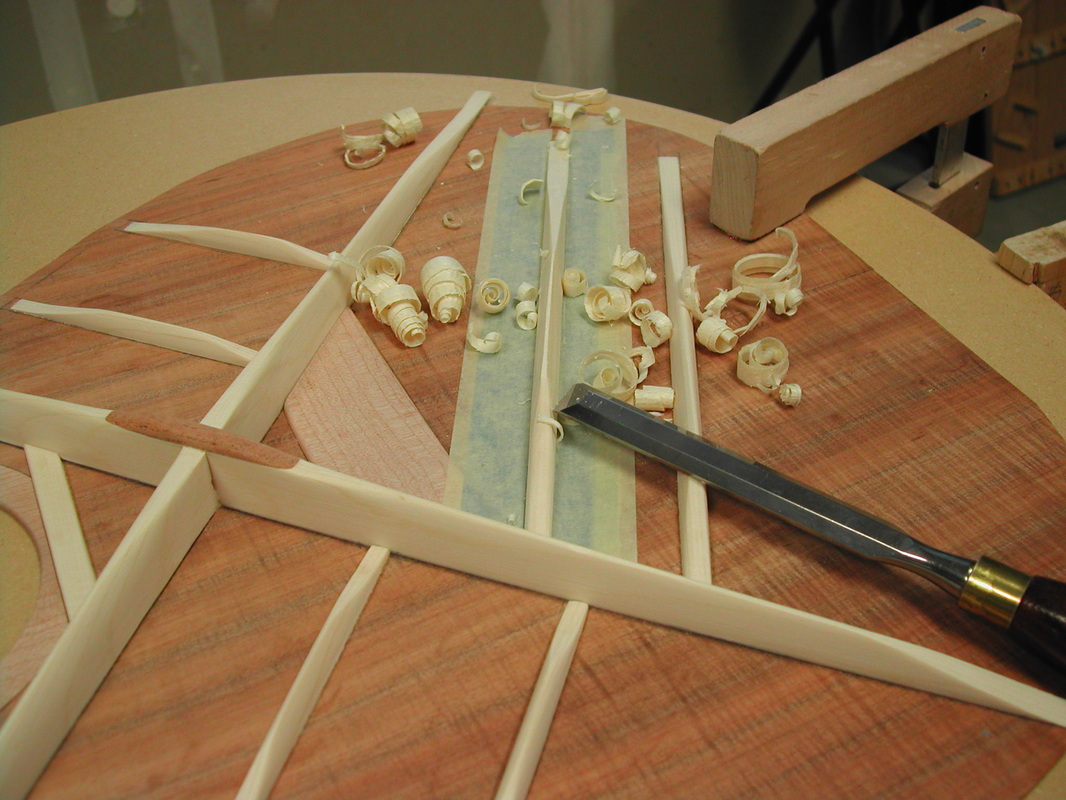
My braces tend to be somewhat higher and thinner than what you would find in a factory guitar. Doing that allows me to make a brace that is just as strong but weighs less. That helps my tops be more responsive. In the picture below the 2 braces forming the "X" have been glued:
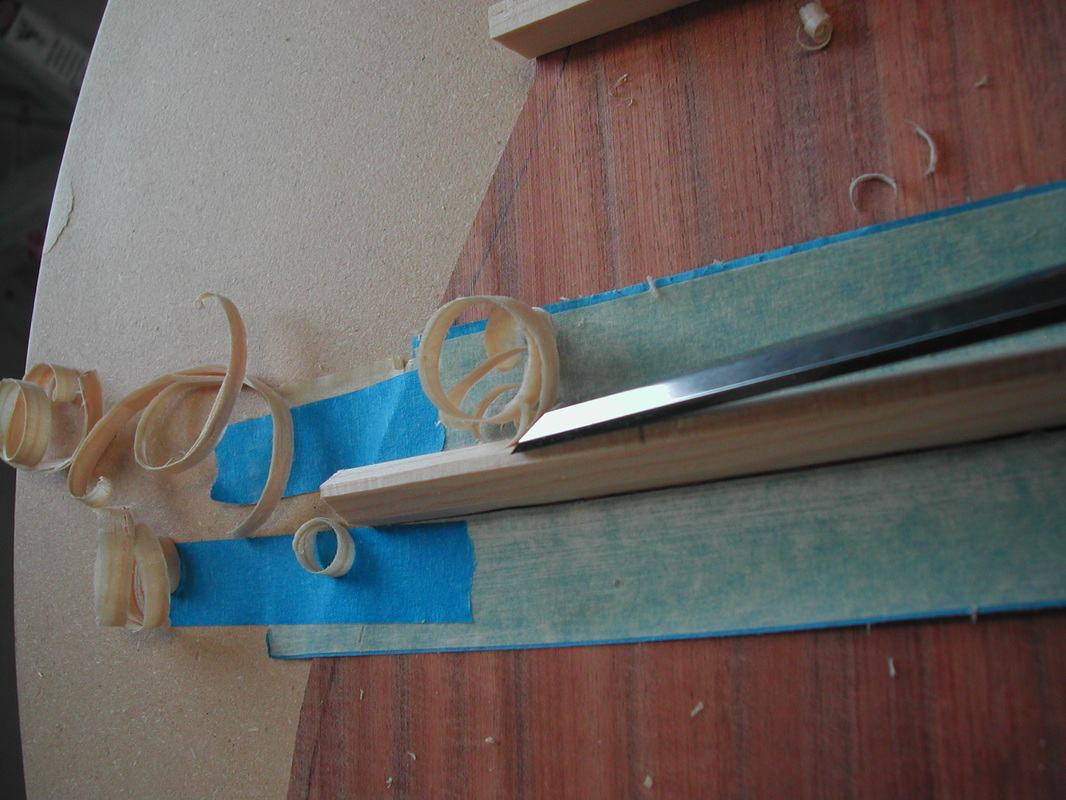
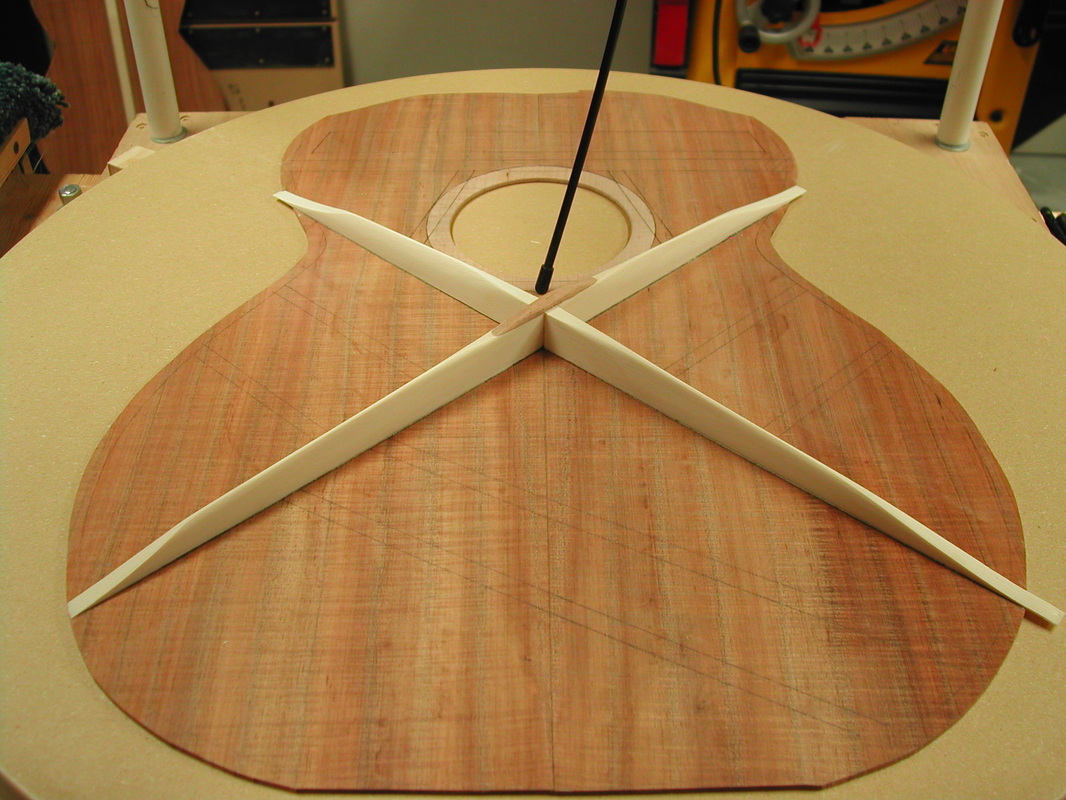
My next step is to carve the "X" brace to near finished shape. I do this now because so many other braces butt up against the "X" brace and make it very hard to shape the "X" if you wait until all have been glued:
This guitar has been sold. The owner is David Starr. I will continue to document the build here and will post progress on the River City facebook page. I will also continue to answer any questions you might have - just click the contact form button in the banner at the top of this page.
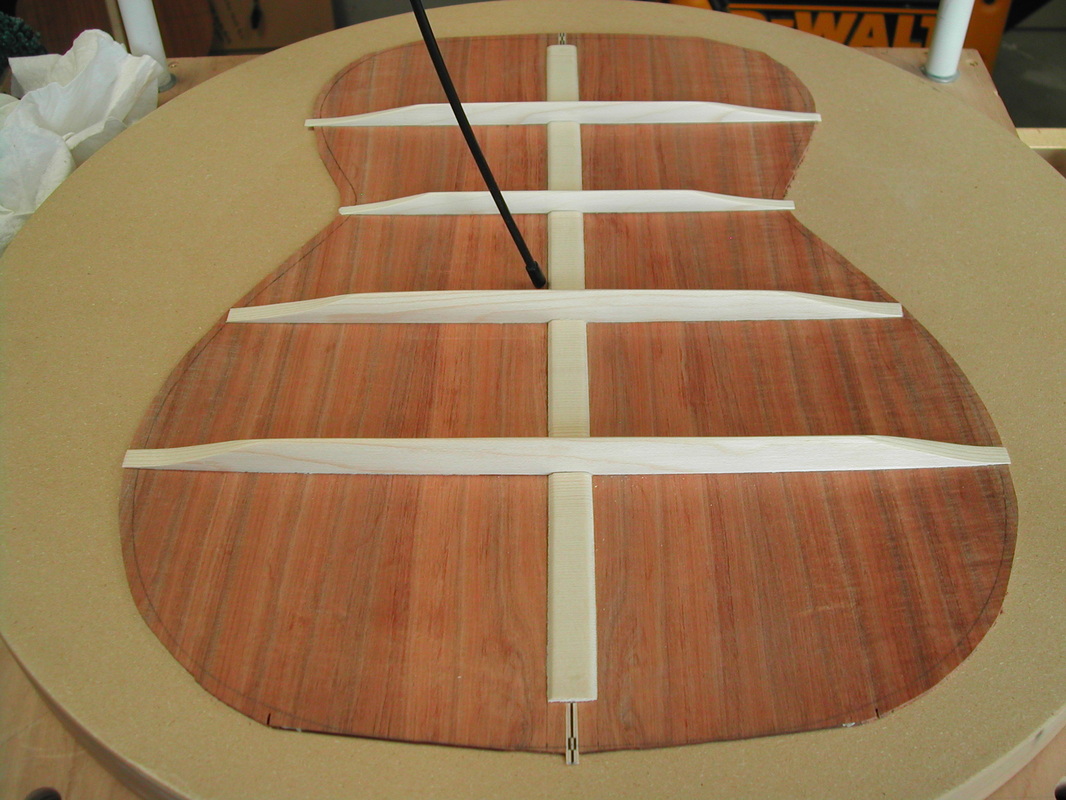
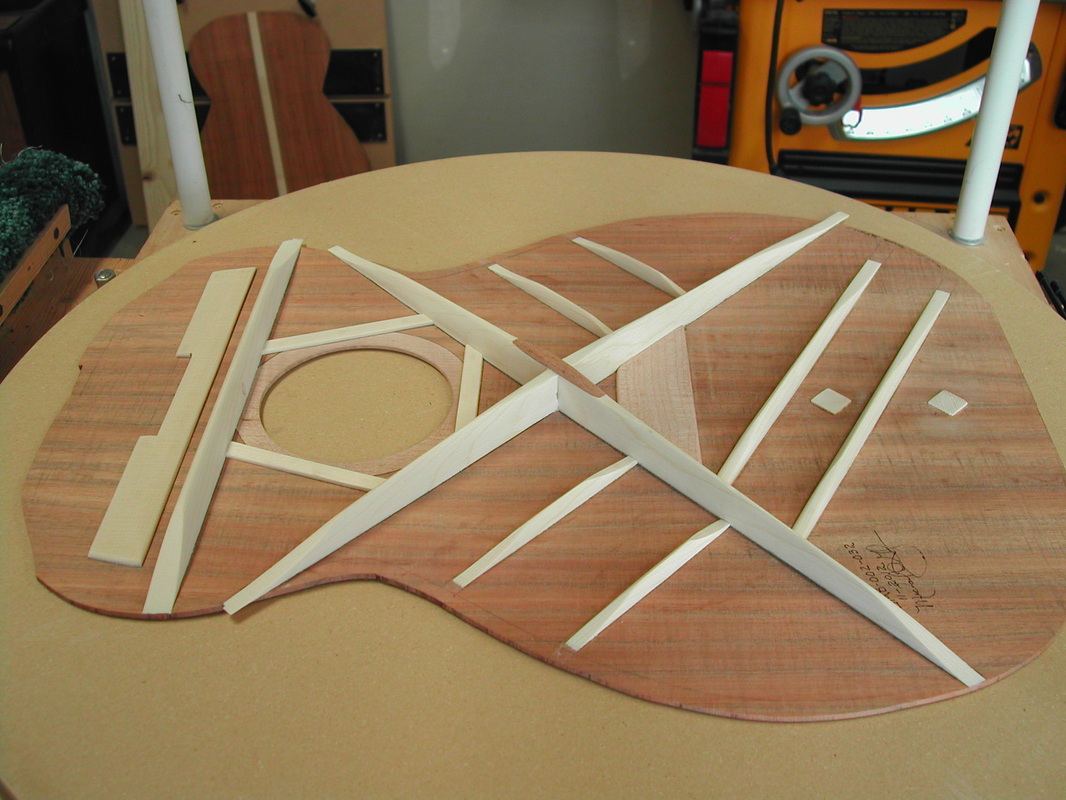
The rest of the top braces are glued and then shaped. During this process I am using several different techniques to determine how much material to remove from the braces and where that material should be removed. Again, working for that adequate structuaral integrity and light, responsive top.
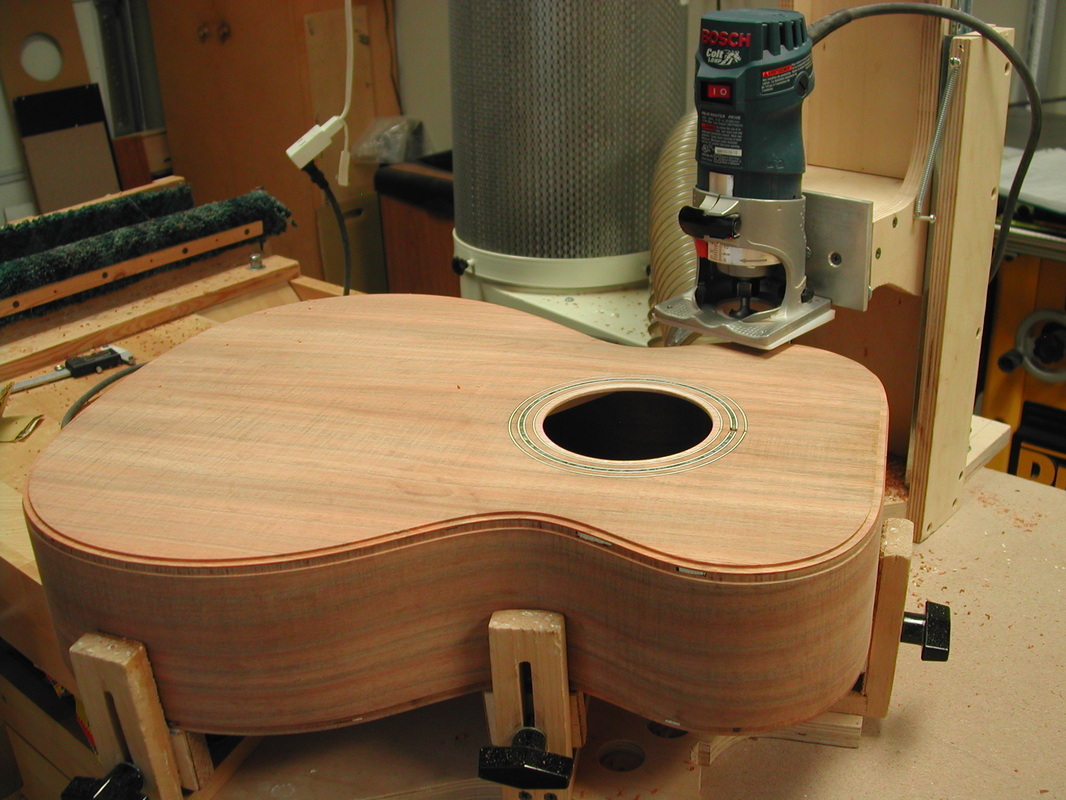
Fitting & Glueing the soundboard is essentially the same as the back. After the top is installed the channels for the bindings are cut with the special jig shown below:
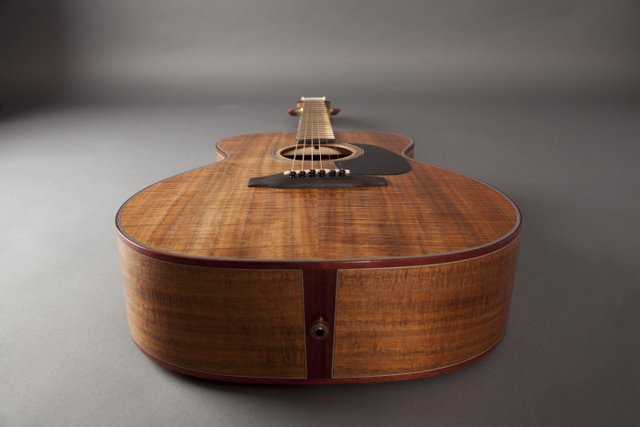
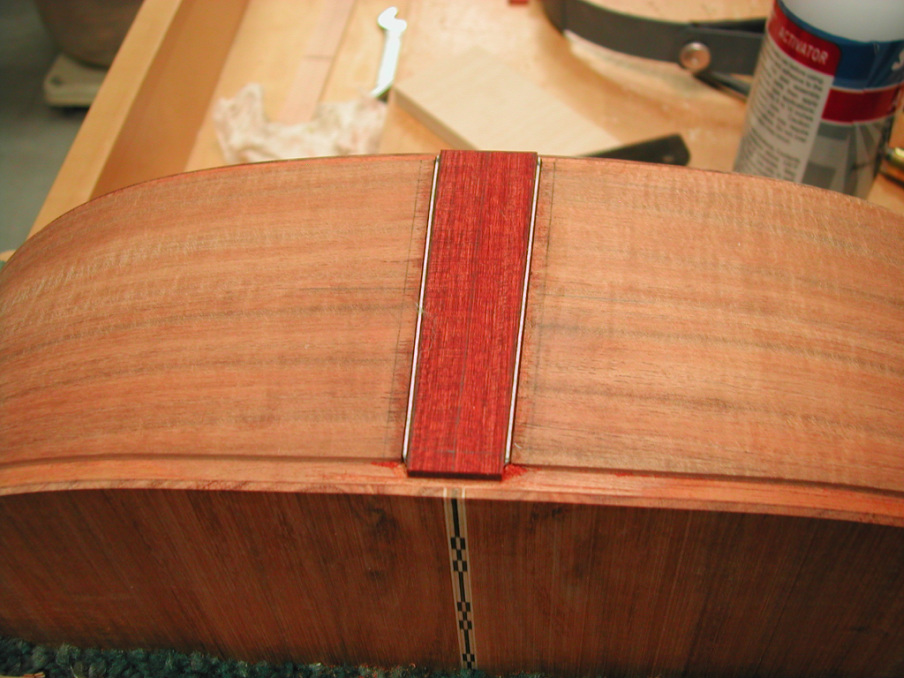
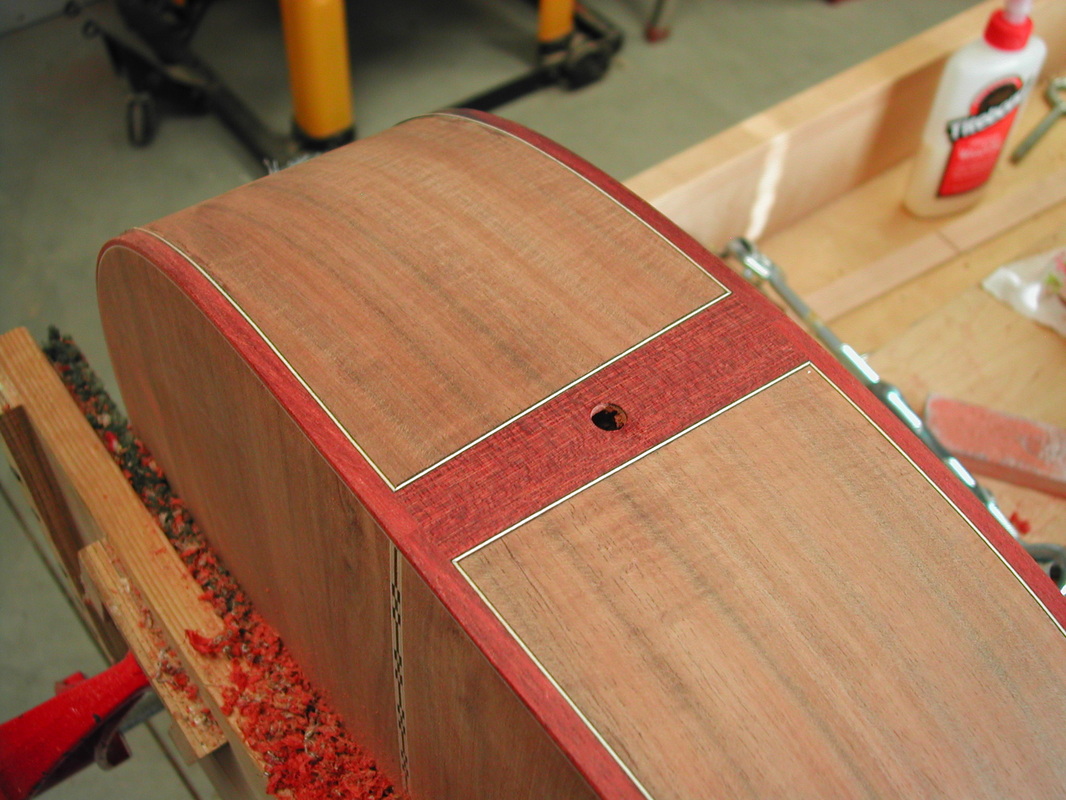
The tail graft is added:
The bindings are fit and glued:
Bindings are scraped and sanded smooth:
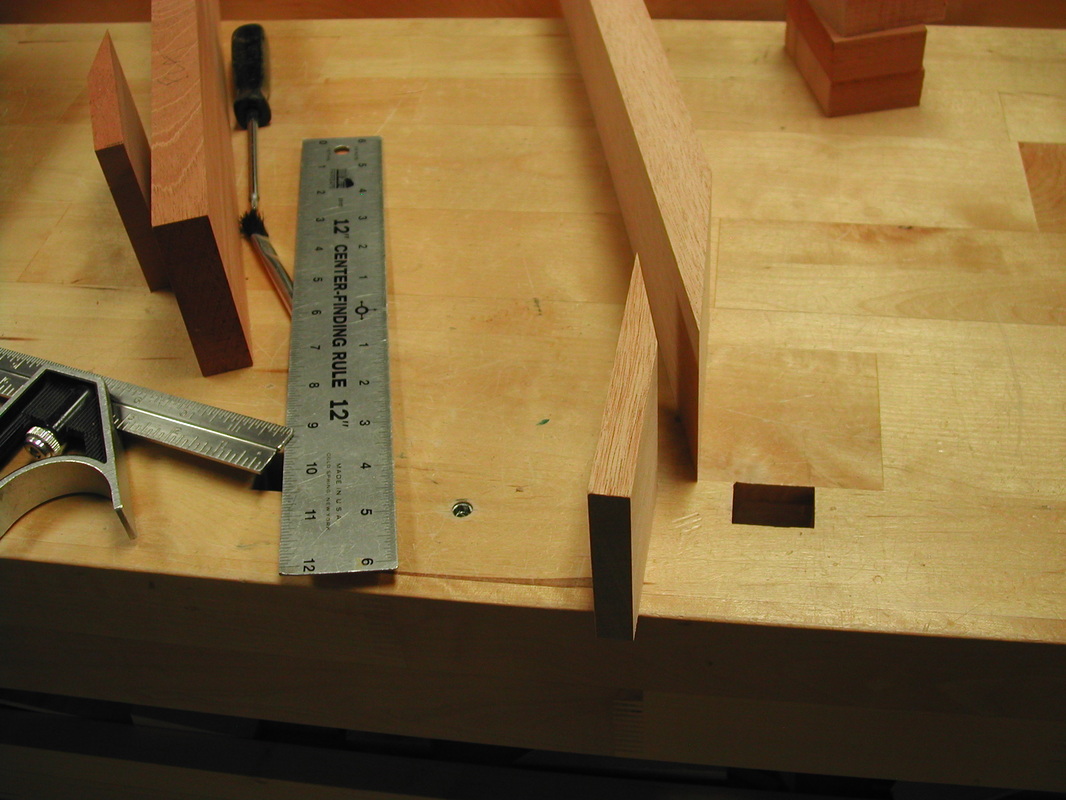
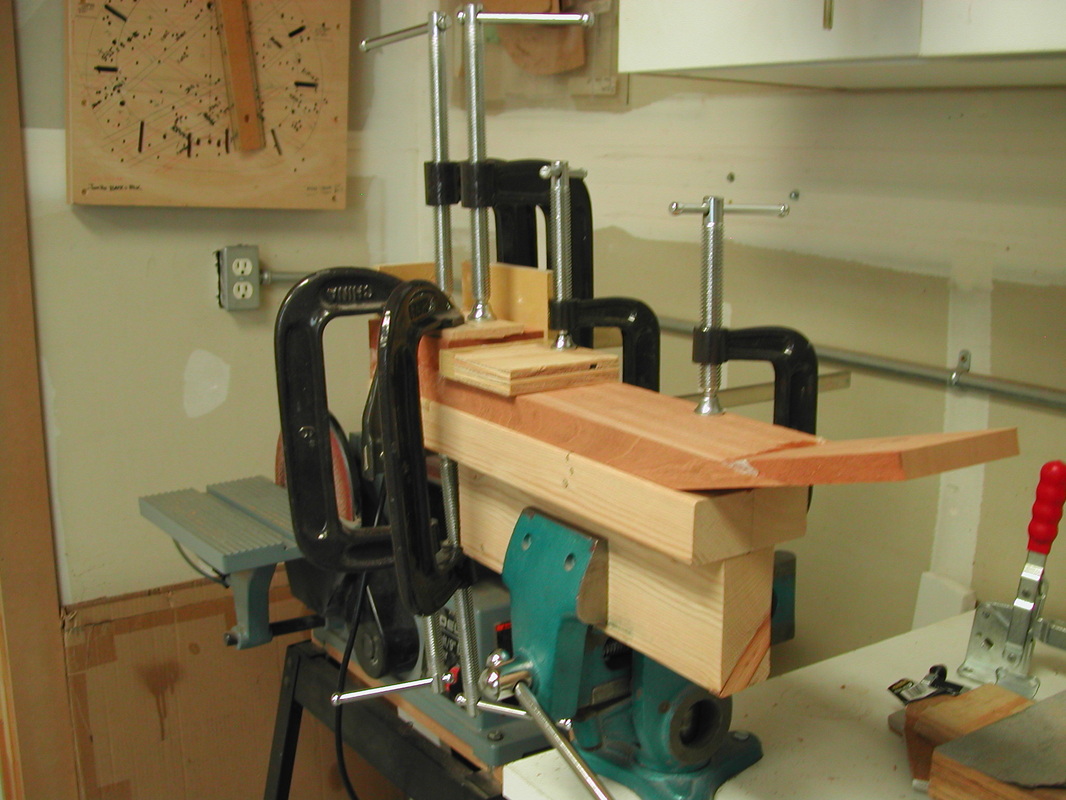
At this same time I have started work on the neck. I start with a 1" X 3.25" X 30" piece of Mahogany and cut a 15 degree joint for the peghead. The pieces are glued back together to form a 15 degree scarf joint:
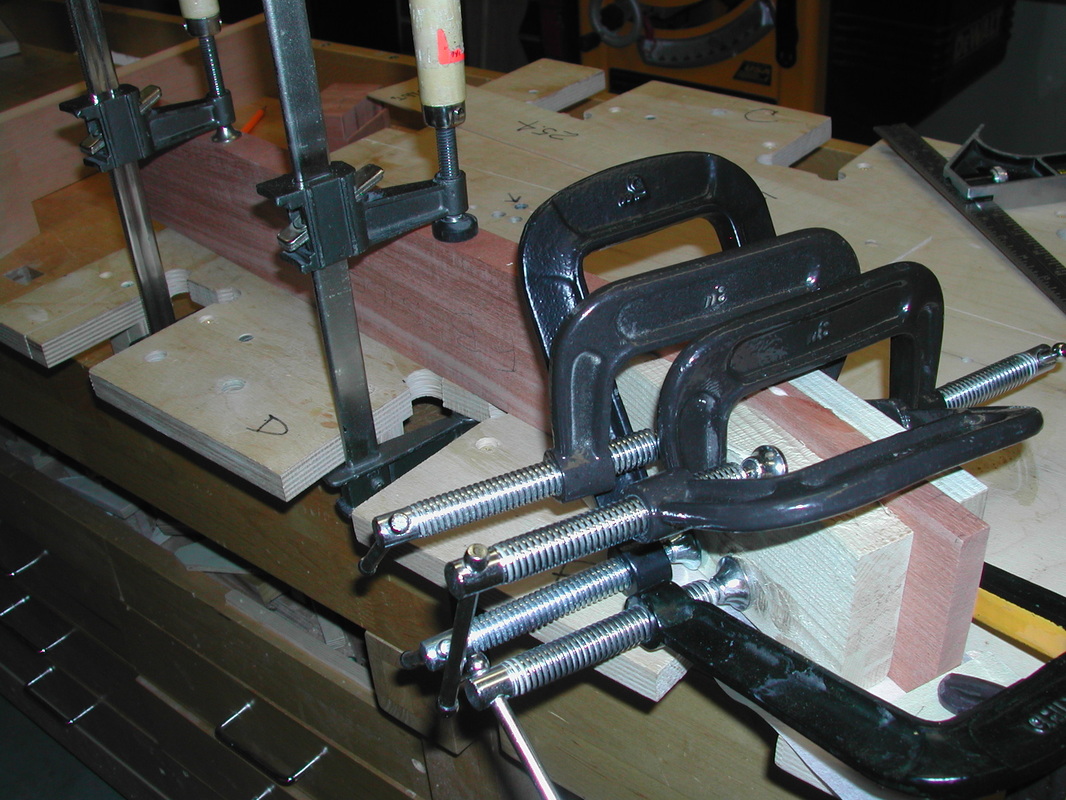
The heel block is build up with three pieces of Mahogany:
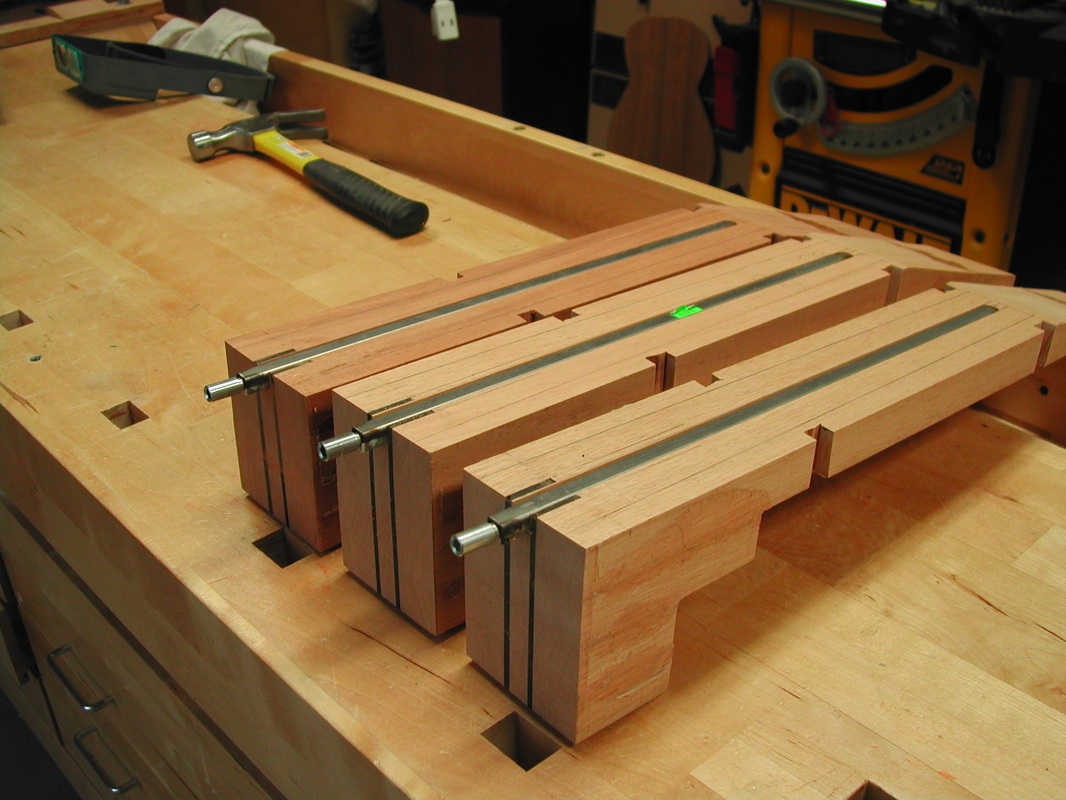
In the above picture are three necks with truss rods installed - one of these will be used on this build.
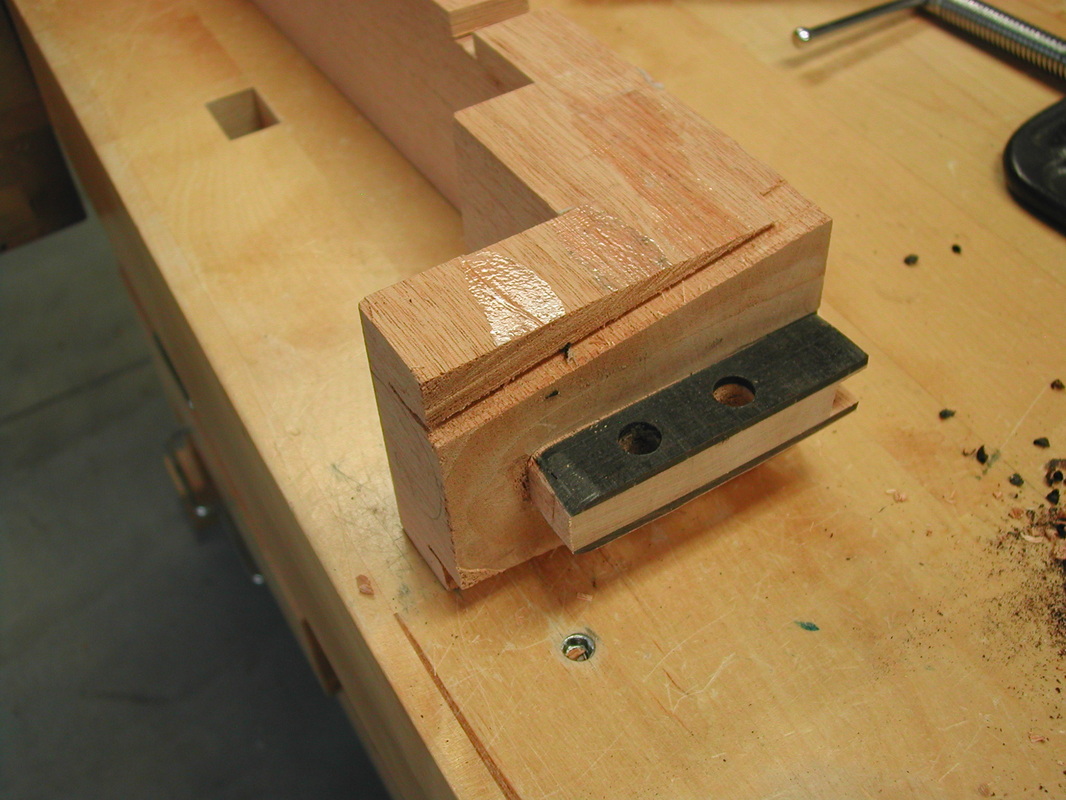
Cutting neck Mortise
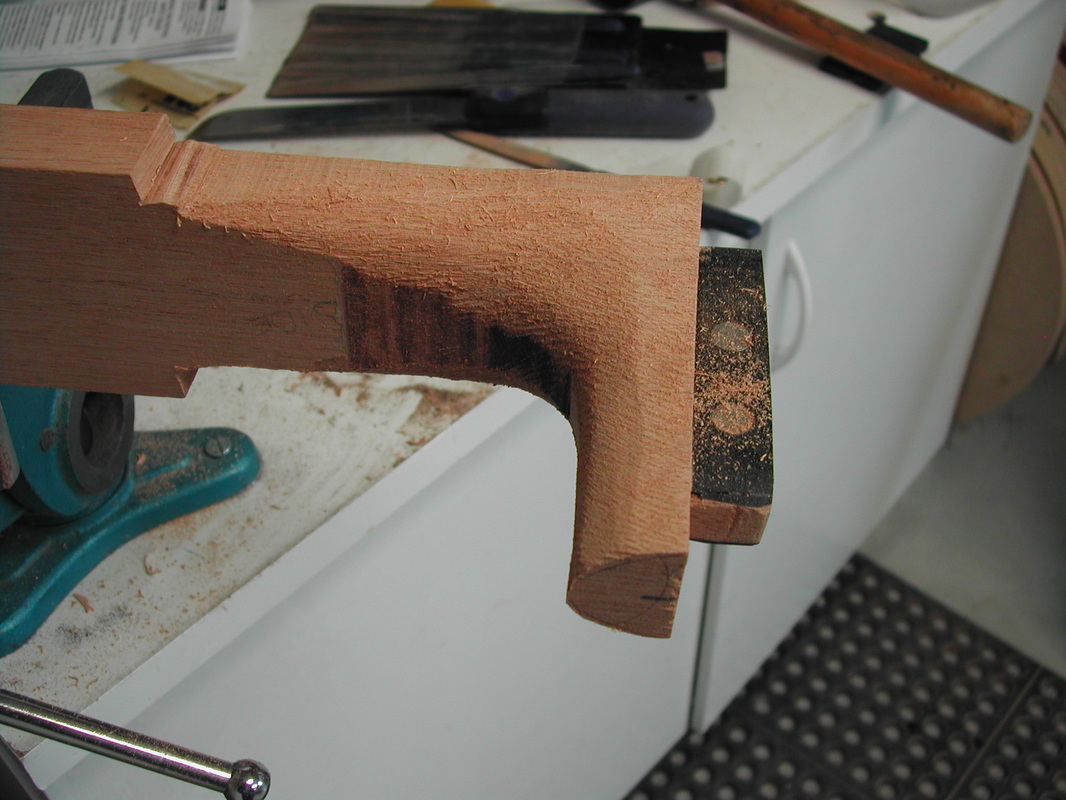
Initial roughing in of the neck heel
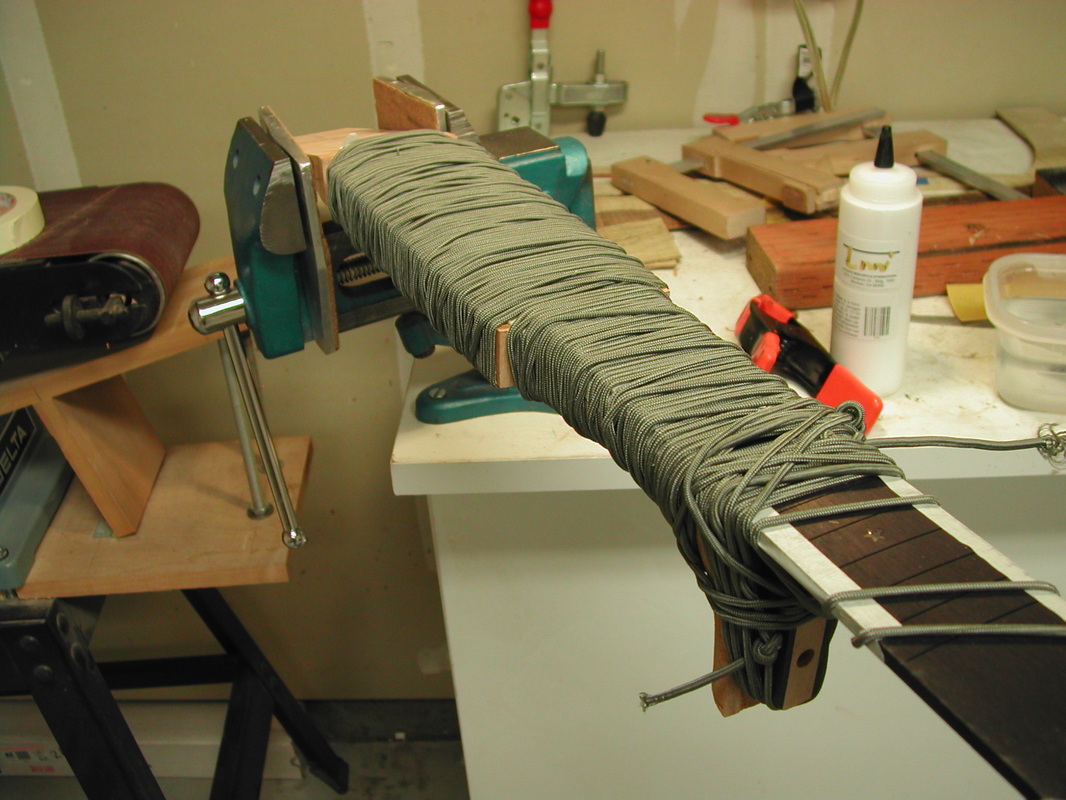
Gluing the fret board
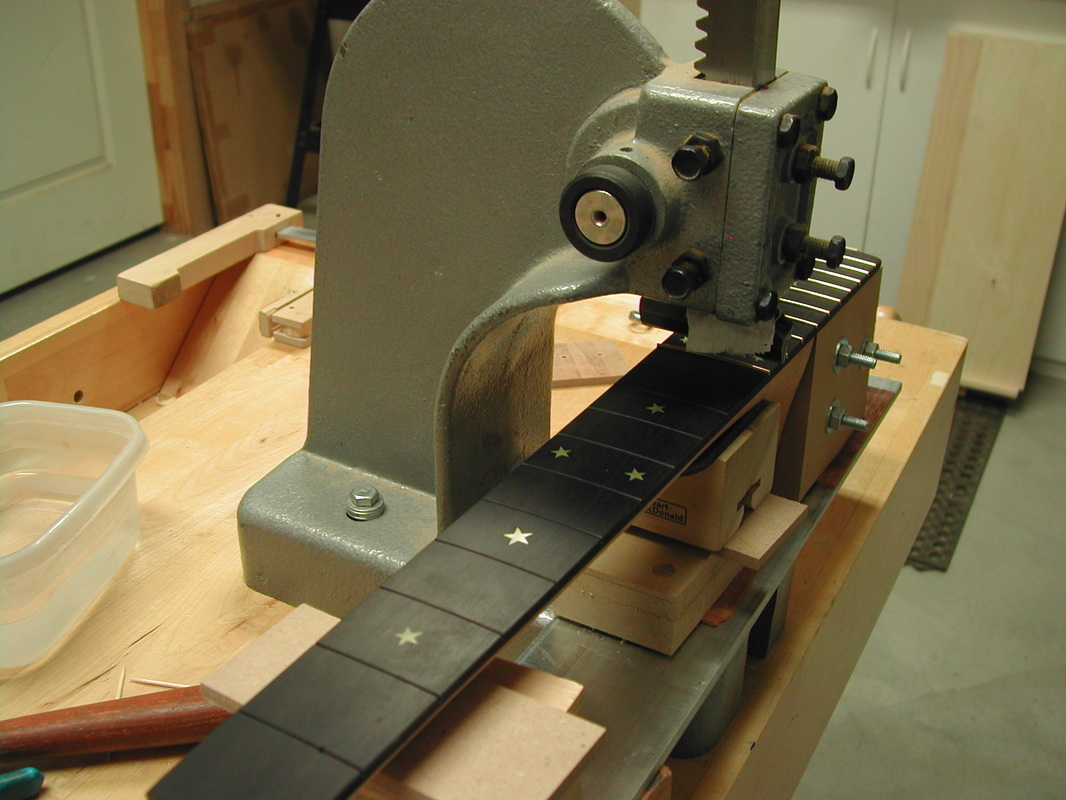
Pressing frets
Neck heel is cut to size and heel cap of Bloodwood is glued
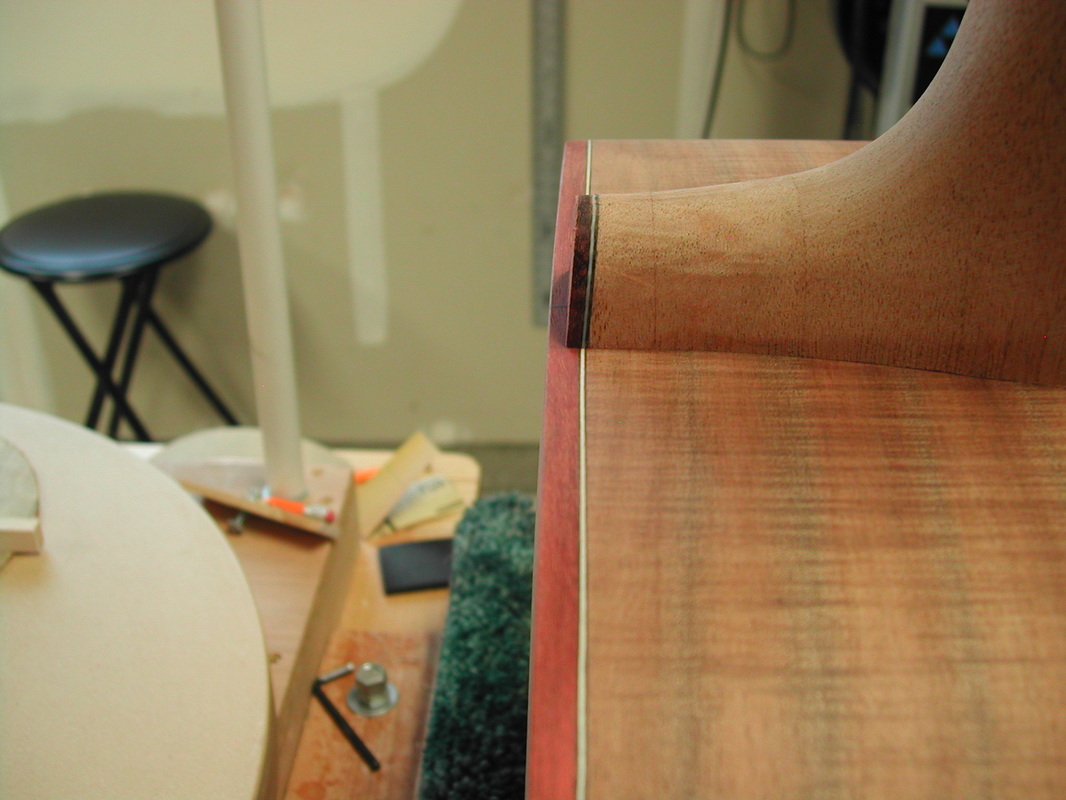
Final fitting of neck to body
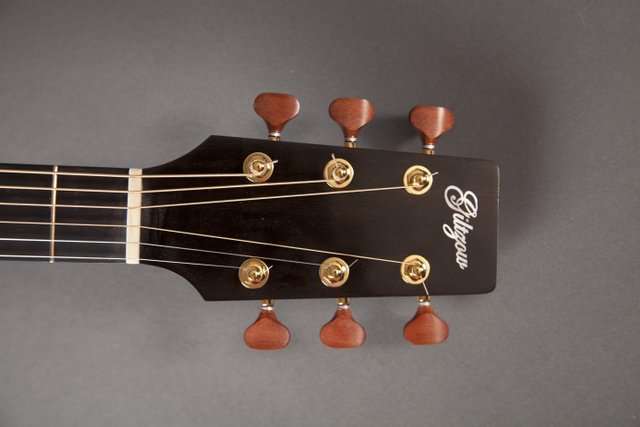
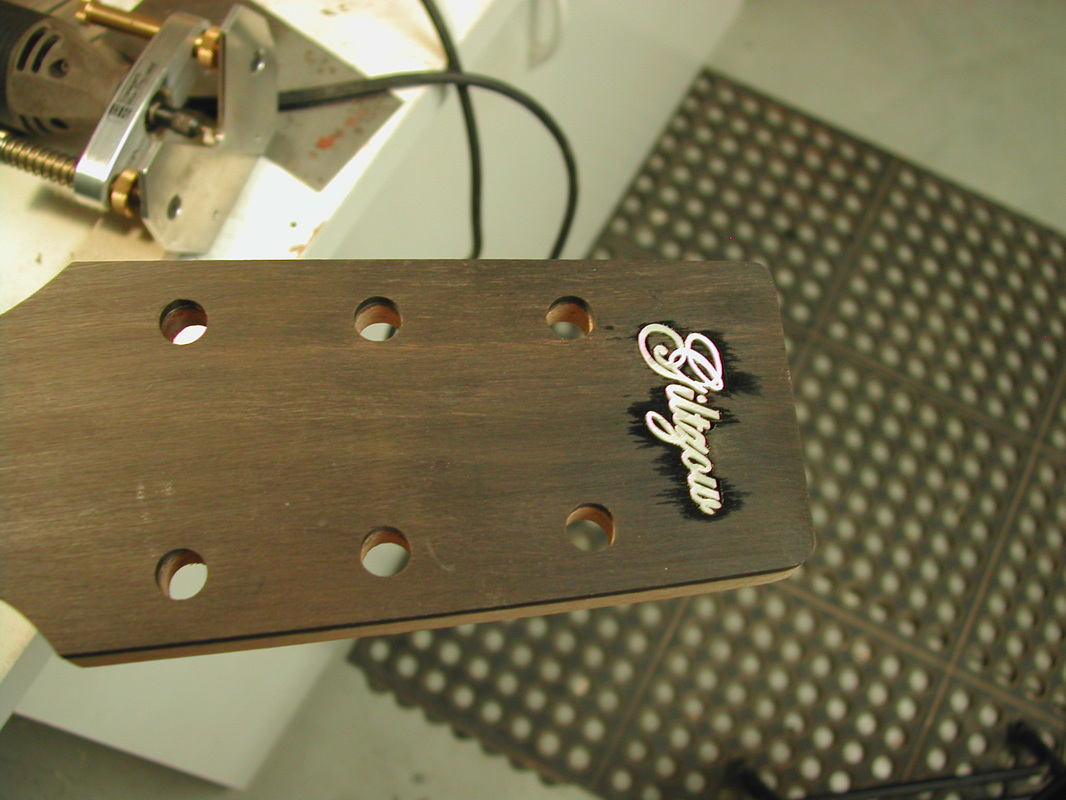
Giltzow logo inlaid into peghead
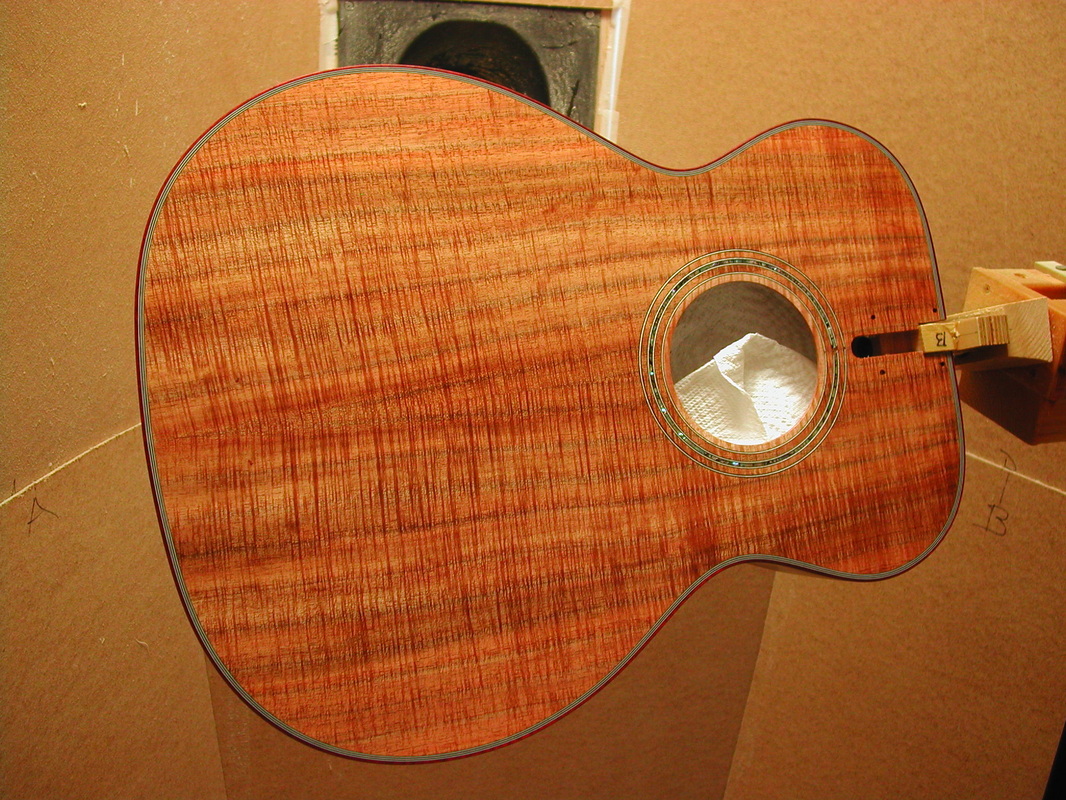
Spray finish on sound box
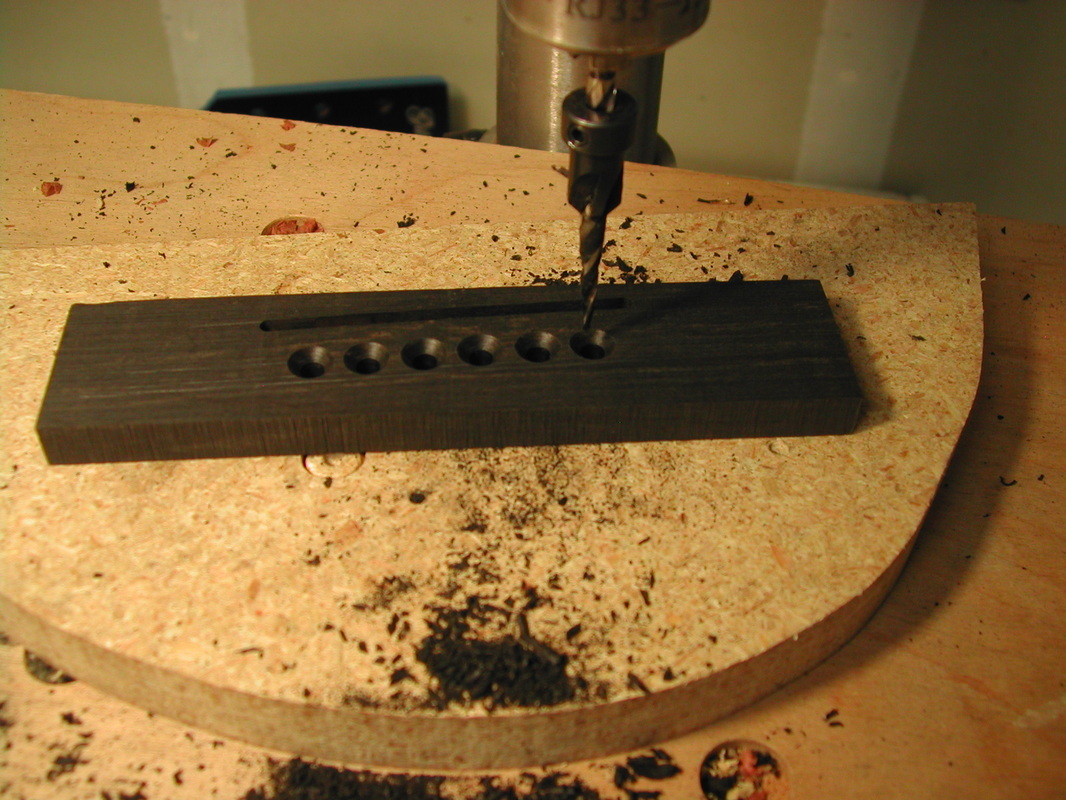
Bridge blank (Ebony) being drilled for bridge pins
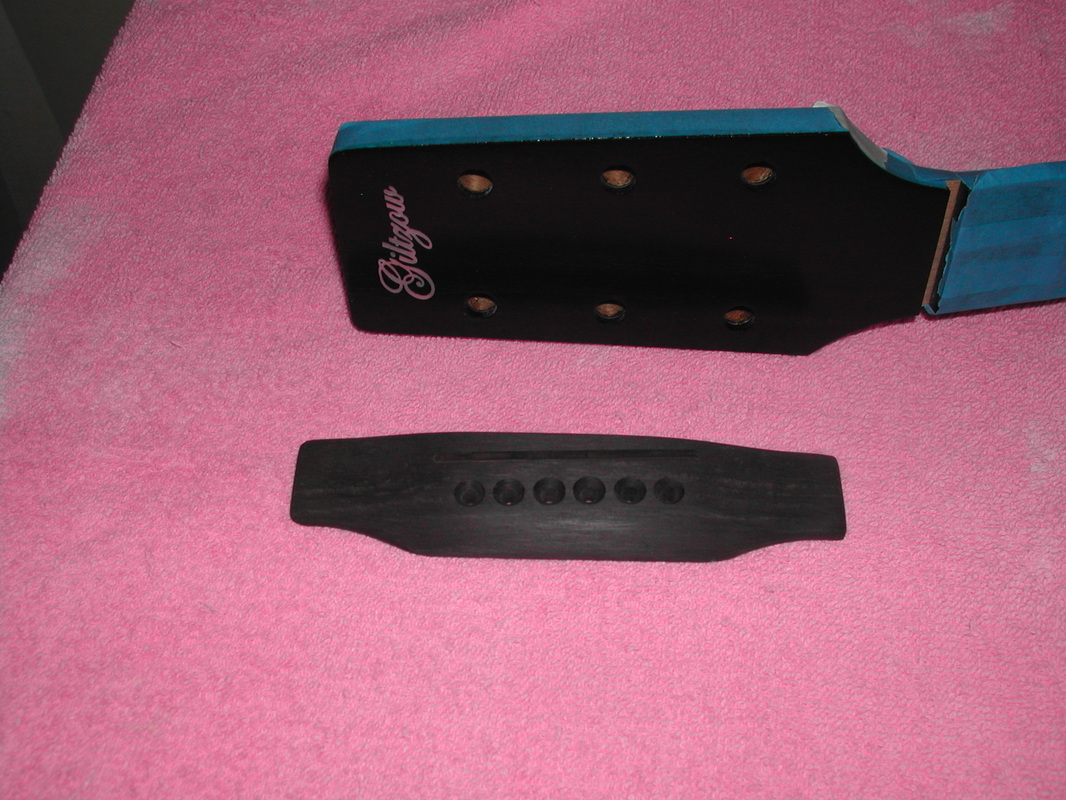
Shaped bridge and inlaid peghead
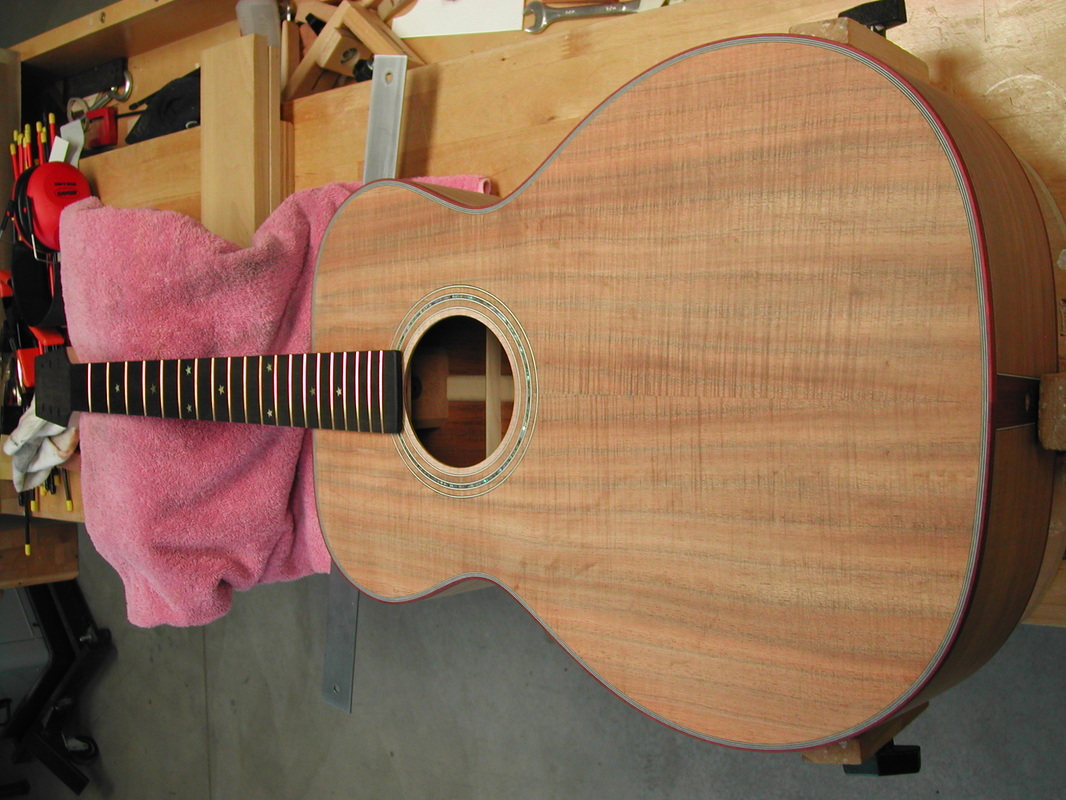
The finish has been sanded and buffed and the neck has been finished with Tru-Oil. The neck and body have come together:
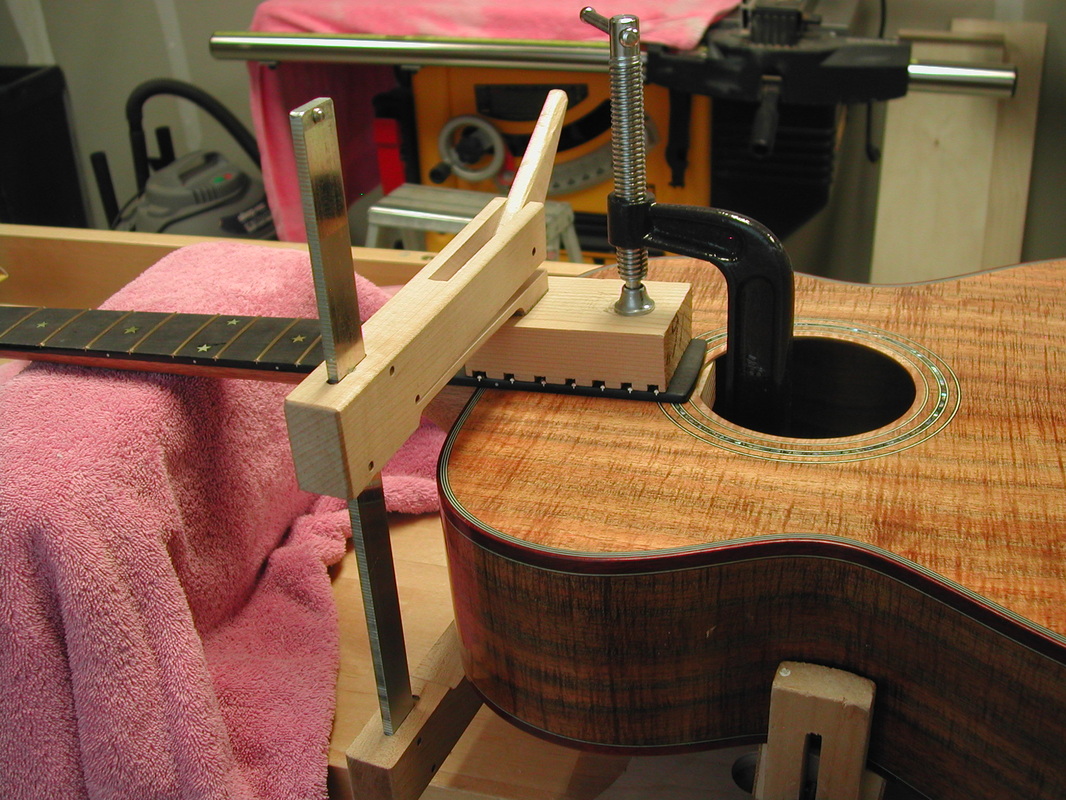
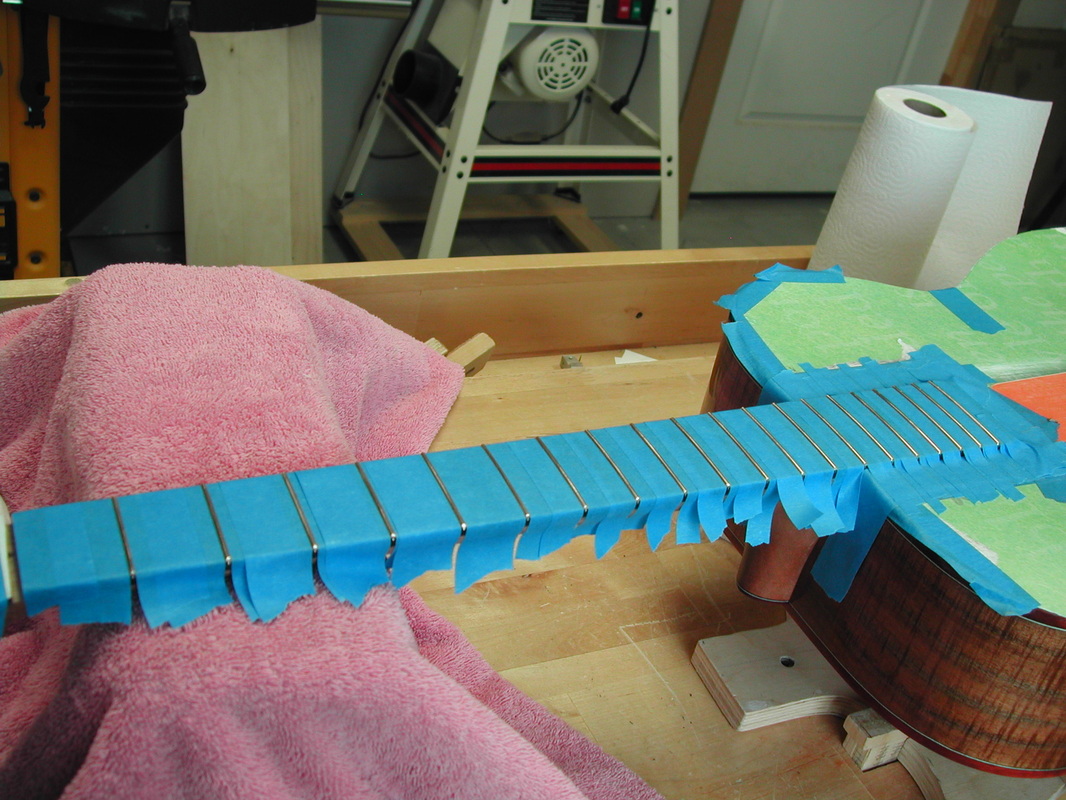
Frets are masked and filed level. Then recrowned and checked for level. Frets are polished with sandpapers from 220 to 800 and then buffed with steel wool.
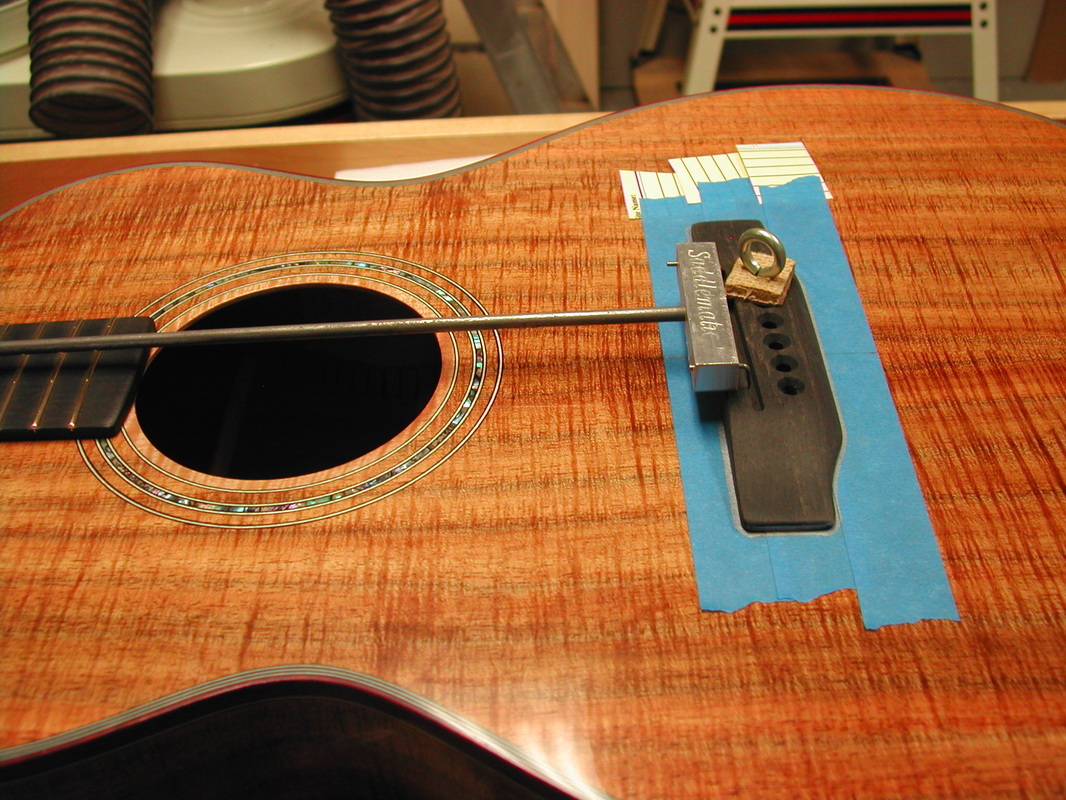
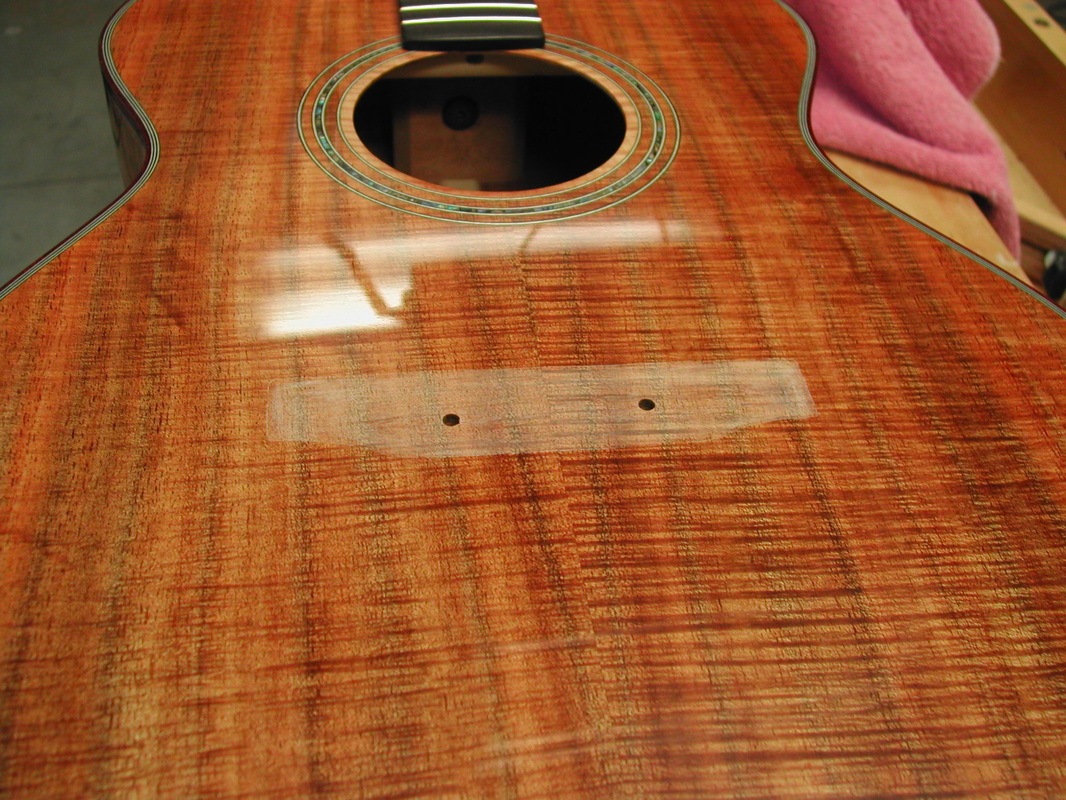
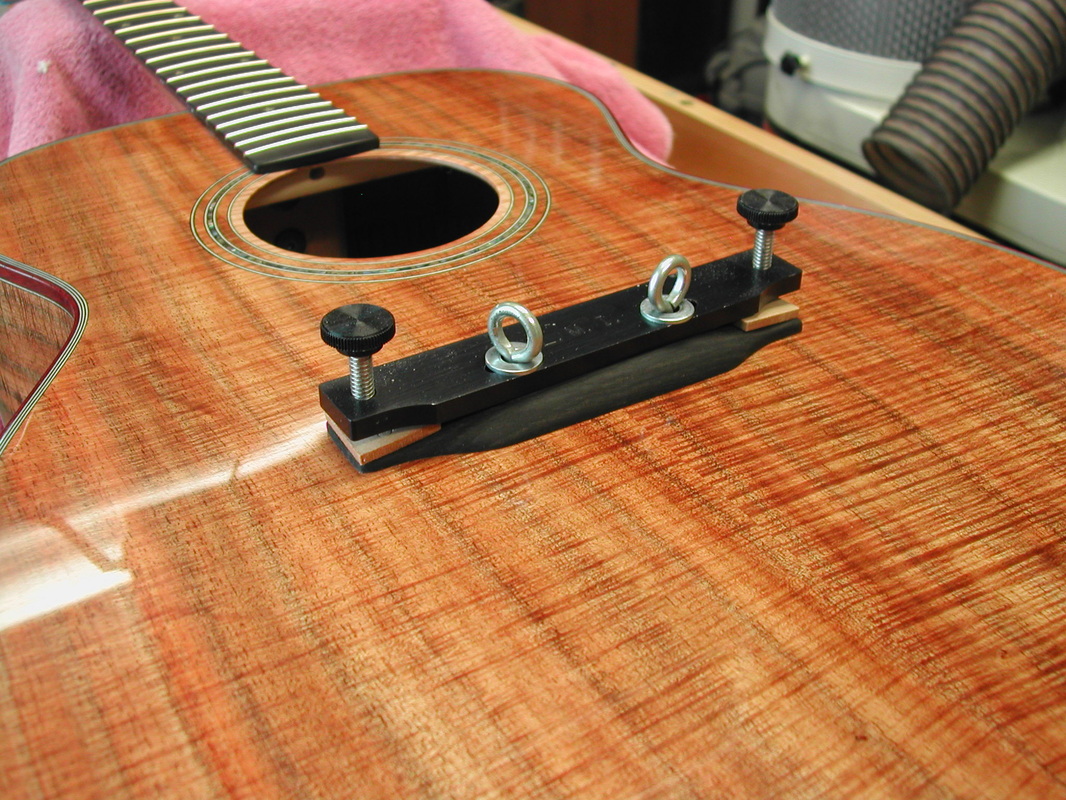
Bridge placement is located and glued to body
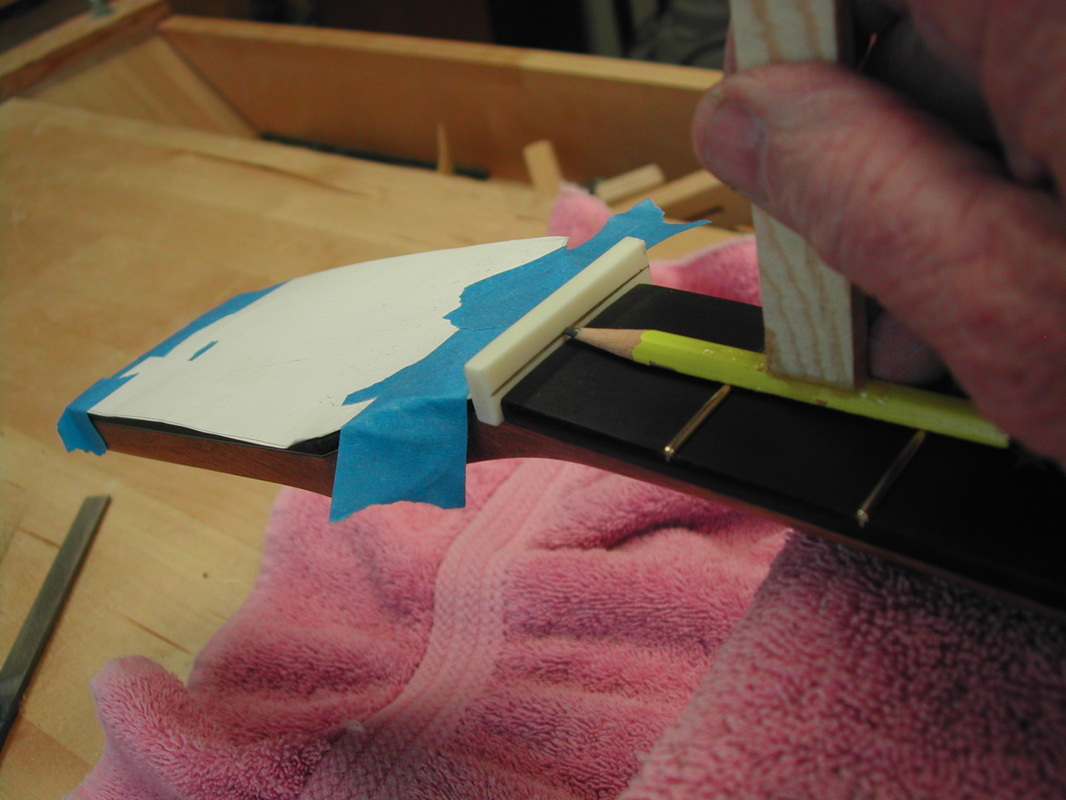
the nut is fit and marked for initial string height and location
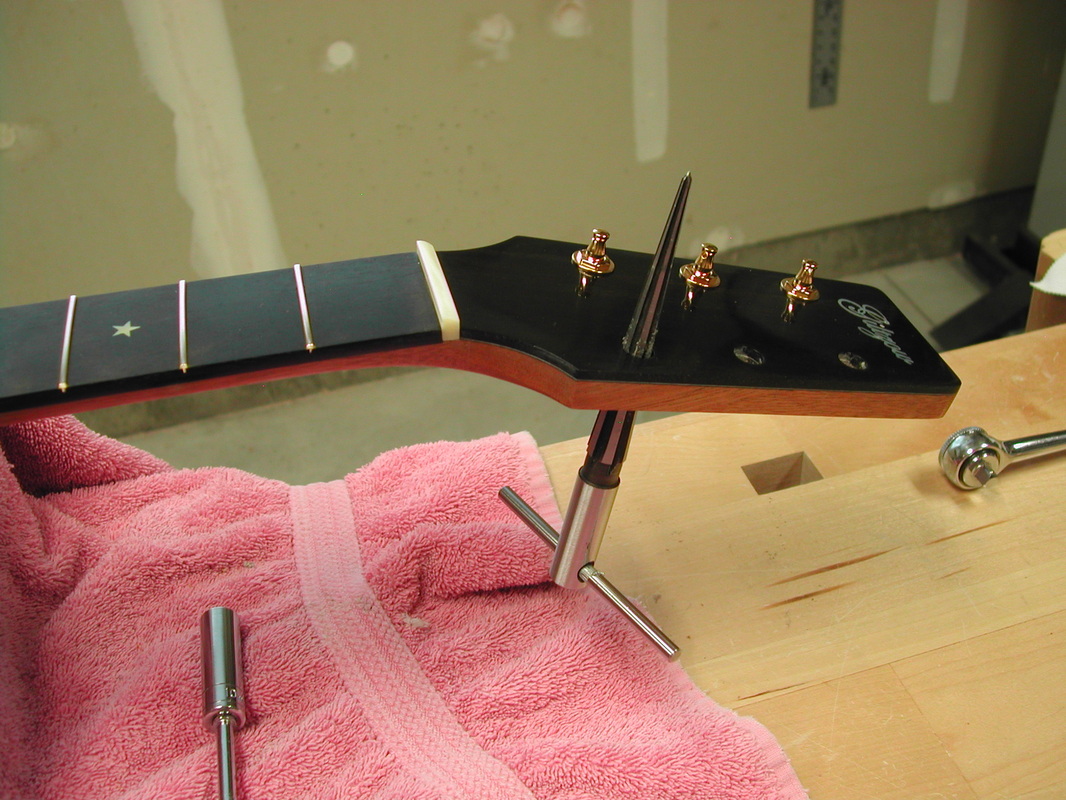
The saddle for this guitar will be an L R Baggs LB-6 passive pickup. It is shaped and fit to the saddle slot. Then the tuning machines are installed. I set the action at the 12th fret by shaping the saddle and set the action at the nut by Increasing the depth of the nut slots.
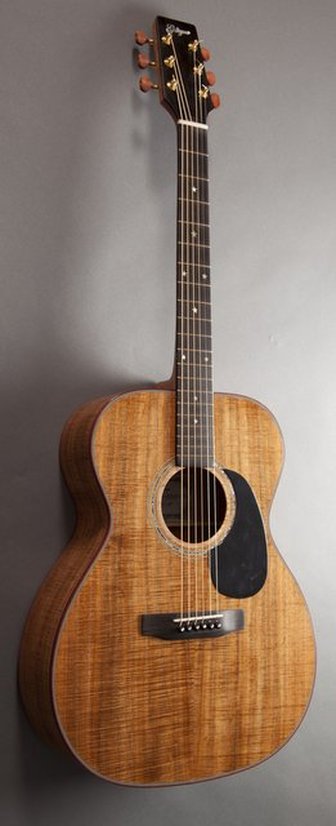
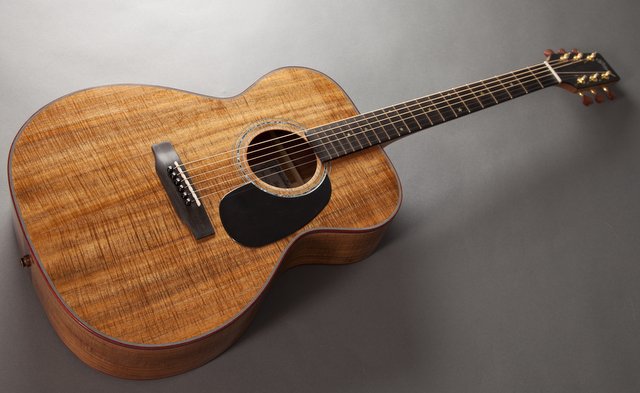
I have strung the guitar with light strings and have been playing it for the last 2 days. It looks and sounds very nice. I am pleased with the results. I will be installing a pickguard and getting some professional photos (I'll post those here) of this guitar next week. Then it should be ready for Mr. Starr. -mdg
Pictures of finished guitar